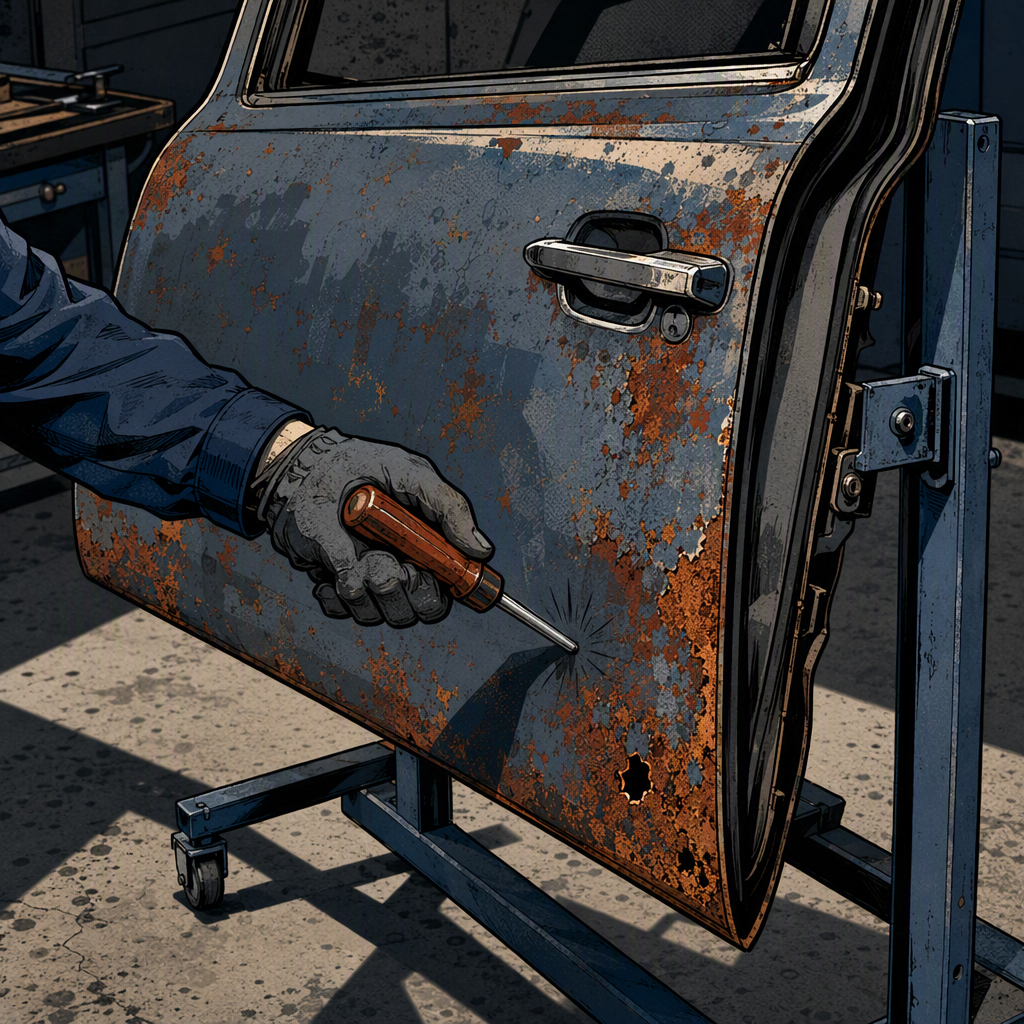
A customer rolls in with a door that’s rusted through below the handle or along the bottom skin, and the first question out of their mouth is always the same: can this be fixed? Technically, yes — sheet metal rust is repairable with enough cutting, welding, and paint work. The real question a shop needs to answer is whether that repair is worth doing compared to sourcing a used door or replacing the shell outright. That decision hinges on how far the rust has spread under the paint, what the labor and paint-match will actually cost, and whether the vehicle has electronics tied to that door that complicate a swap. This guide walks through the assessment and the three realistic repair paths so you can quote the job with confidence instead of guessing.
1. Assess How Far the Rust Has Actually Spread
Surface rust and perforated rust are two different jobs. What looks like a small bubble or pinhole near the handle or rocker seam is almost always the tip of a larger problem — doors rust from the inside out, starting at drain holes, seam welds, and foam impact bars where moisture gets trapped and paint never reaches. By the time you see a hole on the visible skin, the inner structure behind it has usually been corroding for years.
- Tap the surrounding panel with a plastic trim tool or the back of a screwdriver handle — a dull, soft sound means the metal behind the paint is already thinned or delaminating.
- Pull the door panel and check the inner skin, the vapor barrier, and the bottom drain channels. If the drains are clogged with debris, that’s usually the root cause.
- Check the rocker panel, the A/B-pillar base, and the opposite door for matching corrosion. Rust rarely stays isolated to one spot on a vehicle that’s been salted or garaged near moisture for years.
- If it’s perforated (an actual hole through the metal), plan on cutting out the affected section entirely — sanding and filling a hole doesn’t hold up and will fail again within a season or two.
If the damage is confined to a small area and the rest of the door structure is sound, a patch panel repair is viable. If you’re finding soft metal in multiple spots or the inner structure is compromised, stop pricing a patch job and start pricing a replacement door.
2. Patch-Panel and Weld Repair: When It’s Worth Doing
A proper rust repair on a perforated door means cutting back to solid metal, treating any residual surface rust with a rust converter or removing it entirely with a wire wheel or media blaster, then welding in a patch panel (pre-formed patch panels exist for common rust-prone areas on many popular models) or fabricating one from flat sheet stock. After welding, the seams need grinding, metal conditioning, epoxy primer, filler where needed, primer-surfacer, and paint that’s blended into the adjacent panels to avoid a visible color break.
This is a legitimate repair path, but be honest with the customer about what it costs: this is body shop labor — cutting, welding, metal finishing, and a full paint-and-blend — not a DIY rattle-can fix. Expect several hours of skilled labor plus paint materials, and expect that this cost frequently lands close to or above the price of a decent used door once you add it all up. It’s the right call when the vehicle has rare or damaged trim, a color that won’t be easy to match from a yard, or when the customer specifically wants to keep the factory panel intact.
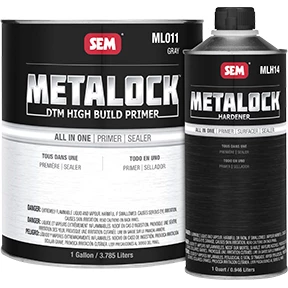
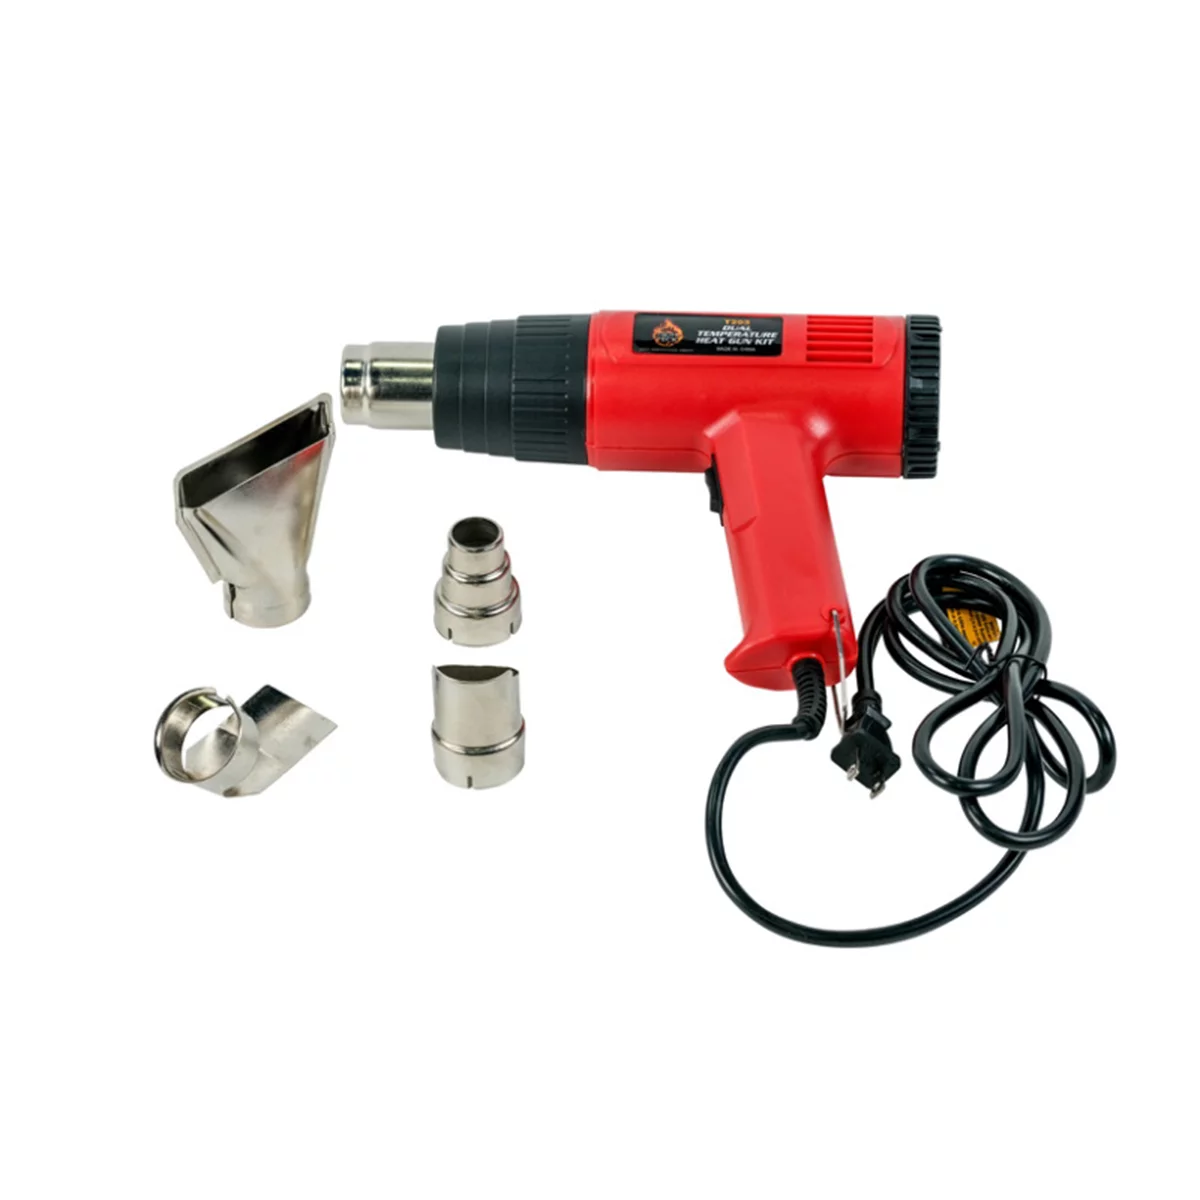
T205 Dual Temperature Heat Gun Kit, 2 Temperature Settings
Mfg: High Teck Products
Part #: T205
3. Sourcing a Salvage Door: What to Check Before You Buy
For most rusted doors, a salvage yard shell is the faster and cheaper fix — used doors commonly run in the range of a few dozen to a couple hundred dollars depending on the market, versus several hundred to over a thousand for a repaired-and-painted panel or a new OEM door. Color match is a bonus, not a requirement — a mismatched panel that gets painted is still cheaper than fabricating a patch, and an unpainted mismatch is a perfectly acceptable interim fix if the customer isn’t chasing a show-quality result.
- Search inventory through the major junkyard parts networks and salvage part locators using the vehicle’s exact year, make, model, and trim — door skins, glass provisions, and mirror mounts vary across trim levels and model years even on the same body.
- Ask the yard to confirm the door came off a vehicle without frame or flood damage, and inspect it in person if possible for hidden rust, especially along the bottom seam and inside the shell.
- Verify what’s included: does it come with the window regulator, glass, speaker, wiring harness, and interior panel, or just the bare shell? Pricing swings a lot based on completeness, and you don’t want to be sourcing a regulator separately after the fact.
- For power windows, mirrors, or door-mounted modules, check whether the harness connectors and module part numbers match your vehicle’s electrical architecture — later model-year doors sometimes carry different wiring or module hardware even within the same generation.
4. Swapping the Door: Labor Steps
The physical swap is straightforward compared to sourcing and paint, but a few steps get missed by DIYers and cost comebacks if rushed:
- Disconnect the battery before pulling any door-mounted wiring harness to avoid setting fault codes in the BCM or door control modules.
- Support the door on a jack or door-support stand before removing the hinge bolts — doors are heavier than they look and sag on their hinges once unbolted.
- Transfer all hardware that isn’t included with the salvage door: mirror, handle, lock actuator, speaker, window regulator/motor, and weatherstripping, matching original fastener locations.
- Reinstall the wiring harness grommet correctly at the hinge-side pass-through — a pinched or misrouted harness here is a common source of intermittent window or lock failures after a door swap.
- Adjust the door on its hinges for panel gap and door-to-fender alignment before final torquing, then check striker alignment for proper latch engagement.
5. Don’t Skip Post-Swap Electronics and Coding
On newer vehicles, a door or adjacent panel swap can trigger electronic work beyond bolting parts on. This is easy to overlook and it’s where DIY jobs and quick estimates go over budget:
- Door control modules, keyless entry receivers, and some window/mirror modules may need to be relearned or paired to the vehicle’s network after replacement — this varies by manufacturer and sometimes requires dealer-level or subscription-based diagnostic software rather than a generic scan tool.
- If the repair extends to adjacent panels with adaptive headlights, ADAS-linked mirrors, or blind-spot sensors, those components often require calibration or coding after replacement, which is frequently a dealer or specialty shop job and adds real cost on top of parts.
- Consumer-level OBD apps (Carista, FORScan, and similar) can handle basic coding functions on some platforms, but coverage is brand- and module-specific — confirm compatibility before promising a customer it’ll work.
- Flag this cost during the estimate, not after the swap is done. A customer who budgeted for a $150 junkyard door doesn’t want to hear about a $300 coding bill as a surprise.
Quick Reference Checklist
- Confirm perforation extent — tap-test surrounding panels and pull the door card to inspect the inner structure.
- Check drain holes and rocker/pillar areas for related corrosion before quoting a single-panel fix.
- Price patch-and-paint against a salvage door before committing to either path.
- Verify salvage door completeness (glass, regulator, harness) and confirm no accident/flood history.
- Disconnect the battery, support the door, and transfer hardware carefully during the swap.
- Budget for module coding/calibration up front if the vehicle has door-linked electronics.

FAQs
Is it ever worth fully repairing a rusted-through door instead of replacing it?
Yes, when the color is hard to match, the door has unique trim or damage-free glass you want to keep, or the customer specifically wants the original panel. Otherwise, once you add up cut-and-weld labor plus full paint and blend, it usually costs more than a salvage swap.
How much rust is too much to patch?
If tap-testing reveals soft or thin metal beyond the visible hole, or if the inner door structure and impact bar mounts show corrosion, cutting a patch panel won’t address the underlying problem — plan on a full door replacement.
Do I need a color-matched door from the salvage yard?
No. An unpainted or mismatched door is a fully functional, lower-cost fix. If appearance matters to the customer, the door can be painted afterward for less than fabricating and blending a patch repair.
Will a used door come with the window regulator and wiring already installed?
It depends on the yard and listing — always confirm before buying. A bare shell is cheaper but means sourcing the regulator, motor, and harness separately, which can erase the cost savings.
Does replacing a door always require module programming?
Not always — a basic manual door with no power features usually bolts on with no coding needed. Power windows, keyless modules, or ADAS-linked components on adjacent panels are the cases where coding or calibration becomes necessary.
Why did the rust come back after I sanded and painted it a few years ago?
Because sanding and painting only addresses the surface. If the corrosion started from trapped moisture inside the door, it keeps working from the inside out regardless of the exterior finish, and it will resurface unless the source of the moisture and the affected metal are actually removed.
Paint & Body Tools for Rust Repair
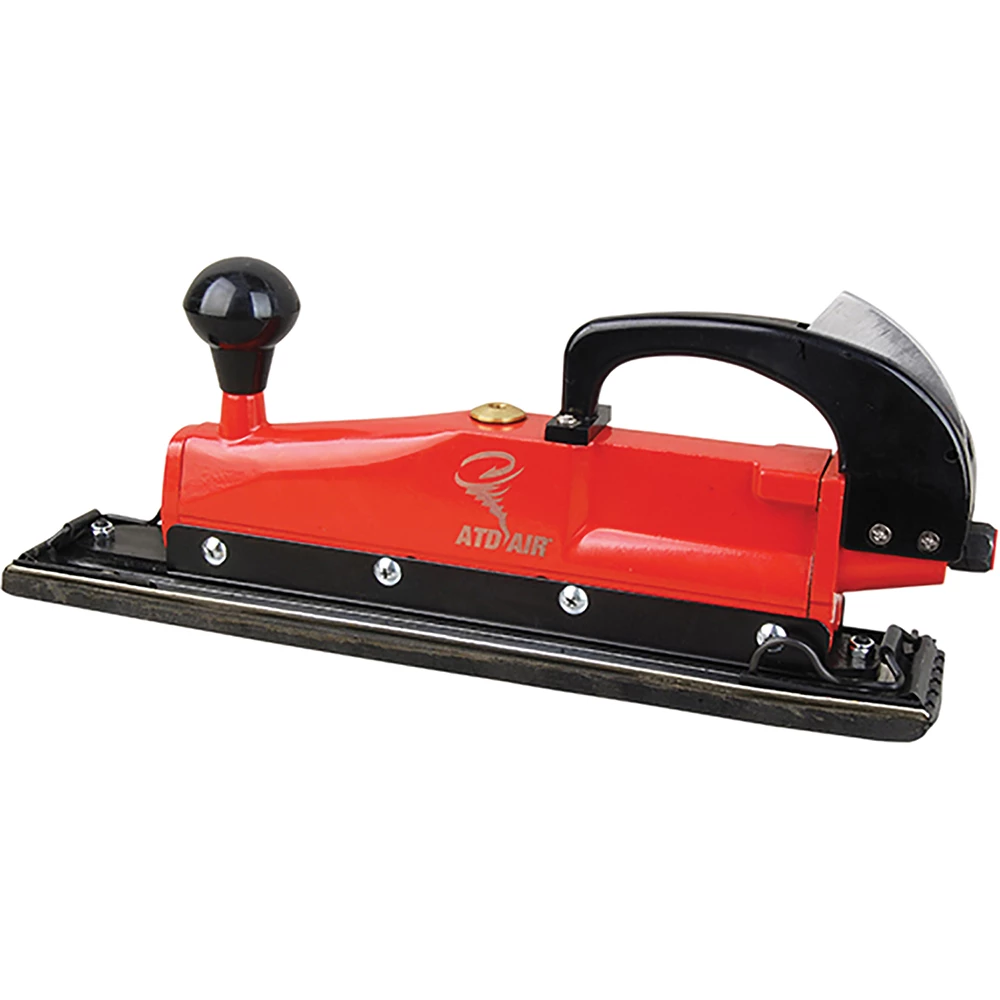
A proper patch-and-weld repair requires more than just cutting metal — you’ll need quality rust converters, primers, fillers, and finishing materials to do it right. Our Paint & Body selection covers everything from rust treatment and epoxy primers to panel fillers, primer-surfacer, and the grinders and sanders needed for proper prep work.
- Rust converters and epoxy primers for treating corrosion before welding or painting
- Panel fillers, primer-surfacer, and finish coats for blending repairs into adjacent panels
- Metal finishing tools including angle grinders, sanders, and wire wheels for metal prep

The Toolsource Technical Team blends decades of real-world automotive service experience with up-to-date technical research. Our writers collaborate with professional mechanics, shop owners, and diagnostic specialists to deliver practical, workshop-ready guidance you can trust.


Follow us on social media