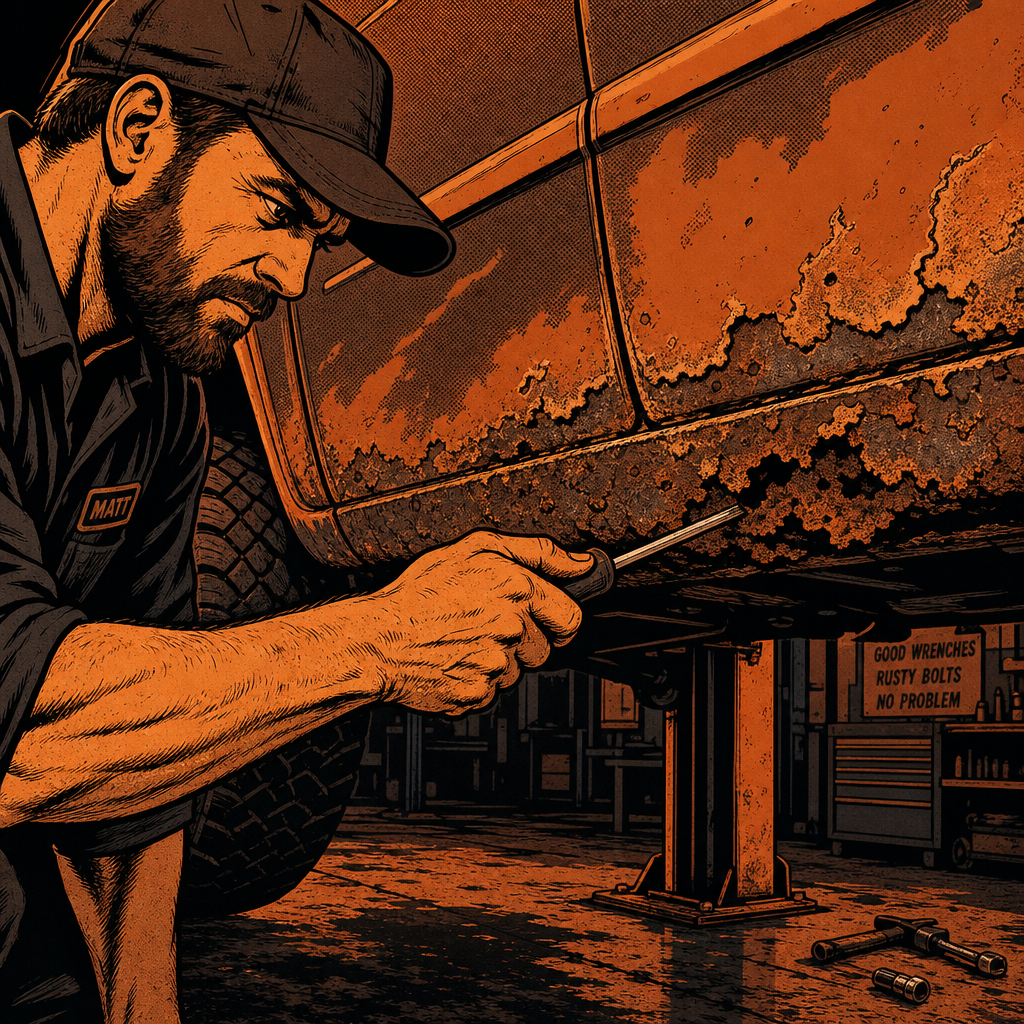
Rocker panel rust is one of those problems that looks cosmetic until you actually get a flashlight and a screwdriver into it. What starts as a bubble in the paint can turn out to be a section of structural steel that’s thinned to the point of being little more than surface rust holding a shape. Because rockers tie the front and rear frame rails together and play a role in side-impact protection, deciding how to fix them isn’t just a bodywork question — it’s a safety and inspection question too. This guide covers how to assess the damage, what a DIY repair realistically takes, and when it’s time to hand the job to a body shop.
Step 1: Assess How Far the Rust Has Spread
Before deciding on a repair path, find out how much of the rocker — and what’s around it — is actually compromised. Surface rust and bubbling paint are one thing; structural rot is another.
- Poke test: Use a screwdriver or awl to press on the rocker, the floor pan edges, the pinch weld, and the base of the door pillars. Solid steel resists; rotted steel crumbles or pushes through.
- Check both sides: Rust rarely stays symmetric, but if one rocker is this far gone, inspect the other closely — same exposure, same road salt, same age.
- Look past the rocker itself: Rot often travels into the floor pan, the pillar bases, and the frame rail mounting points. A rocker patch is pointless if the structure it’s welded to is also compromised.
- Photograph and measure: Document the length and depth of the affected area. This matters for quoting a body shop and for judging whether a patch panel will actually cover it.
If the rot is confined to a small surface area and the pinch weld and floor pan are solid, a patch panel repair is realistic. If you’re finding soft spots in multiple structural areas, you’re likely looking at a full rocker replacement — or a harder conversation about whether the vehicle is worth saving.
Step 2: Understand Why Rockers Matter in a Collision
Rocker panels aren’t just body trim — on most unibody and even some body-on-frame vehicles, they’re a structural load path. In a side-impact or T-bone collision, the rocker and the B-pillar it supports are designed to absorb and redirect crash energy away from the occupant compartment. A rocker that’s rusted through no longer has the section thickness to do that job, regardless of how solid it looks with fresh undercoating sprayed over it.
This is the core reason experienced techs are cautious about cosmetic-only fixes. Welding a strip of tube steel along the outside of a badly rotted rocker might stiffen the panel enough to stop flex and quiet the vehicle, but it does not restore the engineered crush and load characteristics of the original stamped steel. It’s a patch that changes how the structure behaves, not a certified repair. If the vehicle is ever involved in a serious side-impact accident, there’s no way to know whether that improvised reinforcement helps or actually changes how forces get distributed to the pillar and floor pan in an unpredictable way.
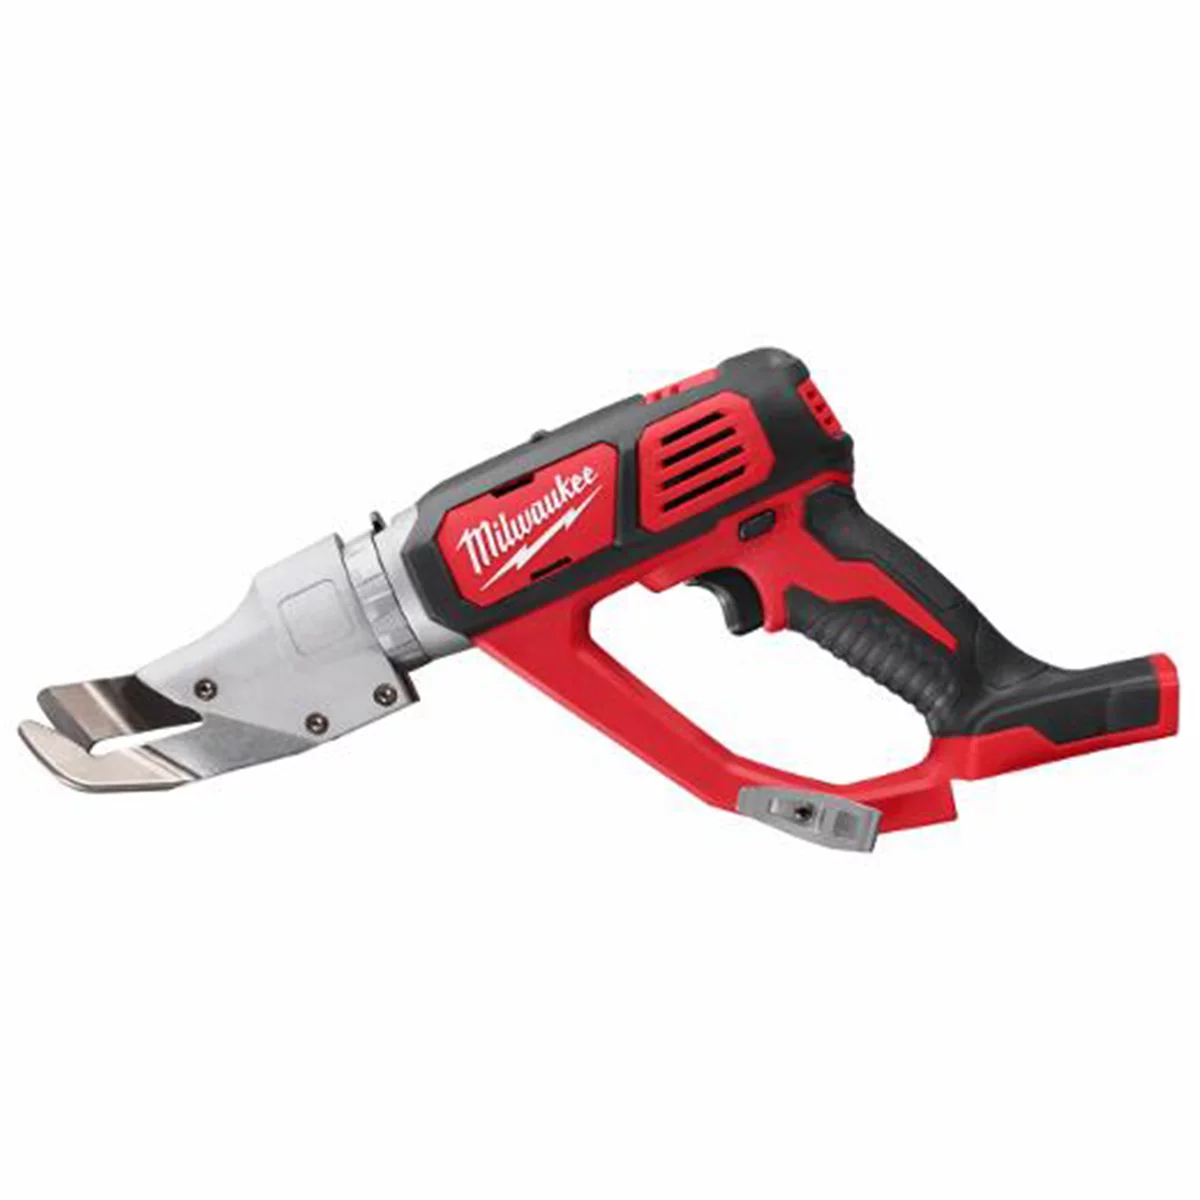
M18 Cordless 18 Gauge Single Cut Shear - Bare Tool
Mfg: Milwaukee Electric Tools
Part #: 2637-20
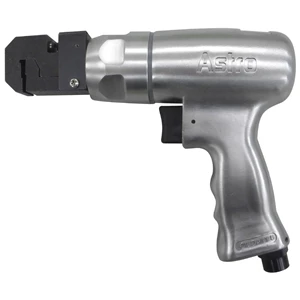
ONYX Pistol Grip Punch/ Flange Tool with 5.5mm Punch
Mfg: Astro Pneumatic
Part #: 605PT
Step 3: What DIY Rocker Repair Actually Requires
A proper rocker repair is achievable in a home shop, but it takes more than a welder and a patch panel. Before committing to DIY, be honest about what’s on hand:
- Access to a lift or solid jack stands — you need to work underneath and from the side simultaneously, and rockers are load-bearing during the repair, so the vehicle must be supported at the frame or pinch welds, not just the rocker itself.
- A MIG welder set up for sheet metal — thin gauge steel burns through easily; this is not a flux-core-on-max-heat job. Practice on scrap of the same thickness first.
- Metal fabrication tools — a bending brake or at minimum a sheet metal brake/vise setup to form patch panels that match the original profile, plus shears or a cutoff wheel for clean edges.
- Rust-proofing materials — weld-through primer, cavity wax, and seam sealer to treat the repair so it doesn’t rot out again from the inside within a couple of winters.
- Time and patience — fitting patch panels so they follow the factory body lines takes trial fitting, cutting, and re-fitting. Rushed patches look and perform worse than they should.
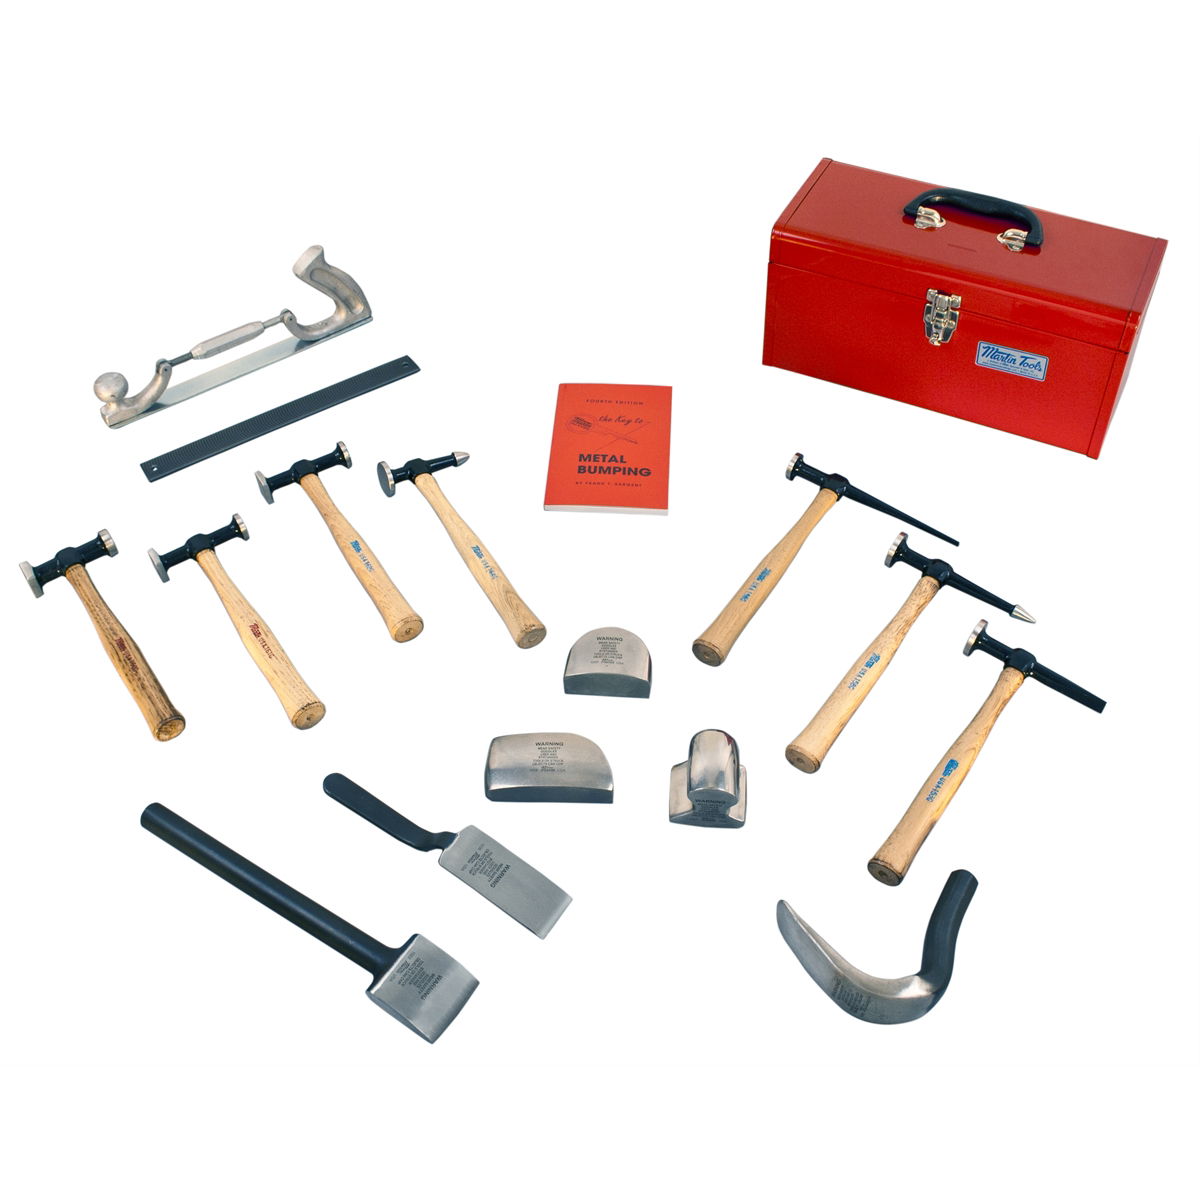
Without a brake, it’s still possible — plenty of techs form patch panels by hand with a hammer, dolly, and vise — but expect the fit-up to take longer and the results to be less precise. What you can’t skip is proper weld-through primer and cavity treatment on the backside of any patch. A patch that isn’t rust-proofed on the inside will fail again, often faster than the original rust did, because bare fresh steel corrodes quickly once it’s exposed to road salt and moisture trapped behind the panel.
Step 4: When to Call a Body Shop Instead
A full professional rocker panel replacement — cutting out the rotted section, fitting OEM or quality aftermarket patch panels, welding, and refinishing — typically runs in the range of a few thousand dollars per side depending on the vehicle and how far the rust has spread into adjacent structure. That’s a real number to weigh against the vehicle’s overall condition and remaining service life.
The math generally favors professional repair when:
- The rest of the vehicle (frame, engine, transmission, mileage) is in good shape and worth preserving.
- The rot extends into the pillar base, floor pan, or frame rail mounts — areas that need precise fit-up and structural certification.
- The vehicle needs to pass a safety inspection that specifically checks structural rust.
- You don’t have the welding skill or equipment to guarantee a repair that will hold up through another winter.
The math favors a DIY patch or “good enough” repair when the vehicle is being kept as a low-stakes daily, farm truck, or work vehicle where a fully certified structural repair isn’t the priority — but even then, a stiffening patch should never be sold to yourself as a substitute for structural integrity in a crash.
Step 5: Know Your State’s Inspection Requirements
Inspection standards for structural rust vary significantly by state, and this is worth checking before you decide on a repair approach. Some states have safety inspections that specifically fail a vehicle for perforated rust in structural areas — rockers, frame rails, pillar bases, and floor pans — regardless of how the repair looks from the outside. Others only check for visible holes or have no structural rust criteria at all beyond a general safety check.
If your state does inspect for structural rust, a cosmetic patch or an externally welded reinforcement strip is unlikely to pass, because inspectors are typically looking for gauge-appropriate repair welded from the inside or with a properly integrated patch, not a bolt-on or overlay fix. Call your state’s DMV or find a licensed inspection station and ask directly what they check before doing the work — it’s a wasted weekend if the repair doesn’t meet the standard they’re inspecting against.
Step 6: Prevent Recurrence After the Repair
Whether the repair is DIY or done at a shop, the rocker will rot again in the same place if the underlying cause isn’t addressed. Road salt exposure, trapped moisture, and lack of drainage are the usual culprits.
- Apply cavity wax or rust-inhibiting spray inside the rocker channel after any weld repair, not just on the visible exterior.
- Clear drainage holes at the bottom of the rocker and pinch weld so water doesn’t pool.
- Undercoat the repaired area and surrounding panels with a flexible rubberized coating rather than a hard coating that cracks with panel flex.
- Rinse the undercarriage after winter driving in salted regions — even a garden hose pass on the rockers and wheel wells reduces long-term buildup.
Quick Rocker Rust Checklist
- Poke-test the rocker, pinch weld, floor pan, and pillar base on both sides
- Document the extent and depth of the rot with photos and measurements
- Check your state’s inspection criteria for structural rust before choosing a repair method
- Confirm you have (or can rent) a lift/stands, MIG welder, and sheet metal tools before attempting DIY
- Get a body shop quote for comparison even if you plan to DIY
- Apply weld-through primer and cavity wax to any patch — inside and out
- Clear drainage points and undercoat the repaired area to prevent recurrence


Frequently Asked Questions
Can I just weld tube steel onto a rusted rocker to reinforce it?
You can, and it will stiffen the panel and quiet rattles, but it does not restore the rocker’s original structural properties. It’s a stopgap for a vehicle you’re not relying on for crash protection, not a substitute for proper patch panel replacement.
Will a patched rocker panel pass state safety inspection?
It depends entirely on your state. Some states specifically fail vehicles for structural rust regardless of exterior patchwork; others have no rust-specific criteria. Check with your state’s inspection authority before doing the repair so you don’t redo the work.
How much does professional rocker panel replacement typically cost?
Expect a range of roughly a few thousand dollars per side at a body shop, depending on the extent of rot, whether adjacent structure (floor pan, pillar base) is also affected, and regional labor rates. Get a written quote before committing either way.
Is it safe to keep driving a truck with rusted rockers?
For routine driving it may be functionally fine, but the risk is specifically in a side-impact or rollover accident, where the rocker’s structural integrity matters most. If the vehicle is a daily driver carrying passengers, weigh that risk seriously against the repair cost.
What tools do I need for a DIY rocker repair?
At minimum: a lift or jack stands rated for the job, a MIG welder suited to sheet metal gauge, cutting tools, a way to form patch panel curves (a bending brake or hand tools), weld-through primer, and cavity wax for rust-proofing the finished repair.
Does rocker rust mean the vehicle is a total loss?
Not necessarily — it depends on the extent of the rot and the condition of the rest of the vehicle. If the frame, drivetrain, and mileage are solid and the rust is contained to the rocker without spreading into the floor pan or pillar base, repair is often worthwhile. Widespread structural rot changes that calculus.
How do I stop rocker rust from coming back after a repair?
Treat the inside of the panel with cavity wax or rust-inhibiting spray, not just the visible exterior, keep drainage holes clear, use a flexible undercoating, and rinse road salt off the undercarriage regularly during winter months.
Shop Paint & Body Supplies
Whether you’re patching rockers or managing long-term rust prevention, the right materials make the repair last. Check our Paint & Body section for primers, welding supplies, cavity wax, and undercoating.
- Weld-through primers and protective coatings
- Cavity wax and rust-inhibiting sprays
- Undercoating and seam sealers for durability

The Toolsource Technical Team blends decades of real-world automotive service experience with up-to-date technical research. Our writers collaborate with professional mechanics, shop owners, and diagnostic specialists to deliver practical, workshop-ready guidance you can trust.


Follow us on social media