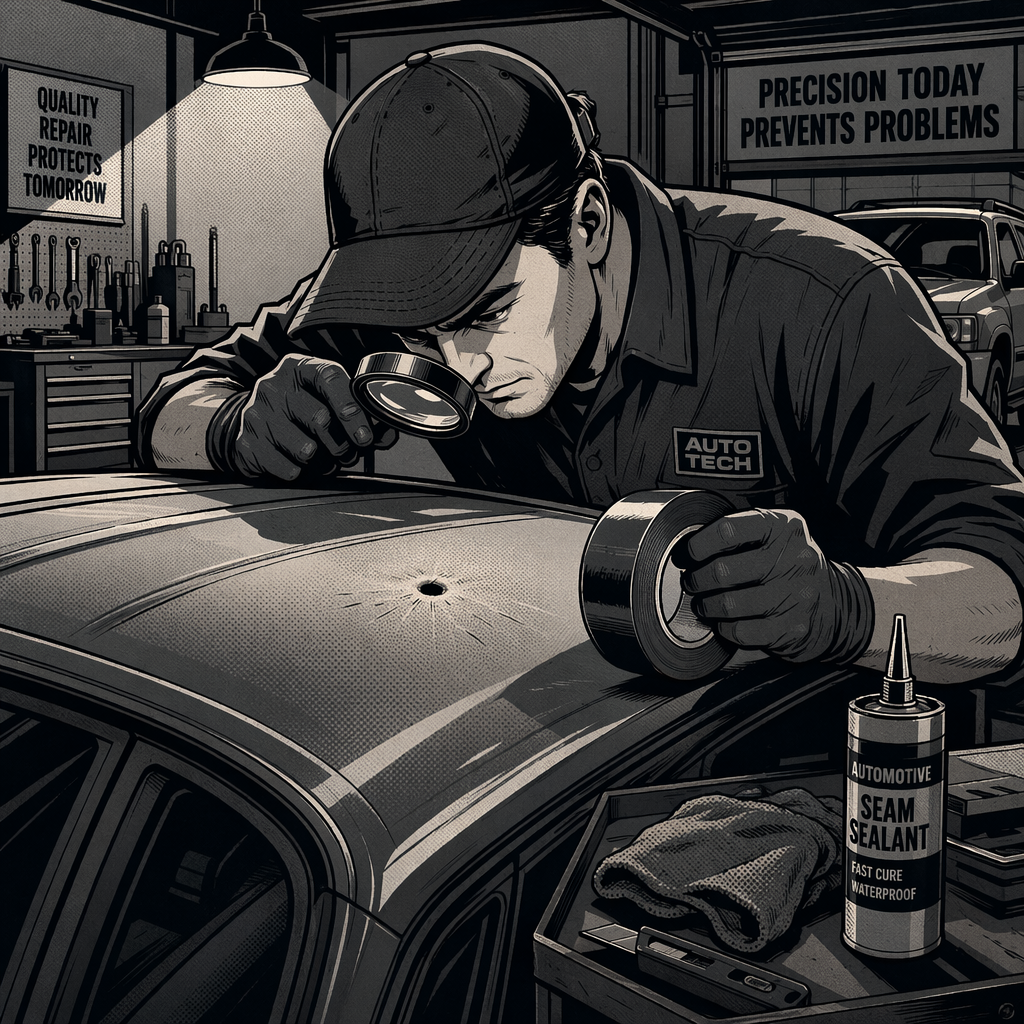
When you discover a small puncture in your vehicle’s roof—typically 3-5mm in diameter—the immediate concern is preventing water intrusion while planning a proper repair. These holes can result from various sources: road debris, projectiles, or impact from objects. The challenge for technicians is balancing quick temporary protection with preserving the integrity of future bodywork. Many common “quick fix” materials actively sabotage professional paint adhesion and proper metal repair, turning a straightforward patch into a contamination nightmare. This guide walks through assessment, temporary sealing methods that won’t compromise future work, and permanent repair options based on damage severity.
Assessing the Damage and Safety Implications
Before applying any temporary seal, conduct a thorough inspection of both exterior and interior surfaces. The size and shape of the puncture tell you about the cause and necessary repair scope. Holes measuring 3-5mm typically result from high-velocity impacts—small caliber projectiles, steel ball bearings from slingshots, or nail gun fasteners. Larger irregular damage suggests blunt impact or tearing from road debris.
Check the headliner directly beneath the puncture point for any penetration, deformation, or moisture staining. More critically, inspect the side curtain airbag channels that run along the roof rails. Even minor punctures can damage airbag wiring harnesses or deployment mechanisms without visible interior evidence. Document any harness routing near the damage site—Mercedes, BMW, and other European manufacturers route sensitive airbag electronics through the roof structure, and invisible harness damage can cause unintended deployment months after the initial incident. One documented case involved a Mercedes where unchecked roof damage led to full passenger-side curtain deployment six months post-incident during normal driving.
If the vehicle was in motion when the puncture occurred and you heard impact, note the location and time. Projectile damage from firearms or high-powered air rifles represents a public safety issue beyond the vehicle repair. Check for exit points roughly 12 inches from the entry hole if the trajectory suggests a shallow angle rather than vertical impact.
Why Common Quick Fixes Fail
The instinct to grab Bondo, silicone sealant, or hot glue is understandable but creates significant problems for proper repair. Each material interferes with professional bodywork in specific ways that multiply labor costs and compromise final results.
Bondo (polyester body filler) applied directly to raw metal without proper welding creates a porous plug that appears sealed but allows moisture migration. The filler doesn’t bond structurally to the edges of a puncture—it simply fills the void. Temperature cycling causes micro-cracking around the perimeter, and the first serious rainstorm will wick water into the roof cavity. More problematically, Bondo application usually involves sanding and feathering the surrounding factory paint, expanding the repair area and creating more surface prep work for the eventual professional fix.
Silicone and RTV sealants present a different nightmare: paint contamination. Polysiloxane compounds migrate into metal grain and create microscopic contamination that prevents paint adhesion. Even thorough solvent cleaning doesn’t remove silicone residue from sanded surfaces—the abrasion process drives silicone deeper into the scratch patterns. Professional body shops encounter this regularly: fisheyes in fresh paint, adhesion failure, and costly rework because someone applied silicone “temporarily.” Industrial cleaning processes for silicone contamination involve concentrated sulfuric acid baths—not practical for vehicle repair. If silicone contacts the repair area, expect significant additional labor for contamination removal or potential panel replacement.
Hot glue lacks both structural integrity and environmental resistance. Summer interior temperatures easily exceed hot glue’s softening point, leading to the material flowing into the headliner while the puncture reopens. It offers no meaningful moisture barrier and adds another layer of residue to remove before proper repair.
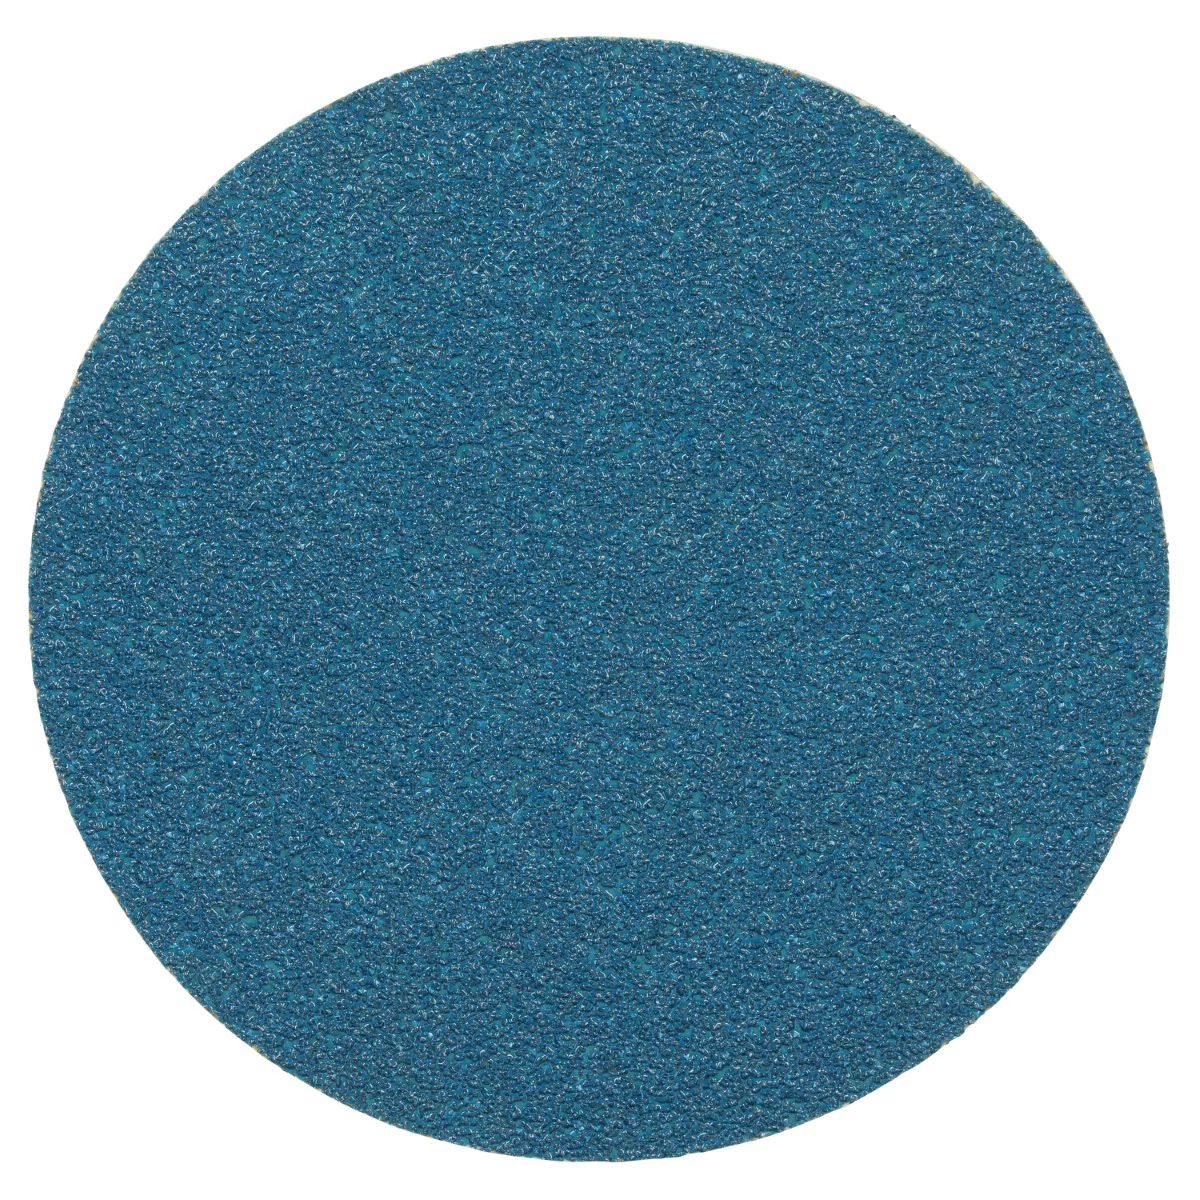
Stikit Blue Abrasive Disc 36551, 40E, 5-inch (125mm), No Hol
Mfg: 3M Automotive
Part #: 36551
Proper Temporary Sealing Methods
The correct temporary seal prevents water intrusion without contaminating the repair site or adding difficult cleanup work. Professional-grade solutions prioritize removability and surface preservation.
The simplest effective method uses quality exterior-grade tape applied to clean, dry metal. Gorilla tape or 3M automotive masking tape provides adequate moisture barrier for weeks or months while remaining easily removable without residue. Clean the area with isopropyl alcohol or wax-and-grease remover in a 2-inch radius around the puncture. Let it flash off completely, then apply a tape patch extending at least one inch beyond the hole in all directions. For added durability, apply a second layer at 90 degrees to the first. The tape prevents water entry while preserving bare metal for welding or proper filler adhesion during professional repair.
If tape application isn’t practical due to roof curvature or texture, use a non-silicone removable sealant sparingly. Apply a small bead directly into the puncture—just enough to fill the void—without spreading material onto surrounding painted surfaces. This contains the sealant to the damage zone for easier removal. Mark the repair area with a paint marker so the eventual repair technician knows to expect sealant residue requiring removal.
Avoid any urge to sand, feather, or “prep” the area for temporary sealing. Every paint scratch and surface abrasion increases the work required for proper repair. The temporary seal’s only job is preventing water entry until professional assessment and repair.
===PRODUCT-SEARCH-1===
When to Pursue Insurance Claims
Small roof punctures often qualify for comprehensive coverage with minimal or zero deductible, making professional repair financially accessible. Comprehensive coverage typically covers damage from falling objects, projectiles, and road debris—all common causes of roof punctures. Document the damage with clear photos showing the hole’s size (include a reference object like a key or coin), location, and any interior effects.
Contact your insurance before attempting any repair beyond temporary moisture sealing. Some policies require specific inspection procedures or preferred repair facilities. If the damage occurred in a specific location or resulted from projectile impact, file a police report documenting the incident—this supports the insurance claim and creates a public safety record if the damage suggests intentional action or a dangerous situation.
Insurance adjusters will typically authorize inspection of airbag systems and wiring harnesses in addition to cosmetic roof repair, especially on vehicles with side-curtain airbags. Ensure the repair authorization includes “necessary and related” inspection language covering electrical systems and safety components. This prevents disputes if the shop discovers airbag harness damage during disassembly.
Obtain multiple repair quotes if you’re not using an insurance-preferred facility. Roof work varies significantly in cost depending on whether the shop welds a patch, applies filler over the existing hole, or replaces the entire roof skin. A proper welded repair on a small puncture typically costs less than poorly executed Bondo work that fails and requires rework. Get itemized estimates showing metal work, paint, blending, and any airbag inspection charges separately.
Professional Repair Options: Welding vs. Filler
Permanent repair quality depends entirely on proper metal preparation and technique selection. For punctures smaller than 6mm in roof panels, two primary approaches exist: welded patch repair and filled repair over cleaned metal. Each has specific applications where it excels.
Welded patch repair provides the strongest, most permanent solution. The technician cleans the puncture to bare metal, cuts a precisely sized patch from matching gauge sheet metal, and either plug welds or TIG welds the patch in place. Proper welding creates a structural repair stronger than the surrounding panel. After welding, the technician grinds the weld smooth, applies a thin skim coat of body filler to achieve final contour, then primes and paints. This method works best for punctures in visible areas where long-term durability matters and where welding won’t damage interior components or wiring. The primary limitation is access—some roof designs include bonded headliners or sealed cavities that make welding impractical without extensive disassembly.
Filled repair involves cleaning the puncture to bare metal, applying a corrosion-resistant primer to the exposed edges, then carefully building up the void with thin layers of professional body filler. This approach requires meticulous surface preparation—any contamination, rust, or moisture causes adhesion failure. The technician feathers the filler into the surrounding panel, primes, and paints. Filled repairs work adequately for small punctures in low-stress areas when performed correctly, but they’re inherently weaker than welded repairs and more susceptible to moisture-related failure over time. This method makes sense primarily when welding access is impossible or when the repair cost must be minimized on an older vehicle.
The critical factor in either approach is complete removal of any temporary sealants, contaminants, or corrosion before permanent repair. If silicone was applied, inform the shop immediately—they’ll need to account for additional decontamination time and may need to expand the repair area to reach uncontaminated metal.
Preventing Contamination for Future Repair
The decisions you make immediately after discovering roof damage directly impact the eventual repair quality and cost. Following this checklist ensures you preserve repair options rather than limiting them:
- Clean and dry the area before applying any temporary seal—moisture trapped under tape or sealant accelerates corrosion
- Use only tape or non-silicone sealants for temporary moisture protection
- Avoid sanding, grinding, or abrading painted surfaces around the damage
- Don’t apply Bondo, body filler, or epoxy as a temporary measure
- Keep the temporary seal minimal—just enough to prevent water entry
- Document the damage with photos before and after temporary sealing
- Mark the repair area if you’ve applied any sealant, even tape
- Schedule professional assessment within 2-3 weeks to prevent hidden water damage
- Inform the repair shop of anything applied to the damage site, including cleaning solvents
These steps maintain the roof panel in the best possible condition for professional repair while preventing the moisture intrusion that turns a simple puncture into a rust and corrosion problem.
Long-Term Considerations and Monitoring
Even after professional repair, monitor the area for six months to ensure proper adhesion and weatherproofing. Paint and filler require full curing time—typically 30 days—to reach maximum hardness and moisture resistance. Avoid high-pressure washing directly on the repair area during this curing period, and hand-dry the roof after washing to check for any water beading irregularities that might indicate incomplete sealing.
Watch for any headliner staining or moisture spots that develop near the repair site. These indicate incomplete sealing or a failure in the repair bond, and they require immediate attention to prevent extensive water damage to the roof structure and interior. Most professional repairs include a warranty covering workmanship and moisture intrusion—document any issues and return to the shop promptly if problems develop.
If you’ve had airbag systems inspected or serviced as part of the roof repair, ensure the shop provides documentation of the inspection results and any component replacements. This documentation is essential for vehicle resale and for any future collision repair work that might affect the same systems.
===PRODUCT-SEARCH-2===


Frequently Asked Questions
Can I drive my vehicle with a small roof puncture before getting it repaired?
Yes, but apply a temporary moisture seal immediately. Water intrusion into the roof cavity causes rust, corrosion, and potential electrical damage to airbag systems or dome light wiring. Tape or minimal sealant prevents these issues during the days or weeks before professional repair. Avoid car washes and parking under trees where additional moisture or debris might worsen the damage.
Will my insurance rates increase if I file a claim for a small roof puncture?
Comprehensive claims for damage from falling objects or road debris typically don’t affect rates the same way collision claims do, but this varies by insurer and your claims history. Many comprehensive policies have zero or low deductibles specifically because these incidents are random and not driver-caused. Contact your agent to confirm your specific policy terms before filing.
How can I tell if the damage was caused by a bullet versus road debris?
Bullet holes from firearms typically show very clean, round entry points with minimal paint disruption beyond the immediate hole. The metal edges often show inward deformation. Road debris creates irregular holes with torn edges and usually damages paint in a larger radius around the impact point. Holes measuring 3-5mm could be small caliber rounds, air rifle pellets, or steel ball bearings. If you suspect firearm involvement, file a police report documenting location and time.
Is it safe to use silicone sealant if I’m planning to replace the entire roof panel anyway?
Even if panel replacement seems likely, avoid silicone. Assessment might reveal that spot repair is actually more cost-effective, and silicone contamination eliminates that option. Additionally, silicone can migrate to adjacent panels during application, contaminating areas beyond the immediate damage site. Stick with tape or non-silicone sealants to preserve all repair options.
How long can I leave a temporary tape seal on a roof puncture?
Quality exterior tape maintains its moisture barrier for several months under normal conditions, but schedule professional repair within 2-3 weeks if possible. The longer a puncture remains unsealed (even with tape), the higher the risk of moisture finding its way into the roof cavity through temperature cycling and tape edge gaps. Inspect the tape weekly and reapply if you see lifting or damage.
Should I be concerned about airbag damage even if the interior looks fine?
Yes. Side curtain airbag systems route wiring harnesses and deployment mechanisms through channels in the roof structure. These components can sustain damage without visible interior evidence. The wiring insulation might be compromised, or deployment sensors might be affected. Professional inspection is essential—undetected harness damage has caused unintended airbag deployment months after roof damage occurred, creating dangerous situations during normal driving.
Paint & Body Repair Tools
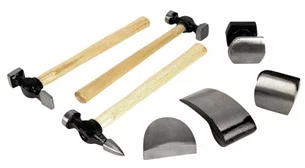
Proper roof puncture repair requires the right tools and materials for surface preparation, welding, and finishing work. Our Paint & Body category carries professional-grade supplies for metal preparation, filling, and painting:
- Metal prep tools—wire wheels, grinding discs, and surface cleaners for bare metal exposure
- Body filler systems and applicators for permanent puncture repair
- Sanding equipment and primers for proper paint adhesion

The Toolsource Technical Team blends decades of real-world automotive service experience with up-to-date technical research. Our writers collaborate with professional mechanics, shop owners, and diagnostic specialists to deliver practical, workshop-ready guidance you can trust.


Follow us on social media