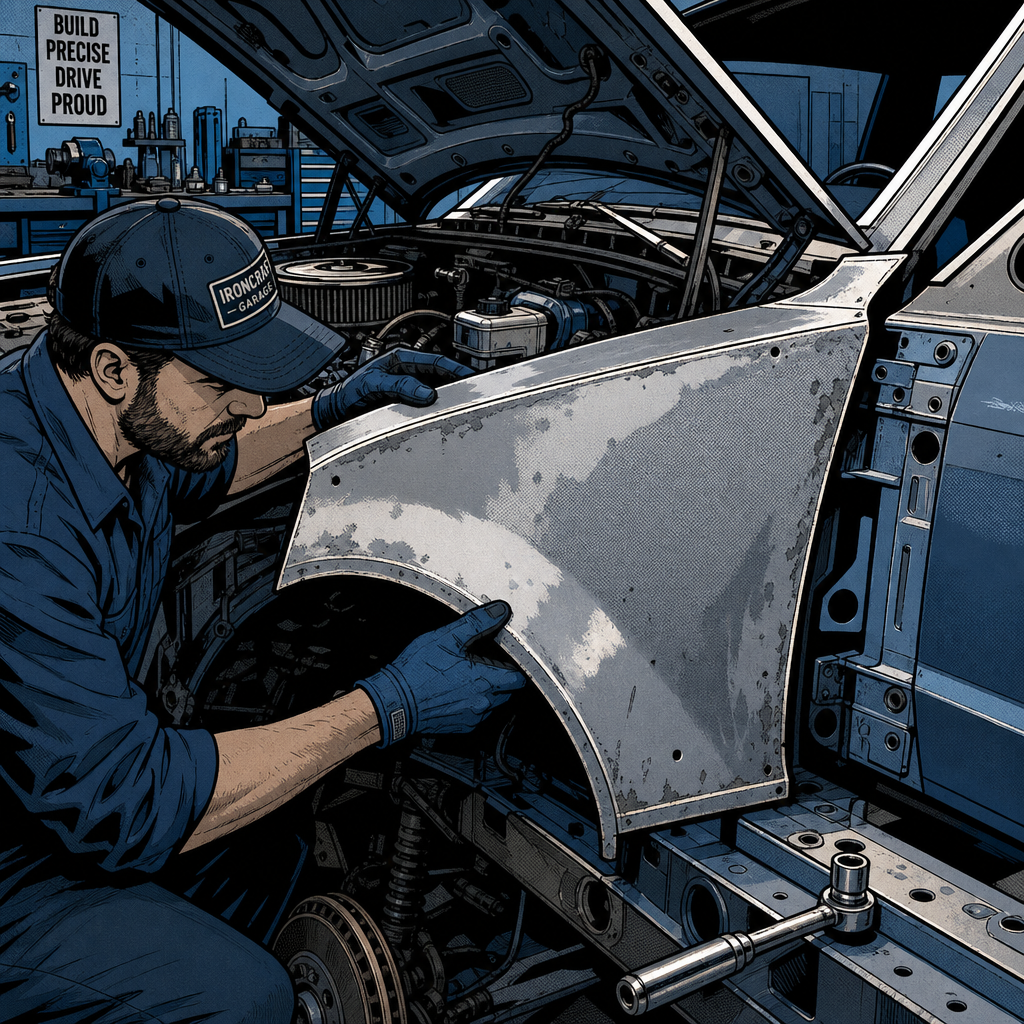
Every shop has heard some version of the same story: a small dent turns into rust, rust turns into a “cheap fix” from someone with a screw and a slide hammer, and six months later the customer is in your bay with a fender that looks worse than when it started. The good news is that most fender and quarter panel damage has a straightforward, affordable fix — replacement — and it doesn’t require a paint booth or a frame machine to do it right. This guide covers how to evaluate the damage, source a matching panel, and get it installed and aligned without turning a two-hour job into a comeback.
Assess the Damage Before You Touch Anything
Before ordering parts, figure out what you’re actually dealing with. Surface dents with intact paint are candidates for paintless dent repair (PDR) if the metal hasn’t stretched or creased sharply. Once paint is cracked, rust has started, or someone has already been at the panel with tools, PDR is off the table and you’re choosing between body filler repair or panel replacement.
Run your hand along the panel and check from multiple angles under good light. Sharp creases, torn metal, punched holes, or filler that’s already cracking are all signs the panel is a replace, not a repair. Panels with rust-through — especially anything that’s been sitting dented for a year or more — should also be replaced rather than patched, since filler over rust just delays the same repair. If a panel has been drilled, screwed, or otherwise abused (a surprisingly common DIY mistake), the metal is often weakened enough in multiple spots that patching becomes more labor than it’s worth. At that point, replacement is both the faster and the cheaper path.
Repair vs. Replace: Making the Call
As a rule of thumb: if the damage is confined to a small area with no rust and no torn metal, filler and paint can be a legitimate repair — that’s standard body shop work, not a shortcut. But once a panel has multiple points of damage, punctures, or has already been mangled by an amateur repair attempt, replacement is almost always cheaper in total labor and materials, and it produces a far more durable result. A used fender in the right condition, paint-matched or ready for paint, typically runs $20–$150 from a salvage yard versus $300+ new, and installation is usually a bolt-on job that takes an experienced tech under two hours.
Filler-heavy repairs also have a shelf life. Bondo and glazing putty applied over improperly prepped or previously damaged metal tends to crack within five to seven years, especially in areas exposed to flex or vibration like fenders near the wheel well. If a customer wants longevity, replacement is the more honest recommendation.
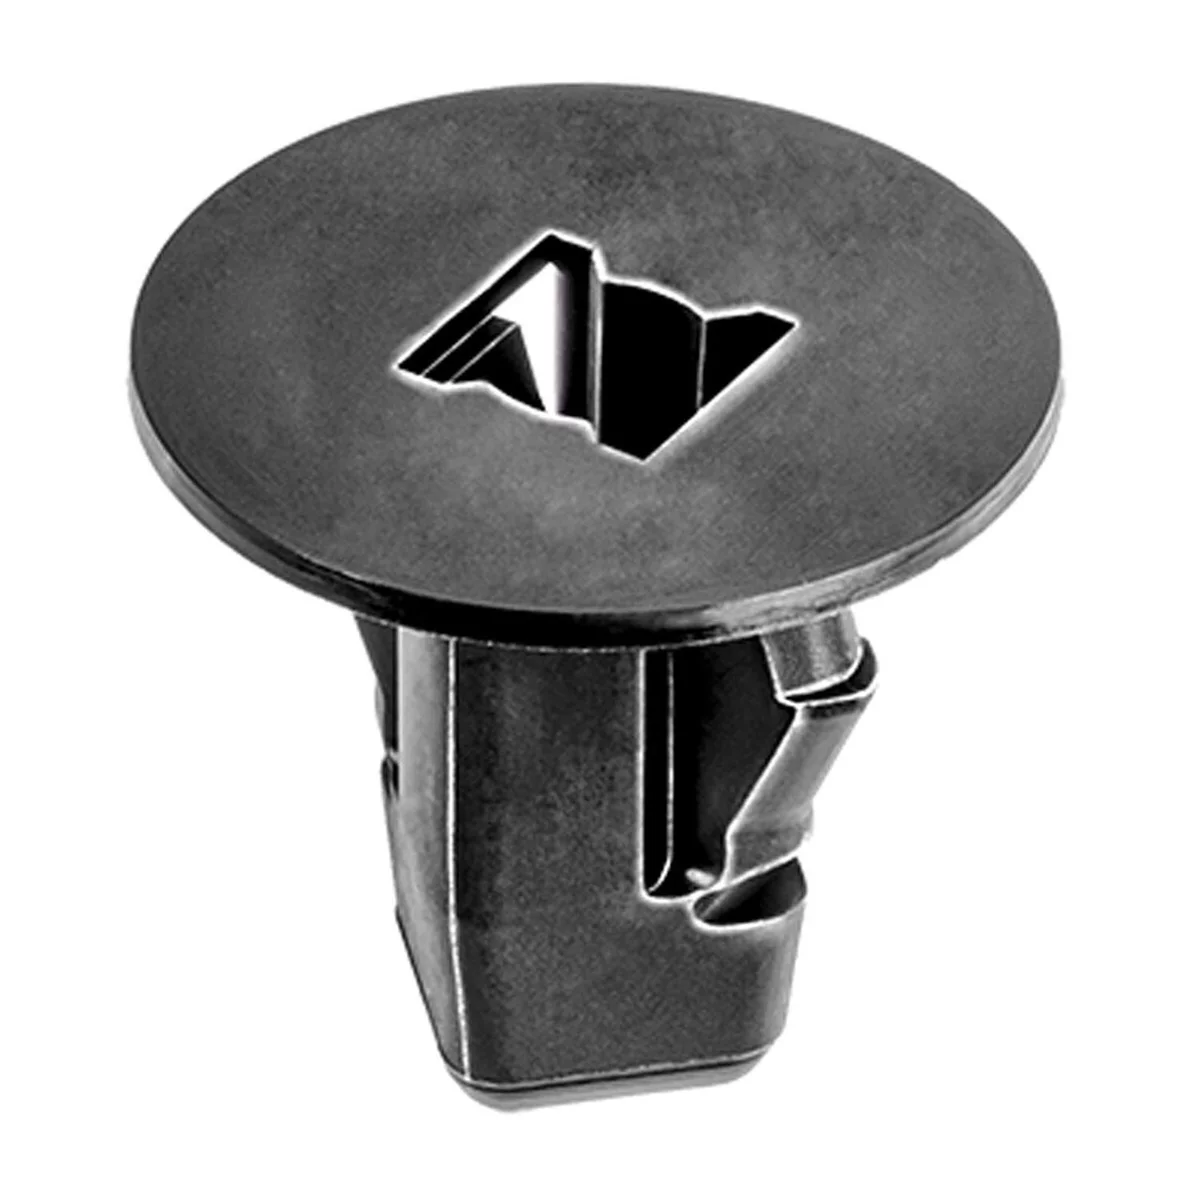
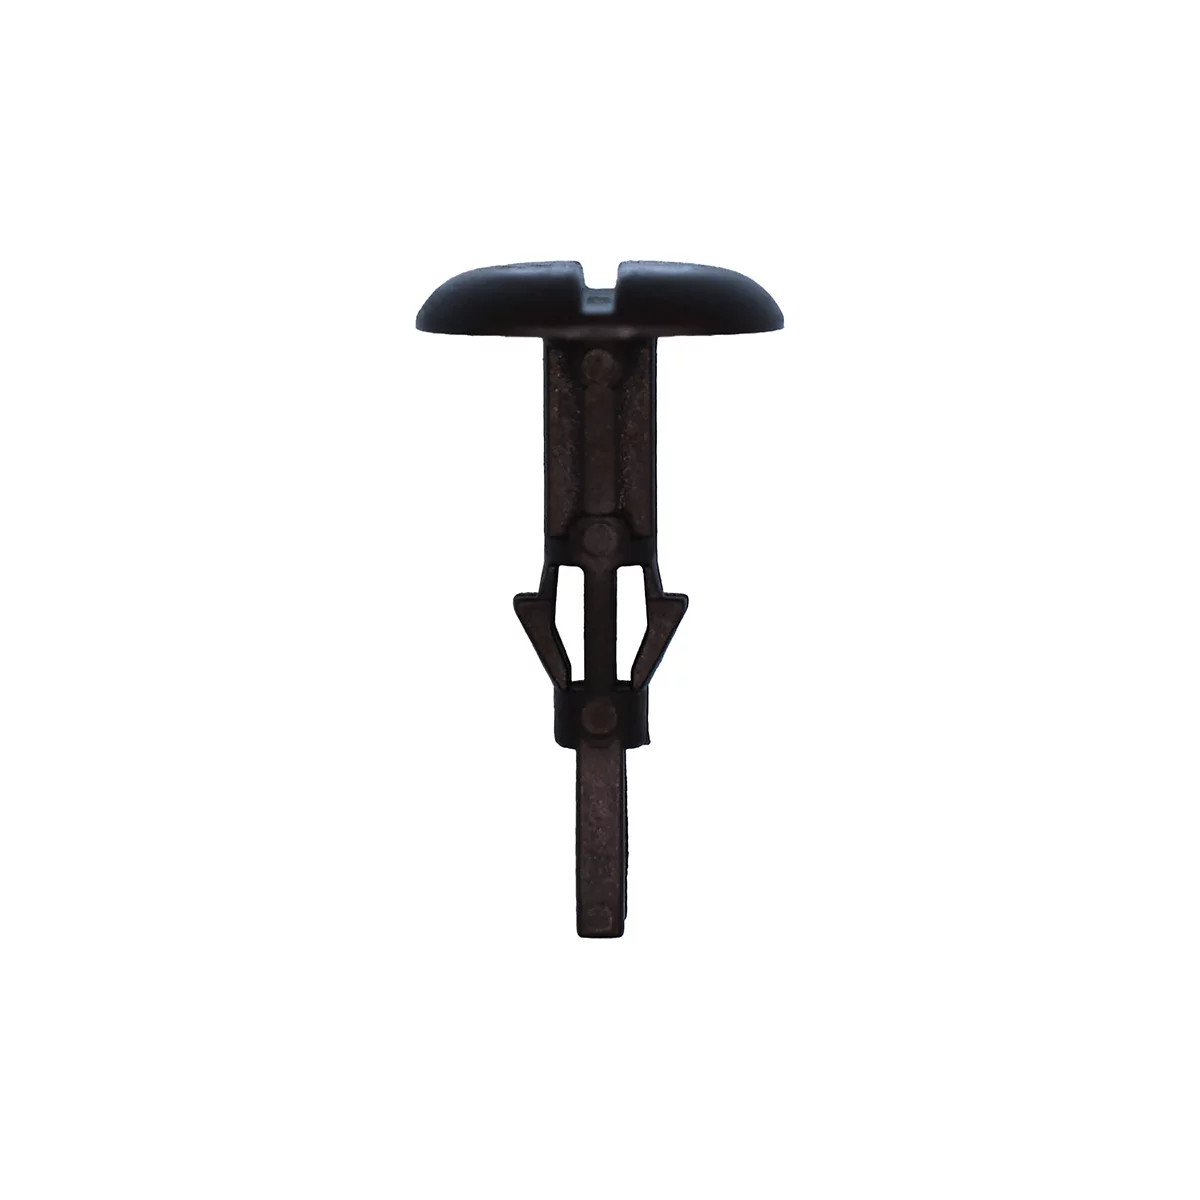
AUVECOPAK FENDER & BUMPER PIN RET.
Mfg: AUVECO - Auto Vehicle Parts LLC
Part #: AP20757
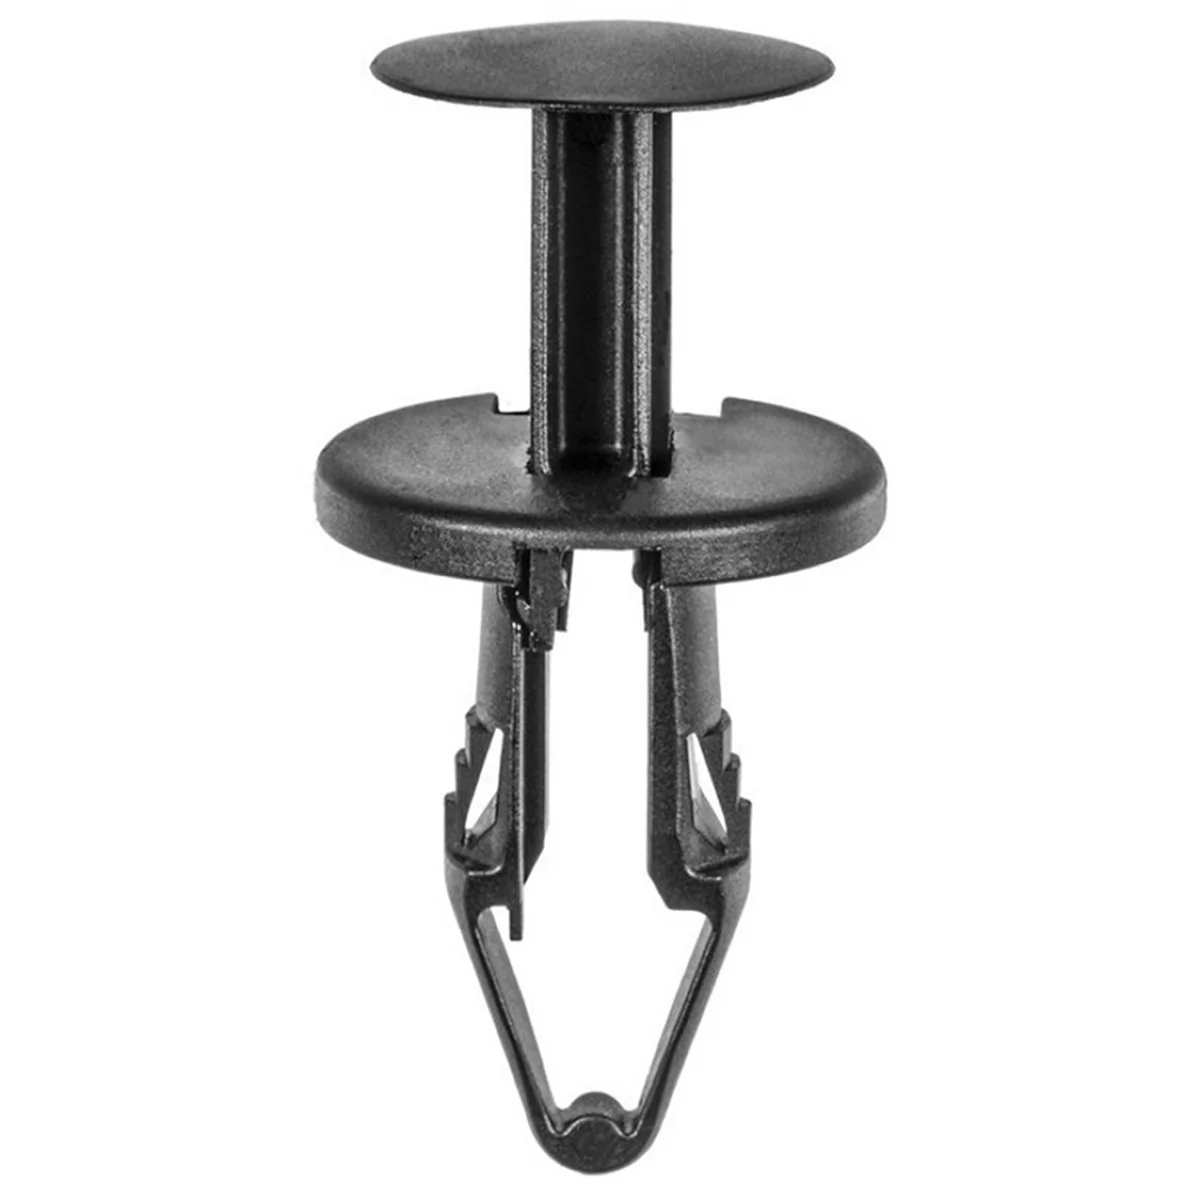
20992 Push-Type with Closed End Fender and Toe/Floor Panel R
Mfg: AUVECO - Auto Vehicle Parts LLC
Part #: 20992
Finding a Matching Used Panel
Salvage panels are the most cost-effective route, and sourcing one that matches is easier than most people expect. Pull the vehicle’s VIN and use a parts locator (car-part.com is the industry standard) to search by part — for example, “Fender LH” or “Fender RH” — and it will typically sort results by distance and list the factory paint code so you can match color before you even call the yard.
Pay close attention to the yard’s grading system when a panel is listed. Most use a letter-and-number grade: an “A” grade with a “0” underneath generally indicates the panel is undamaged and structurally sound. A “1” typically flags minor cosmetic issues like a small door ding, and higher numbers indicate more significant damage. Don’t assume “used” means “damaged” — a genuine A-0 panel can be functionally identical to new, just without the new-parts markup. If you’re matching paint exactly, bring the factory paint code (found on the door jamb sticker) when you call, since yards can pull panels by color code rather than relying on a visual match over the phone.
Tools and Materials for the Swap
A fender swap is one of the more approachable body jobs because most fenders are bolted on, not welded — no cutting or welding equipment required in the vast majority of cases. Have these on hand before you start:
- Socket and wrench set (metric, typically 10mm–13mm for fender bolts)
- Panel/trim removal tools for clips and liners
- Painter’s tape and masking paper if painting is planned
- Rust converter or primer for any surface corrosion on the mounting points
- Body-safe cleaner/degreaser for prepping surfaces before reinstall
- A second set of hands or panel alignment tool for setting gaps evenly
If the replacement panel is being repainted before installation (recommended when the color isn’t a perfect match), factor in primer, base coat, clear coat, and enough rattle-can or spray gun material to properly blend the repair — that alone commonly adds $150–$200 in materials if done to a decent standard.
Step-by-Step Installation
- Remove the damaged panel. Disconnect the battery if any wiring (marker lights, sensors) runs through the fender area. Remove the wheel well liner fasteners, headlight assembly if it overlaps the fender, and any trim clips along the seams.
- Unbolt the fender. Most fenders have 6–10 bolts along the door jamb, under the hood, and inside the wheel well. Keep bolts organized by location — a magnetic tray or labeled containers save time on reinstall.
- Inspect the mounting points. Check the frame and adjacent panels for rust or damage before installing the replacement. This is the moment to treat any corrosion, since it’s the only time those points are fully exposed.
- Test-fit before final tightening. Hang the new panel with bolts loose and check panel gaps against the hood, door, and bumper before fully torquing anything down.
- Align the panel. Adjust for even reveal gaps on all sides — this is the step that separates a clean job from one that looks “off” even with perfect paint. Small washers or shims at bolt points can fine-tune alignment.
- Reinstall liners, lights, and trim, then reconnect the battery and test any affected electrical components.
Paint and Final Prep
If the color match isn’t exact — which is common even with the same factory paint code, due to age and fading — plan on a blend into the adjacent panel rather than a hard edge at the seam. Sand and prime any bare metal on the replacement panel before assembly; painting is far easier with the panel off the vehicle, though final blending is done after installation in many cases. Clear coat should extend slightly past the blend zone and be buffed for an even sheen. Rattle-can jobs can look professional with patient prep — most of the visible quality difference comes from sanding and masking discipline, not the spray equipment itself.
Quick Reference Checklist
- Confirm damage type: PDR candidate, fillable, or replace
- Pull VIN and paint code before shopping for a panel
- Verify yard grading (A-0 or equivalent) before purchase
- Gather sockets, trim tools, and rust treatment before starting
- Test-fit and align before final torque
- Treat any exposed rust at mounting points
- Blend paint into adjacent panels rather than hard-lining the seam

FAQs
Is a used fender as good as a new one?
If it’s graded A-0 (or your yard’s equivalent “undamaged” rating), structurally it’s the same panel as new — just without OEM packaging or a new-parts price. Inspect it in person or ask for detailed photos before committing if you’re not picking it up yourself.
Can I skip repainting if the color looks close?
Technically yes, but panel fading and factory tolerance mean an unpainted swap is almost always visible in direct sunlight. For a clean result, plan on at least a blend job even with a “matching” paint code.
How long does a fender swap take?
For an experienced tech with the right tools, unbolting the old panel and installing a used replacement typically takes one to two hours, not counting paint and cure time.
What if the damage includes the wheel well or inner structure, not just the outer panel?
That moves beyond a bolt-on fender swap into structural repair territory, which usually requires welding and frame-alignment equipment. That’s a job for a body shop with the right jigs, not a driveway repair.
Is it ever worth repairing holes or heavy filler damage instead of replacing the panel?
Rarely. Once a panel has multiple penetrations or has been reshaped with excessive filler, the labor to properly repair it (metal work, extensive filler, blocking, priming) usually costs more than sourcing and swapping a used panel — and the replacement will hold up longer.
Do I need to disconnect the battery before removing a fender?
If the fender houses any wiring — side marker lights, washer fluid lines, sensors — disconnect the battery first to avoid shorts while unplugging connectors. For panels without integrated electrical components, it’s not strictly necessary but is good practice.
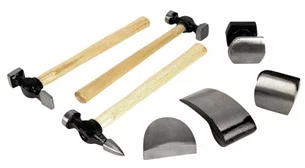
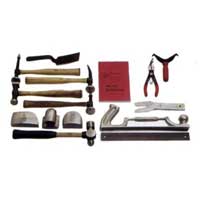
Shop Paint & Body Tools and Materials
Whether you’re swapping a panel or blending paint into adjacent surfaces, the right tools and materials make the difference. Check out our Paint & Body category for everything you need to complete the job.
- Surface prep tools: sanders, wire wheels, scrapers, and masking supplies
- Paint and primer: aerosol cans, spray equipment, and clear coat options
- Panel installation tools: trim removal sets, alignment aids, and fasteners

The Toolsource Technical Team blends decades of real-world automotive service experience with up-to-date technical research. Our writers collaborate with professional mechanics, shop owners, and diagnostic specialists to deliver practical, workshop-ready guidance you can trust.


Follow us on social media