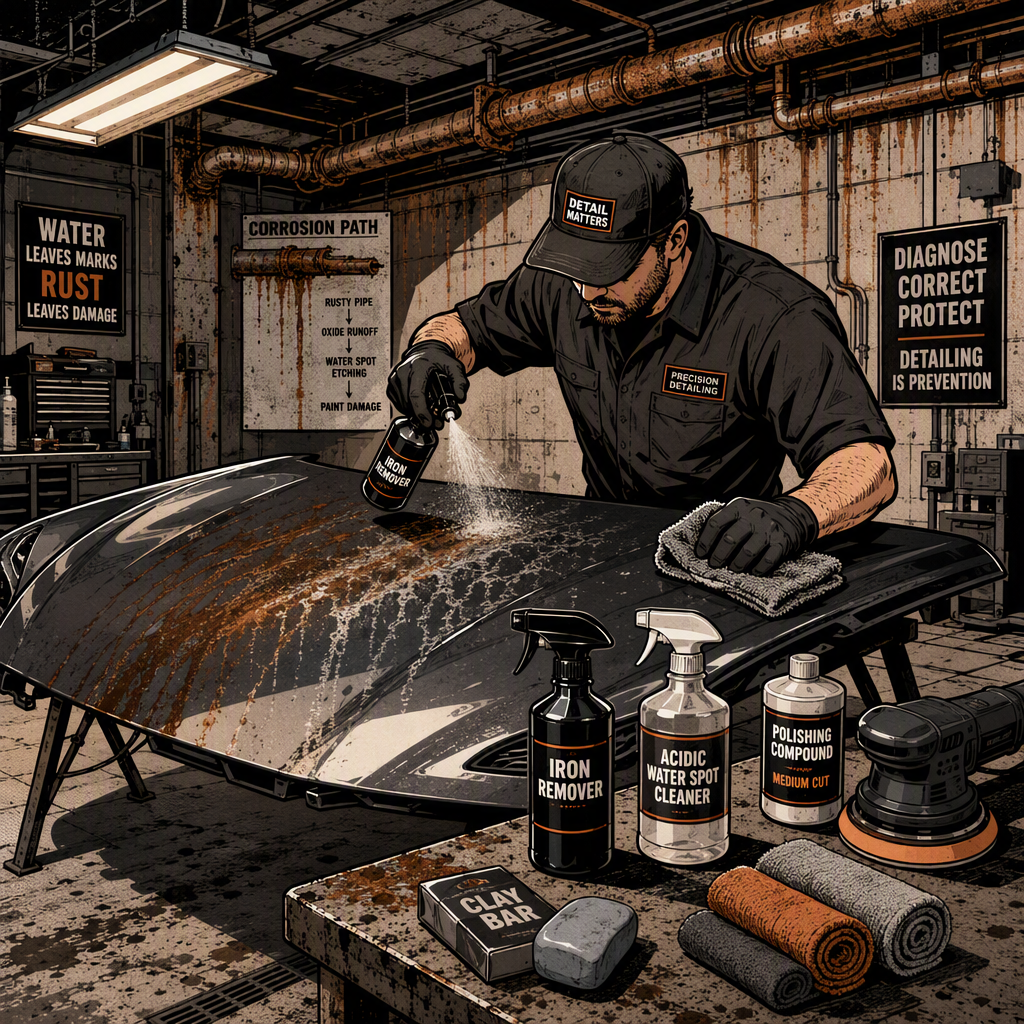
Vehicles that sit in covered parking for extended periods are exposed to a specific type of paint damage that doesn’t show up on cars parked outdoors: rust-colored drip stains, hard water spotting, and mineral etching from aging overhead infrastructure. Storm drains, sprinkler lines, HVAC condensate runoff, and simple concrete condensation all leak onto vehicles below, and the resulting stains are frequently mistaken for bird droppings or road grime. Getting the diagnosis right, and acting before the contamination sits for weeks, determines whether the fix is a fifteen-minute chemical treatment or a trip to the body shop. This guide breaks down how to identify the source, what to apply, and when to stop DIY correction and document the damage instead.
Identifying the Source: Rust, Hard Water, or Something Else
Before reaching for any product, confirm what you’re actually dealing with. Parking structure staining generally falls into a few categories, and each responds differently to treatment:
Rust drip stains come from corroding pipes, rebar bleeding through concrete, or rusted conduit hangers. They appear as orange-brown streaks or spots, often with a defined drip pattern trailing down the panel. Hard water and efflorescence come from condensation or slow leaks carrying dissolved minerals out of the concrete itself; these dry as white-to-gray rings or a chalky film and are a common companion to rust staining since both often originate from the same leak point. Organic contamination — bird droppings, in particular — can look similar to mineral staining in low-resolution photos but has a different texture: raised, chunky, and often with a white uric acid component rather than a uniform rust color.
The distinction matters because it changes your chemical approach. Rust responds to iron-specific removers and mild acids. Hard water and efflorescence respond to acidic water spot removers. Organic contamination should be soaked and lifted rather than scrubbed, since bird droppings are often acidic enough to etch clearcoat on their own within hours in direct sun.
Don’t Make It Worse: What to Avoid Before Treatment
The single most common mistake is wiping or rubbing the stain with a quick detailer or microfiber towel in an attempt to remove it on the spot. If the contamination has already begun bonding to or etching the clearcoat, dry or lightly lubricated wiping grinds abrasive mineral particles across the surface and adds swirl marks and fine scratches on top of the existing damage. If you photograph a stain and it’s still there after a normal wash, stop touching it with anything other than a rinse until you’ve assessed it properly.
If this occurred in a valet, parking garage, or rental context, photograph the damage immediately, before any cleaning attempt, from multiple angles and in good light. Note the location, date, and how long the vehicle was parked. This documentation is what separates a straightforward liability claim from a dispute, since a facility operator or their insurer will want evidence the damage occurred on their property and wasn’t pre-existing.
Product search: iron fallout remover spray for automotive paint
Chemical Treatment: Iron Removers, Acids, and Vinegar
Once the vehicle is washed and you’ve confirmed the stain persists, move to targeted chemical treatment rather than mechanical abrasion.
- Iron remover (IronX-type products): These are the standard first step for rust-colored contamination. They’re formulated to dissolve embedded iron particles and typically show a visible color-change reaction (often turning purple or red) as they work. Spray on a cool, shaded panel, let it dwell per label instructions, and agitate gently with a soft applicator before rinsing.
- Acidic water spot removers: Purpose-built for mineral and hard water etching. These work well in combination with an iron remover when the stain has both a rust and a mineral component, which is common with parking garage drips.
- Diluted white vinegar: A one-to-one water-to-vinegar solution in a spray bottle is a legitimate low-cost option for light to moderate staining, particularly efflorescence. Spray, let sit for 30-60 seconds, and wipe with a clean, wet microfiber towel. Repeat as needed, then follow with a full panel wash to neutralize any residual acid before it sits on the paint.
- Fresh citrus (lime/lemon) juice: Occasionally suggested as a mild acid for spot treatment. It can work on very light staining but is inconsistent and not a substitute for a proper iron remover on anything beyond surface-level discoloration. Don’t rely on it for stains that have had time to set.
Always follow any acid-based treatment with an all-purpose cleaner (APC) wash and a full rinse. Leaving acidic product residue on the clearcoat, especially under direct sun, defeats the purpose and can contribute to further etching.
Assessing Etching: When Buffing and Polishing Are Enough
If chemical treatment lifts the surface contamination but leaves a dull spot, ring, or faint discoloration behind, the damage has likely etched into the clearcoat rather than just sitting on top of it. This is common when a stain has been baked on by sun exposure over several days or longer.
The next step is a test spot: run a light polish or one-step compound over a small section of the affected area with a dual-action polisher. If the etching is shallow, it will polish out and the panel will match the surrounding paint in gloss and clarity. Deeper etching may need a compound-and-polish two-step process, or in more severe cases, wet sanding by an experienced technician to level the clearcoat before polishing. Wet sanding removes clearcoat material, so it should only be attempted if you’re confident there’s enough clear film thickness remaining, and it’s not a beginner DIY step. If you don’t have a paint thickness gauge and experience reading it, this is the point to hand the vehicle to a professional detailer or body shop rather than risk sanding through.
When It’s Beyond Polishing: Paint Correction and Claims
If etching persists after a compound-and-polish attempt, or if the second round of photos shows what looks like contamination that has gone through the clearcoat into the base coat, the panel likely needs professional paint correction or a repaint. Signs it’s past DIY territory include: discoloration that doesn’t lift with compounding, a rough or pitted feel when you run a fingernail lightly across the dry area, or clearcoat that looks cloudy or delaminated rather than just dull.
If the damage occurred in a garage you don’t own or control — a parking structure, valet service, or rental return lot — document everything before any correction attempt and route the claim through the property’s insurance or the valet company directly rather than paying for correction out of pocket. Facility liability for structural leaks damaging parked vehicles varies by state and by the terms of any parking agreement, so get the claim on record early even if you’re not yet sure it’ll be paid. A professional detailer’s assessment (with before photos) also strengthens a claim by putting a dollar figure and a cause on the damage.
Quick Reference Checklist
- Photograph the stain immediately, before any cleaning, from multiple angles
- Wash the vehicle normally first — do not scrub or wipe the stain dry
- Identify the stain type: rust drip, hard water/efflorescence, or organic (bird droppings)
- Treat with iron remover and/or an acidic water spot remover; diluted vinegar for light staining
- Rinse and follow with an APC wash to neutralize any acid residue
- Test-polish a small section to check for etching before committing to a full correction
- If etching or discoloration persists, escalate to a professional detailer or body shop
- File a documented claim with the property or valet company if the damage occurred off-site
Product search: detailing kit iron remover clay bar polish compound
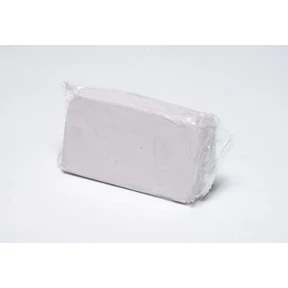
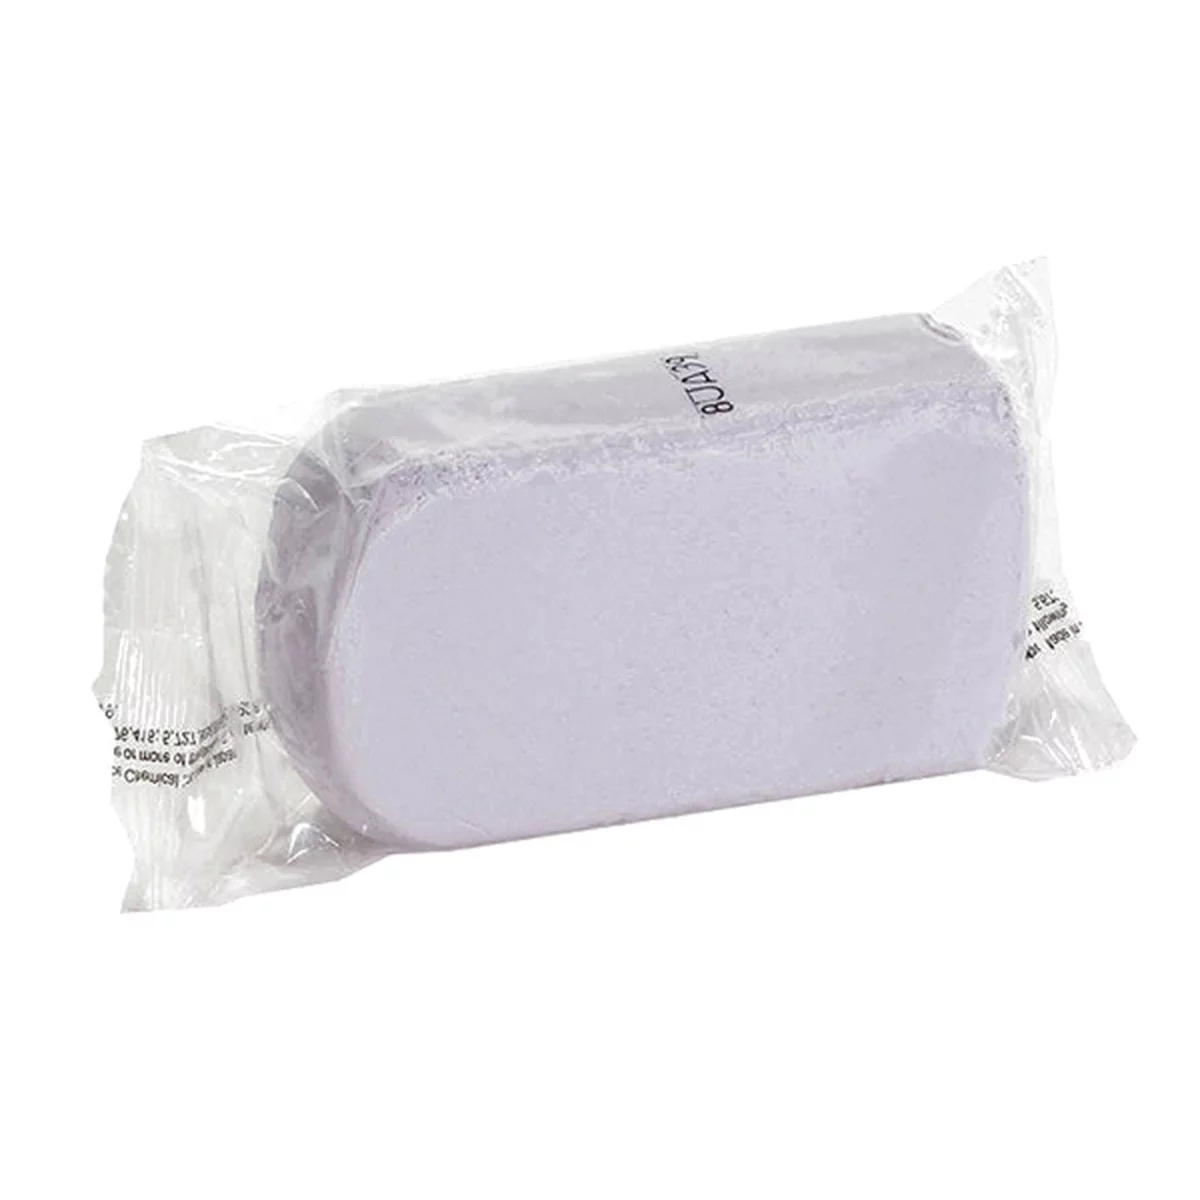
JB Gray Clay Bar 8oz - Removes Surface Contaminants
Mfg: Hi-Tech Industries
Part #: HT-21GR
FAQs
Is the rust stain under my car from a parking garage permanent?
Not usually, if treated promptly. Fresh rust drip stains often lift completely with an iron remover. The risk of permanent damage rises the longer the contamination sits, especially if it’s been exposed to direct sun, which bakes minerals and acids into the clearcoat.
Can I use vinegar safely on all paint finishes?
Diluted white vinegar (roughly 1:1 with water) is generally safe for clear-coated paint when rinsed promptly, but it’s a mild acid and shouldn’t be left to sit for extended periods or used on bare or unclearcoated trim. Test in an inconspicuous spot first if you’re unsure about the finish.
How do I tell rust staining apart from bird droppings?
Rust stains typically follow a drip or streak pattern with a consistent orange-brown color and no raised texture. Bird droppings are usually chunkier, mixed with a white/chalky component, and irregularly shaped rather than following a gravity drip line.
Will a car wash or quick detailer spray remove this kind of stain?
No. Standard soap and quick detailer sprays aren’t formulated to break down iron oxide or mineral deposits. You need a dedicated iron remover or acidic water spot treatment; using a QD spray and wiping can actually grind contamination into the clearcoat.
Should I try polishing it out myself or take it to a professional?
If you have dual-action polisher experience and the etching is minor, a test-spot polish is reasonable to attempt. If you don’t have a paint thickness gauge, if the area is on a high-visibility panel, or if the discoloration looks like it’s gone past the clearcoat, professional paint correction is the safer route.
Who’s responsible for paint damage caused by a parking garage leak?
Liability depends on the facility, the state, and whether you were using a paid parking or valet service versus general public parking. Document the damage immediately and report it to the facility or valet operator; many will route it through their liability insurance, particularly if the leak source (pipe, drain, sprinkler) is a known maintenance issue on their end.
Recommended Paint & Body Products
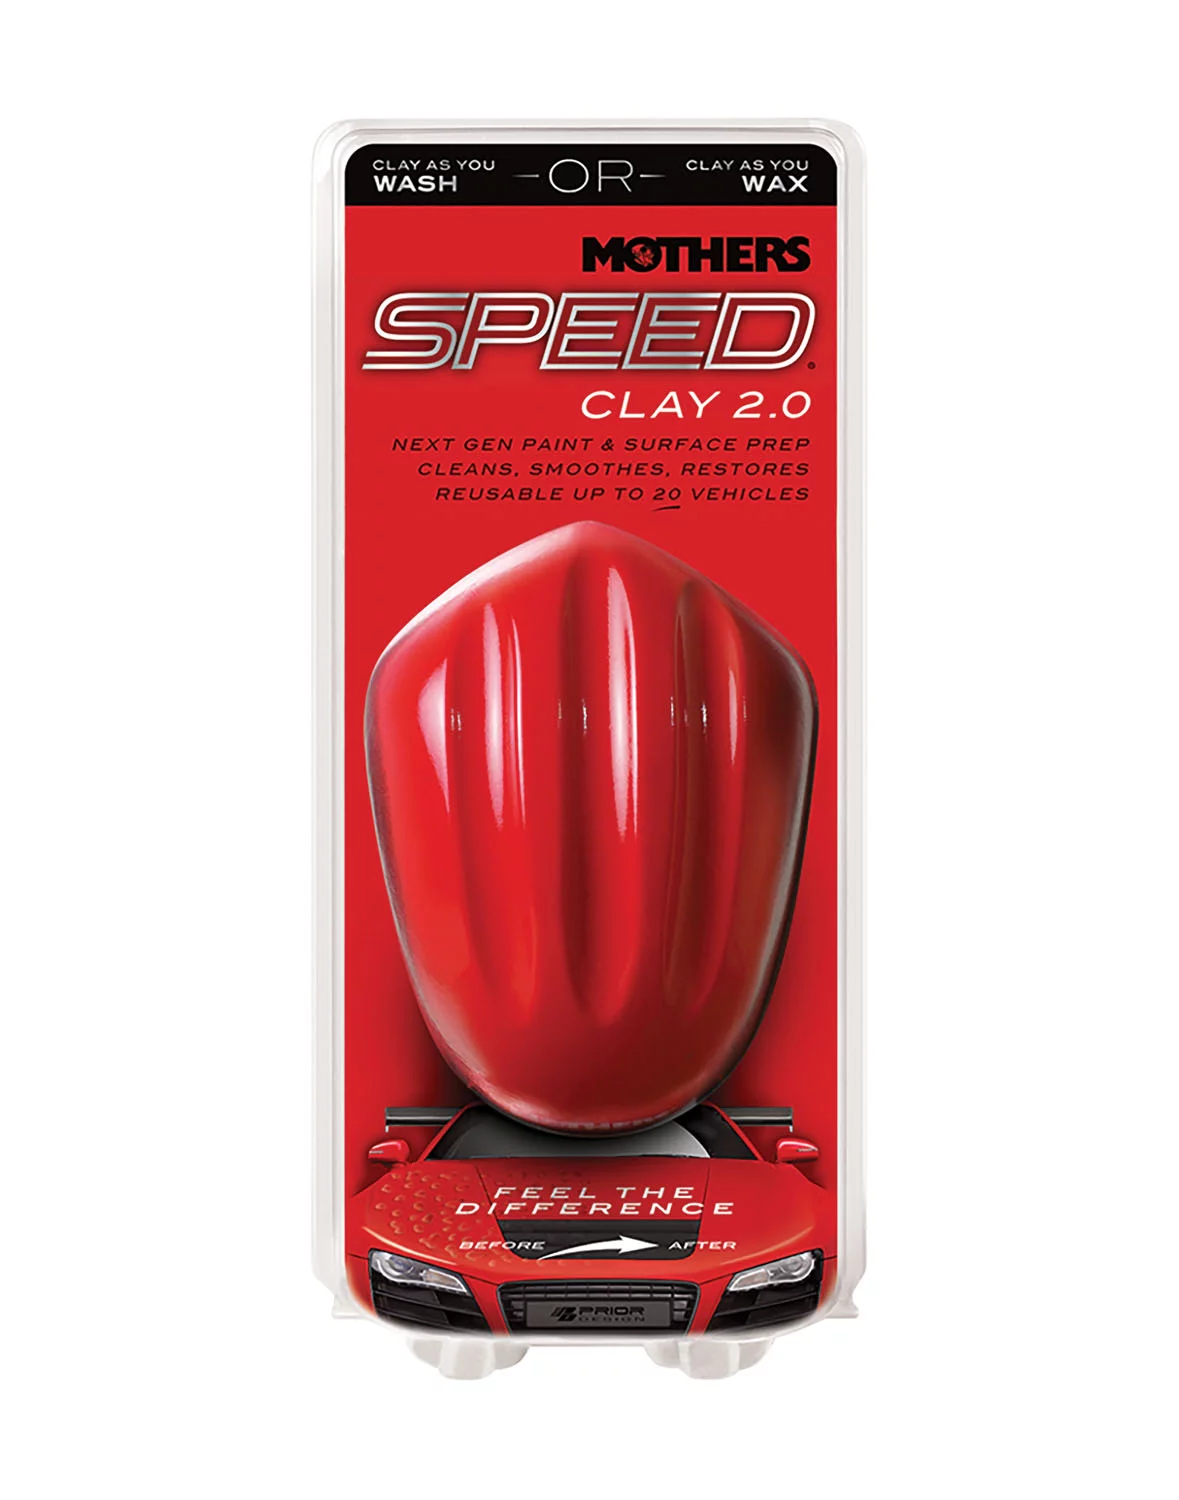
The correction methods outlined in this guide — from iron removal to compounding and polishing — rely on having the right tools and products on hand. Browse our Paint & Body category to find iron removers, compounds, polishes, clay bars, and application tools for handling contamination and etching.
- Iron removers and acidic water spot treatments for contamination removal
- Compounds and polishes for etching correction and paint finish restoration
- Dual-action polishers, microfiber towels, and application accessories

The Toolsource Technical Team blends decades of real-world automotive service experience with up-to-date technical research. Our writers collaborate with professional mechanics, shop owners, and diagnostic specialists to deliver practical, workshop-ready guidance you can trust.


Follow us on social media