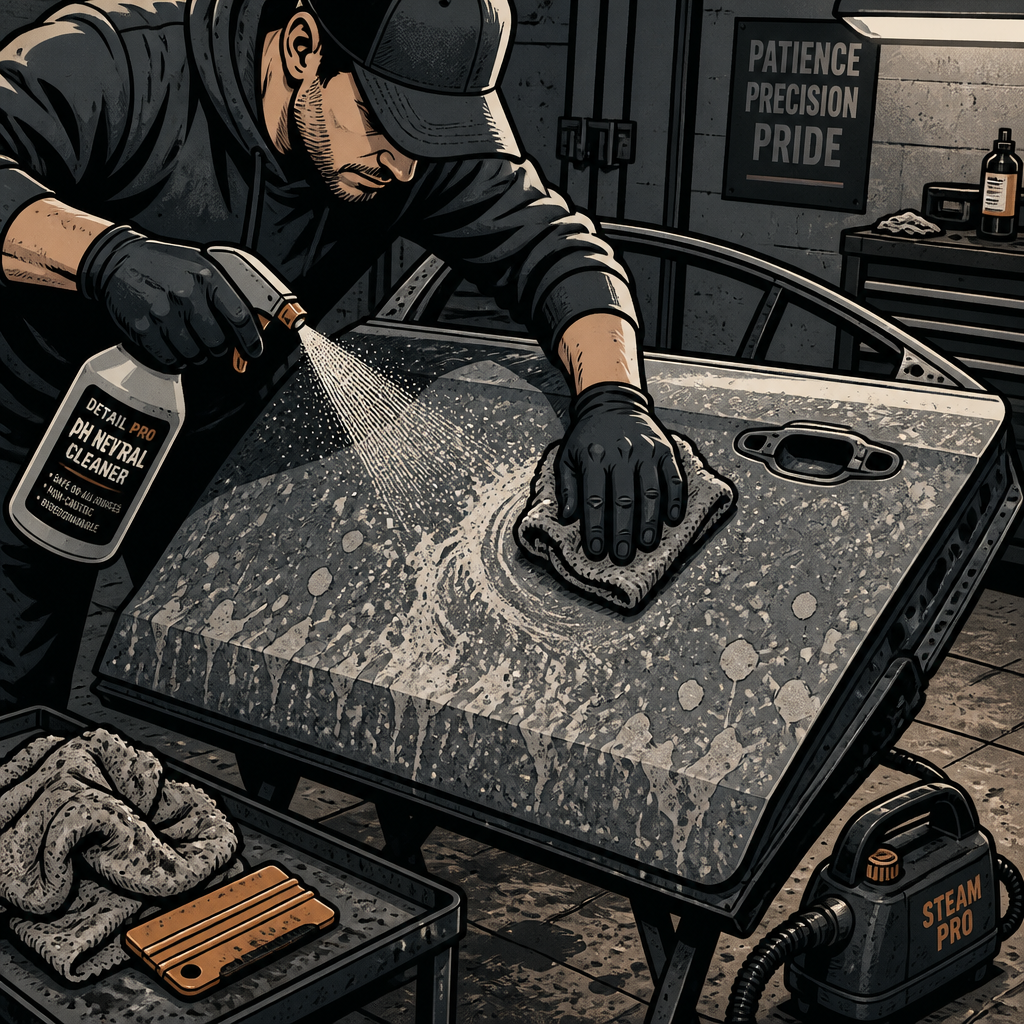
Concrete and cement splatter jobs show up more often than most detailers expect — a truck drives past a job site, a mixer overflows in a parking lot, or a contractor tracks material across a fleet lot overnight. These jobs look simple until you realize the wrong chemical choice can etch clear coat, corrode metal, or destroy trim faster than the concrete itself was ever going to. This guide walks through a practical, risk-ranked approach to assessing, treating, and correcting concrete-contaminated paint, plus how to set expectations so the job doesn’t turn into a liability problem.
1. Assess Before You Touch Anything
Before opening a single bottle, inspect the full extent of the contamination. Concrete splatter is abrasive by nature, and depending on how long it’s been sitting, how it was applied (splashed vs. dried-on chunks), and how much UV exposure the panel has had, you may be looking at a straightforward decontamination or a full correction — and in worst cases, a respray. Time and sun exposure are not on your side once concrete has bonded to clear coat, so the longer it’s been sitting, the more likely you’re dealing with etching rather than surface residue.
Check unpainted plastic trim, rubber seals, and exposed metal separately from painted panels — they react differently to chemicals and often show damage (spotting, dulling) that painted clear coat won’t. Take photos of every affected panel before you start. This documentation protects you if the client later claims new damage caused by your process.
2. Choose the Right Chemical — and Know What to Avoid
The single biggest mistake on these jobs is reaching for a construction-grade “concrete dissolver,” which is often just muriatic acid (hydrochloric acid, HCl) in a different bottle. Mineral acids like HCl are extremely effective at breaking down cured concrete, but they are not formulated for automotive surfaces. HCl can strip and etch clear coat, and worse, it accelerates corrosion anywhere it seeps into seams, weld points, or unpainted metal — damage that may not show up until weeks later.
Automotive-safe alternatives fall into a few tiers, roughly from gentlest to strongest:
- pH-neutral or mildly acidic presoak/wash combos (e.g., citric or glycolic acid-based descaling shampoos) — good first pass, especially combined with a foam presoak to loosen bonds without stripping wax or coatings entirely on contact.
- Diluted white vinegar — a low-cost, low-risk option many detailers use successfully on lighter splatter. It needs dwell time and often multiple applications; laying vinegar-soaked paper towels directly on heavier deposits and letting them soak for an hour or more is a common technique.
- Purpose-built, automotive-safe concrete removers (non-acidic formulas designed to soften rather than dissolve concrete) — these are the middle ground between vinegar and construction-grade acid, built specifically to avoid attacking clear coat and trim.
A note on pH: a product being “acidic” doesn’t automatically make it dangerous to paint. Context matters — diluted white vinegar sits around pH 2.5 and is used on food, while dilute HCl can approach pH 0. The concentration, the specific acid, and whether it leaves corrosive residue (mineral acids leave chloride salts; organic acids generally don’t) all matter more than the pH number alone. Still, always patch-test on a low-visibility panel or, ideally, a similar beater vehicle before committing to a full-vehicle treatment.
===PRODUCT_SEARCH_MID===
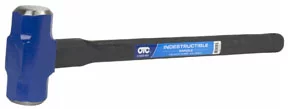
8 lb., 24"Double Face Sledge Hammer, Indes. Handle
Mfg: OTC Tools and Equipment
Part #: 5790ID-824
3. Work the Chemical, Then Escalate Carefully
Start with the gentlest option that’s likely to work and give it real dwell time — you’ll often see concrete visibly soften as the product does its job. Keep the panel wet; don’t let any dissolver dry back onto the surface, as that can reintroduce the abrasive residue you’re trying to remove. Reapply as needed; heavy splatter rarely comes off in one pass.
If chemicals alone won’t fully release stubborn, chunked-on deposits, move to mechanical removal only after chemical softening — never as a first resort. A plastic razor blade (not metal) used flat against softened concrete, with plenty of lubrication, is the standard method. Work slowly and re-treat with chemical between passes rather than forcing the blade. A steamer can also help loosen concrete without introducing any chemical or abrasive risk, and is worth having in the toolkit for this type of work.
Avoid at all costs: muriatic acid, undiluted masonry cleaners, wire brushes, metal scrapers, or anything not explicitly rated for automotive paint. These may remove concrete faster, but the cleanup on the resulting paint damage will cost far more than the time saved.
4. Expect Paint Correction Afterward
Even with a perfect chemical process, plan on the panel needing correction. Removing concrete strips wax, sealant, or ceramic coating down to bare clear coat, and any mechanical work (blade or clay) can leave fine marring. Budget for a full clay bar pass to lift any remaining bonded contamination, followed by a machine polish to remove marring and restore gloss, then a fresh wax or sealant application. If the concrete sat long enough to etch the clear coat before treatment, no amount of polishing will fully remove deep etching — that’s the line between a paint correction job and one that needs a respray, and it’s worth identifying before you start so you can quote accordingly.
Unpainted trim and plastic are often the hardest hit and least fixable. Chemical exposure can leave spotting or dulling on textured black plastic that polish can’t touch; trim restorer products can improve appearance but won’t always fully hide the damage.
5. Set Expectations and Protect Yourself Before You Start
This is not optional on jobs like this. Concrete removal carries real risk of the surface looking worse in some way even after your best effort, and clients need to understand that going in. Best practice:
- Get a signed waiver acknowledging the risk of paint damage from both the contamination and the removal process.
- Quote hourly with a deposit, not a flat rate — these jobs are unpredictable and can run far longer than expected once you’re into panel-by-panel work.
- Do a visible demo panel first — ideally the worst one — so the client signs off on the realistic result before you commit to the whole vehicle. Make sure the demo reflects what you can actually deliver in your allotted time, not a best-case cherry-picked outcome.
- Rank panels by severity and communicate that some may end up needing bodywork or paint referral rather than correction.
If a contractor or third party caused the damage, encourage the client to pursue that party for the repair cost — these jobs frequently run into real money once correction and possible respray are factored in, and there’s no reason your shop should absorb that risk on a fixed quote.
Quick Checklist
- Photograph and inspect all affected panels, trim, and plastic before starting
- Patch-test any chemical on a low-visibility area or spare panel first
- Start with pH-neutral presoak or diluted vinegar; escalate only if needed
- Never use muriatic acid or other mineral acids on paint or trim
- Use a steamer or plastic razor blade only after chemical softening
- Plan for a full clay, polish, and reseal after concrete is removed
- Get a signed waiver and hourly-rate agreement before starting work
===PRODUCT_SEARCH_END===
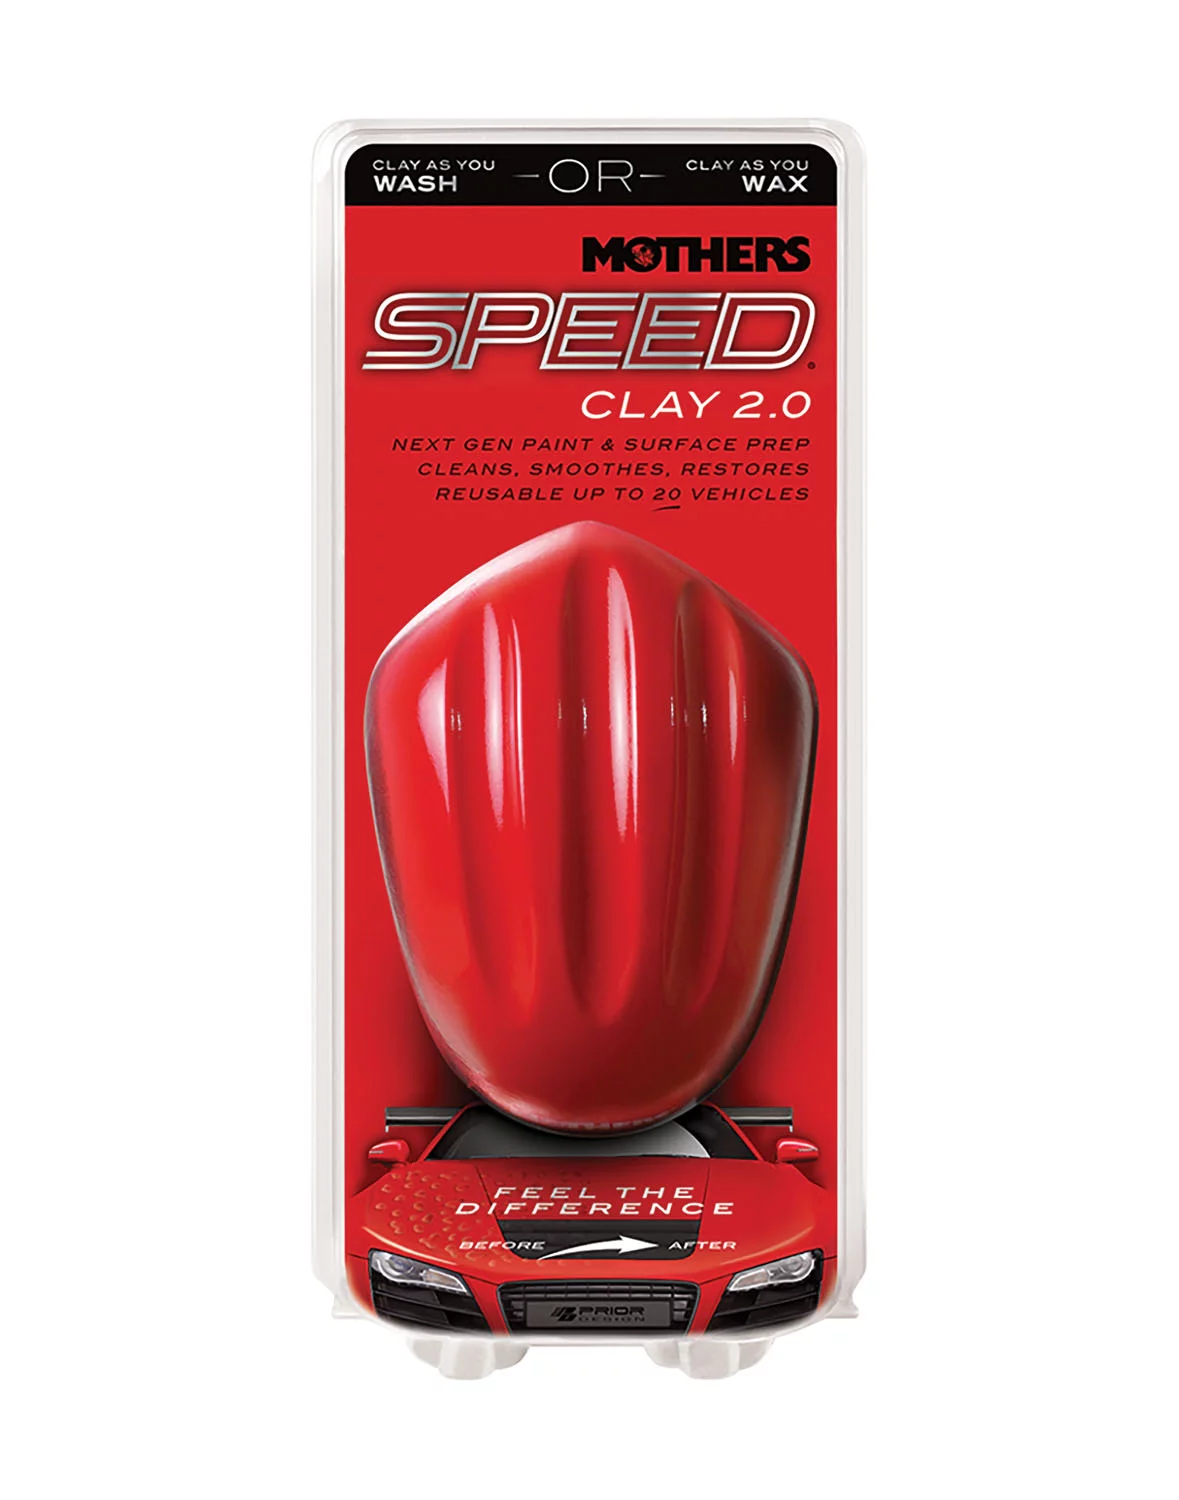
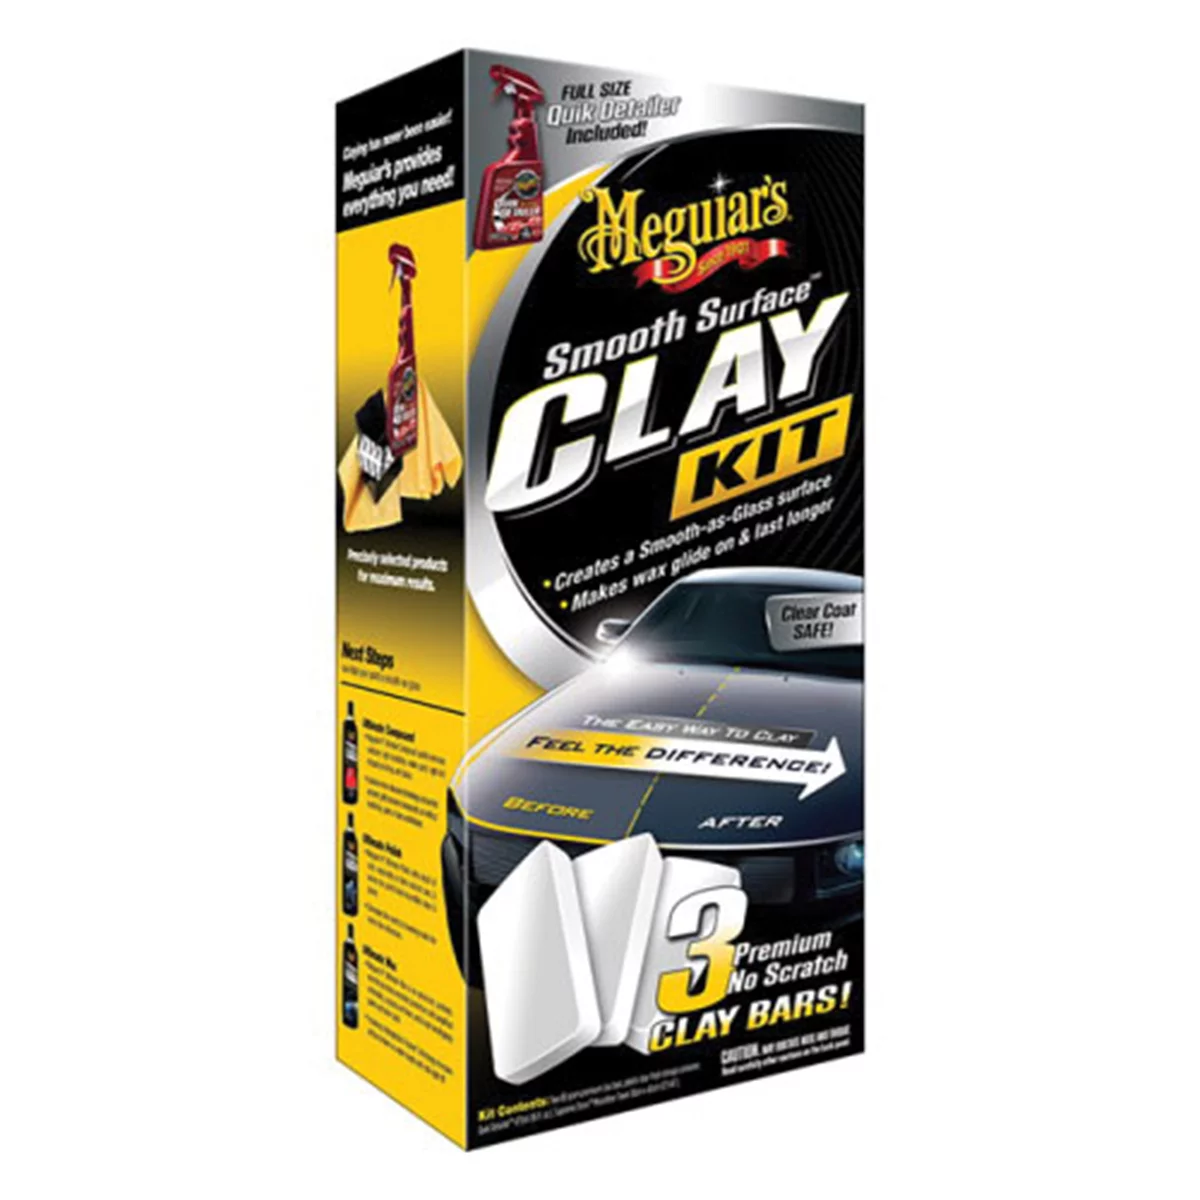
Smooth Surface G191700 Clay Kit, 60 g Clay Bar, 16 oz Quik Detai
Mfg: Meguiars
Part #: G191700
FAQs
Will muriatic acid damage car paint?
Yes, on paint in anything less than perfect condition, and it poses a serious corrosion risk anywhere it reaches bare or seamed metal, including areas you can’t see. It’s a construction product, not an automotive one, and should be avoided on vehicles entirely.
How long does concrete need to sit before it permanently damages clear coat?
There’s no fixed timeline — it depends on the concrete mix, UV exposure, and heat. Fresh splatter removed within days is far more likely to come off cleanly than material that’s cured and baked in sun for weeks, which is more likely to have etched into the clear coat.
Can I use vinegar on the whole vehicle safely?
Diluted white vinegar is a reasonably low-risk option and has worked for many detailers, but it still needs testing on trim and plastic first, and it will typically need multiple applications with real dwell time to fully release heavier deposits.
Do I need to reseal the paint after removing concrete?
Yes. Any effective concrete removal process strips existing wax, sealant, or coating down to bare clear coat, so plan on a full clay, polish, and reprotection pass as part of the job, not an optional add-on.
Should I always do a demo panel before quoting the full job?
Strongly recommended. A demo on the worst panel, signed off by the client, sets realistic expectations and protects you if some areas don’t fully correct or need referral to a body shop.
What if the concrete has already etched the clear coat?
At that point you’re often looking at a respray rather than a correction. Communicate this possibility to the client up front so it isn’t a surprise mid-job, and price the initial assessment accordingly.
Paint & Body Correction Supplies
Removing concrete splatter is only the first step—the panel will need proper preparation, correction, and protection to restore finish and appearance. Browse our Paint & Body selection for clay bars, polishes, compounds, and protective coatings designed for this type of restoration work.
- Clay bars and pre-treatment products for removing remaining surface contamination
- Polishes and compounds for eliminating marring and correcting dull spots
- Waxes, sealants, and ceramic coatings for final protection

The Toolsource Technical Team blends decades of real-world automotive service experience with up-to-date technical research. Our writers collaborate with professional mechanics, shop owners, and diagnostic specialists to deliver practical, workshop-ready guidance you can trust.


Follow us on social media