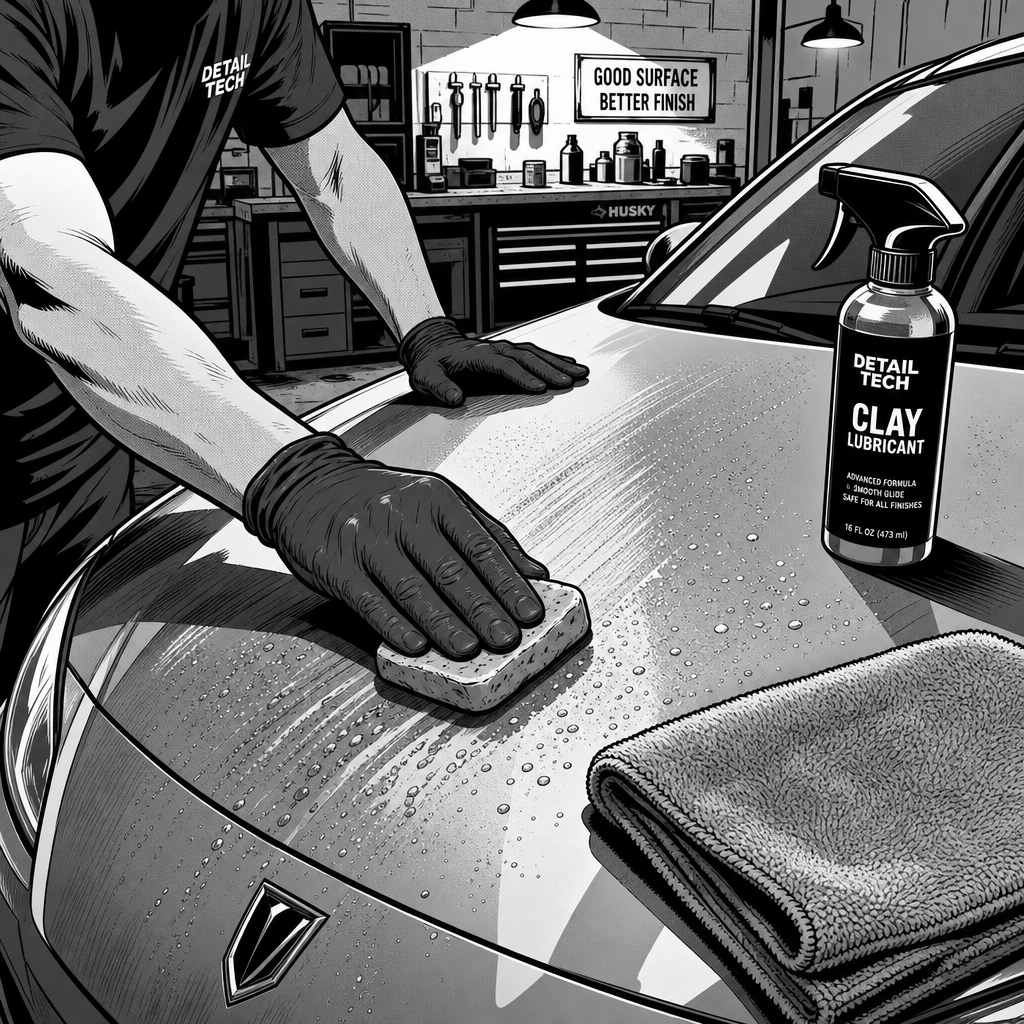
A vehicle rolls back from a body shop and the customer spots a field of tiny hard specks across the paint, glass, or trim that wasn’t there before drop-off. Before anyone reaches for a clay bar or picks up the phone to call the shop, the speck needs a diagnosis. Overspray, dried buffing compound, and grinder spark residue can all look similar at a glance, but they come from different processes, sit differently in the clear coat, and require different correction procedures. Misidentifying the defect wastes time, risks marring the paint further, and can undermine a legitimate comeback claim if the customer can’t describe what happened accurately. Here’s how to work through the diagnosis and correction like a shop would.
Step 1: Rule Out the Obvious With a Wash and Glass Cleaner Test
Before assuming a paint defect, wash the affected panel and hit a few speckles with glass cleaner and a clean microfiber towel. This clears away loose dirt, wax residue, or road film that can mimic a speck pattern under bad lighting. If the spots wipe away completely, the “defect” was surface grime and there’s nothing further to do.
If the spots survive a wash and glass cleaner pass, move to the fingernail test. Lightly drag a fingernail across a speck at a low angle. Dried polishing or buffing compound and fresh overspray will usually catch a nail edge because they sit slightly proud of the surface. If a speck doesn’t budge, doesn’t catch the nail, and feels flush or embedded, it’s more likely dried paint or primer overspray that has fully cured, or in rare cases, something baked into the clear coat itself. Note the texture, size, and spacing of the speckling — overspray tends to look like fine, cone-shaped droplets from an atomized spray gun, while flung compound shows longer, irregular smear or drip patterns with visible flick direction.
Step 2: Identify the Culprit — Overspray, Compound, or Spark Damage
Three defects account for most unexplained speckling after a shop visit, and each has a signature:
- Primer or paint overspray: Uniform, widely spaced round droplets, often larger than expected because a dirty spray gun or one held too far from the work throws bigger, wetter droplets that travel further. Common when a nearby panel, vehicle, or shop rafter gets painted without adequate masking.
- Dried buffing/polishing compound: Irregular, thicker deposits with visible flick or sling lines, usually concentrated near where a rotary or dual-action polisher was run. It happens when an operator doesn’t fully clean a machine or pad between passes and product slings off the pad edge.
- Grinder or welding spark damage: Small pitted or embedded dots, often in a fan pattern from the spark source. Unlike overspray or compound, these won’t wipe away with solvent, and if the underlying metal was scored, they can develop a faint rust tint after the vehicle sits in rain or a wash — a telltale sign that distinguishes sparks from the other two.
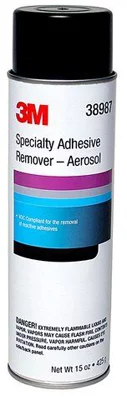
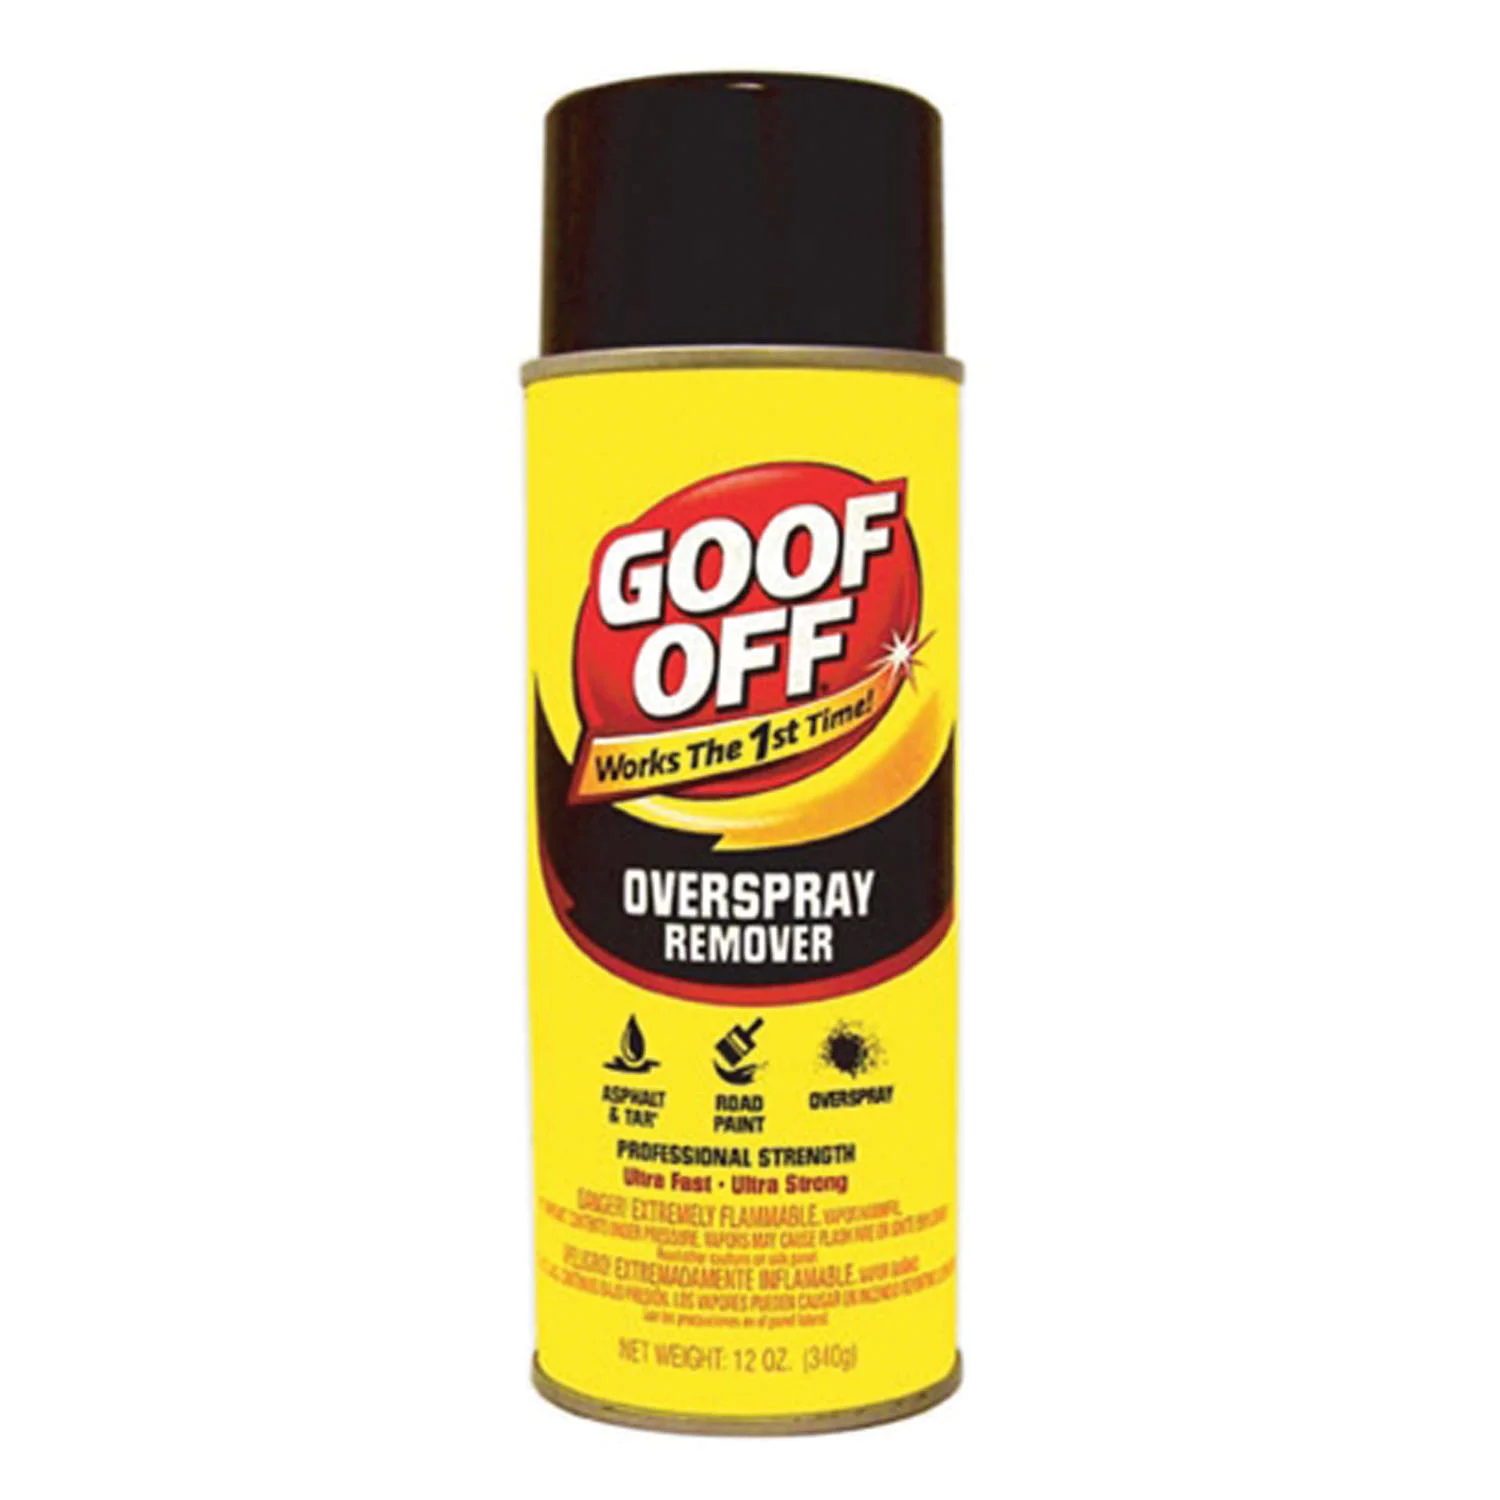
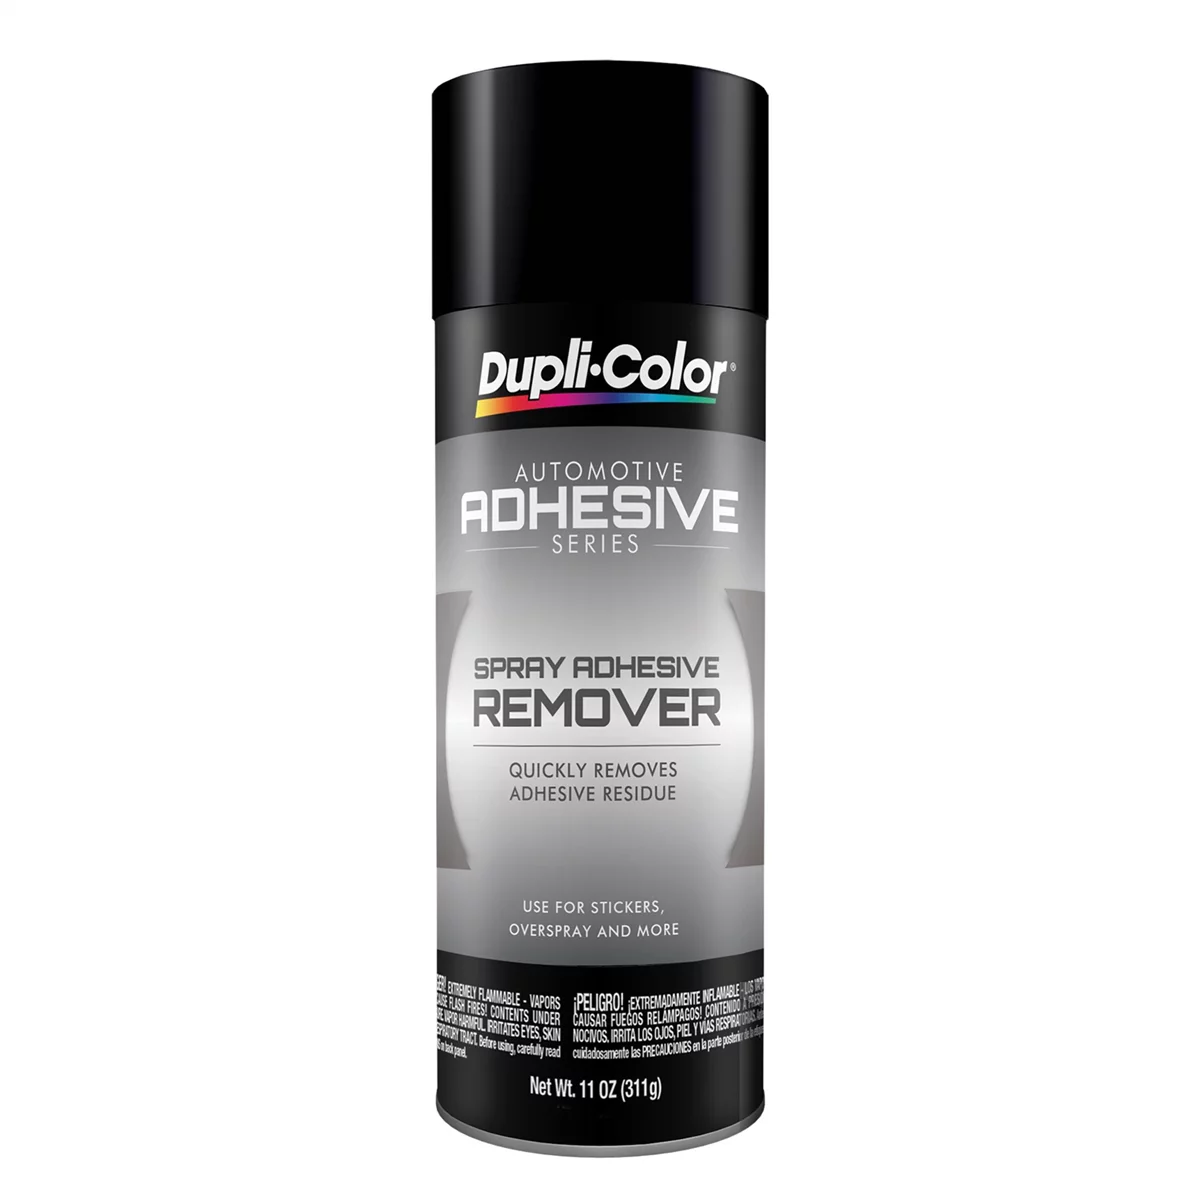
Isopropyl alcohol is the fastest way to narrow this down. Apply 90% IPA on a microfiber towel to a small test spot in a low-visibility area (rocker panel or lower door edge). Dried compound and fresh-to-moderately cured overspray will often soften and transfer onto the towel. Cured, multi-day-old primer overspray is more stubborn and may need repeated passes or a stronger overspray remover to shift at all. If nothing transfers and the speck still won’t budge under the fingernail, treat it as a possible paint or spark issue and stop working on it — that’s a shop-repair conversation, not a driveway fix.
Step 3: Correcting Dried Compound or Light Overspray Yourself
If the IPA test confirms compound or light overspray, the fix is straightforward but requires patience and the right sequence:
- Wash the vehicle fully to remove loose grit — skipping this step risks dragging debris across the clear coat during clay treatment.
- Spray a generous amount of clay lubricant or a dedicated quick detailer on a small section, roughly two feet by two feet.
- Work a fine or medium-grade clay bar in straight, light-pressure passes, keeping the surface wet at all times. Fold the clay to a clean face frequently and inspect it — if it picks up grit or is dropped on the ground, discard that piece immediately rather than risk dragging contamination into the paint.
- Wipe the section dry with a clean microfiber and move to the next section, working the whole affected panel.
- For compound that resists clay, a dedicated overspray-removal clay or compound solvent applied with light agitation on a microfiber towel can finish the job without abrasive cutting.
Avoid pressing hard to force a stubborn speck off in one pass — that’s how clay bar swirl marks and marring end up needing their own polishing step. If a panel is heavily contaminated, it’s faster and safer to run a clay mitt or clay-infused wash pad over the whole car rather than spot-treating dozens of individual specks.
Step 4: When It’s a Shop’s Responsibility, Document Before You Touch Anything
If the defect appeared during or after a body shop visit — paint work, a rental car wash-and-detail, an RV service bay, or any job where the vehicle sat near active spraying, sanding, or grinding — treat it as a comeback issue, not a DIY project. Photograph the affected panels in good light before any cleaning attempt, including wide shots showing the pattern and close-ups showing texture. Note where the vehicle was parked relative to any active work bays if that’s known. A clean quality-control inspection should have caught this before the vehicle left the lot, and reputable shops will correct overspray, compound residue, or spark damage caused during their process at no cost, up to and including a partial repaint and reclear if the contamination is under the clear coat rather than on top of it.
Don’t clay bar or use aggressive solvent on a panel you plan to have inspected as a shop comeback — evidence of the original defect condition matters, and you don’t want to be accused of causing new marring while trying to fix their mistake.
Step 5: Confirming Depth — Is It On Top of the Clear Coat or In It?
After a test spot responds to IPA or clay and the speck is gone, run a fingertip over the area with eyes closed. If it now feels perfectly smooth and level with the surrounding paint, the contaminant was sitting on top of the clear coat and the correction is complete. If a texture or slight roughness remains after the visible speck is gone, some of the material — usually primer overspray — bonded into the clear coat surface itself, and a proper fix requires wet sanding and re-clearing by a paint professional. This is also where the earlier spark-damage check pays off: if rust starts showing at former speck locations days later, the metal was compromised and needs a body shop’s attention regardless of how clean the surface looks today.
Post-Correction Protection
Once a panel has been clayed or solvent-treated, the surface is stripped of any wax or sealant that was there before. Reapply a coat of wax, paint sealant, or a spray ceramic top-up before the vehicle goes back into regular use — this both protects the freshly corrected clear coat and gives you an easy visual reference the next time contamination shows up, since fresh speckling will bead differently on a properly protected surface.
Quick Diagnostic Checklist
- Wash and glass-clean the area first to rule out surface grime
- Fingernail test: does it catch, or is it flush with the paint?
- IPA test on a hidden spot: does it soften or transfer?
- Check pattern: uniform round droplets (overspray) vs. irregular flick marks (compound) vs. pitted fan pattern (sparks)
- Photograph everything before cleaning if a shop may be responsible
- After removal, feel for residual texture indicating embedded overspray needing wet sand and reclear
- Reapply wax or sealant once the panel is corrected
Frequently Asked Questions
Will a clay bar damage my clear coat if I use it correctly?
No. Used with adequate lubricant, light pressure, and straight-line passes, clay bars are safe on cured clear coat. Damage typically comes from using a dirty or dropped clay bar, pressing too hard, or working a dry surface.
How can I tell overspray from buffing compound without solvent on hand?
Look at the pattern first. Overspray droplets are round, uniform, and evenly spaced, consistent with an atomized spray gun. Compound residue shows irregular, elongated smears or flick lines concentrated near where a polisher was used.
Is dried primer overspray always a shop’s fault?
If it appeared during a paint or body repair visit and wasn’t present before drop-off, yes — it points to inadequate masking or an improperly cleaned spray gun on the shop’s part, and it’s reasonable to have them correct it.
What if isopropyl alcohol doesn’t remove the spots at all?
That suggests the contaminant is either heavily cured overspray bonded into the clear coat, or it isn’t overspray or compound at all — possibly spark residue or actual paint damage. At that point, a professional inspection is the right next step rather than escalating to more aggressive chemicals or abrasives.
Can grinder sparks actually damage automotive paint?
Yes. Hot metal fragments can pit or embed in clear coat and, if they reach the metal underneath, can leave a spot that rusts after exposure to moisture. This is different from cosmetic overspray and typically needs a body shop repair rather than a detailing fix.
Should I attempt a DIY fix before bringing the car back to the shop?
Only if you’re confident the issue is superficial compound or light overspray on top of the clear coat. If there’s any chance the shop is responsible or the contamination might be embedded, document it with photos first and let them inspect and correct it — self-correcting first can complicate a warranty or comeback claim.
Tools & Supplies for Paint Correction
Correcting overspray, buffing compound residue, or spark damage requires the right supplies and technique. Our Paint & Body category offers clay bars, solvents, and protective sealants to handle contamination safely.
- Clay bar kits and lubricants for safe speck removal
- Isopropyl alcohol and overspray removers
- Paint sealants and wax for post-correction protection

The Toolsource Technical Team blends decades of real-world automotive service experience with up-to-date technical research. Our writers collaborate with professional mechanics, shop owners, and diagnostic specialists to deliver practical, workshop-ready guidance you can trust.


Follow us on social media