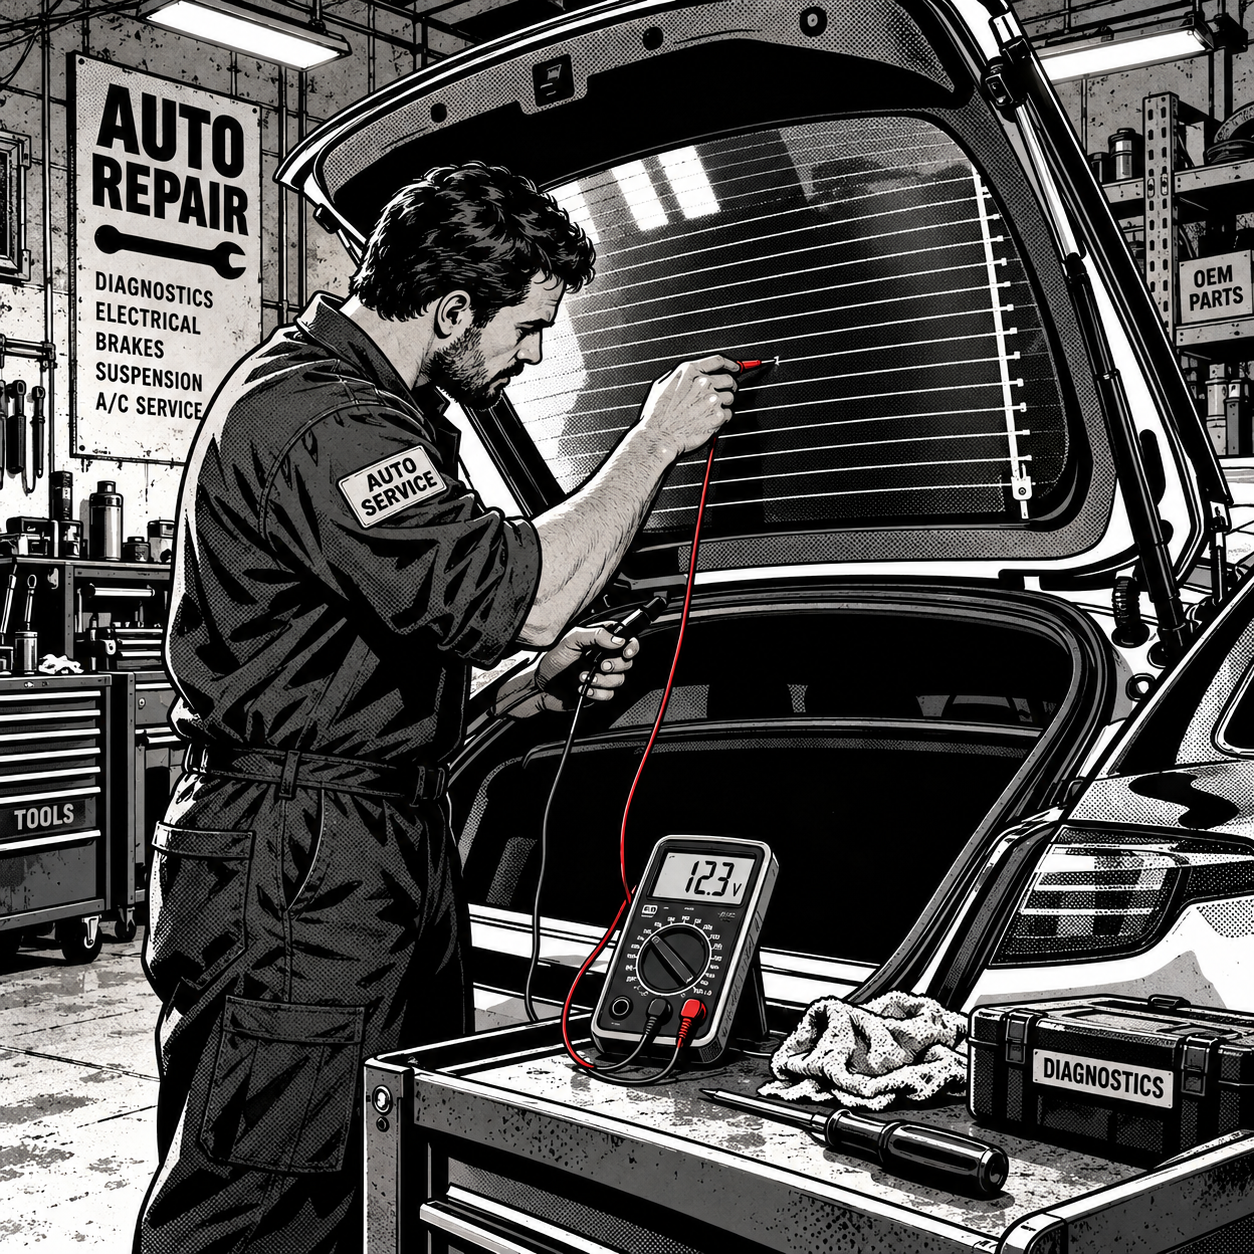
A rear window that fogs up faster than it clears is one of the most common electrical complaints a shop sees once temperatures drop. Most of the time the cause isn’t a blown fuse or a bad switch — it’s the defroster grid itself, where silver-ceramic conductive lines baked onto the glass have started to lift, crack, or delaminate from the surface. Understanding how these grids fail, how to test them properly, and when a repair kit is a legitimate fix versus a short-term patch will save you (and your customers) a lot of wasted time and money.
How Rear Defroster Grids Actually Fail
The horizontal lines on a rear window are a silk-screened conductive paste fired onto the inner surface of the glass, then connected to a low-voltage circuit through bus bars at each side. Current flowing through the thin traces generates resistive heat, which clears fog and light frost. Because the traces are bonded to glass but flexed by thermal expansion, vibration, and years of contact from cargo, ice scrapers, and rear wiper arms, they’re prone to:
- Delamination — the conductive paste separating from the glass substrate, usually starting at a stress point and spreading along the line.
- Physical breaks — scratches from ice scrapers, roof racks, or cargo that cut a line clean through.
- Bus bar corrosion — the connection points where wiring harnesses attach can corrode or loosen, killing an entire half of the grid at once.
One detail worth flagging to customers: if the affected element is on the outside of the glass, it’s not the defroster — it’s more likely an antenna trace or a separate embedded element. Defroster grids are always on the interior surface. Confirming which side the damaged trace is on takes ten seconds and prevents a misdiagnosis before you even open a multimeter.
Diagnosing Before You Touch a Repair Kit
Don’t reach for a repair kit until you’ve confirmed the failure is actually in the grid and not upstream in the circuit. A quick diagnostic sequence:
- Turn on the defroster and visually inspect each line for a break, discoloration, or a hazy/flaking appearance — delamination often looks like a faint white or gray smudge along the trace before it fully opens up.
- Set a multimeter to DC voltage and probe across each line from one bus bar to the other. A healthy line should show roughly half the supply voltage at the midpoint, dropping evenly as you move the probe along the trace.
- If voltage drops to zero abruptly at one point, that’s your break. If voltage is present but the line still isn’t heating, suspect a high-resistance connection from delamination rather than a full open.
- Check the bus bar connections and ground strap for corrosion or looseness — a surprising number of “dead grid” complaints are actually a bad ground or a corroded spade connector.
- Rule out the relay, switch, and fuse first if all lines are dead rather than just one or two — a single multimeter check across the harness connector will confirm whether voltage is reaching the glass at all.
{{PRODUCT_SEARCH: multimeter for automotive electrical diagnostics}}
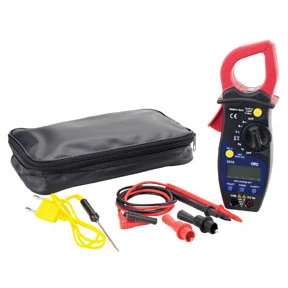

GearWrench Pro RMS Digital Multimeter GWDM107 Automotive Tool
Mfg: GearWrench
Part #: GWDM107
Applying a Conductive Repair Kit Correctly
Once you’ve isolated a break or a delaminated section, a conductive defogger repair kit (silver-loaded conductive paint or epoxy, applied with a brush or fine-tip applicator) is a legitimate first option — but only if you set expectations correctly. These kits work well for a single, localized scratch or break. They are far less reliable against progressive delamination, where the paste is lifting across an extended section rather than at one point.
- Clean thoroughly. Use isopropyl alcohol to remove wax, grease, and window cleaner residue from the repair area. Any contamination will prevent proper adhesion and conductivity.
- Mask the repair zone. Use the kit’s masking template or painter’s tape to keep the conductive compound confined to the line width — overspill can bridge adjacent lines or create a visible smear.
- Overlap the break generously. Extend the repair at least 1/4 inch past each end of the damaged section onto healthy, well-bonded trace material. Repairs that only bridge the exact gap tend to fail at the edges.
- Apply in thin, even coats. Most kits call for two coats with a cure/dry time between them — follow the manufacturer’s cure time exactly, and don’t operate the defroster until fully cured (typically 24 hours).
- Test before buttoning up. Re-run the voltage drop test across the repaired section once cured to confirm continuity before telling the customer it’s fixed.
It’s also safe to tell customers they can keep running the defroster on a partially failed grid in the meantime — using it won’t accelerate the damage or create a safety issue. It just won’t clear the glass as effectively in the affected area, and in some cases running current through a badly delaminating line can hasten its full failure, so a kit repair sooner rather than later is the better move once a problem is spotted.
When a Repair Kit Isn’t Enough
Set the right expectations up front: a conductive repair kit is a patch, not a restoration. It works best as a bridge over a single clean break. It is not a reliable fix for:
- Delamination that spans multiple inches or multiple lines — the paste has already lost adhesion across a wide area, and a localized repair won’t address the surrounding trace that’s still peeling.
- Repeated failures in the same area after a prior kit repair — this is a strong sign the delamination is progressing faster than it can be patched.
- Damage near or at a bus bar connection — these carry more current and heat than mid-line traces, and a DIY repair here is more prone to early failure.
When delamination is winning, the honest answer is that the kit buys time, not a permanent solution. Full glass replacement is the only way to restore complete, even heating across the window once a meaningful percentage of the grid has degraded. Make that clear to the customer at the time of the kit repair so there are no surprises when it needs doing again in a season or two.
Setting Customer Expectations and Documentation
Because defogger kit repairs are inherently a stopgap, document the repair scope on the work order: location and length of the repaired section, cure time given, and a note that this is a localized repair rather than a full-grid restoration. This protects the shop if the customer returns with a different line failing six months later — a separate failure elsewhere on the grid is not a comeback on your original work.
It’s also worth a quick conversation about cause. If the damage is from an ice scraper or roof cargo contact, recommend a foam brush or soft cloth for interior glass instead of a hard-edged scraper, and caution against resting ski racks, cargo nets, or sharp-edged items against the inside of the rear glass.
{{PRODUCT_SEARCH: rear window defroster repair kit}}
Quick Reference Checklist
- Confirm the damaged trace is on the inside of the glass before diagnosing it as a defroster fault
- Voltage-drop test each line before assuming the grid itself has failed
- Check bus bars, ground strap, fuse, relay, and switch before condemning the glass
- Clean and mask thoroughly before applying any conductive repair compound
- Overlap repairs 1/4″ past the damaged section onto sound trace material
- Respect full cure time before testing or reactivating the circuit
- Document repair scope and set expectations that kits are a temporary fix for localized damage


FAQs
Can I still use the rear defroster if one line is damaged?
Yes. Running the defroster with a partially failed line won’t harm the vehicle or create a safety issue — it just won’t clear fog as effectively in that section. It’s still fine to use it regularly while a repair is scheduled.
How long does a conductive repair kit actually last?
It varies with the extent of the original damage, but a clean, well-prepped repair on a single break can hold up for a year or more. Repairs over active delamination tend to fail sooner, sometimes within a few months, because the surrounding trace keeps lifting.
Is delamination covered by warranty on newer vehicles?
Sometimes, if it shows up within the glass or vehicle warranty period and isn’t attributed to physical damage. Check the OEM glass warranty terms before assuming it’s an out-of-pocket repair.
Why does only part of the window stay fogged?
That’s typically a sign that only one or two lines in the grid have failed rather than the whole circuit. A voltage-drop test across each line will pinpoint exactly which ones are open or high-resistance.
Can a bad ground cause the same symptoms as a broken grid line?
Yes. A corroded or loose ground connection can mimic a dead grid section or even kill the whole system. Always check the ground strap and bus bar connections before assuming the glass itself has failed.
Does an antenna trace on the glass affect defroster diagnosis?
It shouldn’t, since antenna elements are usually a separate circuit and often on the exterior surface, but it’s easy to confuse the two visually. Confirm which side of the glass the damaged trace is on and trace its wiring back before condemning the defroster circuit.
Essential Diagnostic Tools
Proper diagnosis is the foundation of any defogger repair. Whether you’re testing voltage drop across grid lines, checking bus bar connections, or ruling out upstream circuit faults, having reliable automotive diagnostic tools on hand will make the job faster and more accurate.
- Digital multimeters for voltage drop testing and continuity checks
- Electrical system diagnostic equipment
- Tools for ground and circuit verification

The Toolsource Technical Team blends decades of real-world automotive service experience with up-to-date technical research. Our writers collaborate with professional mechanics, shop owners, and diagnostic specialists to deliver practical, workshop-ready guidance you can trust.


Follow us on social media