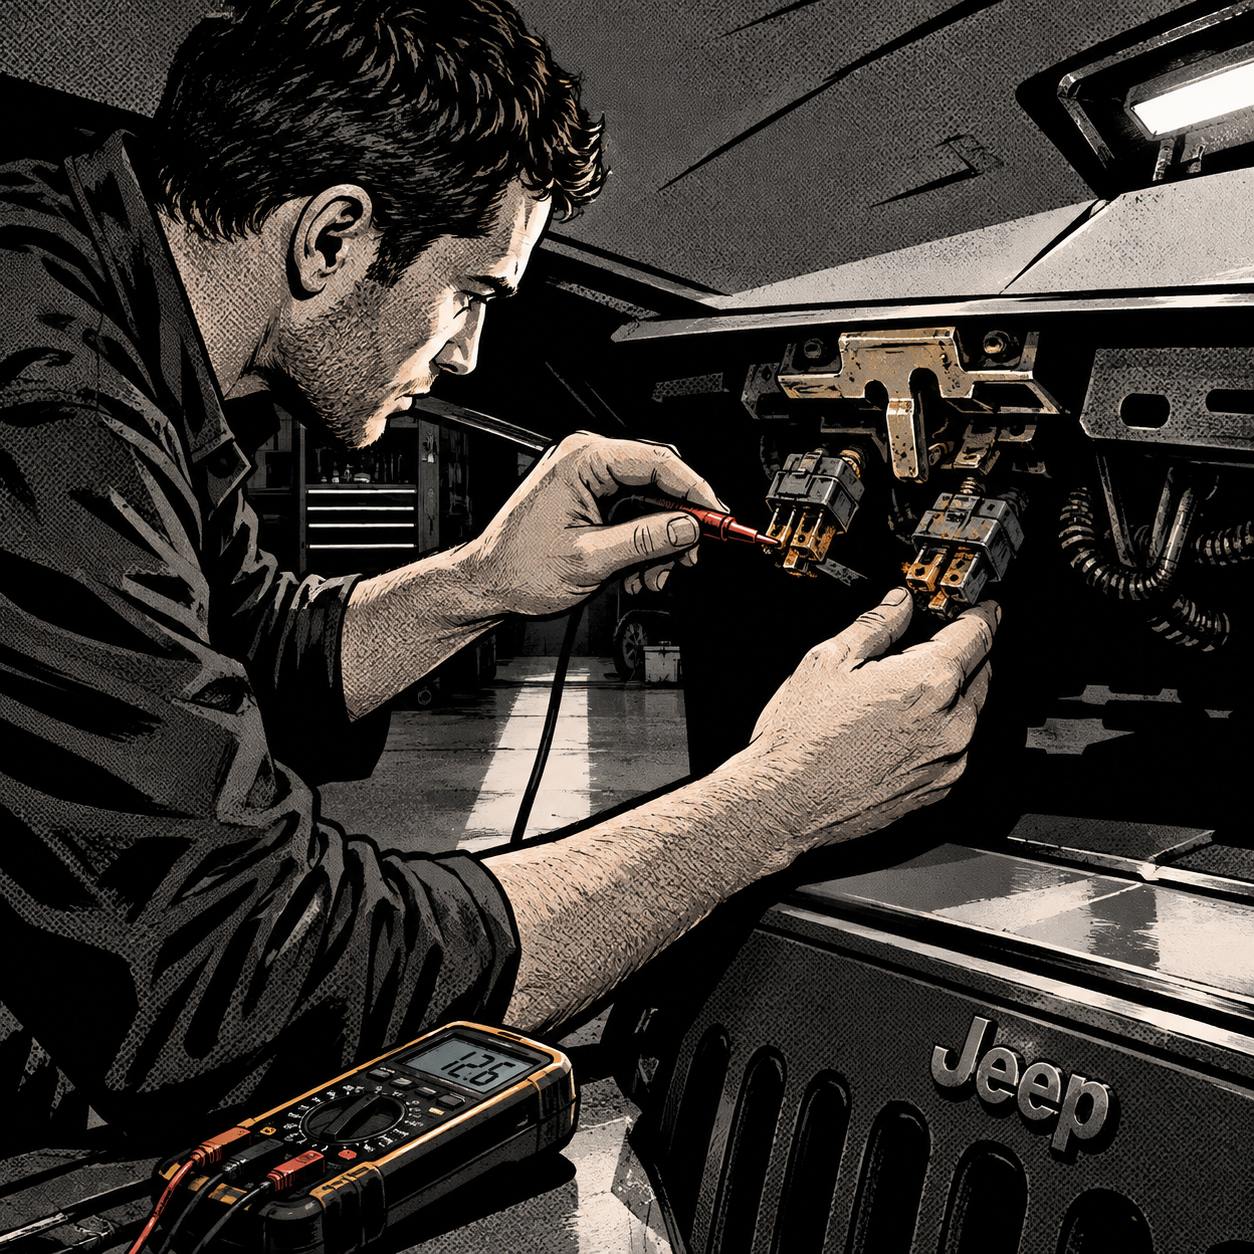
Customers occasionally bring in a Jeep Wrangler or another remote-start-equipped vehicle with two separate switches mounted near the hood latch and ask why one job needs two sensors. It’s not a defect and it’s not redundancy for redundancy’s sake — it’s two different modules each needing their own hard-wired input, and understanding that split is the key to diagnosing a surprising number of “remote start won’t fire” and “alarm won’t arm” complaints. This guide breaks down why the dual-switch setup exists, how it fails, and a repeatable process for testing it.
Why Two Switches Instead of One Shared Signal
On vehicles equipped with factory remote start, it’s common to find one hood ajar switch wired to the Body Control Module (BCM) and a second, physically separate switch wired to the Powertrain Control Module (PCM). Both are simple normally-open or normally-closed mechanical switches — not smart sensors — and each feeds a different consumer:
- The BCM-side switch handles the “hood open” dash warning and factory alarm/security logic.
- The PCM-side switch is a safety interlock: it tells the engine controller not to execute a remote start if the hood is open, preventing someone from remote-starting a vehicle with hands or tools near the engine.
Technically, a single switch could broadcast its state over the vehicle’s CAN or LIN bus to both modules. Manufacturers often don’t bother, for a practical reason: a mechanical switch is a few cents of hardware with no controller logic, while putting that same signal on a shared bus requires additional circuitry and software handling in two separate modules. For a low-value, low-frequency signal like hood position, duplicating a cheap switch is often simpler and more serviceable than engineering a shared bus message — and if one switch fails, it typically only disables one function (say, remote start) rather than taking down the whole security and remote-start system at once.
Symptoms That Point to a Hood Switch Fault
Because the two switches feed different systems, the symptom pattern tells you which circuit is bad before you even pop the hood:
- Remote start won’t engage, but the alarm arms normally and the dash hood light behaves correctly — suspect the PCM-side switch or its wiring.
- Dash “hood ajar” light stays on, or the alarm won’t arm/set, but remote start works fine when the hood is actually closed — suspect the BCM-side switch.
- Both symptoms present at once — check for a shared ground or connector issue near the latch, since the two switches are often bundled in the same connector or harness run even though they’re electrically independent.
- Intermittent faults that come and go with weather — this is the classic signature of corrosion inside the switch housing or connector, not a logic fault.
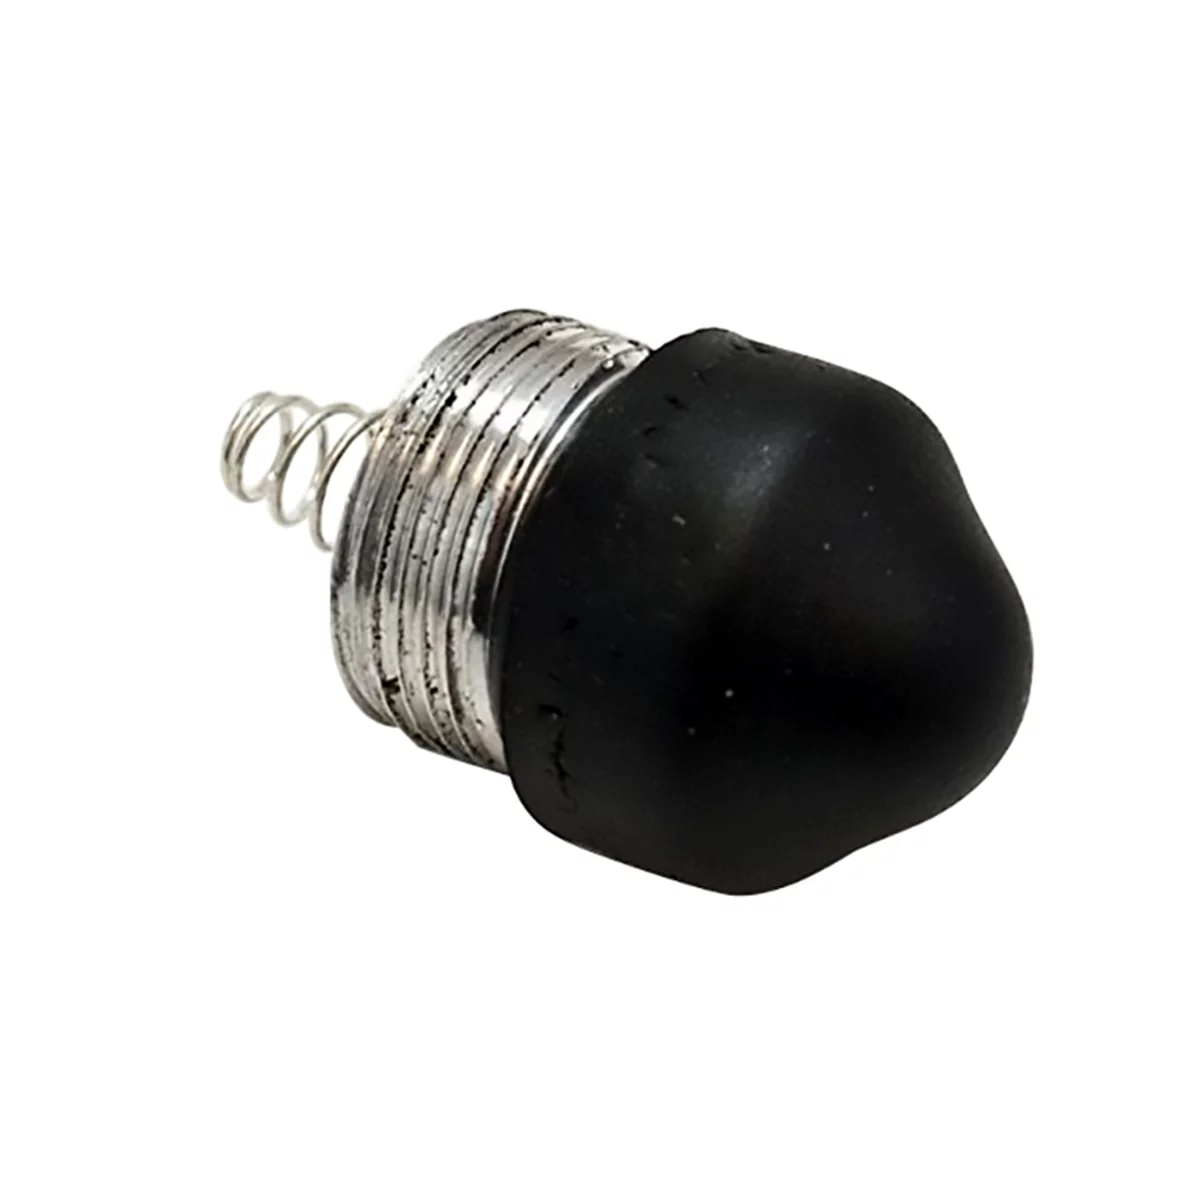
Pull up the wiring diagram for the specific platform before condemning a part. On many Chrysler/Jeep products, both switches are simple ajar switches — one feeds the BCM for cabin warnings and security, the other feeds the PCM specifically for the remote-start hood interlock. They are not part of the factory alarm trigger in most configurations, despite that being a common assumption — opening the hood on a locked vehicle usually will not set off the siren, because the hood switches were never wired into the perimeter alarm sensing circuit to begin with.


Testing the Circuit: Tools and Procedure
Treat this as a standard discrete-switch diagnosis, not a module problem, until you’ve proven otherwise. You’ll need a digital multimeter, the platform-specific wiring diagram, and a basic test light or back-probe set.
- Identify both switches physically. On vehicles without a conventional center hood latch and release cable, the switches are usually integrated into the side hood pins/latches rather than a single center catch. Confirm which connector goes to which module using the diagram — don’t assume based on physical position alone.
- Check voltage supply at each switch. One switch typically receives constant 12V (feeding the security/BCM side) and the other switched 12V or ground depending on design. Confirm you have the expected reference voltage with the key in the appropriate position before condemning the switch itself.
- Cycle the hood and watch switch continuity. With the connector disconnected, use the multimeter in continuity mode to verify the switch opens and closes cleanly as you manually actuate the plunger. A switch that reads closed in both the open and closed hood positions has failed mechanically or is corroded internally.
- Inspect the connector and terminals for corrosion. This is the single most common failure mode reported on these circuits — moisture ingress causes the terminal gap to close via corrosion buildup, which tricks the module into reading a permanently closed (or permanently open, depending on design) circuit. This presents as a dash warning that never clears, or a security system that refuses to arm, even with the hood fully latched.
- Check for chafed or pinched wiring along the harness run. Hood switch harnesses flex with every hood cycle and run close to the radiator support — look for chafing, pinched insulation, or a wire pulled loose from the connector shell.
- Clear codes and retest after any repair. Confirm the dash warning clears and, if applicable, that remote start and alarm arming both function through several full cycles before releasing the vehicle.
Common Root Causes and Repair Approach
Four failure modes account for the overwhelming majority of these comebacks:
- Corroded switch/connector terminals — the most frequent cause. Corrosion inside the connector can close the gap and falsely signal “closed” even with the hood open, or vice versa. Cleaning or replacing the connector often resolves it without replacing the switch itself.
- Failed plunger/mechanical wear — the switch itself sticks or the plunger spring fatigues, so it stops actuating cleanly even though the electrical terminals are fine.
- Harness damage from flexing — repeated hood cycles over years will eventually fatigue or chafe the wire near the hinge or connector boot.
- Misadjusted latch or aftermarket hood — if the hood was replaced or the latch adjusted after bodywork, the switch plunger may no longer fully compress, leaving it in a permanent “ajar” state electrically even when the hood looks closed.
Avoid the shortcut of simply unplugging a faulty switch to silence a warning light. On vehicles where that connector also feeds a security or cargo-area function, disconnecting it removes the module’s only feedback path and can disable unrelated features (interior lighting logic tied to door/hood state is a known side effect on some platforms). Repair or replace the switch rather than deleting the circuit.
When to Suspect the Module Instead of the Switch
If both switches test correctly in continuity and voltage but the symptom persists, move up the circuit:
- Confirm the BCM or PCM is actually receiving the signal change by checking live data on a scan tool, if the platform supports a “hood ajar” PID or status bit.
- Check for a blown fuse feeding constant 12V to the security-side switch — this will mimic a permanently-open hood condition.
- If remote start specifically fails but all other PCM functions are normal, verify the interlock input at the PCM connector directly before condemning the module.
Module-level failures on this specific circuit are uncommon. In the large majority of real-world cases, the fault traces back to the switch or its connector, not the controller.
Quick Diagnostic Checklist
- Identify which switch feeds which module (BCM vs. PCM) using the wiring diagram — don’t guess.
- Match the symptom to the circuit: remote start issue → PCM switch; dash light/alarm arming issue → BCM switch.
- Verify supply voltage at each switch connector before testing the switch itself.
- Continuity-test the switch through several full hood cycles, not just one.
- Inspect connector terminals for corrosion — clean or replace before replacing the switch.
- Check harness routing near the hinge/latch for chafing or pinches.
- Retest alarm arming and remote start through multiple cycles before returning the vehicle.

FAQs
Does opening the hood on a locked vehicle set off the alarm?
On most platforms using this dual-switch design, no — the hood switches feed the dash warning and remote-start interlock, not the perimeter alarm trigger. Confirm against the specific wiring diagram, since alarm wiring varies by trim and model year.
Why does my remote start refuse to work even though the hood is fully closed?
Check the PCM-side hood switch and its connector first. A corroded terminal can hold the circuit in the “open” state electrically even when the hood is latched, which blocks the remote-start interlock.
Can I just unplug a failed hood switch to stop the warning light?
Not recommended. Disconnecting the switch removes the module’s feedback entirely and can disable other functions tied to that signal. Repair the connector or replace the switch instead.
Is it normal for both hood switches to fail around the same time?
It happens, usually because both connectors sit in the same harsh environment near the radiator support and corrode on a similar timeline — it’s an environmental pattern, not evidence of a design defect.
Why don’t manufacturers just use one switch and share the signal over CAN bus?
For a low-priority, low-frequency signal like hood position, a duplicate mechanical switch is often cheaper and simpler to service than adding bus logic to two modules, even on vehicles that already have multiple networks installed.
How do I tell which connector belongs to which module without a diagram?
Don’t rely on physical guesswork — pull the platform-specific wiring diagram and confirm. Backprobing the wrong connector wastes diagnostic time and can lead to misdiagnosis.
Diagnostic Tools for Hood Switch Testing
Diagnosing dual hood ajar switches requires accurate testing equipment. Our Automotive Diagnostic Tools collection covers the meters, probes, and test lights needed to safely diagnose hood switch circuits.
- Digital multimeters for continuity and voltage testing
- Back-probe sets for safe diagnosis without connector disconnection
- Test lights for quick voltage verification at the circuit

The Toolsource Technical Team blends decades of real-world automotive service experience with up-to-date technical research. Our writers collaborate with professional mechanics, shop owners, and diagnostic specialists to deliver practical, workshop-ready guidance you can trust.


Follow us on social media