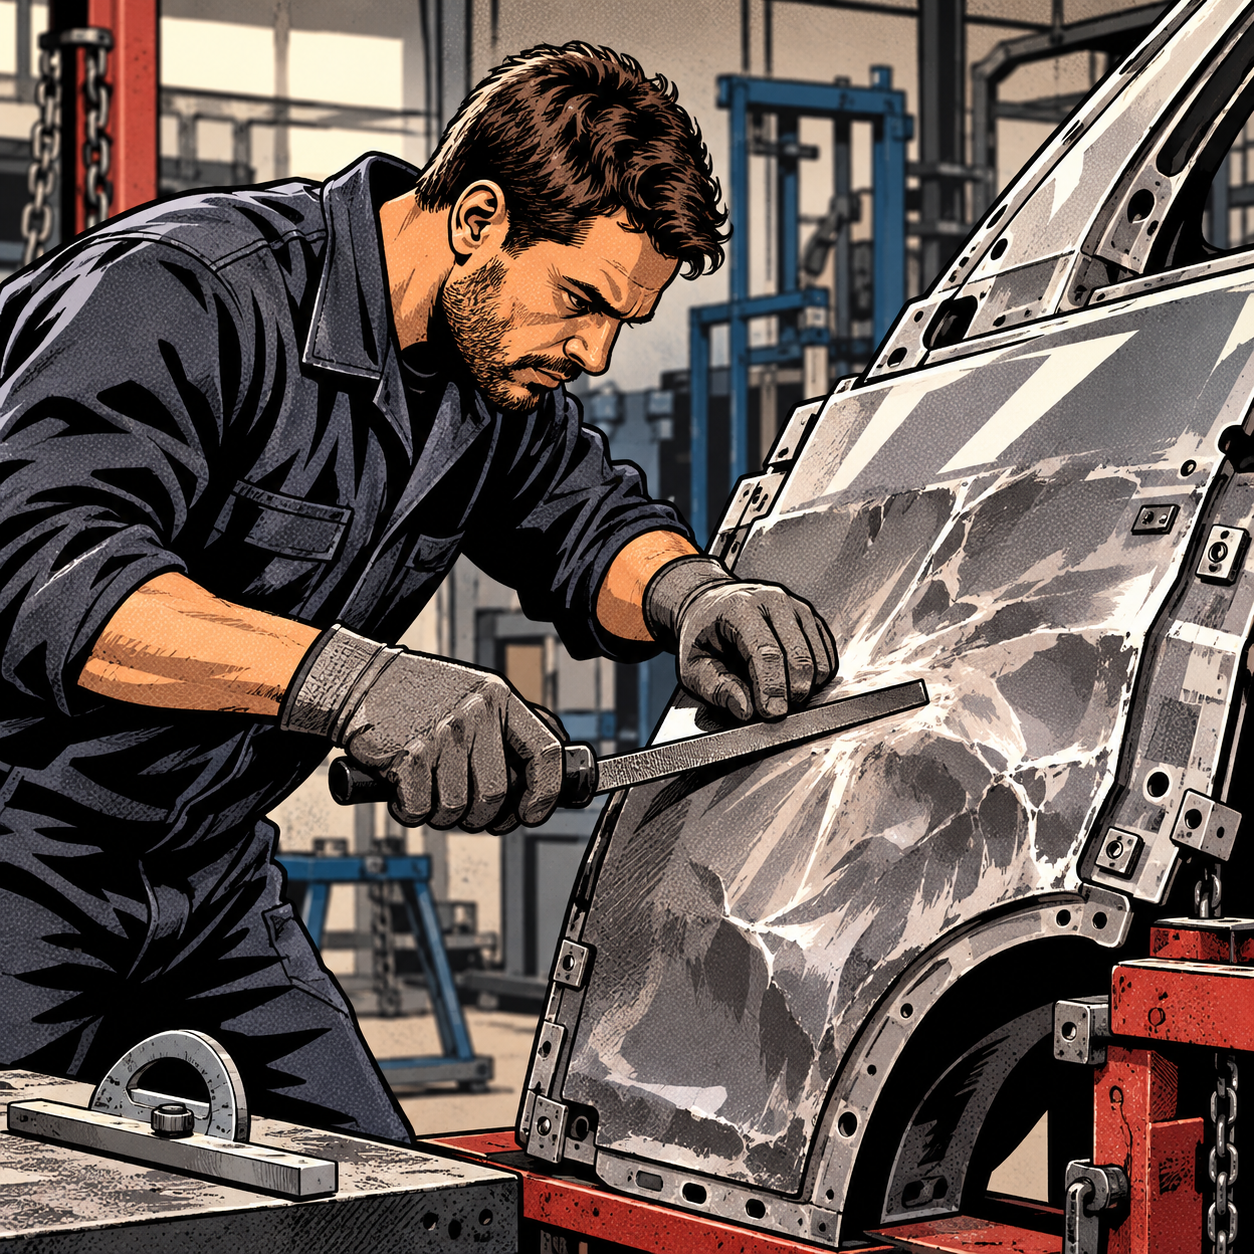
Every collision shop eventually hits the same fork in the road: repair the damaged quarter panel or cut it off and weld in a new one. It used to be a straightforward call based on damage severity, but thinner high-strength steel, more aluminum content, and tighter OEM repair procedures have made that decision harder than it was a decade ago. This guide walks through how to evaluate the damage, scope the labor realistically, and document the repair so it satisfies both the customer and the insurer.
Why the Repair-vs-Replace Call Is Getting Harder
Older unibody quarters were forgiving. You could work a dogleg or wheel arch with hammer-and-dolly technique, stretch and shrink the metal, and nobody questioned whether the panel would hold up structurally afterward. That’s changing. Manufacturers are using thinner-gauge, higher-tensile-strength steel and more aluminum to hit weight and crash-safety targets, and that metal behaves differently under a pulling station or stud welder. It work-hardens faster and is far more prone to tearing when you try to pull out a crease that would have moved easily on an older car.
A useful comparison: a 2012-era mid-size sedan and a 2020 compact crossover can show nearly identical dogleg damage, yet require opposite repair strategies. On the older car, the panel metal flexes enough to pull and finish without issue. On the newer one, the same pull can split the metal, forcing a full quarter replacement instead of a repair. This isn’t a case of techs preferring to replace parts — the underlying material has changed, and procedures have to follow it. Before you commit to a repair plan, know what alloy and gauge you’re dealing with, not just what the damage looks like on the surface.
Reading the Damage Before You Commit
A repair-first approach still wins when the damage is isolated, the structural pinch points are intact, and the metal shows no sharp creases or stress fractures. Side-impact damage that stays mid-panel, without pushing into the wheelhouse or rocker, is often repairable with a planned sequence of pulls, metal finishing, and filler work. Front-end damage that telegraphs back into the quarter is a different story — comments from techs doing this work daily consistently point out that “saving” a quarter on a front-hit car is where repairs start causing problems down the line, because the damage path is harder to fully map and pull correctly.
Check these before quoting a repair:
- Is the damage isolated to the outer skin, or has it transferred into the wheelhouse, floor pan, or rear rail?
- Are there any sharp creases or visible metal fractures, which indicate the panel has already exceeded its elastic limit?
- Does the OEM repair procedure for this specific body-in-white even authorize sectioning or panel repair, or does it call for full replacement?
- What’s the realistic total hour count compared to a replace-and-blend job, including pulls, metal finishing, filler, and paint?
If OEM procedures prohibit repair on that panel or require sectioning in a location the manufacturer doesn’t approve, replacement isn’t optional — it’s the only legally defensible path, regardless of how clean the repair could look.


Setting Up the Repair: Pulls, Wheelhouse, and Weld Tabs
Once you’ve confirmed a repair is viable, sequence the work so you’re not fighting the metal twice. A typical damaged quarter with wheelhouse involvement breaks down roughly like this: a rough set-up pull to bring the panel back into approximate shape and relieve stored stress, a dedicated wheelhouse pull and reshape, floor pull if the damage transferred that far forward, and then fine metal work on the outer skin. Weld tabs (often called wiggle wire) get added where you need an anchor point for the stud welder and slide hammer but don’t want to leave visible damage on show surfaces.
Don’t skip the floor and setback checks even if the visible damage looks cosmetic — rear quarter hits frequently push the unibody out of alignment at the rear rail, and a measuring system check before you start metal work will save you from finishing a panel that doesn’t sit right once it’s back on the frame rack.
Seam sealer and corrosion protection go on before paint prep, not as an afterthought. Any pull point, weld tab location, or seam you’ve disturbed needs to be resealed to OEM spec, especially at the wheelhouse and rocker joints where water intrusion causes comebacks months later.
Scoping Labor Time Realistically
Quarter panel repairs get underbid constantly because shops estimate them like a simple dent repair instead of a multi-stage structural job. A real-world breakdown on a quarter panel with wheelhouse damage often looks like: panel metal finishing work (the largest single line item), wheelhouse repair, rough set-up and floor pull, weld tab repair, seam sealing, and setback/wiring checks if harness clips or grounds were in the damage zone. Added together, a job like this commonly lands in the low-to-mid 20s for total hours — before paint and refinish time is even factored in.
Labor rates vary enormously by region, which changes whether repair or replacement is the more cost-effective path for the customer. Shops in major metros can bill well over $200/hour, while other regions sit closer to $70–$100/hour. At the high end, 20+ hours of repair labor can approach or exceed the cost of a new OEM panel plus paint; at the low end, repair is almost always the cheaper option. Know your local labor rate and run both numbers before you commit to a repair plan — the “right” answer isn’t universal, it’s regional.
Documenting the Repair for Insurance
Insurance companies are increasingly pushing back on repair-vs-replace decisions, and out-of-pocket claims are becoming more common as a result. Photograph the damage thoroughly before any pulls — every crease, every point of impact transfer — and keep progress photos through each pull and metal-finishing stage. If you’re repairing a panel that could plausibly be replaced, document why: cite the OEM position statement or repair procedure, note the metal gauge/alloy if available, and keep your measuring system printouts showing the panel returned to spec.
This paper trail matters for two reasons. First, it protects you if the customer or a future buyer questions the repair during a pre-purchase inspection. Second, it gives you leverage when negotiating hours with an adjuster who defaults to a lower number without understanding the actual labor involved in a wheelhouse pull versus a simple skin repair.
Quality Control Before Paint
A repaired quarter panel needs to pass the same checks a replaced one would, plus a few extra since you’re working with metal that’s already been stressed once.
Re-measure the unibody dimensions against spec after your pulls are complete, not just after the rough set-up. Check panel gaps against the door, rear bumper cover, and trunk/hatch opening — repaired panels are more prone to subtle gap inconsistency than a fresh OEM part. Run a magnet or thickness gauge across the repair area to confirm filler depth stays within acceptable limits; if you’re building more than a reasonable skim coat to hide persistent low spots, that’s a sign the metal work isn’t finished.
Pre-Paint Checklist
- Unibody measurements confirmed back to factory spec, including setback
- No remaining sharp creases, high spots, or oil-canning in the repair area
- All weld tabs ground flush and primed before filler
- Seam sealer and corrosion protection applied to every disturbed joint
- Panel gaps even at adjacent door, bumper, and trunk/hatch
- Filler thickness checked with a gauge, not just by eye
- Photo documentation complete for insurance file
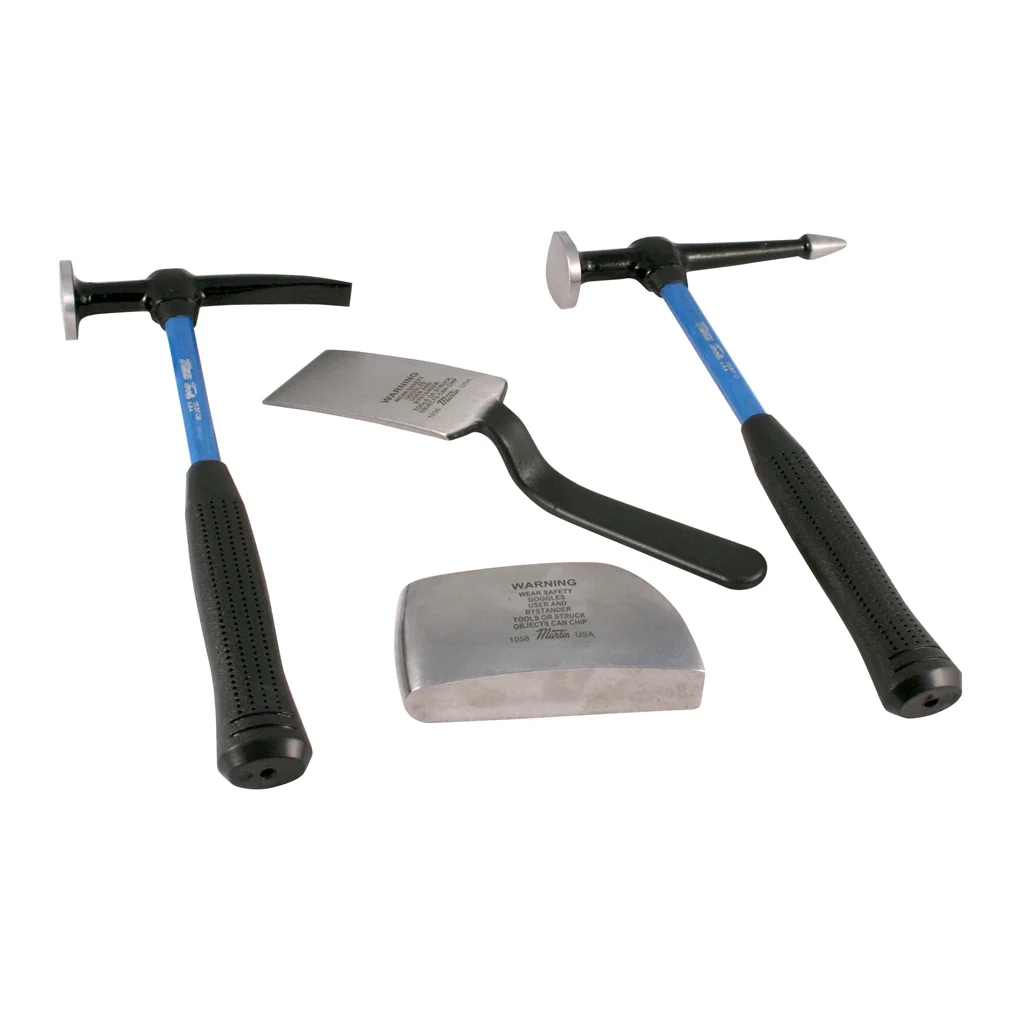
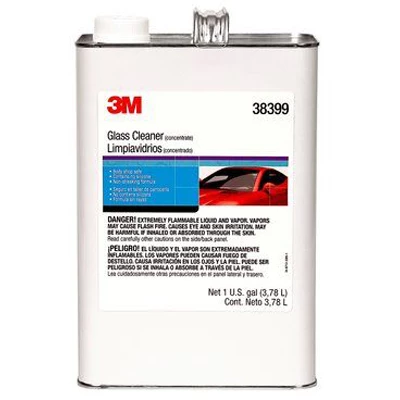
Body Shop Clean-Up Glass Cleaner Concentrate, 1 Gallon
Mfg: 3M Automotive
Part #: 38399

Frequently Asked Questions
How do I know if a quarter panel is repairable or needs replacement?
Check whether the damage stayed isolated to the outer skin or transferred into the wheelhouse, rocker, or rear rail, and confirm the OEM repair procedure actually authorizes repair or sectioning on that panel. Sharp creases or visible metal fractures usually mean the panel has exceeded its elastic limit and should be replaced.
Why are modern cars harder to repair than older ones?
Manufacturers increasingly use thinner, higher-tensile-strength steel and more aluminum to meet weight and safety targets. This metal work-hardens faster and tears more easily during pulls compared to older mild-steel panels, which pushes more jobs toward replacement even when the visible damage looks similar to what used to be repairable.
How many labor hours should I expect for a quarter panel repair with wheelhouse damage?
A repair involving the outer panel, wheelhouse, a rough set-up/floor pull, weld tab repair, seam sealing, and setback checks commonly totals in the low-to-mid 20-hour range for repair labor alone, before paint and refinish. Always scope wheelhouse and floor involvement separately from the outer skin — they’re frequently underestimated.
Is it cheaper to repair or replace a quarter panel?
It depends heavily on local labor rates. In regions with high hourly rates, 20+ hours of repair labor can approach the cost of a new OEM panel plus paint, making replacement competitive. In lower-rate regions, repair is usually the more economical choice. Run both numbers against your actual local rate before deciding.
What should I document for the insurance adjuster on a repair job?
Pre-repair photos of every crease and impact point, progress photos through each pull stage, the OEM repair procedure or position statement supporting repair over replacement, and post-repair measuring system printouts showing the panel is back to spec. This documentation is what supports your labor hours if an adjuster pushes back.
Do repaired panels need extra corrosion protection compared to replaced ones?
Yes. Any seam, weld tab, or joint disturbed during pulls needs seam sealer and corrosion protection reapplied to OEM spec before paint. Repaired panels have more disturbed joints than a single new panel install, so don’t treat corrosion protection as an afterthought.
Shop Paint & Body Tools
Repairing a quarter panel properly requires the right metal finishing, pulling, and sealing equipment. Our Paint & Body tools selection covers everything you need, from pulling and measuring gear to welding equipment and corrosion protection.
- Metal finishing and dent pulling equipment
- Stud welders and panel replacement supplies
- Seam sealers and corrosion protection products

The Toolsource Technical Team blends decades of real-world automotive service experience with up-to-date technical research. Our writers collaborate with professional mechanics, shop owners, and diagnostic specialists to deliver practical, workshop-ready guidance you can trust.


Follow us on social media