
Quarter panel repairs live or die by three things: how well you move the metal, how little filler you need, and how well you own the prime-and-block. This guide lays out a technician-first process to evaluate, document, metal-finish, skim, preserve body lines, test-fit, and deliver panels that block straight and paint clean.
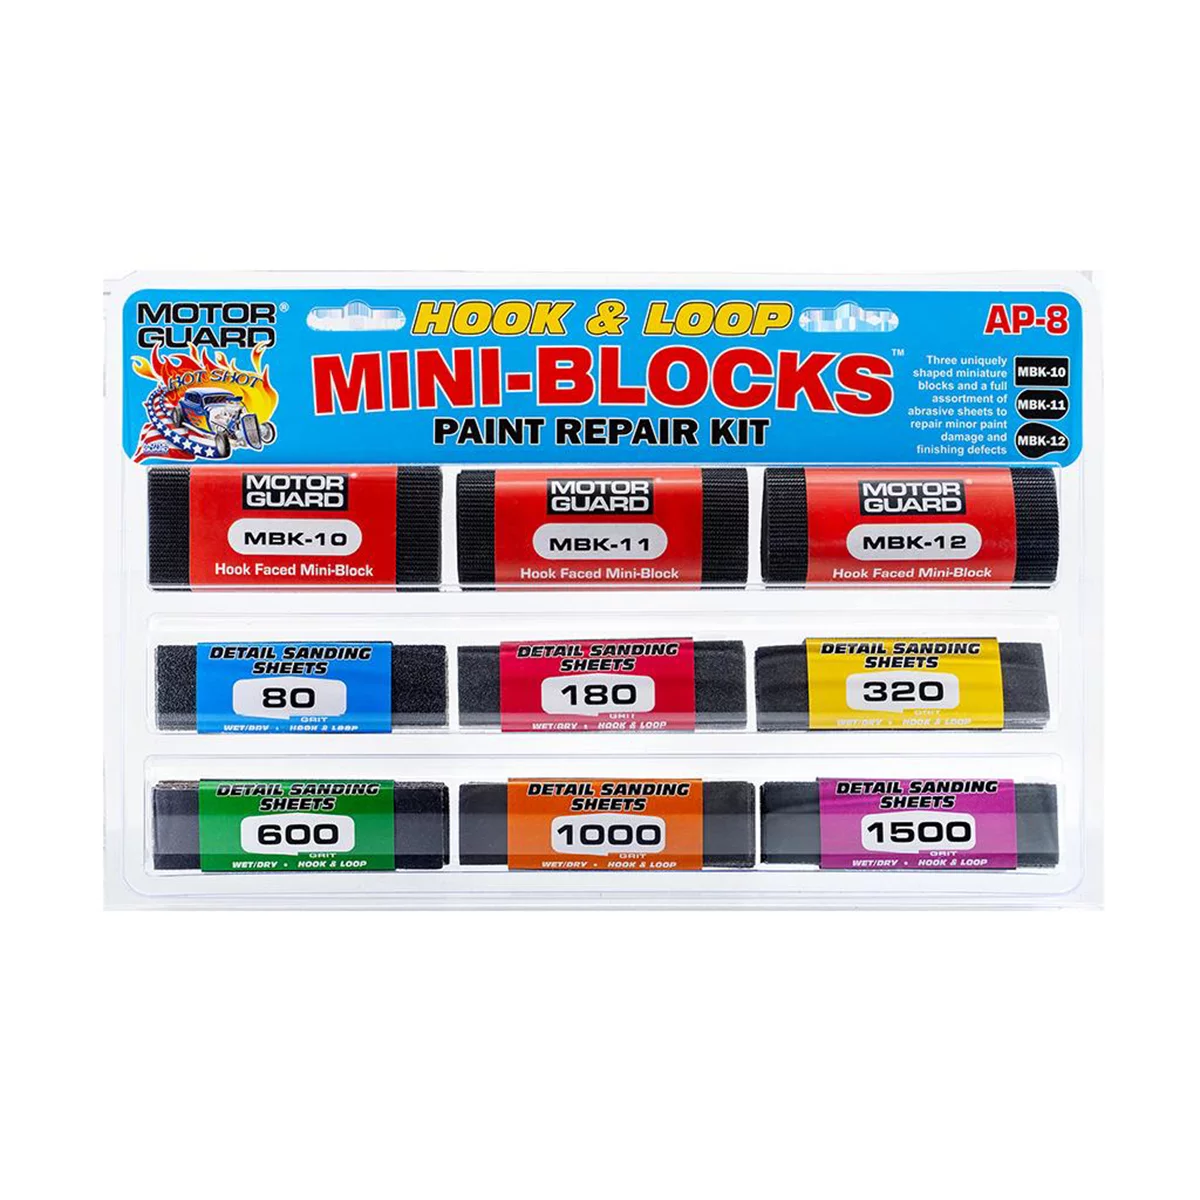
MINI-BLOCK PAINT REPAIR KIT ASSORTMENT OF 3 - HOOK & LOOP SANDING BLOCKS
Mfg: Motor Guard
Part #: AP-8
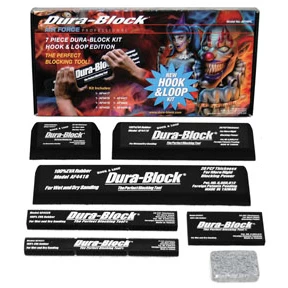

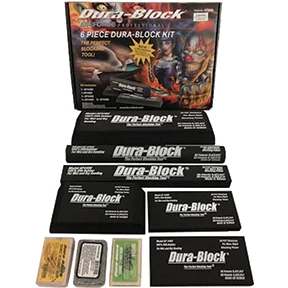
181198 AF44A Trade Associates DRB-AF44A 6 PIECE SANDING BLOCK KIT
Mfg: Trade Associates
Part #: AF44A
1) Diagnose and Decide: Repair vs. Replace, and Build Your Documentation
Start by measuring the scope and deciding if the quarter is a repair or a replace. Good metalwork beats a thick filler job every time, but borderline quarters do exist. Use facts, measurements, and complete documentation to protect your labor time and parts choices.
- Map the damage: Identify primary impact, crowns, buckles, tension/compression zones, and secondary damage (wheelhouse, dogleg, sail panel, aperture edges, lamp pockets).
- Measure structure and apertures: Verify pinch weld datum, wheel opening, lamp pocket, slider/fuel door, tailgate and door gaps. Note deviations.
- Document thoroughly: Shoot pre-repair photos from multiple angles, close-ups of creases, and revealing raking-light shots. Add tape measures or straightedges in-frame to show deflection.
- Pre-write ops: Include R&I for lamps, bumper, moldings, glass (if needed), inner protection panels, splash shields; add a pull setup/anchoring line, wheelhouse repair time, seam sealer, corrosion protection, and test-fit operations.
- Repair vs. replace: Choose replace when metal is torn across style lines, heavily stretched across multiple crowns, or access is impossible without excessive sectioning. Otherwise, plan a controlled pull/planish with minimal heat.
- Set expectations: Communicate with estimating on time for pulls, rough-in, metal finish, test-fit, prime and block. Tie each operation to your photo set so you aren’t asked to “work for free.”
2) Metal First: Pull, Planish, and Re-Crown Without Creating New Waves
The fastest way to a clean block is moving the metal back to shape. Aim for a metal finish that needs one proper filler coat and a skim of glaze, not a “quarter in a can.”
- Access safely: Disconnect battery if working near airbag sensors. Remove bumper, lamps, moldings, wheel, and liner for tool access and to protect finishes.
- Anchor and pull: Use proper anchoring on the bench or floor. Pull in the reverse order of impact: relieve high crowns first with a hammer-on-dolly and knockdowns, then address lows. On sheet steel quarters, stud-weld or tab/glue-pull where feasible to reduce perforations; mix methods as access changes.
- Control heat: Avoid aggressive heating. If shrinking is required, use minimal, well-placed heat and quenches or a shrinking disc with light pressure. Keep infrared thermometer handy to protect OEM e-coat on inner panels.
- Planish as you go: Alternate light pulls with hammer-and-dolly to set the panel, reduce springback, and restore crown. Listen for tone changes on-dolly vs off-dolly; chase the last bit of tension, not just the visible low.
- Verify lines and apertures first: Before chasing surface perfection, rough in door gaps, slider tracks, fuel door, and lamp pocket alignment. Use a contour/profile gauge to capture the body line from the undamaged side and mirror it to the repair side as a target.
- Stop at a sandable finish: DA with 80 grit or a 50–80 grit roloc on a soft pad to remove coatings only where filler will sit. Avoid deep grinding that thins the panel or creates heat.
3) Minimal Filler, Maximum Control: Mix, Apply, Shape, and Glaze
Thin, well-placed filler builds speed. Keep thickness in check and let your metalwork do the heavy lifting.
- Surface prep: Clean with solvent, blow dry, then 80-grit scratch on bare metal where filler will bond. Feather nearby OEM paint with 120–180 so transitions block clean. Use clean mixing boards and spreaders to avoid contaminates.
- Mix correctly: Follow manufacturer ratios. Over-catalyzed filler sets too fast and clogs abrasives; under-catalyzed never cures right. Mix fully to uniform color without whipping in air.
- Apply intentionally: Spread with pressure, working across the damage at 45-degree angles to press out air. Aim for one controlled application that covers the repair plus a small halo, not multiple piled-on passes.
- Green-stage shaping: As the filler gels, knock down high ridges with a body file or surform to reduce later block time. Don’t carve body lines—leave them slightly proud for block definition.
- Block sequence: Use long, appropriate-curvature blocks. Cross-hatch strokes (X pattern) with 80–120 to establish shape. Re-apply a thin pass only where low; avoid chasing lows by cutting surrounding areas flat.
- Glaze properly: After shape is set and sanded to 120–180, apply a thin polyester glaze to fill pinholes and fine lows. Sand glaze with 180–220 to a crisp featheredge. Keep total build conservative—target ≤ 1/8 inch (3 mm) max in localized areas, less over large spans.
- Guide coat everything: Dry powder or aerosol guide coat after each grit change. Guide coat reveals lows, highs, and rounded edges before primer locks them in.
4) Preserve the Body Line: Tools, Techniques, and Quality Control
Body lines sell the repair. Keep them sharp by choosing the right blocks and protecting edges from rounding.
- Choose the right block: Use long, rigid blocks on straight sections and flexible long blocks matched to the quarter’s crown on curved areas. Avoid soft interface pads on edges and style lines—they roll edges and wash out definition.
- Define the edge: Tape along the body line to protect it while blocking adjacent planes. Remove the tape to bring the line up last with short, controlled strokes using a dedicated edge block or hard block corner.
- Use templates: Capture the undamaged side’s profile with a contour gauge or cardboard template. Check frequently against the repair side. Small deviations are easier to correct before primer than after.
- Raking light and feel: Position a bright, low-angle light to reveal waves. Use a clean hand and a dry microfiber to feel for texture changes. Look down the panel from multiple viewpoints.
- Gaps and reveals: With doors temporarily hung or left in place, verify consistent gaps and that the body line flows through door, quarter, and lamp/bumper interfaces. Correct here before primer.
5) Test-Fit Before Primer: R&I, Protection, and Bumper/Glass Checks
Fit parts now. Priming before test-fitting risks cracking fresh coatings or discovering alignment issues too late.
- Remove or protect wisely: Pull wheels/tires or cover them with dedicated wheel masks. Use fender covers and edge guards. If the adjacent door is finished, pad and tape edges before any blocking or test-fit.
- Mock-up assemblies: Fit the bumper, lamps, moldings, and fuel door before primer. Install critical fasteners, not just a couple of clips. Confirm fastener hole alignment, clip engagement, and seam flushness.
- Inner structure and wheelhouse: Inspect and repair inner lips, wheelhouse flanges, and splash shield mounting points. Add seam sealer and corrosion protection where OEM had it. Document these ops for the estimate.
- Final clean: Blow out dust, clean with wax and grease remover, and re-guide coat before primer. Anything left proud now will telegraph under paint.
6) Prime, Block, and Own the Finish
Whether your shop assigns primer to paint or body, the least contentious, most consistent path is start-to-finish ownership: you prime and block your repair. That way, the person who shaped the panel also refines it and protects the body lines.
- Primer choice and setup: Use a 2K high-build primer over properly sanded substrate. Follow the manufacturer’s recoat windows. Spray with an appropriate tip (1.7–2.0 mm) to achieve build without texture or sags.
- Block it straight: After cure, apply guide coat and block with 220–320 using long blocks. Protect body lines by blocking up to the edge, not across it, until final passes. Re-guide coat and refine with 400, then 600 if basecoat system requires it.
- Edge management: Use tape to isolate lines during initial cut, remove tape, and crisp the line with light, straight passes. Avoid DA or soft interface pads on edges—reserve DA for large, open, slightly crowned areas and final finishing grits.
- Final test-fit and sign-off: Refit bumper and lamps after blocking to confirm no change. Photograph final gaps, profiles, and body lines under raking light. Add these to your job file.
Quick Send-Off Checklist
- Pre- and post-repair photos (including raking light and measurements)
- Gaps and reveals verified: door, lamp pocket, fuel door, bumper
- Body line crisp and matched to template/profile gauge
- Filler/glaze thin, no pinholes visible under guide coat
- 2K primer blocked with guide coat to 400–600 as required
- Bumper and key trim test-fitted and documented
- Wheel and adjacent panels protected or R&I completed
- Seam sealer/corrosion protection restored where applicable
Estimator and Workflow Tips That Protect Your Time
Good repairs deserve proper hours. Don’t let underwritten estimates turn into free labor.
- Tie photos to labor ops: Each pull setup, anchor point, inner wheelhouse repair, and mock-up step should have a matching photo and line on the RO.
- Include real R&I: Lamps, bumper, moldings, wheel, splash shield, fuel door, glass (if necessary) and resets (sensors, windows) belong on the sheet.
- Account for refinements: Prime and block operations, seam sealer, corrosion protection, cavity wax, and guide coat materials are legitimate items.
- Use OEM procedures: Where sectioning or substrate requirements exist, print OEM docs and attach. They support operations and materials.
- Negotiate replacement vs repair: When a panel is borderline, document why repair is feasible (and efficient) or why replacement is required (tears across style lines, access, safety).
Common Pitfalls and How to Avoid Them
- Over-grinding and heat: Thins the panel and creates more oil-canning. Use controlled abrasives and check temperature.
- Skipping test-fit: Leads to broken fresh primer during assembly and last-minute bodywork.
- Rounding edges: DA with a soft pad near body lines will wash out detail. Block by hand with proper tools.
- Layering filler thick: Thick filler shrinks and prints. Go back to metalwork if you’re beyond roughly 1/8 inch.
- Hand-off gaps: If paint/prep blocks differently than you shaped, you can lose the line. Own the block, or align closely with the painter on tools and process.
FAQs
How thick is “too thick” for filler on a quarter panel?
Industry practice targets minimal thickness—ideally a skim to a few millimeters. Localized spots up to roughly 1/8 inch (3 mm) can be acceptable when the underlying metal is properly supported and the area is small. If you’re consistently approaching that across wide sections, return to metal finishing.
Should the body tech or the painter prime and block?
The most reliable approach is for the technician who did the metalwork to prime and block the repair. It preserves body lines and reduces finger-pointing. If your shop separates roles, align on block selection, grit sequencing, and guide-coat expectations, and document the surface before handoff.
When should I choose glue pulling vs stud welding on a quarter?
Glue pull tabs are excellent for accessible, shallow damage where you want to avoid perforations and backside corrosion risk. Studs are appropriate when you need more directional control or when coatings prevent strong glue adhesion. Many jobs use a mix: relieve crowns and shallow lows with glue, then place studs strategically for controlled linear pulls.
What grit should be under filler and glaze?
Filler bonds best to clean, bare metal with an 80-grit profile. Feather surrounding OEM paint to 120–180 for a smooth transition. After shaping filler, sand to 120–180 before glazing. Sand glaze with 180–220 before primer. Always use guide coat between grit changes.
How do I keep body lines sharp through the blocking process?
Protect the line with tape while blocking adjacent planes, use rigid blocks, and avoid soft interface pads near edges. Bring the body line up last with short, straight passes and confirm with a profile template from the undamaged side.
Do I need to remove glass for a quarter panel repair?
It depends on proximity to the pinch weld and whether heat, welding, or heavy dust/overspray will be present. If you’re sectioning near the aperture, remove glass. If it’s strictly outer skin work with careful protection, you may leave it and use proper masking and shields. Document the decision and include R&I if removal is necessary.
Recommended Tool Categories for This Workflow
- Stud welders, pull keys, slide hammers, and glue pull systems
- Anchoring systems and clamps
- Body hammers, spoons, and assorted dollies
- Sanding blocks: long rigid, long flexible, edge blocks
- DA sanders with dust extraction; roloc surface prep tools
- Body filler, polyester glaze, spreaders, and mixing boards
- Guide coat (powder or aerosol) and raking lights
- 2K primer surfacers, primer guns (1.7–2.0 mm), and PPE
- Contour/profile gauges, straightedges, gap gauges
- Panel and bumper stands, wheel covers, fender covers
- Seam sealer, cavity wax, and corrosion protection applicators
Own the metal. Keep filler thin. Preserve the line. Test-fit before primer. Prime and block with intent. Do these consistently and your quarters will block fast, paint straight, and come back with zero comebacks.
Shop Sanding Blocks
Dial in straight quarters and crisp body lines with Sanding Blocks designed for metal-finish-first repairs.
- Long rigid and flexible blocks for flats and crown panels
- Edge blocks to protect and define style lines
- Grits suited for filler, glaze, and primer blocking
The Toolsource Technical Team blends decades of real-world automotive service experience with up-to-date technical research. Our writers collaborate with professional mechanics, shop owners, and diagnostic specialists to deliver practical, workshop-ready guidance you can trust.


Follow us on social media