A wave of collision-repair horror stories has been making the rounds online lately — grease-smeared headliners, cracked interior trim, glued-together clips, and cars handed back to customers looking like a shop rag exploded in the back seat. The details vary, but the root cause is almost always the same: no barrier protection during the repair, rushed reassembly, and a final inspection that either didn’t happen or didn’t look hard enough. For shops running on production quotas, it’s easy to see how corners get cut. But interior contamination and trim damage are some of the most preventable comebacks in the business, and they’re also some of the most expensive to a shop’s reputation. Here’s a practical rundown of where these failures come from and what a tight QC process looks like from drop-off to delivery.
Why Interior Damage Happens in the First Place
Talk to enough people who’ve worked the floor of a high-volume body shop and the pattern becomes clear. Techs handling mechanical and structural work generally aren’t thinking about upholstery — they’re focused on panel fit, alignment, and getting a car off the rack so the next one can go up. Bare hands go into door panels and headliners covered in adhesive, primer, or grease because gloves slow things down and “that’s what detail is for.” Detailers, meanwhile, are often the lowest-paid people on the floor and the last stop before delivery, which means they’re cleaning up problems they didn’t create on a deadline they don’t control. When a shop is trying to turn eight or ten vehicles in a day, the estimator or manager who’s supposed to walk each car before it goes to the customer is often skipping that step too, especially if the customer is already in the lobby waiting.
None of this is a mystery to anyone who’s worked in collision repair. It’s a management and workflow problem, not a mystery of how grease gets on a headliner. Fixing it means building protection and inspection into the repair order itself, not treating it as something that happens automatically if everyone just “cares more.”
Cover the Vehicle Before Anyone Touches It
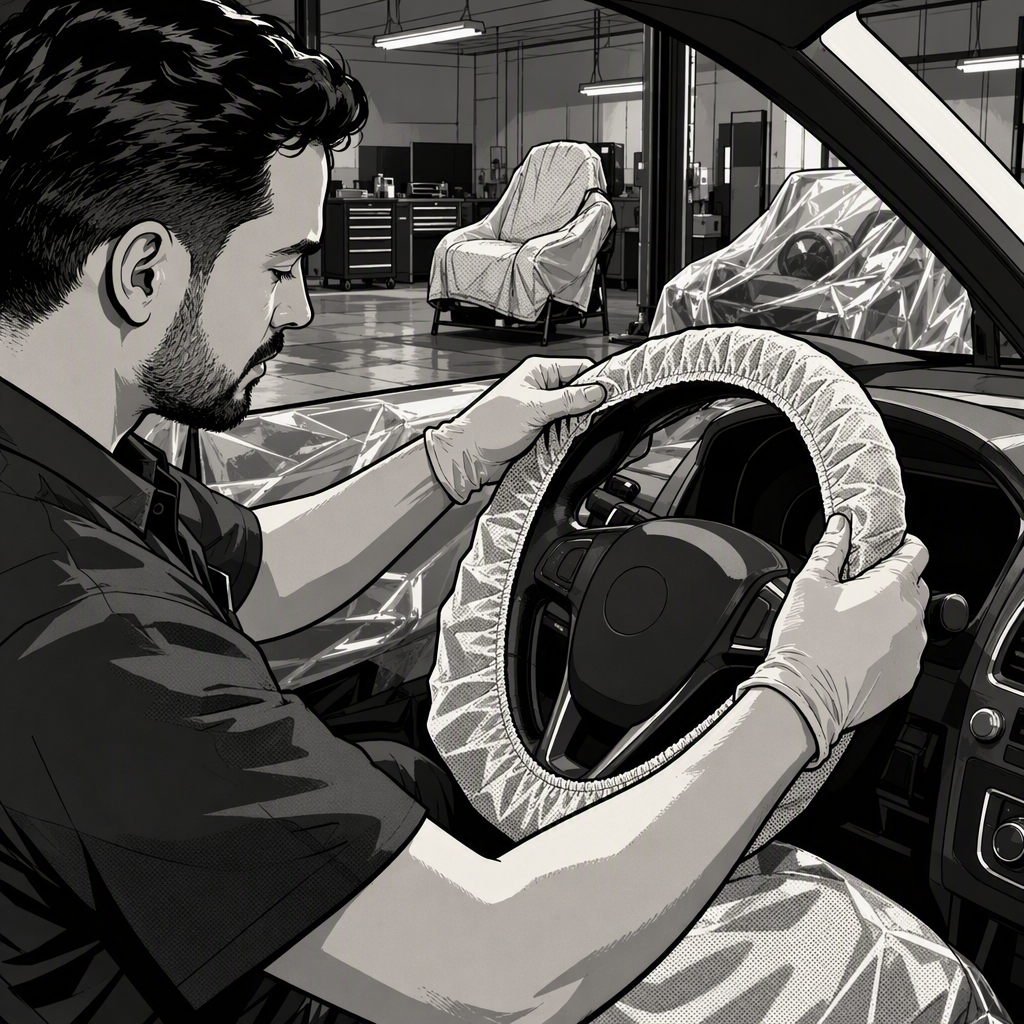
Interior protection has to start at intake, before the first panel comes off. Seat covers, steering wheel covers, floor mats, and shifter boots should go on as part of the initial teardown checklist, the same way fender covers and grille protectors go on for exterior work. If the repair requires interior access — door panels, headliner, dash components — plastic sheeting or dedicated headliner protection should be part of the standard kit for that job, not something a tech has to remember to grab. Steering wheel and shift knob covers are cheap and prevent the kind of grease transfer that ends up on every surface a customer touches when they get the car back.
Disposable nitrile gloves belong in every tech’s hand for any interior work, full stop. It’s not about being dainty — it’s that primer, seam sealer, and grease do not come out of headliner fabric or light-colored trim with a wipe-down, and steam cleaning can shrink or warp headliner material rather than restore it. A box of gloves costs a fraction of what a headliner replacement costs.
Reassembly: Clips, Fasteners, and Trim Handling
A lot of the damage described in these complaints isn’t grease at all — it’s broken interior clips glued back together, cracked mirror housings, and cut trim panels used to gain access to a headliner instead of removing it properly per the repair procedure. This is where shortcuts compound. Once a clip snaps, the fast option is a dab of adhesive and moving on; the correct option is pulling the OEM part number and replacing it. Techs should be trained to flag broken fasteners on the repair order rather than hiding them, and shops should stock common trim clips and retainers so replacing one doesn’t stall the job.
Whenever a headliner, pillar trim, or door panel has to come out, follow the OEM removal sequence rather than improvising an access point. Cutting sail panels or forcing trim off to save time is exactly the kind of shortcut that shows up later as a rattling panel, a gap that won’t seat, or water intrusion — trim and seals that seat properly are also what keep water out of the cabin, so improper reassembly here often turns into a leak comeback down the road.
Final Inspection Before the Car Leaves the Building
Every vehicle should get a documented final walk-around by someone other than the tech who worked on it — ideally the estimator or a shop foreman — before it’s released. This isn’t a glance through the window. It means opening doors, checking under seats, running a hand along the headliner and pillars, checking mirror housings, testing window and door seals, and confirming panel gaps and reassembly points match factory spec. If a detailer flags contamination they can’t fully remove, that has to stop the delivery, not get waved through because the customer is waiting in the lobby.
Shops that build this into the repair order as a mandatory sign-off step — separate from the detail step — catch far more of these issues before the customer ever sees the car. It also creates a paper trail that protects the shop if a dispute comes up later, since there’s a record of what was checked and by whom.
Documentation Protects Everyone
Timestamped photos at intake and at delivery are cheap insurance for both the shop and the customer. For the shop, before-photos establish what condition the vehicle was actually in when it arrived, which matters if a customer disputes pre-existing wear. For the customer, they’re the strongest leverage if a shop tries to claim damage wasn’t caused during the repair. Photos should cover the full interior — seats, headliner, dash, door panels — not just the damaged area being repaired, and delivery photos should be taken before the customer drives off, ideally with the customer present.
Handling a Comeback the Right Way
When contamination or trim damage does make it out the door, how a shop responds matters as much as how it happened. Offering to have a third party detail or repair the vehicle at the shop’s expense, rather than attempting an in-house fix that’s already failed once, tends to resolve things faster and preserves trust. Denying responsibility or blaming vague “unauthorized access” to the vehicle — a claim that shows up surprisingly often in disputes — tends to escalate a situation that a straightforward repair and apology would have closed out. If the vehicle came in through an insurance-preferred shop arrangement, repeated unresolved complaints are also exactly what gets a shop dropped from that referral network, so there’s a direct business incentive to make it right the first time a customer raises the issue.
Quick QC Checklist for Interior Protection
- Seat, steering wheel, and floor covers installed before any interior or mechanical work begins
- Gloves required for any tech handling interior trim, headliner, or upholstery
- Broken clips and fasteners logged and replaced with OEM parts, not glued
- Headliner and trim removed per OEM procedure — no cutting access points
- Documented final walk-around by someone other than the repairing tech
- Timestamped intake and delivery photos covering the full interior
FAQs
Why do collision shops leave grease or primer on interior surfaces?
Usually because techs work bare-handed on trim and headliners during teardown or reassembly, and interior protection like seat and steering wheel covers wasn’t installed before the work started. It’s a process gap, not an unavoidable side effect of repair work.
Can a shop steam clean grease out of a headliner?
Steam cleaning can lift some contamination but can also shrink or warp headliner fabric and its backing, sometimes requiring full replacement anyway. Prevention with covers and gloves is far cheaper than remediation after the fact.
What should I photograph before dropping a car off for repair?
The full interior — seats, headliner, dash, door panels, and any existing wear or damage — with timestamps, plus the exterior areas being repaired. This protects both the shop and the customer if a dispute arises later.
Should broken interior clips be repaired with adhesive or replaced?
Replaced with OEM parts whenever possible. Glued clips typically fail again quickly and don’t restore proper panel fit, which can also affect seals and lead to water intrusion.
Who should do the final inspection before a vehicle is delivered?
Someone other than the tech who performed the repair — typically an estimator or shop foreman — using a documented checklist that covers interior condition, not just the repaired panel.
What’s the best way to handle a customer complaint about interior damage after repair?
Acknowledge it, document it, and offer to have it corrected or professionally detailed at the shop’s expense — including by a third party if the shop’s own attempt already failed. Disputing clear damage tends to escalate the situation and risks losing insurance referral status.
Recommended Paint & Body Supplies
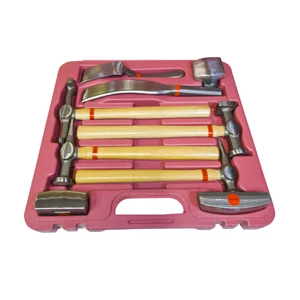
This guide covers the protective covers, gloves, tools, and materials that prevent interior damage during collision repair. Find protective seat and steering wheel covers, work gloves, fasteners, and other supplies in our Paint & Body category.
- Protective seat covers, steering wheel covers, and floor protection
- Nitrile gloves and work safety equipment
- OEM fasteners, clips, and trim components

The Toolsource Technical Team blends decades of real-world automotive service experience with up-to-date technical research. Our writers collaborate with professional mechanics, shop owners, and diagnostic specialists to deliver practical, workshop-ready guidance you can trust.


Follow us on social media