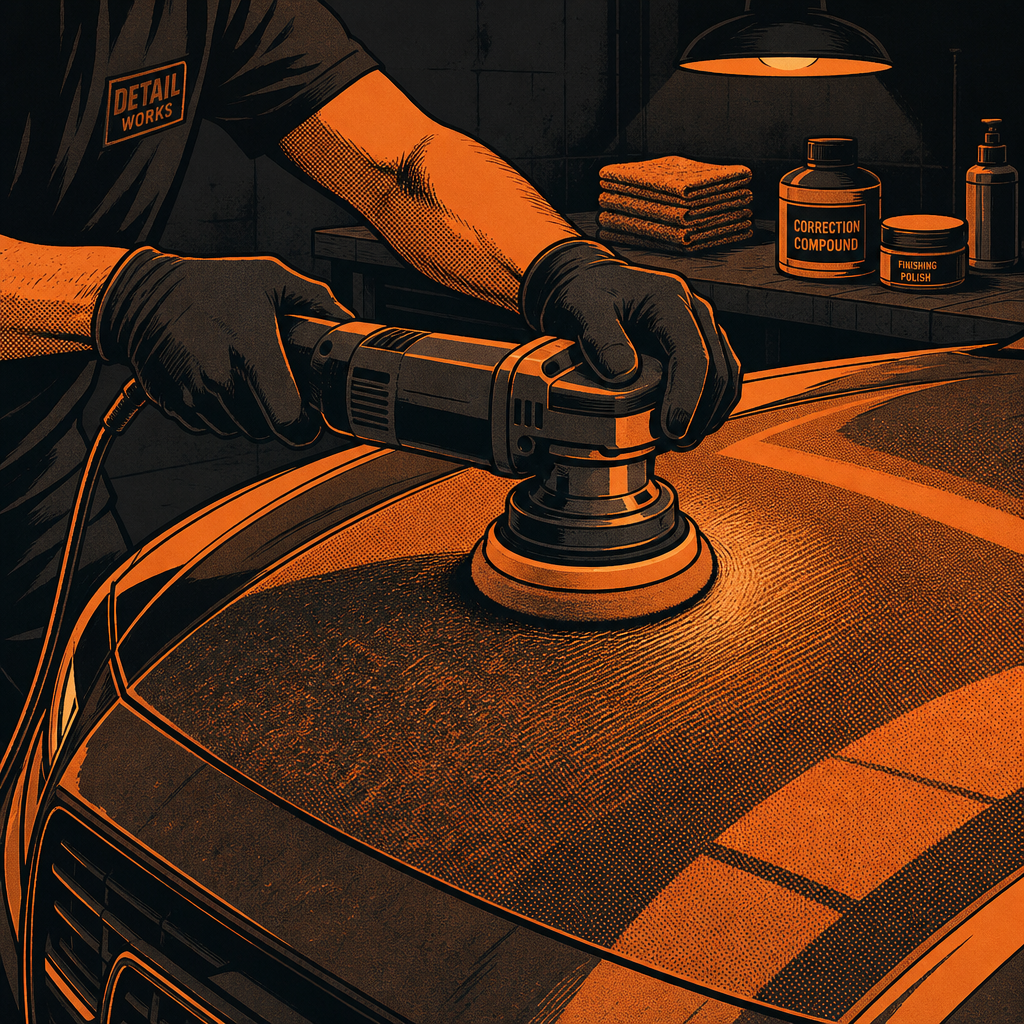
Faded clear coat, spiderweb swirls, and dull hoods are some of the most common paint complaints that never actually require a repaint. In most cases, the clear coat is still intact — it’s just covered in fine scratches from years of automatic car washes and improper wiping. A random orbital or forced-rotation dual-action (DA) polisher, one good compound, and a disciplined process can bring that finish back without professional-grade equipment. This guide walks through the process technicians and serious DIYers actually use, from prep through final protection, along with the mistakes that turn a good correction into a burned panel.
1. Prep Is Not Optional — Wash, Decontaminate, Clay
Polishing over a dirty surface just grinds contamination into the clear coat and creates new scratches. Before any compound touches the panel, run the full decontamination sequence:
- Wash with a proper car wash soap and the two-bucket method (one bucket for soap, one for rinsing the mitt) to avoid dragging grit across the paint.
- Iron removal — an acid-free iron remover spray dissolves embedded brake dust and rail dust from the clear coat. You’ll see it bleed purple/orange as it reacts; rinse thoroughly after.
- Tar and bug removal — a dedicated bug-and-tar remover handles road grime that soap won’t touch. Note that heavily etched bug guts or sap may leave permanent marks that only compounding (or a repaint) will fix.
- Clay bar — after washing, run a clay bar or clay mitt with a lubricant across every panel. If the clay drags or feels gritty, the surface still has bonded contaminants that will interfere with polishing. Keep working the same section until the clay glides smoothly.
Skipping any one of these steps is the single most common reason a DIY correction looks worse than expected — the compound ends up polishing dirt into the paint instead of removing defects.
2. Choose the Right Polisher for a First Attempt
Rotary buffers cut fast but generate heat quickly and can burn through clear coat in inexperienced hands — they’re not the right starting tool. For a first correction job, a corded or cordless dual-action (DA) polisher is the safer, more forgiving choice because the pad oscillates rather than spinning at a fixed rate, which limits heat buildup and holographic marring.
Entry-level 6-inch corded DA polishers in the $60–$100 range are more than capable for a driveway or garage correction — the tool matters less than pad selection and technique. Forced-rotation DAs (which combine some of the cutting power of a rotary with DA safety) are a step up if you plan to do this regularly, but they’re not necessary for a first panel.

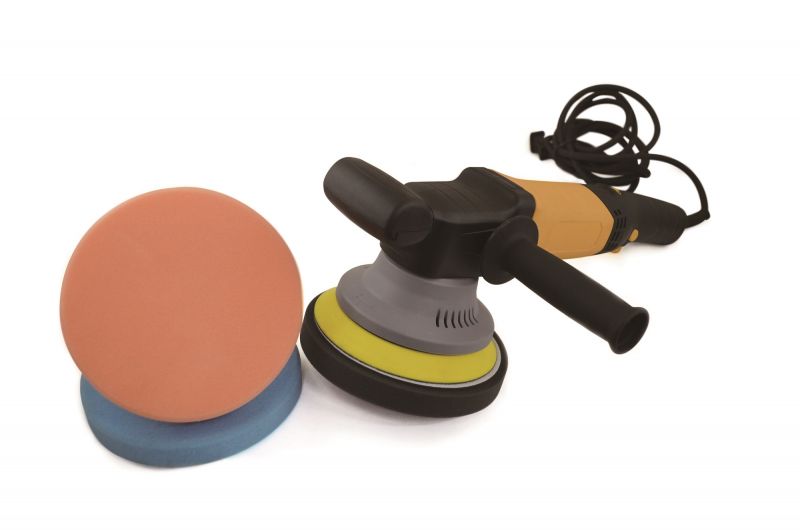
Electric 6" Dual Action Random Orbital Polisher W/ 3pc Pad Kit -
Mfg: Astro Pneumatic
Part #: 3058
3. Pick a Cut Level That Matches the Damage
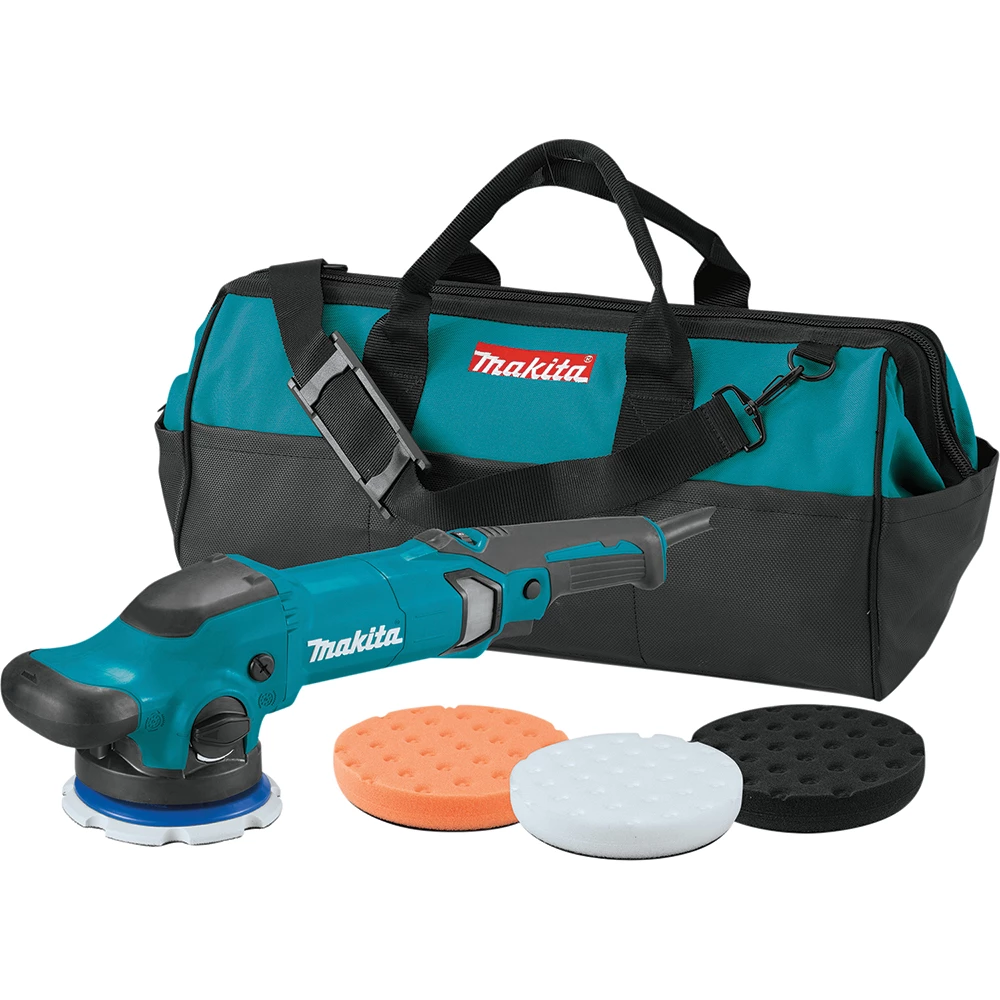
Compounds and pads come in cut levels — how aggressively they remove clear coat to level out scratches and oxidation:
- Medium-cut compound + finishing pad handles moderate swirls, light oxidation, and general dullness. This is the right starting point for most daily-driven vehicles.
- Heavy-cut compound + wool or aggressive foam pad is reserved for deep oxidation, single-stage paint that’s chalking, or scratches you can catch a fingernail on. It removes more clear coat per pass, so it should be followed immediately by a finishing polish to remove the compounding marks (haze) it leaves behind.
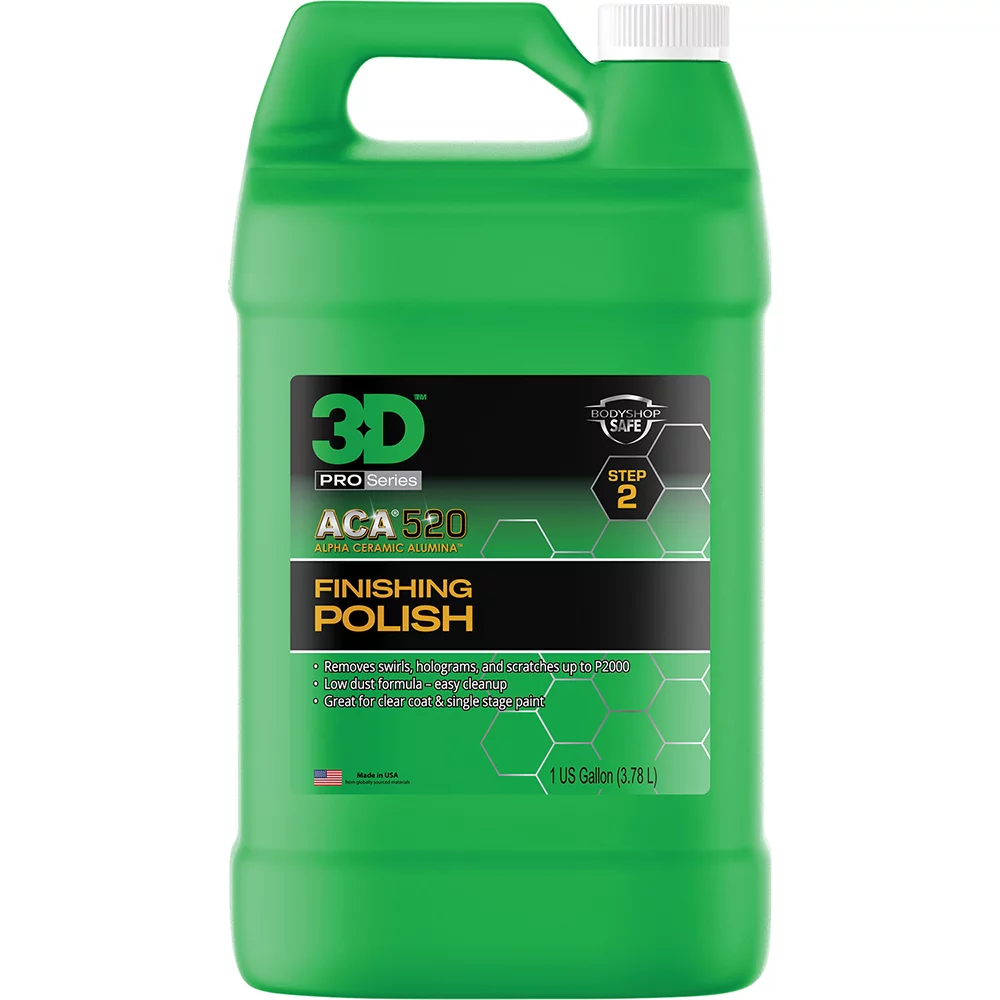
- Pure finishing polish (no real cut) is for removing fine holograms and adding gloss after a compounding stage, or as a standalone step on paint that’s already in decent shape.
A widely used all-in-one compound can level moderate swirls and restore gloss in a single pass on most clear coats, which is why it’s a popular first product — it removes the guesswork of matching multiple products to multiple defect levels.
4. Work Method: Small Sections, Controlled Passes, Clean Pads
Technique matters more than the tool. Follow this pattern on every panel:
- Work in 2-foot by 2-foot sections — trying to cover a whole hood in one pass leads to compound drying out unevenly and inconsistent correction.
- Apply a few pea-sized dots of compound to the pad, spread it at the polisher’s lowest speed, then increase to a medium working speed for the actual passes.
- Use moderate, consistent pressure and overlapping passes (roughly 50% overlap) in a crosshatch pattern — straight lines in one direction only leave uneven correction.
- Check the panel temperature by hand periodically. If it’s hot to the touch, stop and let it cool — heat is what causes burn-through, especially on edges, ridges, and body lines where clear coat is thinner.
- Wipe each section with a clean, dry microfiber immediately after polishing to check progress before moving on.
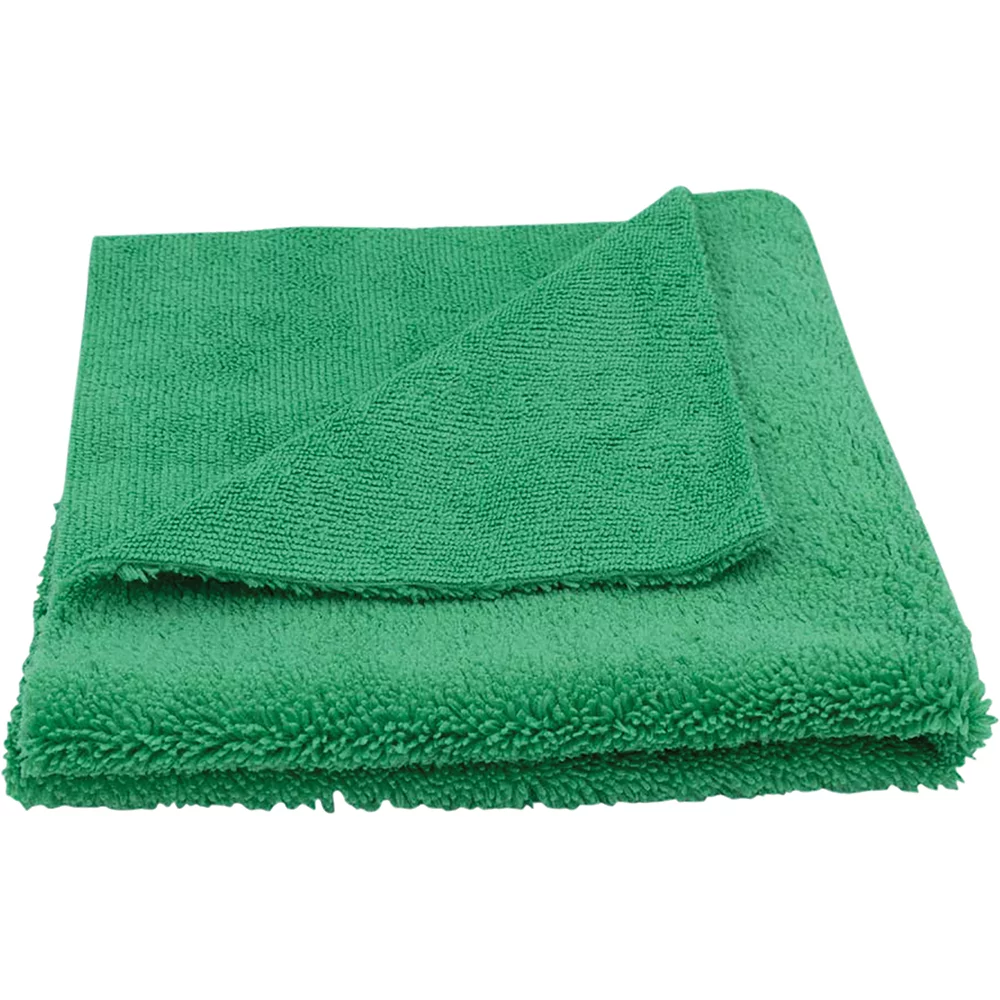
Buy more microfiber towels and foam pads than you think you’ll need. Pads load up with dried compound fast, and a caked pad stops cutting effectively and starts marring the paint instead. Budget pads in particular tend to delaminate faster than premium brands, so rotate to a fresh pad rather than trying to squeeze more life out of one that’s falling apart.
5. Avoid Direct Sunlight and Hot Panels
Compound and polish are formulated to work while wet, and direct sun or a hot panel surface causes them to dry out mid-pass, reducing lubrication and increasing the risk of marring or burning the clear coat. Work in a garage, carport, or shaded area whenever possible, and if you’re outside, reposition with the sun’s angle throughout the job so you’re never polishing a panel that’s baking in direct light.
6. Seal the Correction and Address Trim
Once compounding and any finishing polish steps are done, the correction is only as good as the protection layer on top of it:
- A ceramic-boosted spray sealant (SiO2-based) applied after polishing adds gloss, water beading, and UV protection, and is far more beginner-friendly than a full ceramic coating application.
- Faded plastic trim, bumpers, and mirror caps respond well to a dedicated trim restorer — it’s a low-cost, high-visual-impact step that’s easy to skip but noticeably improves the finished look.
- Chrome trim can be polished with the same compound and a dedicated small pad or applicator if it’s dull or lightly oxidized.
Quick Reference Checklist
- Wash with two-bucket method
- Treat with iron remover, rinse fully
- Remove tar/bug residue
- Clay bar until the surface glides smoothly
- Work in shade, in 2’x2′ sections
- Match compound/pad cut level to defect severity
- Keep pads clean; swap when loaded or delaminating
- Check panel temperature; stop if hot
- Follow heavy cut with a finishing polish pass
- Seal with ceramic spray sealant; treat trim and chrome last
FAQs
Do I need a rotary buffer to get professional results?
No. A dual-action polisher is safer for inexperienced users and can achieve strong correction results on most daily-driver paint. Rotary buffers cut faster and are useful for severe oxidation or professional workflows, but they carry a much higher risk of burning through clear coat if pressure, speed, or dwell time aren’t managed carefully.
How do I know if a scratch will actually come out?
Run a fingernail across the scratch. If your nail catches, the scratch likely goes deeper than the clear coat and compounding won’t fully remove it without risking too much clear coat removal. If your nail glides over it, it’s typically a clear coat-level defect that responds well to compounding and polishing.
Can I do this on single-stage paint?
Yes, and results are often dramatic since single-stage paint oxidizes and chalks visibly over time. Use a plush finishing pad rather than foam for the final pass, since single-stage paint tends to respond better to a softer buffing surface, and expect more product transfer onto your pads and towels (color will show up on white microfiber — that’s normal).
What’s the biggest mistake first-timers make?
Skipping proper wash/decon steps and working in direct sunlight are the two most common issues. Both lead to marring, uneven correction, or the compound drying out mid-pass, which reduces effectiveness and can create new fine scratches.
How many pads and towels should I actually buy?
More than seems reasonable. A full vehicle correction can go through several pads if you’re using separate cut levels, and you’ll want a fresh, clean microfiber for wiping down nearly every section you polish — reusing a compound-loaded towel just redeposits residue and can scratch the finish.
Is a ceramic spray sealant the same as a ceramic coating?
No. A spray sealant is a topical, easy-to-apply product that adds gloss and short-to-medium-term protection (weeks to a few months), while a true ceramic coating is a multi-step, cured application meant to last a year or more. For most DIY corrections, a spray sealant is the practical, low-risk choice to lock in the finish.
Recommended Paint & Body Supplies
A successful correction depends on quality tools and compounds. The process outlined in this guide requires a dual-action polisher, multiple cut levels of compounds, pads, microfiber towels, and protection products — all available in our Paint & Body selection.
- Entry-level dual-action polishers and accessories for DIY and professional use
- Compounds and polishing pads in multiple cut levels to match defect severity
- Protection products including ceramic spray sealants and trim restorers

The Toolsource Technical Team blends decades of real-world automotive service experience with up-to-date technical research. Our writers collaborate with professional mechanics, shop owners, and diagnostic specialists to deliver practical, workshop-ready guidance you can trust.


Follow us on social media