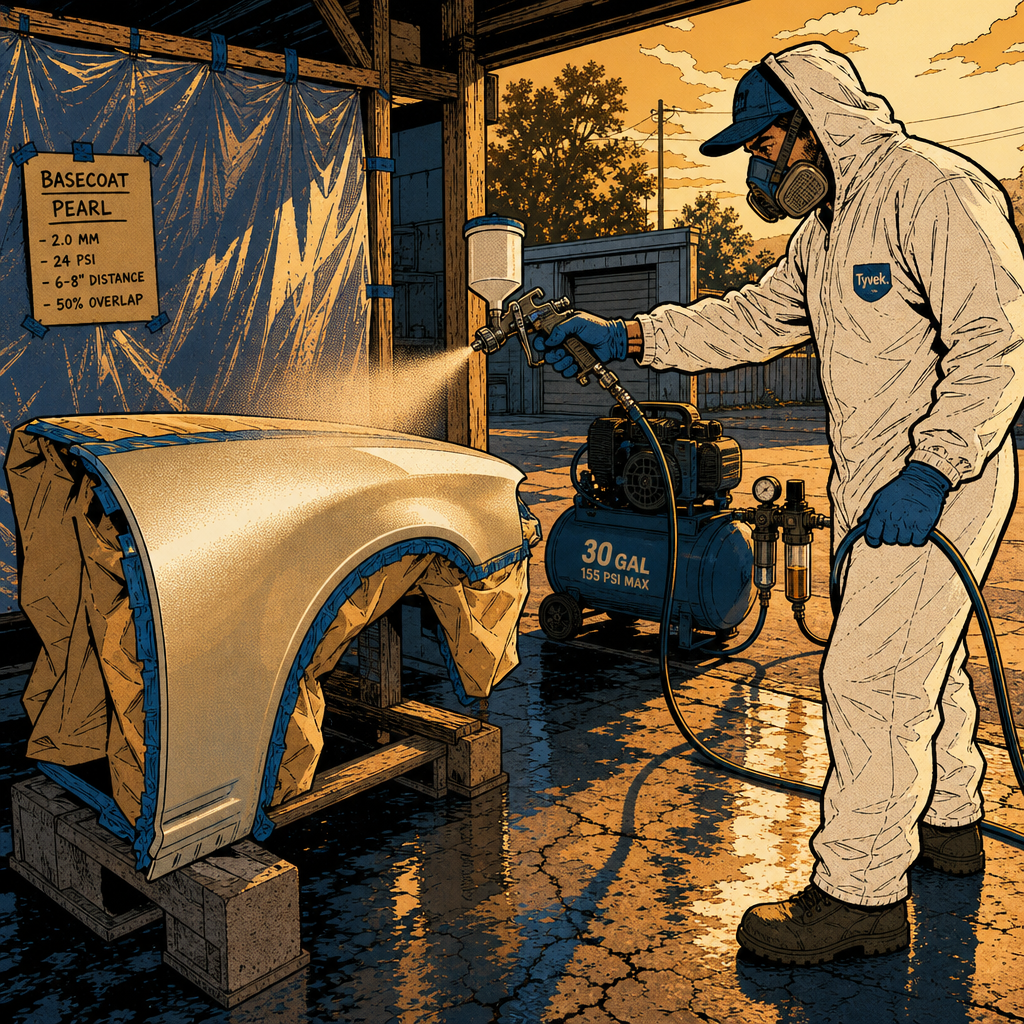
Spraying a car outside your garage instead of inside a controlled booth is one of the toughest ways to lay down paint, and it shows in the details—dust nibs, bugs stuck in clear, uneven texture. But plenty of home painters pull off results that hold up next to shop work once they understand what actually causes the common defects and how to correct for them. This guide breaks down the setup, mixing, and fix-it steps that make the difference between a passable driveway respray and one that turns heads.
Set Up a Contamination-Controlled Spray Area
Open-air spraying means you’re fighting airborne dust, pollen, insects, and wind-blown debris the entire time the paint is wet. You can’t eliminate contamination outdoors, but you can cut it dramatically with a few habits:
- Spray in the early morning or evening when insect activity and wind are lowest—flying insects are drawn to fresh solvent-based paint and will land in wet clear coat within minutes.
- Wet down the surrounding ground (concrete, gravel, grass) before spraying to keep dust from kicking up as you move around the vehicle.
- Hang plastic sheeting or a pop-up canopy on the windward side to break wind without trapping overspray fumes.
- Tack cloth the panel immediately before each coat, not just before the first one—dust settles between coats even in a “clean” area.
- Wear a fresh Tyvek suit or lint-free shirt; loose fibers from regular clothing are a top source of nibs in the clear.
None of this makes an outdoor setup equivalent to a filtered booth, but it removes the majority of preventable defects before you even pick up the gun.
Match Your Compressor and Gun to the Job
A common home setup is a 30-gallon single-stage compressor paired with an HVLP gravity-feed gun, and it’s capable of solid results if you respect its limits. The compressor needs to sustain the CFM the gun requires at your target PSI—most HVLP guns need somewhere in the 8-14 CFM range at 25-29 PSI at the cap, which a 30-gallon tank can deliver in short bursts but may struggle to sustain on long panels without the motor cycling constantly. Practical setup tips:
- Install a water/oil separator or inline filter right before the gun—moisture in the line causes fisheyes and adhesion failures, especially with humid morning or evening spraying conditions.
- Use a regulator at the gun, not just at the tank, so pressure stays consistent as line length and elevation change.
- Let the compressor’s duty cycle catch up between panels; spraying while the motor is actively refilling the tank causes pressure fluctuation and inconsistent atomization.
- Match tip size to material viscosity—1.3-1.4mm tips work well for basecoat, 1.4-1.5mm for clear, adjusted based on the paint manufacturer’s data sheet.
If your compressor can’t hold steady pressure through a full panel pass, that inconsistency alone will show up as uneven texture, which brings us to orange peel.
===FYP-PRODUCT-SEARCH-1===
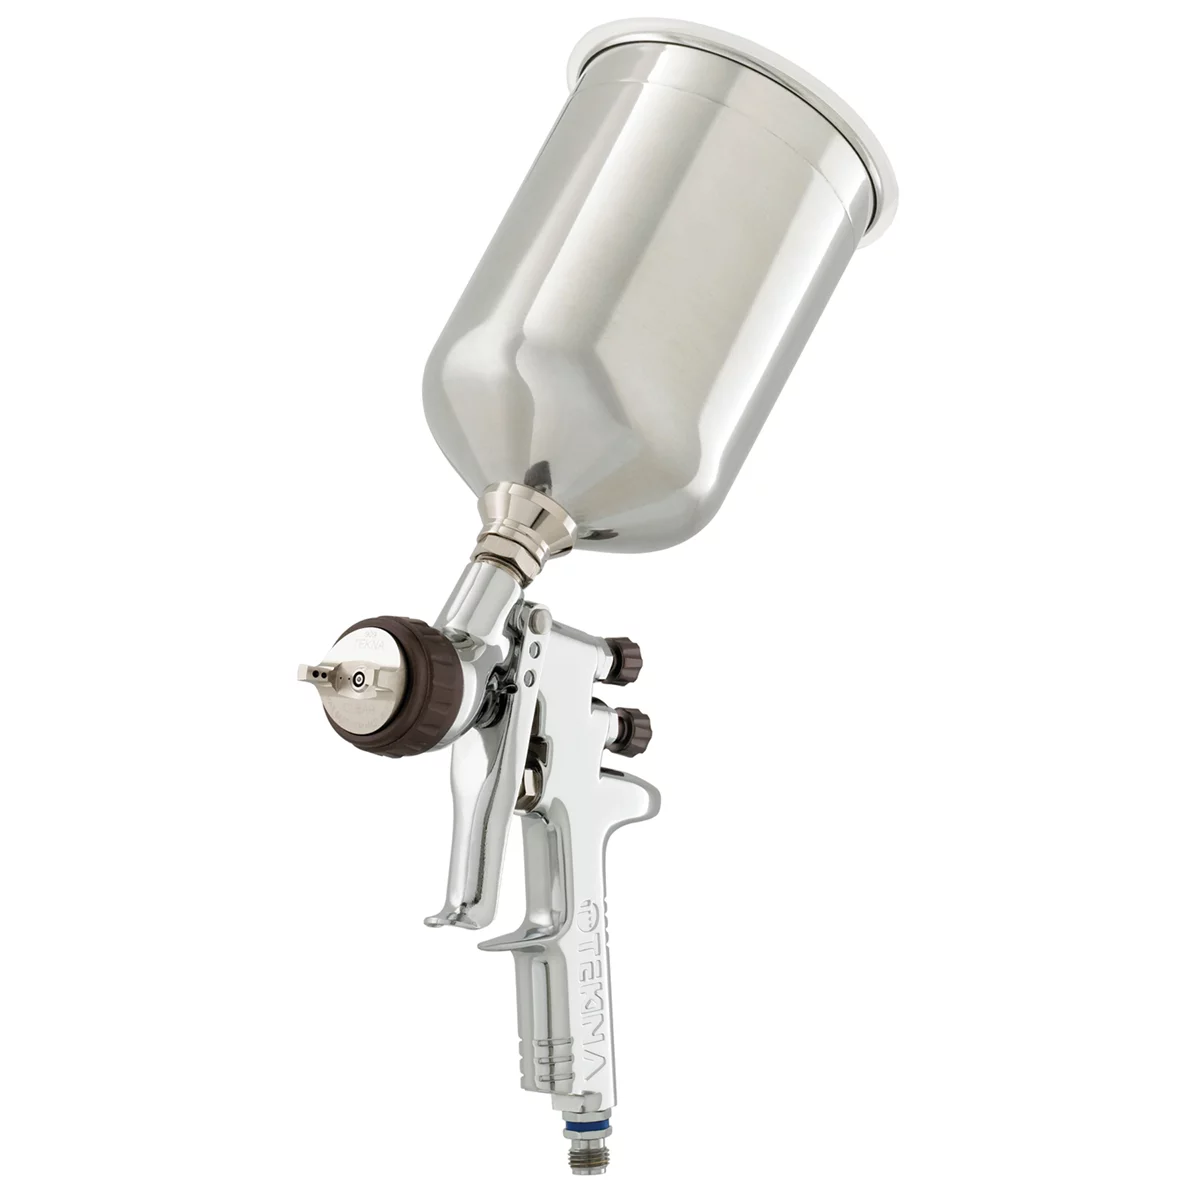
507-1.4 507 HVLP Gravity Feed Spray Gun with Cup, 1.4 mm, 60
Mfg: AES Industries
Part #: 507-14

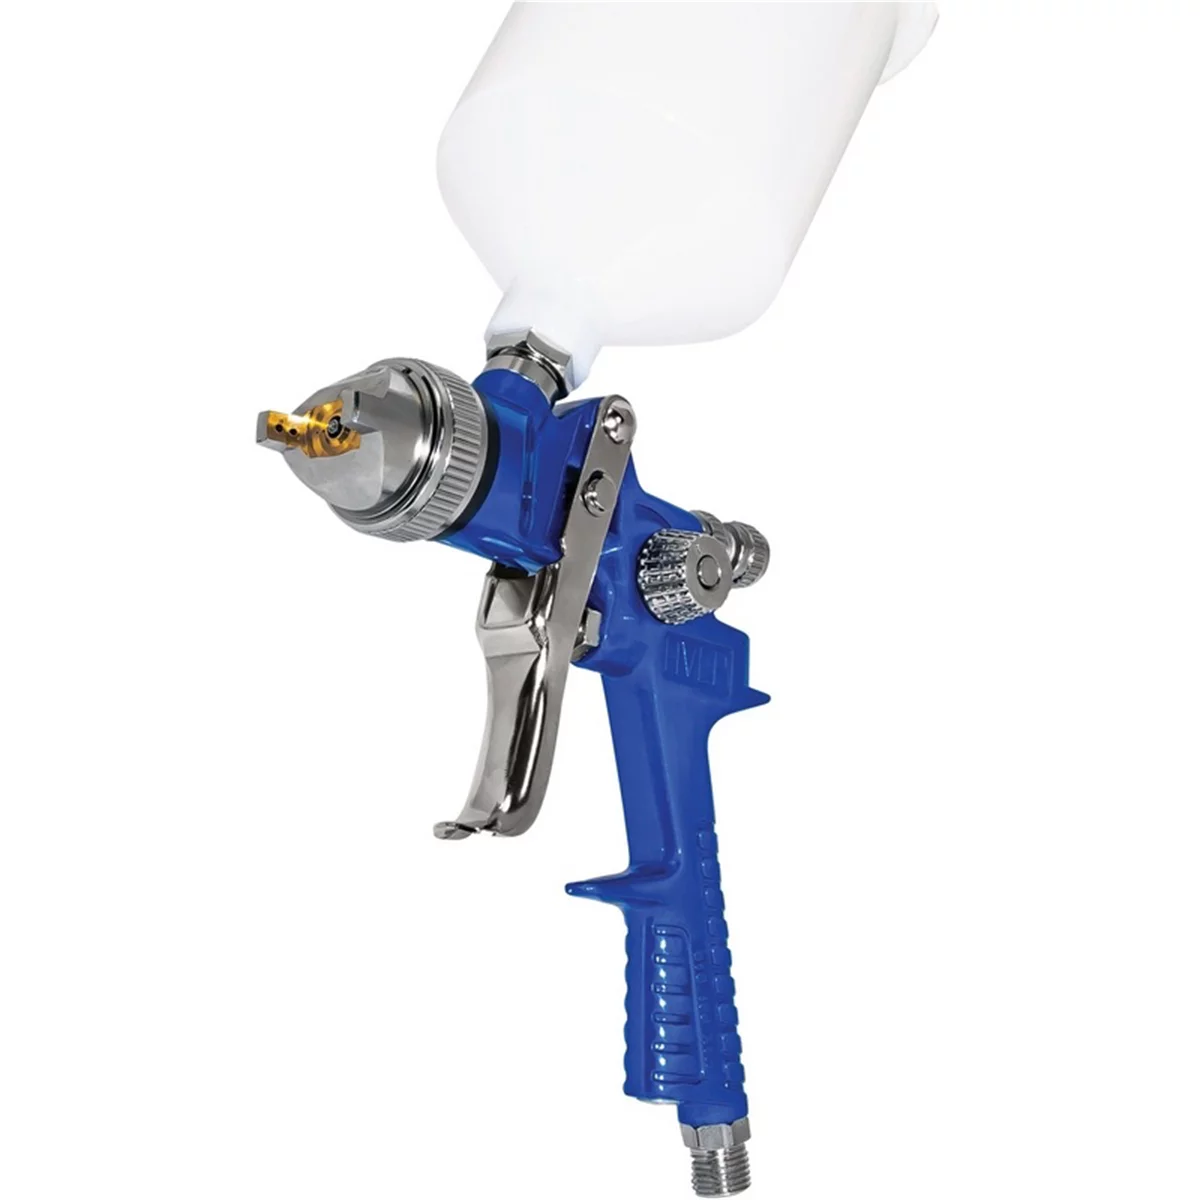
Quantum Ultra Light HVLP Gravity Feed Spray Gun - 1.7mm No
Mfg: Astro Pneumatic
Part #: QUL107DX
Mix Reducer and Hardener to Spec, Not by Feel
Reducer ratios and grades affect flow-out, dry time, and film build more than almost any other variable in a DIY spray job. A common mistake is grabbing whatever reducer is on the shelf regardless of temperature or using a fast reducer to “make it easier to spray,” which actually causes the paint to start flashing before it levels out. Steps to get this right:
- Check the manufacturer’s tech data sheet for the exact mix ratio (commonly 4:1 clear-to-hardener or similar, varies by product) rather than eyeballing it.
- Select reducer speed (fast, medium, slow) based on ambient temperature at the time of spraying—slow reducer for hot weather, fast for cool, so the paint stays wet long enough to flow out flat.
- Use a graduated mixing cup and stir thoroughly; partial mixing leaves streaks of unreduced material that spray inconsistently.
- Strain the mixed paint through a paint strainer into the gun cup every time—this catches skinned-over paint chunks and debris that cause clogs and spatter.
- Respect pot life; mixed paint with hardener has a working window (often 30-60 minutes) after which viscosity and cure quality degrade.
Diagnose and Fix Orange Peel
Orange peel—the textured, uneven surface that looks like citrus skin instead of a flat mirror finish—is the most common complaint on first-time spray jobs. It’s caused by the paint not having enough time or fluidity to level out before it starts to flash off. Contributing factors include gun distance too far from the panel, pressure too high (atomizing the paint into a dry mist before it lands), reducer too fast for the temperature, and moving the gun too slowly (laying down excess material) or too quickly (not enough wet film to flow).
To correct existing orange peel without wrecking the job:
- Let the clear cure fully (follow the tech sheet, often 24-72 hours minimum) before any sanding—sanding uncured clear will gum up paper and create more problems.
- Wet sand with progressively finer grits, starting around 1500-2000 and finishing at 3000 or higher, always with plenty of water to flush away swarf and reduce heat buildup.
- Sand flat, not aggressively—use a sanding block on flat panels to avoid creating low spots, and go easy freehand near body lines and edges where clear coat is thinnest.
- Stop sanding as soon as the surface looks uniformly dull/matte with no shiny high spots remaining; over-sanding is how painters burn through clear on edges and creases.
- Compound and polish with a dual-action polisher after sanding to bring back full gloss.
If orange peel is severe, some painters choose to sand it down and shoot an additional coat of clear rather than compound through it—this is reasonable if the existing clear film build can support the sanding, but thin clear coats don’t leave much margin for error.
Handle Trim, Panel Gaps, and Color Matching
Small details separate an amateur-looking respray from one that reads as professional at a glance:
- Reinstall trim pieces like side marker lights, badges, and moldings rather than leaving mounting holes exposed—missing trim is one of the fastest visual tells of an incomplete job.
- Mask panel gaps and jambs carefully; overspray dust or a visible paint line at a body seam stands out even when the panel face looks great.
- For color matching on a partial repaint, get the paint code from the door jamb or VIN plate and have it mixed at a paint supplier rather than guessing—factory colors often have slight batch variation that a spectrophotometer match will account for better than a generic code pull.
- Blend into an adjacent panel when possible instead of hard-lining a single panel repaint; blending hides minor mismatch far better than a sharp edge at a body line.
===FYP-PRODUCT-SEARCH-2===
Quick Pre-Spray Checklist
- Spray window chosen for low wind and low insect activity (early morning/evening)
- Water/oil separator installed and drained; compressor can hold steady PSI through a full pass
- Reducer speed selected for ambient temperature; mix ratio checked against the tech data sheet
- Paint strained into the gun cup; pot life tracked from the moment hardener is added
- Panel gaps, jambs, and adjacent trim masked; trim/badges ready to reinstall
- Clear coat cure time confirmed before any wet sanding or buffing
Frequently Asked Questions
Can a 30-gallon compressor really run an HVLP spray gun?
Yes, for panel-by-panel work, as long as you let the tank recover between passes and use a regulator at the gun to keep pressure steady. It will struggle more on a full-vehicle continuous spray than a larger tank or a two-stage compressor would.
What causes orange peel and can it always be fixed?
It’s caused by the paint flashing before it can level out—usually from gun distance, pressure, technique, or reducer speed being mismatched to conditions. Mild orange peel can be sanded and buffed out; severe orange peel with thin clear film may require another coat rather than aggressive sanding.
How long should I wait before wet sanding fresh clear coat?
Follow the product’s tech data sheet, but a common range is 24-72 hours for it to cure enough to sand without gumming the paper. Sanding too early damages the finish and clogs abrasives fast.
What reducer ratio should I use?
Whatever the manufacturer’s tech data sheet specifies for that specific basecoat or clear product—ratios vary by brand and are not interchangeable by rule of thumb. Reducer speed (fast/medium/slow) should be chosen based on the temperature at spray time.
Is it safe to spray paint outdoors instead of in a booth?
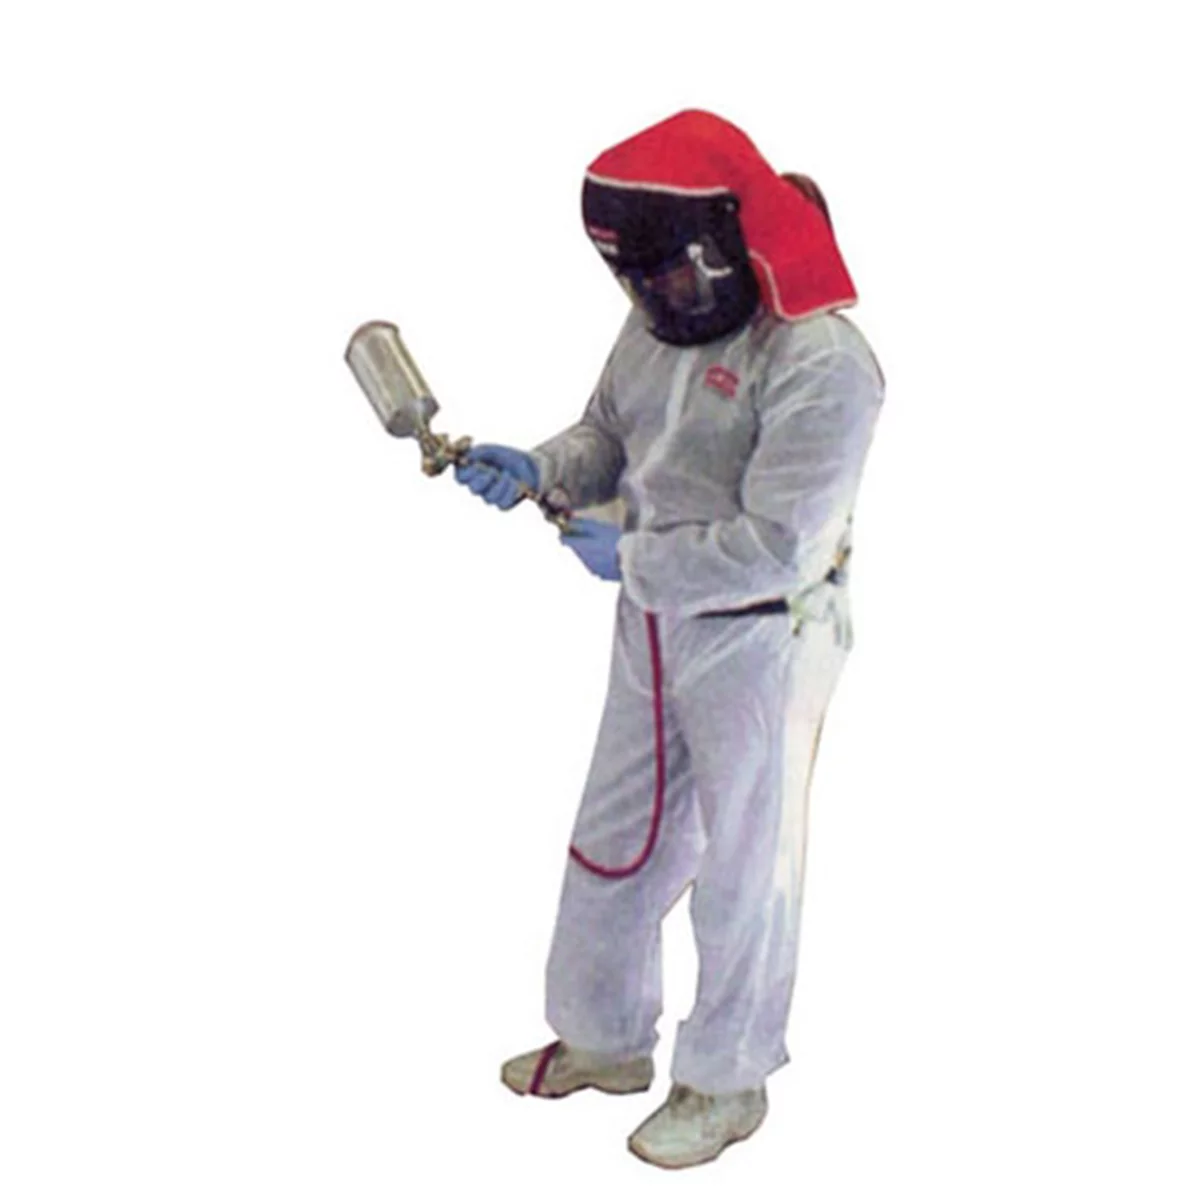
It’s commonly done for DIY and touch-up work, but always follow local regulations on VOC emissions and overspray, use proper respiratory protection (a booth doesn’t just protect the paint—it protects you from solvent and isocyanate exposure), and be mindful of nearby vehicles, structures, and neighbors.
How do I stop bugs and dust from landing in wet clear coat?
Spray during low-insect hours, wet the ground around your work area to suppress dust, and consider a temporary enclosure like plastic sheeting on the windward side. There’s no fully bug-proof outdoor setup, but timing and airflow control reduce it significantly.
Shop Paint & Body Supplies
This guide covers the essential equipment and techniques for DIY auto spray painting. Our Paint & Body supplies include compressors, spray guns, regulators, and finishing products to help you execute these techniques professionally.
- Air compressors and HVLP spray guns for consistent atomization and control
- Reducers, hardeners, and additives formulated for different temperature conditions
- Prep and finishing equipment including separators, strainers, sanders, and polishing compounds

The Toolsource Technical Team blends decades of real-world automotive service experience with up-to-date technical research. Our writers collaborate with professional mechanics, shop owners, and diagnostic specialists to deliver practical, workshop-ready guidance you can trust.


Follow us on social media