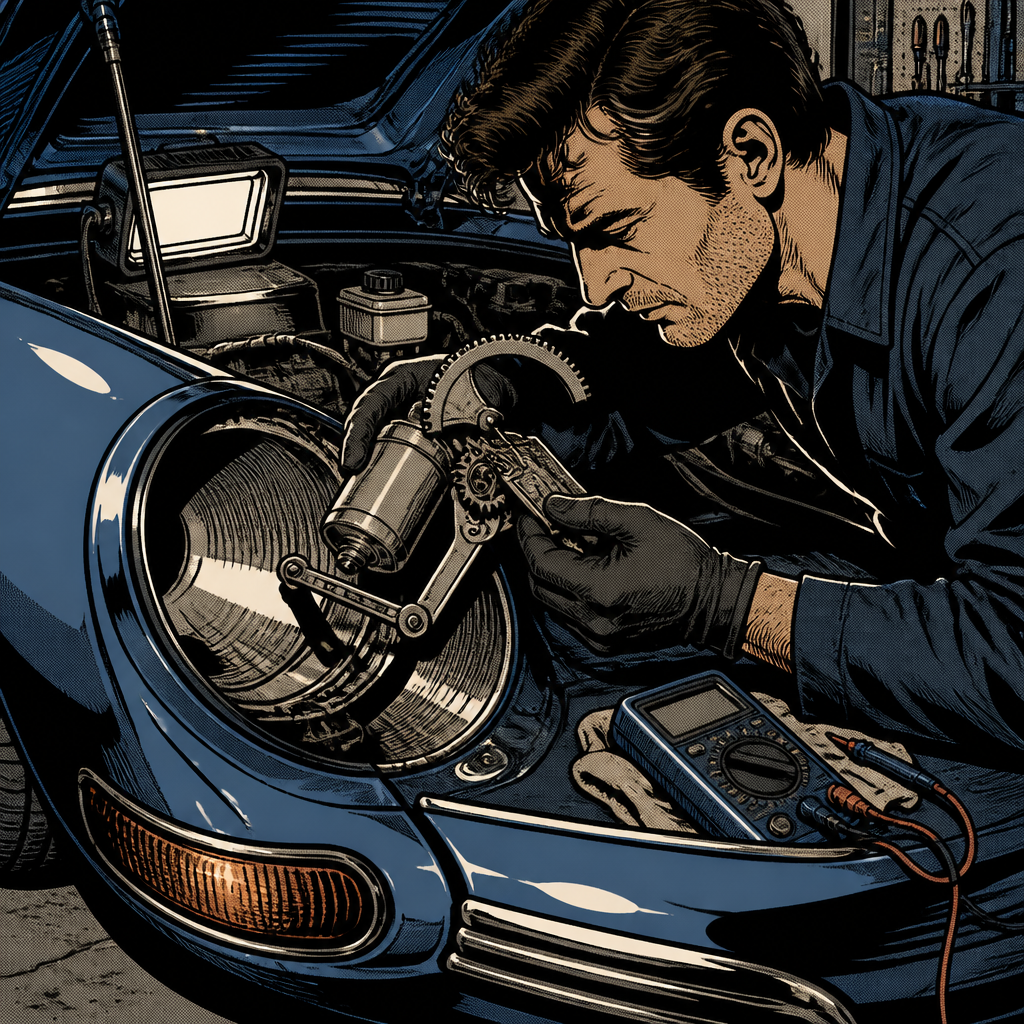
The C5 Corvette’s retractable headlight system is a favorite point of failure for owners doing their own maintenance, especially after replacing the lift motor or the internal gear set. A surprising number of these jobs go sideways after reassembly: the motor runs, the gears turn, but the headlight door won’t lift on command, leaving the owner cranking on a plastic access knob in a hot engine bay trying to raise it by hand. This guide walks through why that happens, how to safely bring a stuck headlight up manually, and what to check before you button the assembly back up. It also covers the related but separate issue many C5 owners eventually face — yellowed, hazy headlight lenses that no amount of mechanical repair will fix.
How the C5 Pop-Up Headlight System Works
Each headlight bucket is raised and lowered by a small 12V DC motor mounted to a worm-gear reduction unit. The motor spins a shaft, the worm gear drives a sector gear, and the sector gear is linked to the headlight door through a mechanical arm. A relay pair (up/down) controlled by the body control module reverses motor polarity to raise or lower the assembly, and internal limit switches inside the motor/gear housing tell the module when the door has reached full travel in either direction.
This is a purely mechanical linkage past the motor — there’s no separate sensor confirming door position beyond those limit switches. That matters because if the gear train isn’t meshed and seated correctly during reassembly, the motor can run perfectly on the bench and still fail to move the door once it’s bolted back into the car.
Why Headlights Won’t Lift After a Motor and Gear Replacement
If a headlight worked fine before you replaced the motor and gears, but now sits dead or only partially moves, the cause is almost always one of these:
- Gear mesh is off by a tooth. The sector gear and worm gear have a specific timed relationship to the headlight door’s resting position. If the gear was installed a tooth or two out of alignment, the motor may run into its internal stop before the door physically reaches “up,” or it may bind and stall.
- Limit switch never trips. A misaligned gear set can prevent the internal switch from ever registering “headlight up,” so the module cuts power thinking something is wrong, or the motor just keeps trying and stalls.
- Linkage arm not fully seated. The plastic or metal link between the gear output and the headlight door can pop off its pivot point during reinstall and go unnoticed until you try to cycle the lights.
- Weak or swapped relay/fuse. Less common after a motor job, but worth ruling out with a multimeter or relay swap before you tear the housing back open.
- Battery voltage sag. Two motors trying to draw current from a marginal battery or corroded ground can make both lights lift slowly or not at all, mimicking a mechanical fault.
Pull the motor/gear housing back out, cycle the headlight switch with the assembly on the bench, and watch the gear travel through its full range before reinstalling. This confirms the unit itself is good and isolates the problem to installation alignment if it still won’t lift once it’s back in the car.
===FYP-PRODUCT-SEARCH-1===


Manual Override Procedure — Raising Stuck Headlights Safely
Every C5 has an emergency manual override built in specifically for motor failures: a plastic knob accessible from under the hood at each headlight assembly. Turning it disengages the motor from the gear train and lets you lift the door by hand. In practice, technicians report these knobs are stiff even when new and get worse with age, heat-cycling, and dirt in the mechanism — expect real resistance, not a light twist.
- Open the hood and locate the round access knob near the base of the headlight housing (driver and passenger sides each have their own).
- Apply steady, firm rotational pressure in the direction marked on or near the knob. Do not force it with pliers on the first attempt — you can shear the plastic tab.
- If it won’t budge, apply a penetrating lubricant around the knob’s shaft and let it sit 10–15 minutes before trying again.
- Once disengaged, lift the headlight door by hand until it locks into the up position.
- Work in cooler conditions if possible — underhood temperatures climb fast in direct sun, and doing this job in 90°F+ heat with the hood radiating engine heat back at you is a common complaint. Early morning or shaded parking makes the job considerably less miserable.
Manual override gets you a usable headlight for driving, but it’s a workaround, not a fix — re-engage the motor and diagnose the root cause as soon as you can get the car back in the shop.
Dealing With Yellowed or Hazy Headlight Lenses
Separate from the lift mechanism, C5 headlight lenses are polycarbonate and oxidize with UV exposure over time, turning yellow and hazy regardless of how well the motor and gears are working. This is cosmetic and safety-related (reduced light output) rather than mechanical, but it’s the other complaint that comes up constantly on cars this age.
Two realistic paths:
- Restore the existing lenses. Wet-sanding through progressively finer grits followed by a UV-resistant clear coat can restore clarity for a year or more, and it’s the cheaper option if the housings and reflectors underneath are otherwise in good shape.
- Replace the assemblies. Once oxidation is deep or the plastic has become brittle, sanding won’t hold a finish long. Direct-fit replacement housings are widely available and don’t require touching the lift mechanism, since the motor/gear unit typically transfers over or bolts to the new housing.
Custom-finished or upgraded headlight assemblies exist in this market too, but shops that build them by hand often carry long waitlists — worth planning around if you want something beyond a stock replacement.
Choosing Between Repair, Restoration, and Full Replacement
Before committing time to a full teardown, weigh the three options against the actual symptom:
- If the motor and gears are new but the door won’t lift — it’s an alignment/installation issue, not a parts issue. Don’t reach for a full assembly replacement yet.
- If the housing lifts fine but the lens is yellowed — that’s a lens/restoration problem, unrelated to the motor.
- If both issues are present on an older car, it’s often more time-efficient to replace the full headlight assembly once, rather than separately servicing the motor and then restoring the lens later.
Checklist: Diagnosing a Non-Lifting C5 Headlight
- Confirm battery voltage and ground connections are solid before suspecting the motor
- Bench-test the motor/gear assembly outside the car through a full range of travel
- Verify gear mesh alignment matches the door’s resting position before reinstalling
- Check the linkage arm is fully seated on its pivot after reassembly
- Test manual override knob function with penetrating lubricant if stiff
- Inspect lens condition separately — yellowing is not a motor or gear symptom
===FYP-PRODUCT-SEARCH-2===
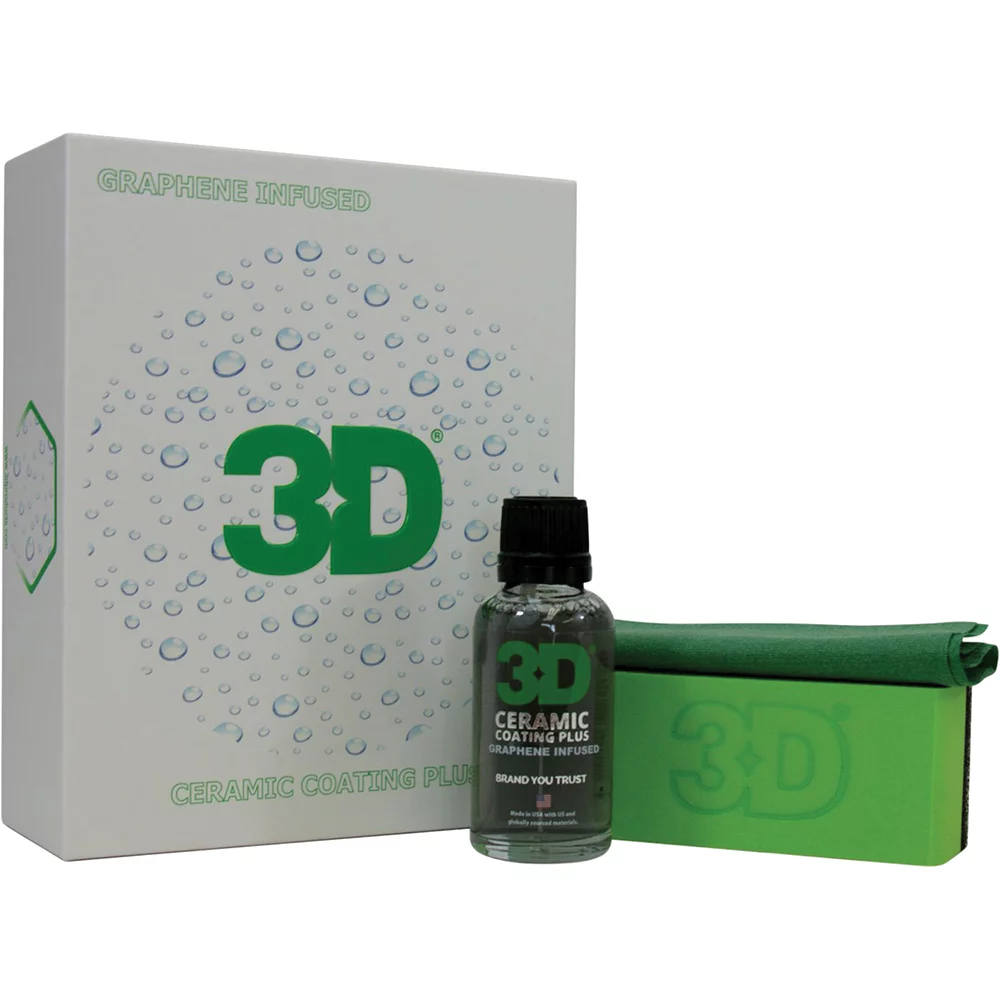
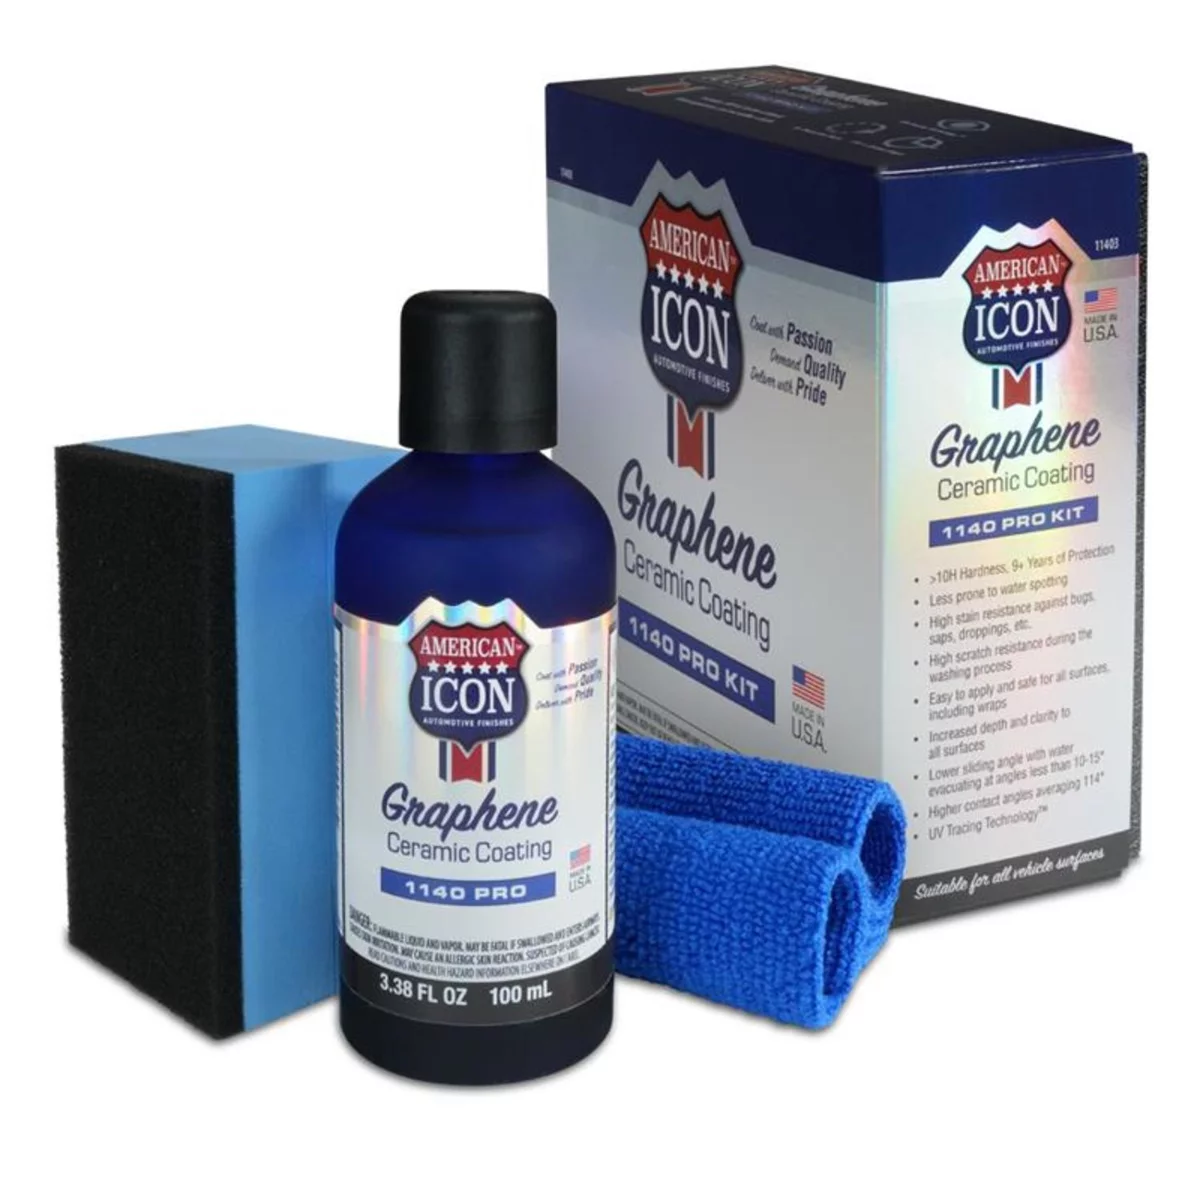
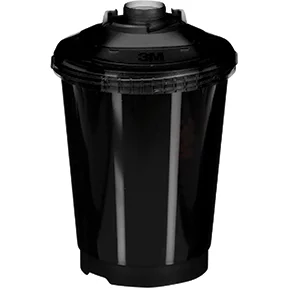
PPS SERIES 2.0 VENTED SPRAY CUP UV KIT 26160,(23.7 FL OZ,700
Mfg: 3M Automotive
Part #: 26160
FAQs
Why does my C5 headlight motor run but the door doesn’t move?
This almost always points to a gear mesh or linkage problem introduced during reassembly, not a failed motor. Pull the unit and check gear alignment and that the linkage arm is properly seated.
Is it safe to force the manual override knob with pliers?
Only as a last resort, and gently. The knob and its shaft are plastic and will shear under excessive torque. Try penetrating lubricant and steady hand pressure first.
Can I drive with a headlight stuck in the down position?
Not safely or legally for night driving in most areas. Use the manual override to raise it by hand until the mechanical fault is fixed.
Will restoring a yellowed headlight lens last permanently?
No. Restoration is a maintenance item, not a permanent fix — expect to reapply a UV clear coat roughly every 12–18 months depending on sun exposure.
Do aftermarket headlight assemblies use the same motor and gear unit?
In most cases yes, the factory lift motor/gear assembly bolts to replacement housings, so you don’t need to buy new motors just because you’re replacing the lens/housing.
What’s the most common mistake people make reinstalling the gear assembly?
Not confirming the gear timing/mesh position matches the door’s rest position before final reassembly. Test the full range of motion on the bench first, every time.
Paint & Body Products for Headlight Restoration
Headlight lens restoration and finishing work require proper paint and body supplies. Whether you’re sanding and coating yellowed polycarbonate lenses or preparing replacement housings for installation, our Paint & Body selection has the abrasives, clear coats, and protective finishes you need.
- Sandpaper and abrasive pads in progressive grits for lens restoration
- UV-resistant clear coat and protective finishing products
- Polishing compounds for restoring lens clarity and shine

The Toolsource Technical Team blends decades of real-world automotive service experience with up-to-date technical research. Our writers collaborate with professional mechanics, shop owners, and diagnostic specialists to deliver practical, workshop-ready guidance you can trust.


Follow us on social media