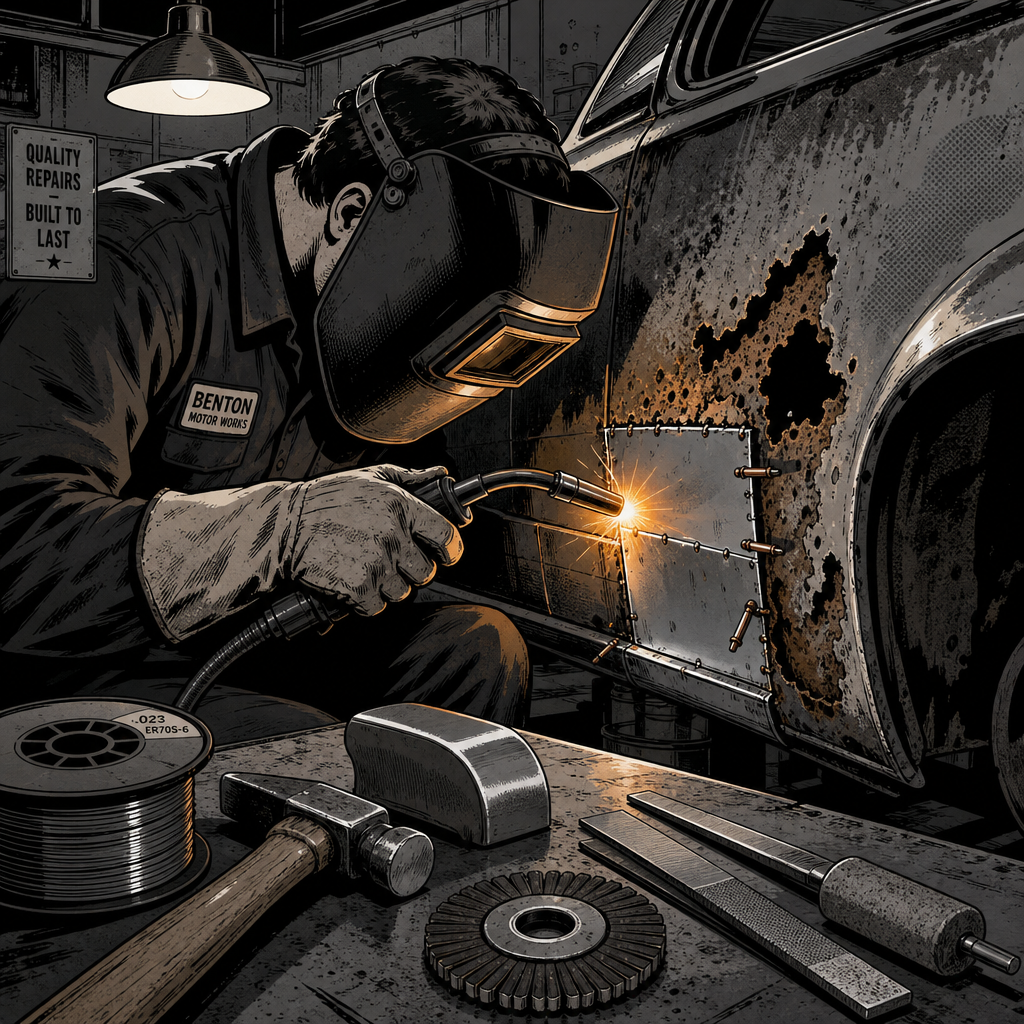
When a customer rolls a rare car into the bay and there’s no reproduction panel on earth for it, the job stops being a parts-swap and becomes a metal shaping exercise. That’s the reality for a lot of low-production and pre-war cars: no aftermarket, no NOS stash, just a rust-through quarter or a crumpled sill that has to be built from flat stock. This isn’t a rare specialty anymore — sourcing panels for anything outside the mainstream muscle car and truck world is getting harder every year, and even shops working on exotics end up hand-forming patches more often than their marketing photos let on. What follows is a practical rundown of how techs actually approach hand-fabricated panel work: cutting in a patch, choosing a welding process, keeping warp under control, and finishing it so it doesn’t telegraph through paint six months later.
Assess Before You Cut
Before any metal gets cut, decide how much of the panel is actually salvageable versus how much needs to be built new. Sand or media-blast the area back to bare metal and check for pitting depth, not just surface rust — pitted-but-solid metal can sometimes be saved with careful shrinking and planishing, while anything perforated needs to come out. Mark the cut line well outside the damage; cutting right at the edge of visible rust almost always means cutting again a week later when more rust shows up under the paint line.
Take a pattern off the good side of the car whenever there’s a mirror-image panel available — that’s still the fastest way to get a shape right without guesswork. On symmetrical damage or one-off panels, work from reference photos, an original if you can borrow one, or buck up a rough shape and refine it in place. Budget more time than you think you need. Hand-fabricated panel work routinely takes several times longer than swapping a bolt-on reproduction, and quoting it like a bolt-on job is how shops lose money on restoration work.
Shaping the Metal
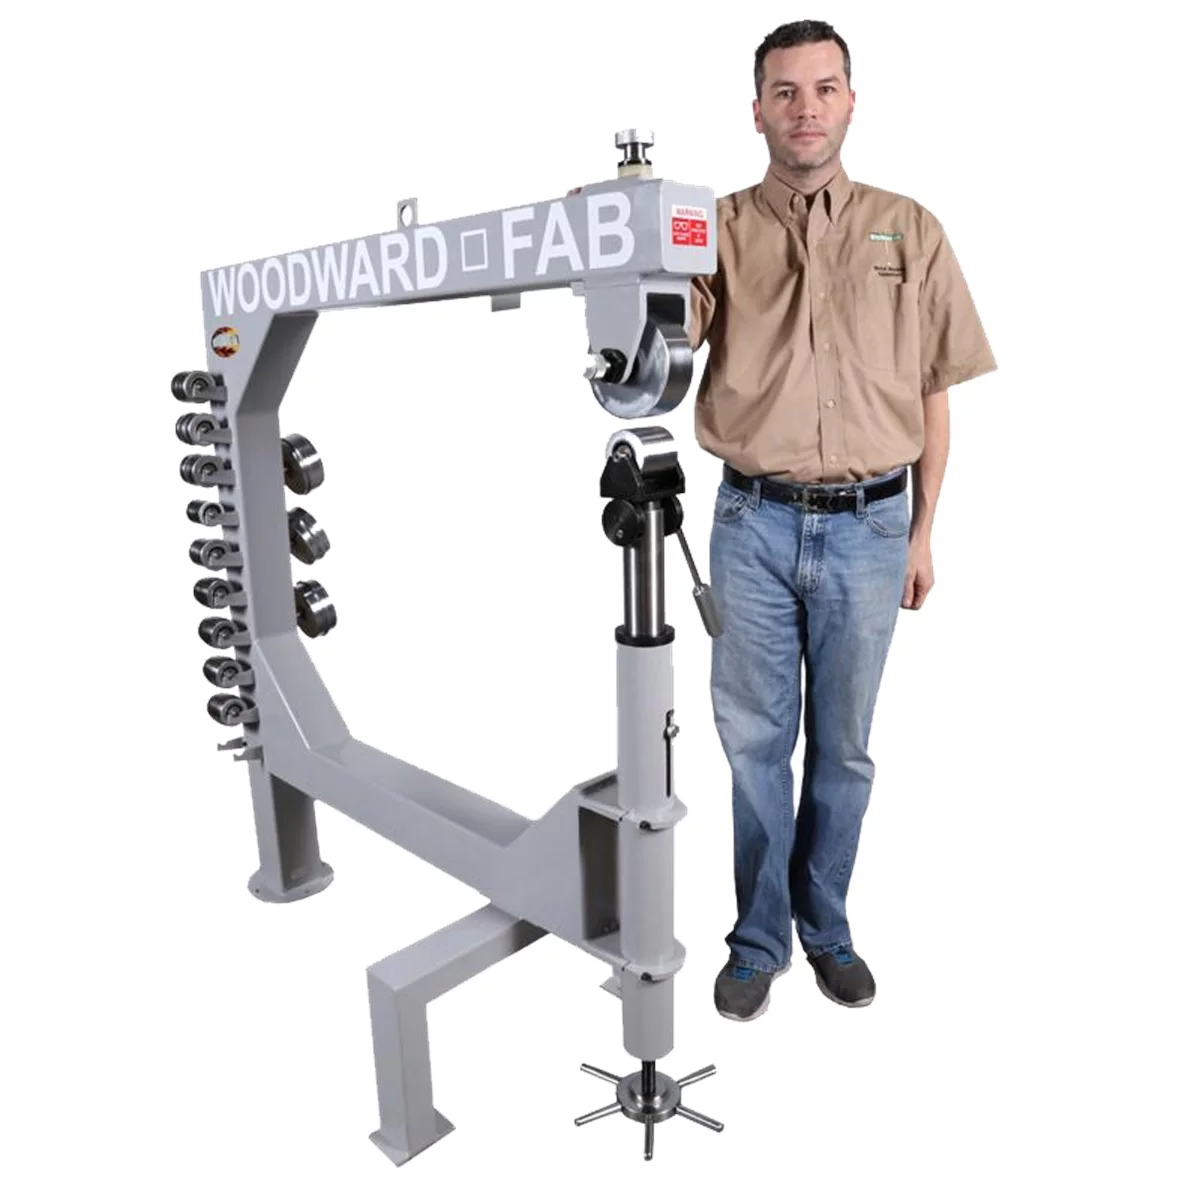
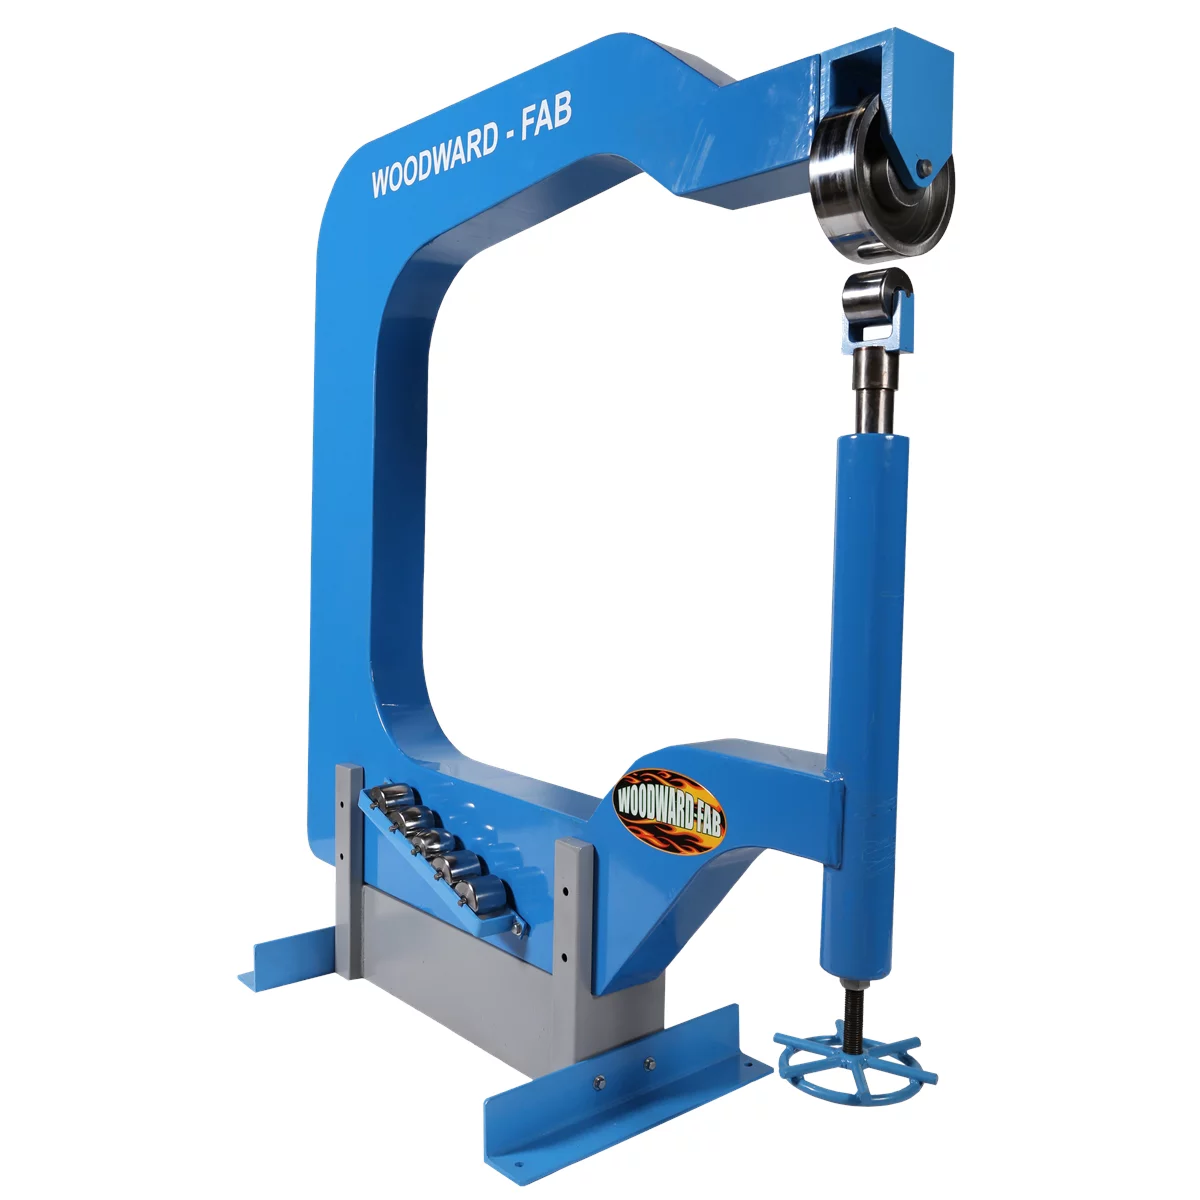
Most hand-formed compound-curve panels are built on a wheeling machine (English wheel), moving the sheet through the wheel in overlapping passes to stretch the metal into shape, then relieving stress with a shrinking disc or shrinking tucks where the curve tightens. Simple single-curve pieces — sills, straight body seams — can often be formed with a slapper and dolly or a bead roller instead, without a wheel at all.
Work incrementally. Trying to pull a full curve in one aggressive pass stretches the metal unevenly and leaves oil-canning that’s hard to fully chase out later. Check the fit against the car frequently rather than shaping the whole piece off the vehicle and hoping it lands — panel fit is easiest to correct while the piece is still flat-ish and hard to correct once it’s fully crowned.
PRODUCT_SEARCH: english wheel wheeling machine sheet metal shaping tools

Choosing a Welding Process
This is where shops genuinely disagree, and the right answer depends on the metal and the deadline. Three processes come up constantly for panel-in work:
- Gas (oxy-acetylene) welding: Produces a softer weld bead that’s easier to planish flat with a hammer and dolly, with less cleanup than a MIG bead since there’s less buildup to grind. It runs hotter into the surrounding metal for longer, which increases distortion, but the resulting warp is often easier to hammer back out because the weld itself isn’t harder than the parent metal. It’s largely fallen out of favor for anything with a hard time budget.
- MIG welding: Faster, more consistent, and — done correctly with short stitched beads rather than one long run — produces less overall heat input and less warp than a sloppy gas weld. The tradeoff is a harder bead that requires grinding to blend, and mig wire adds filler material you have to clean up regardless of skill level.
- MIG brazing (CuSi3 silicon-bronze wire): The modern OEM-spec choice for late-model steel and especially for heat-sensitive aluminum alloys. It runs at a lower temperature than fusion welding, which limits heat-affected-zone damage and denaturing of aluminum tempers — this is why current factory repair procedures specify braze joints over torch welding on aluminum panels.
For older steel bodies where the parent metal isn’t a heat-treated alloy, gas and MIG are both still viable and the choice comes down to shop workflow and finishing preference. For aluminum panels or anything with a modern alloy specification, MIG brazing is the safer call — running a torch on aluminum sheet is much more likely to warp or weaken it than briefly plugging it up would suggest, and it’s not what current repair specs call for.
Controlling Warp
Every welding process on thin sheet metal introduces distortion — the question is how much and how manageable it is. A few things matter more than the process itself:
- Fit-up first. Cut the patch to sit with zero gap against the parent panel. Gaps force you to add filler material to bridge them, and extra filler means extra heat and extra shrinkage.
- Tack, don’t run. Stitch tack welds around the seam in a scattered sequence rather than welding a continuous bead in one direction. Let each set of tacks cool before adding the next.
- Skip around the panel. Alternate weld locations so heat doesn’t build up in one section — this is standard practice regardless of process and is the single biggest factor in keeping a panel flat.
- Plan for hammer-and-dolly work afterward. Almost no hand-welded panel comes out of the joint dead flat. Budget time to work the weld area with a hammer, dolly, and shrinking disc as a normal part of the job, not a sign something went wrong.
Welding old, work-hardened original metal to new stock also warps more than new-to-new joints, simply because the two pieces respond to heat differently. That’s normal and not a defect in your technique — it’s a reason to go slower and check flatness more often on original-to-repro joins.
Finishing and Metal Cleanup
Once the seam is welded, the finishing approach depends on which process you used. Gas welds and MIG-brazed joints are generally soft enough to plish directly with a hammer and dolly, then true up on the wheel if the panel has curvature — minimal grinding needed. MIG-welded joints need the excess bead ground down close to flush before hammer work, because the fused bead is harder than the surrounding sheet and won’t move the same way under a hammer.
Either way, finish with a metal-finishing pass — hammer-on-dolly, planishing hammer, or wheel — before reaching for body filler. Filler should be correcting minor imperfections, not building up shape over a poorly finished weld seam; panels that are metal-finished properly need only a skim coat, which holds up far better long-term than a thick filler build.
Quick Panel-In Checklist
- Cut back to solid, pitting-free metal with margin beyond visible rust
- Pattern or reference the shape before cutting new stock
- Shape incrementally on the wheel; check fit against the car often
- Match welding process to metal type — braze or MIG for aluminum/modern alloys
- Tack in a scattered sequence; let sections cool between passes
- Metal-finish (hammer/dolly/wheel) before any filler goes on
PRODUCT_SEARCH: auto body welding equipment and metal finishing tools
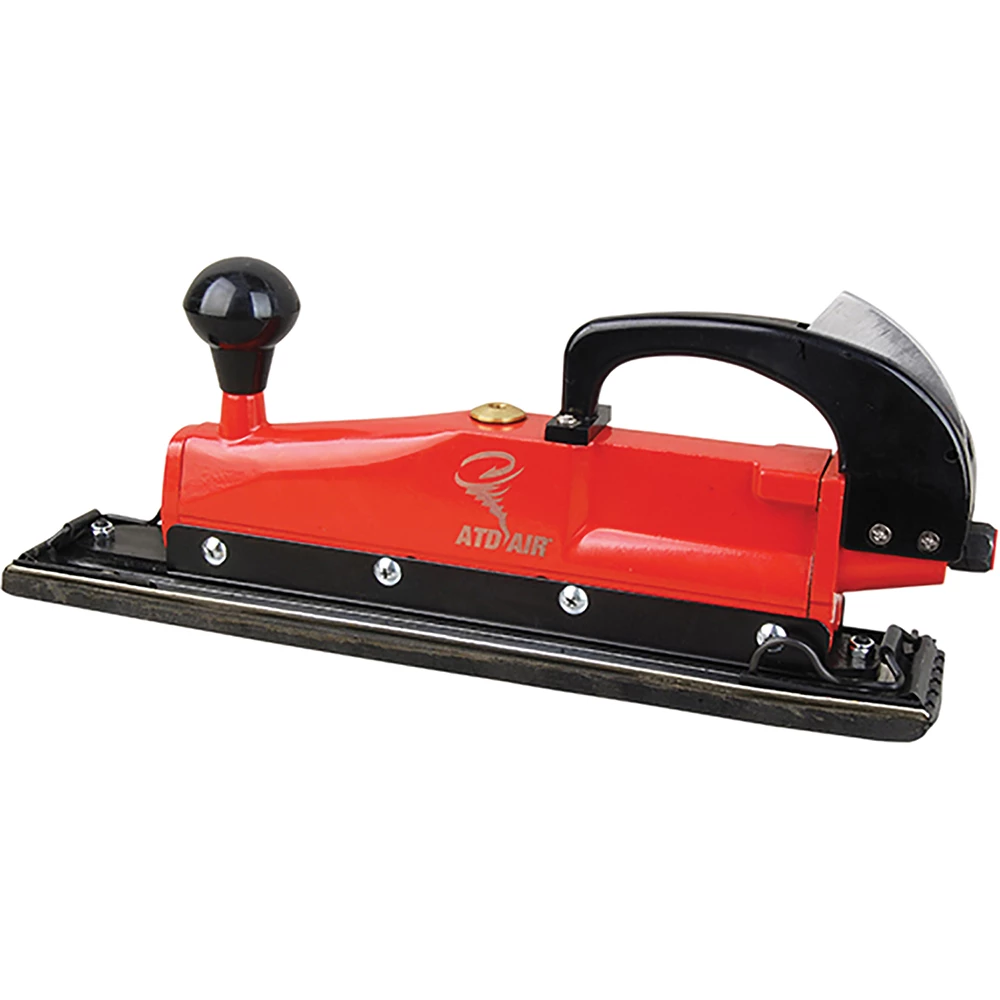
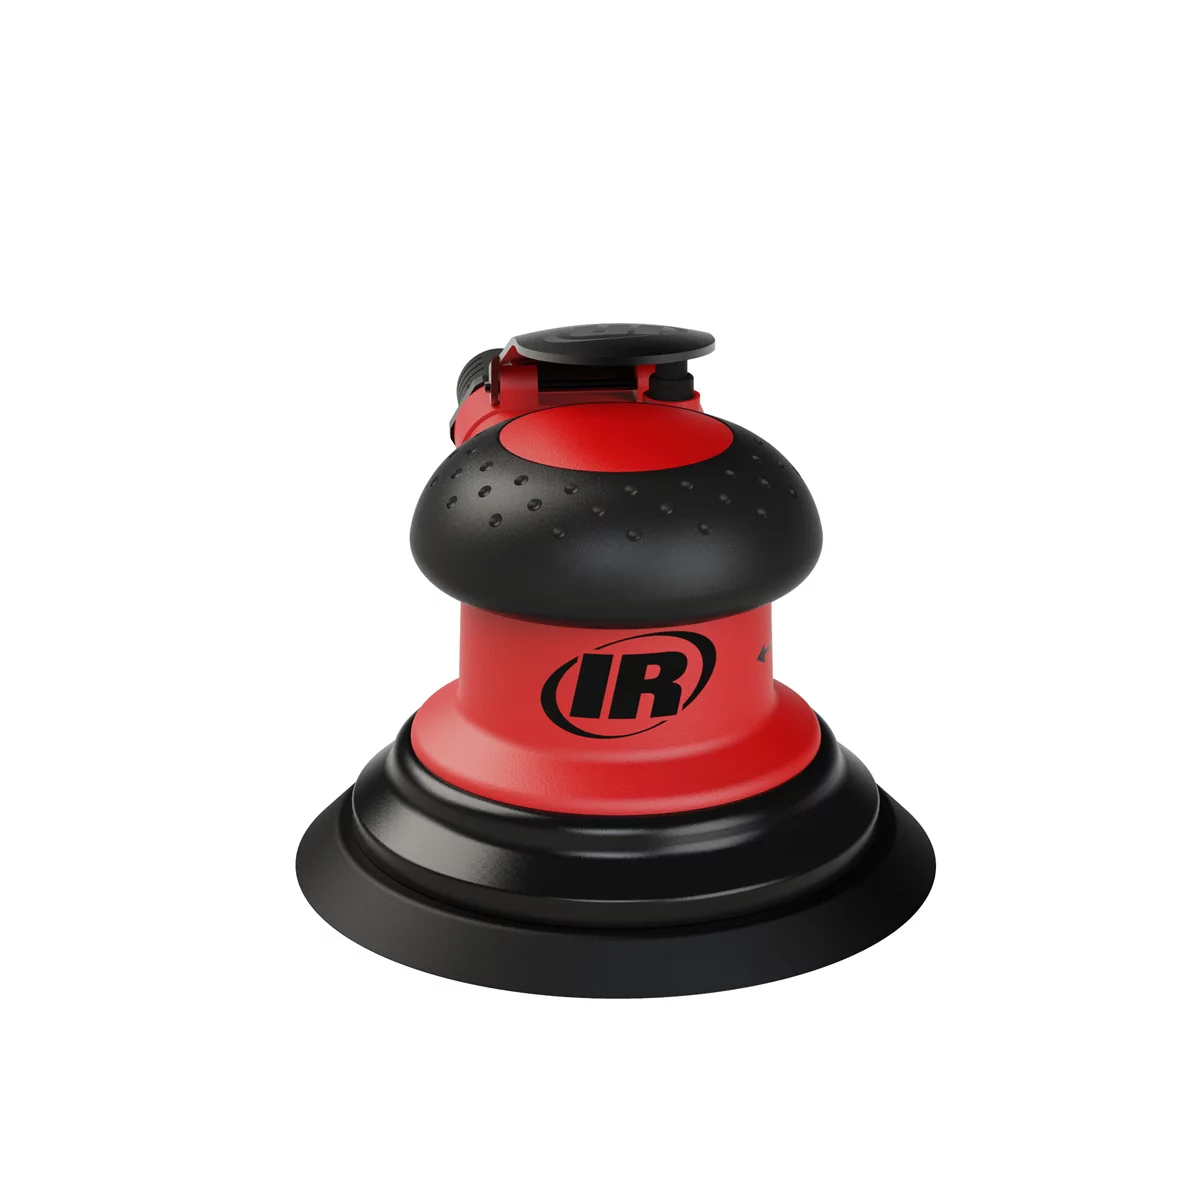
6" Random Orbital Air Sander, 3/16 Orbit, Vinyl Pad, 12,000 RPM
Mfg: Ingersoll Rand
Part #: 5151-6
Ingersoll Rand Collet Body 308A-290 for Air Die Grinders
Mfg: Ingersoll-Rand Parts
Part #: 308A-290
FAQs
Is gas welding still acceptable for panel repair?
On older, non-heat-treated steel bodies it’s still a valid technique and some techs prefer the softer bead for hand-finishing. It’s not specified in modern OEM repair procedures for late-model steel or aluminum because of higher heat input into heat-sensitive alloys.
Why does MIG welding warp a panel less than gas welding?
MIG concentrates heat in a smaller area for a shorter time when run in short stitched beads, so less total heat spreads into the surrounding sheet. A continuous gas weld run puts sustained heat into a wider area, increasing distortion — technique matters as much as the process itself.
What is MIG brazing and why use CuSi3 wire?
MIG brazing uses a silicon-bronze filler wire (CuSi3) at a lower running temperature than standard fusion MIG welding. It’s the current spec for many aluminum panel repairs because it limits heat-affected-zone damage and reduces the risk of denaturing the aluminum’s temper.
Do I need an English wheel to hand-form panels at home?
For compound-curve panels, a wheeling machine is the standard tool and makes the work far more consistent. Simple flat or single-curve pieces can be shaped with basic hammer, dolly, and shrinking/stretching tools without one, but complex crowns are much harder to fake without a wheel.
How much should I expect a hand-fabricated panel to warp?
Some distortion is normal with any welding process on thin sheet metal — plan on hammer-and-dolly or wheel work as part of the job, not a sign of a mistake. Excessive warp usually traces back to poor fit-up, welding too long in one spot, or not letting the metal cool between passes.
Should I weld a patch panel to old original metal the same way as new-to-new?
Treat it more carefully. Original, work-hardened metal responds to heat differently than new stock, so joints between old and new metal tend to warp more and are worth tacking and cooling in smaller increments.
Recommended Equipment
Hand-forming body panels demands precision tools. Our Paint & Body tools include wheeling machines, metal finishing equipment, and welding supplies for the full range of panel fabrication work.
- Sheet metal forming tools, including English wheels and hand-shaping equipment
- Panel finishing tools: hammers, dollies, shrinking discs, and planishing equipment
- Welding equipment and consumables for oxy-acetylene, MIG, and MIG-brazing applications

The Toolsource Technical Team blends decades of real-world automotive service experience with up-to-date technical research. Our writers collaborate with professional mechanics, shop owners, and diagnostic specialists to deliver practical, workshop-ready guidance you can trust.


Follow us on social media