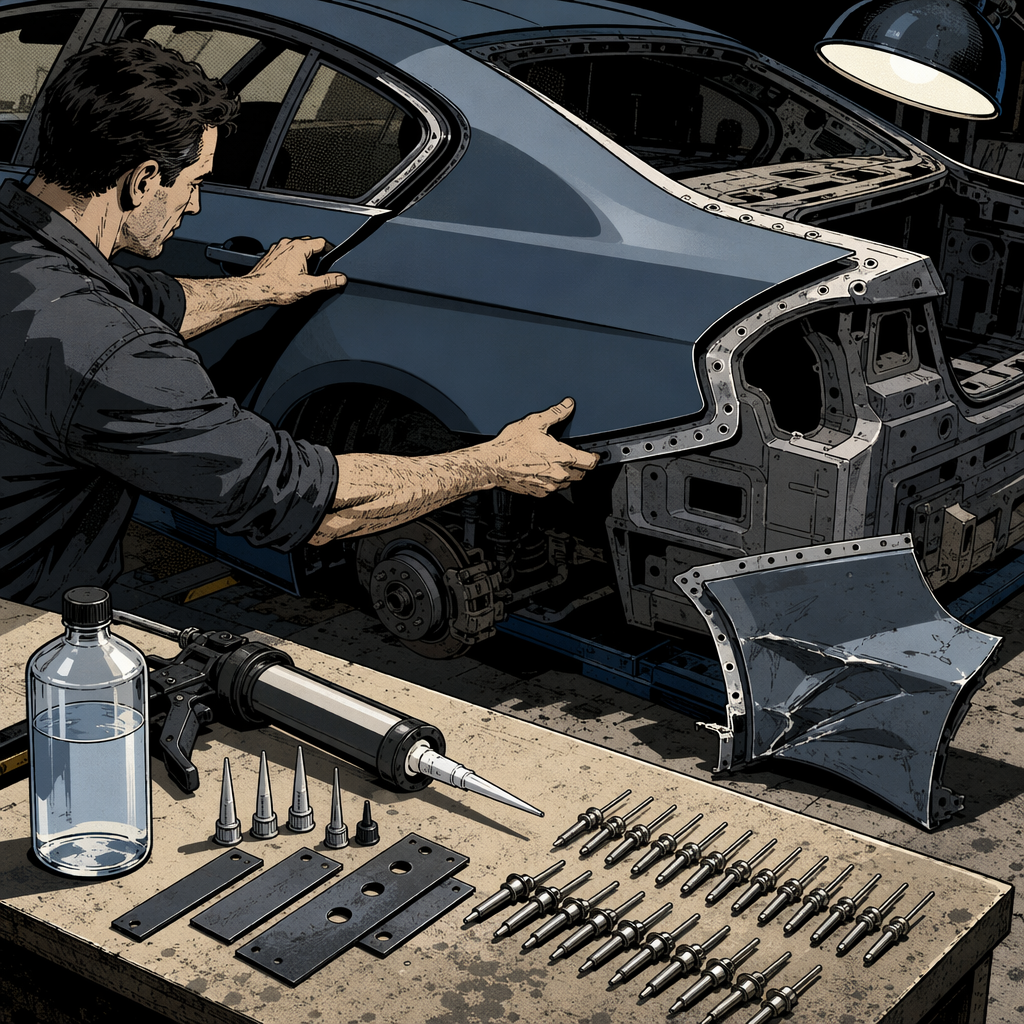
Bonded quarter panel replacement on a modern BMW isn’t a job you can wing based on “how we always did it.” The corrosion protection strategy, the order of operations for primer and adhesive, and the specific consumables called for are all engineered together — deviate from one and you compromise the others. This guide breaks down the procedure technicians are actually following in the shop, based on what’s spelled out in OEM repair documentation (BMW’s Technipedia/AIR system), so you can plan the job correctly before the panel ever gets cut loose.
Understand the Corrosion Protection Strategy Before You Start
The single most common mistake on these jobs isn’t a bad weld or a crooked panel — it’s not understanding why the surface prep differs on each side of the bond line. On a BMW structural quarter panel replacement, the two mating surfaces are treated completely differently, and that’s intentional:
- The replacement panel typically stays in its factory e-coat finish. It is not sanded down at the bond flange. The e-coat is the corrosion inhibitor on that side, and removing it defeats the purpose.
- The body-side flange (the inner structure the new panel bonds to) gets taken to bare metal. The adhesive itself acts as the corrosion inhibitor on this side once it’s applied directly over bare metal.
This is backwards from what a lot of techs assume — the instinct is to sand everything to bare metal for “better adhesion.” Don’t. Pull the actual procedure for the specific chassis and model year before you touch a grinder, because e-coat removal requirements can vary by section and by model. Treat every flange, sail panel, and rocker differently until the procedure confirms otherwise.
Surface Prep and Weld-Through Primer Application
Any location on the repair that still requires spot welding (as opposed to riveting and bonding alone) needs weld-through primer at the weld locations, per BMW procedure. This isn’t optional cosmetic prep — it’s there to maintain corrosion resistance at the weld nugget where bare metal is otherwise exposed.
Where things get technical is the transition from primer to adhesive. On bonded flanges, a liquid corrosion-inhibiting primer goes down first, and the structural adhesive must be applied within a tight window after that — commonly cited as around 10 minutes. Miss that window and you risk contamination or a chemical reaction that weakens the bond. A few practical notes from techs who’ve run this process:
- The liquid primer is clear and thin. It’s easy to miss during a visual check because it doesn’t leave an obvious film — confirm application by tracking exactly which panels have been coated rather than relying on eyeballing it.
- It flashes and cures almost instantly, which is exactly why the adhesive has to follow quickly.
- Prep your adhesive gun, tips, and rivet backer plates before you prime, not after. You don’t want to be hunting for a cartridge while the clock is running on an already-primed flange.

Applying Structural Adhesive and Rivets to Spec
Wherever the procedure calls for adhesive, it also calls for rivets — the two go together as a single joining method, not adhesive-then-optional-rivets. Skipping rivets because “the glue will hold” is a documentation and structural failure waiting to happen, and it will not pass a post-repair inspection if anyone checks.
A few things that consistently trip people up on this step:
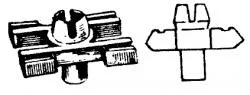
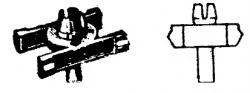
- Backer plates with plastic nuts used for blind rivet locations are fussy to align. Dry-fit the panel and mark backer plate locations before adhesive goes down — you do not want to be fighting alignment while adhesive is curing.
- Rivet type matters. BMW specifies different rivet families (commonly referenced as N3, N4, N5 for the more routine ones, with heavier-duty options for higher-load joints) and they are not interchangeable based on convenience. Pull the exact rivet callout for each joint location from the procedure.
- Follow the sequence in the procedure, not shop habit. Some flanges call for rivets before the adhesive fully wets the joint, others after — get this from the actual document for the repair, not from memory of a similar job.
This is also the point where estimators and technicians need to be talking to each other. Primer, adhesive, and the correct rivet count all need to be on the estimate and in the parts order before the car goes on the rack — running short mid-repair (or discovering the shop only has someone else’s leftover primer from an unrelated job) stalls the repair and invites shortcuts under time pressure.
Sourcing OEM Consumables and Managing the Cost Conversation
BMW-branded structural adhesive and rivets are expensive, and that cost is a real point of friction with insurers. Ballpark figures technicians have reported:
- Common rivets (N3/N4/N5 families): roughly $0.40 each
- Structural two-part adhesive: around $400 per kit
- Heavier rivet types (R1, R2, D2): roughly $18–$42 each depending on type
On a job requiring 30+ rivets plus adhesive, that consumable cost adds up fast, and some insurers push back — sometimes asking for “aftermarket equivalent” rivets on the theory that a generic rivet is a generic rivet. It generally isn’t. The rivet, adhesive, and primer system is validated together by the OEM for the specific joint geometry and material combination; substituting an equivalent part outside that validated system isn’t something most shops want to be the ones defending after the fact.
Practical steps for this conversation:
- Cite the specific OEM repair procedure by document number when writing the estimate, not just “per manufacturer.”
- Quote consumables as OEM part numbers, not generic line items, so the adjuster sees exactly what’s being specified and why.
- Keep documentation (photos, procedure printouts, consumable receipts) in the repair file in case of a comeback or audit.
Quality Control and Sign-Off
Before buttoning up the repair, verify the work against the procedure one more time rather than against memory. A rushed sign-off on a bonded/riveted structural panel is the kind of thing that surfaces years later as a corrosion or structural complaint, and it’s much harder to trace back once the vehicle is buttoned up and painted.
Quick Checklist Before Closing Up the Panel
- Confirmed the correct e-coat/bare-metal prep on each side of the bond per the specific procedure document
- Weld-through primer applied at all weld locations
- Liquid corrosion primer applied and adhesive laid within the specified time window
- Correct OEM adhesive and rivet part numbers used and documented on the repair order
- Rivet count and backer plate placement matched to the procedure, not estimated by eye
- Photos taken at each prep stage for the file


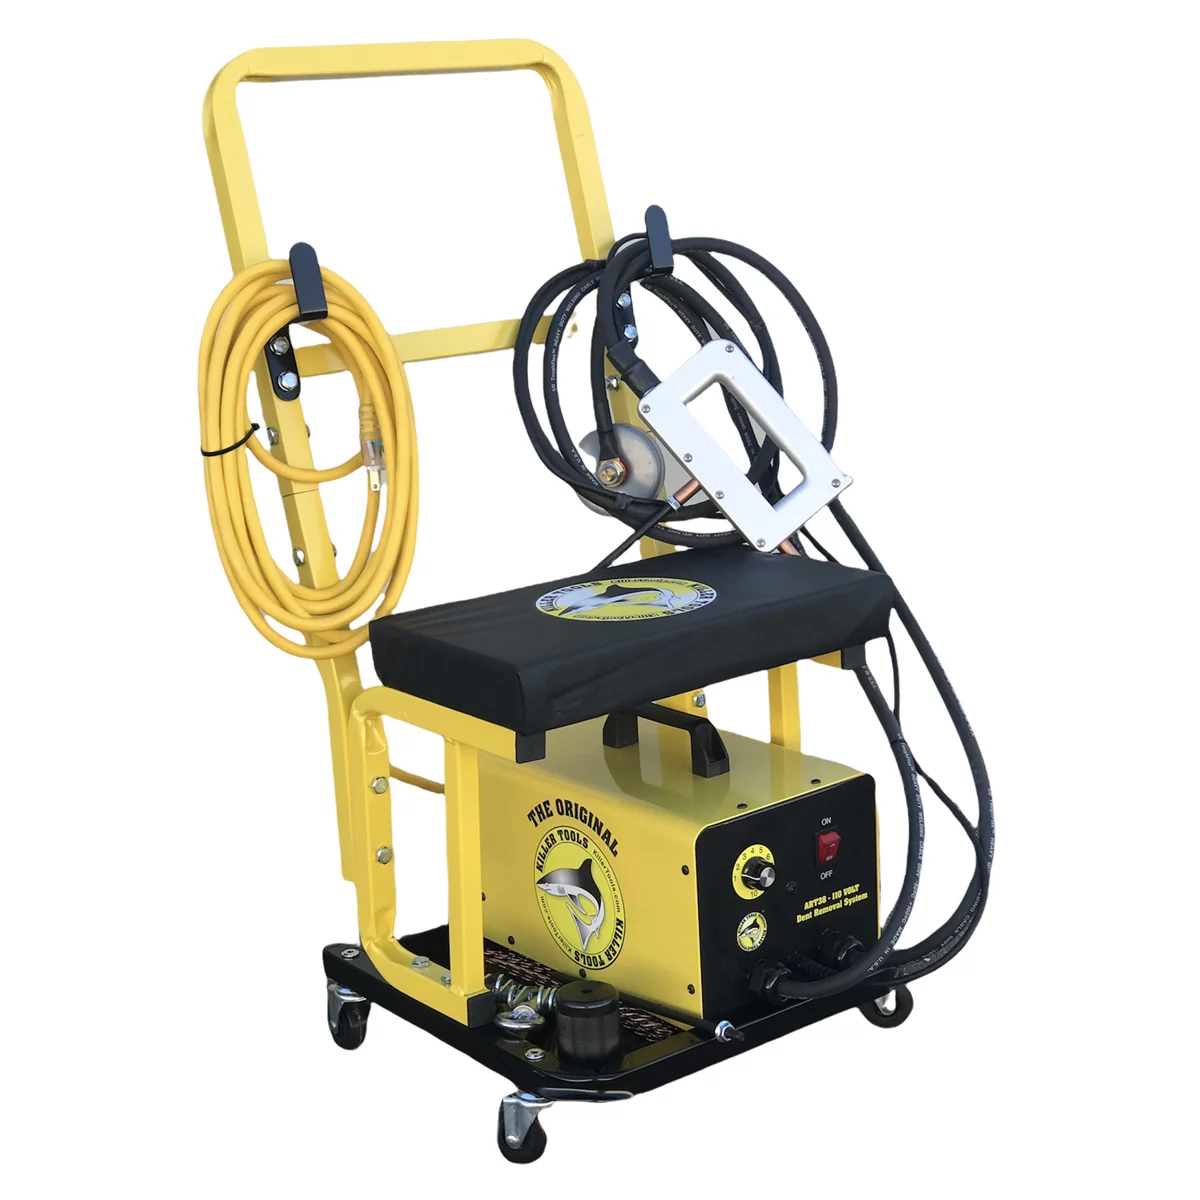
Killer Tools Steel Electrode Dent puller with seat.
Mfg: Killer Tools
Part #: ART38SPECIAL-220
Frequently Asked Questions
Do I need to sand the replacement quarter panel to bare metal before bonding?
No — on most BMW structural procedures, the new panel stays in factory e-coat at the bond flange. Only the body-side flange goes to bare metal. Always confirm against the specific procedure for the model, since requirements can vary.
Can I substitute a generic rivet for the OEM-specified one to save cost?
Not without risk. The rivet, adhesive, and primer are validated as a system for a specific joint. Using a non-OEM rivet outside that validated combination isn’t something most shops want to have to defend if there’s a comeback or a total-loss/structural inspection later.
How long do I have between applying primer and laying the adhesive?
Roughly 10 minutes per commonly cited shop practice, though the exact window depends on the specific primer and procedure. Have your adhesive, tips, and backer plates staged before you prime so you’re not working against the clock.
What happens if I only bond a joint without adding the required rivets?
You’ve deviated from the documented procedure, which weakens the joint’s structural performance and creates a documentation gap that can come back on the shop during an inspection, audit, or future claim.
Where do I find the exact bonding and prep procedure for a specific BMW model?
Through BMW’s official repair information system (referred to in the trade as Technipedia/AIR). Procedures are chassis- and often section-specific, so pull the exact document for the repair rather than relying on a similar past job.
How should I handle an insurer pushing back on OEM consumable costs?
Write the estimate citing the specific procedure document and OEM part numbers rather than generic line items, and keep photo and receipt documentation in the file. This gives the adjuster a clear, defensible basis for the cost.
Tools & Materials for Structural Repair
Structural bonding jobs require primers, adhesives, rivets, and fastening tools staged and ready before you start. Our Paint & Body selection includes the consumables and equipment you need to execute repairs to OEM specification.
- Corrosion-inhibiting primers and weld-through primers
- Structural adhesive systems and application equipment
- Rivets, backer plates, and blind fastening tools

The Toolsource Technical Team blends decades of real-world automotive service experience with up-to-date technical research. Our writers collaborate with professional mechanics, shop owners, and diagnostic specialists to deliver practical, workshop-ready guidance you can trust.


Follow us on social media