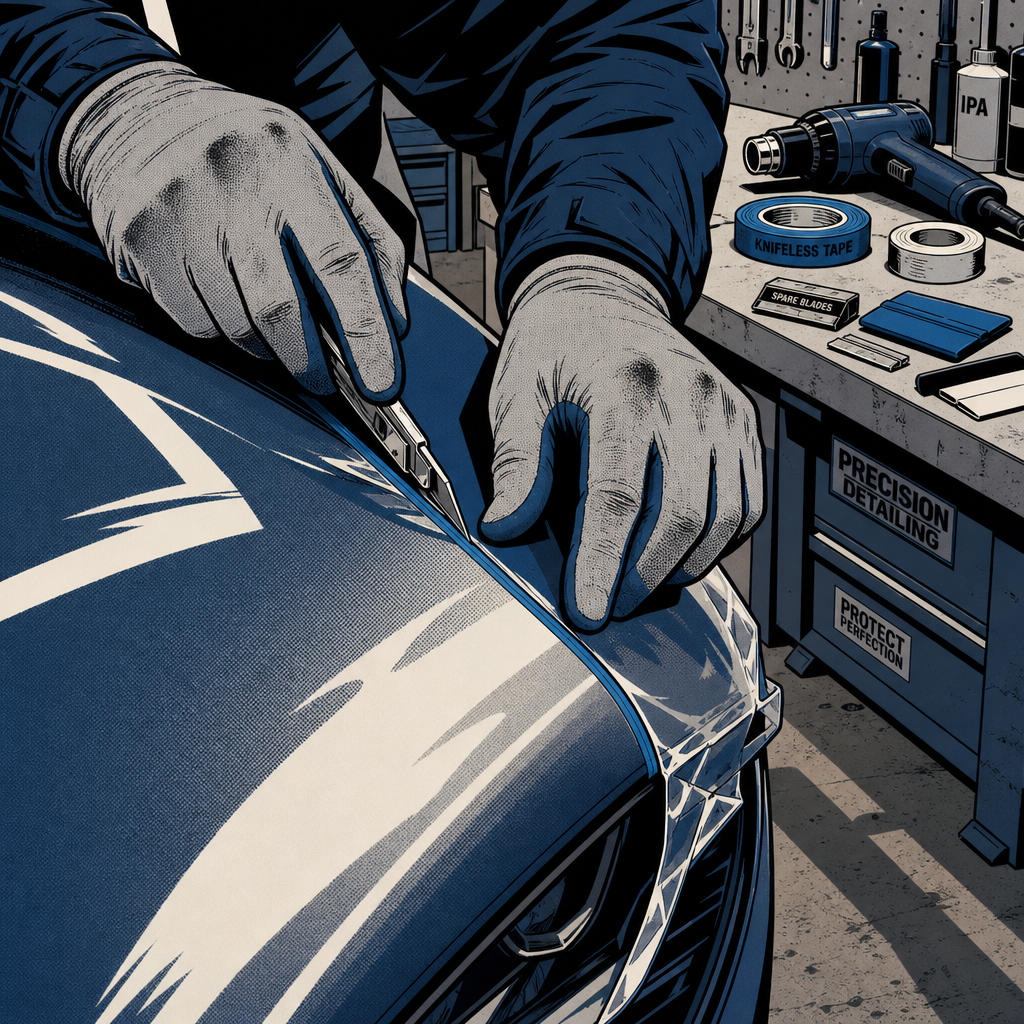
A viral thread about a brand-new Supra coming back from a $5,500 full-PPF install with a cracked, glued-on emblem and what customers are calling “wrap cuts” into the clear coat is a reminder of how much trust — and liability — sits inside every PPF job. Whether you run the install bay or sell the tools that go in it, the difference between a five-star review and a chargeback usually comes down to documentation, cutting discipline, and what happens in the five minutes after the film goes on. Here’s a practical rundown for techs who want to keep comebacks and disputes off their books.
Why PPF Comebacks Are Increasing
Paint protection film has gone from a niche upsell to a default expectation on new high-end and enthusiast vehicles, and shop volume has scaled faster than trained labor has. The result, according to techs and customers comparing notes online, is a wide spread in install quality at similar price points — from disciplined shops charging $7,500–$9,000+ for full coverage on a performance coupe, down to shops running the same scope for $5,000–$5,500 with rushed technique. Low bids aren’t inherently bad, but they compress the time available for careful trim removal, template fitting, and blade control — and that’s exactly where damage happens: knife-through-clear-coat cuts, cracked or “reused” emblems, popped or broken retaining clips, and film lifted at edges because it was never meant to be re-worked twice.
None of this is unavoidable. It’s a technique and process problem, and it’s solvable with the right prep, the right tools, and a documented workflow that protects both the installer and the customer.
Pre-Installation Documentation: Protect Everyone Before You Cut a Single Piece of Film
Before any film touches the car, walk it with the customer (or, for internal jobs, with a second tech) and document existing condition — panel by panel, in good light, with a phone or dedicated inspection camera. Photograph:
- Existing swirls, rock chips, and clear coat condition on every panel getting film
- Emblems, badges, and trim pieces — note which are adhesive-backed vs. mechanically fastened
- Panel gaps and any pre-existing dents or clip damage from prior work
Timestamp and geotag the photos if your camera supports it — this is the detail that resolved disputes fastest in the cases reviewed here, because it eliminated “it was already like that” arguments. Store this file with the work order, not just on a personal phone. If your shop doesn’t have a standard intake photo protocol, this is the single highest-leverage process change you can make this month.
Cutting Technique: Where Wrap Cuts and Clip Damage Actually Happen
A “wrap cut” — a scored or cut line in the clear coat from a blade pressed too deep during trim-to-edge cutting — happens almost exclusively during knifeless-tape-free, on-car trimming around emblems, body lines, and panel edges. A few technique rules reduce this risk substantially:
- Use knifeless tape or a guide wherever possible instead of freehand blade work directly against paint. It removes blade-to-clear-coat contact entirely on the trickiest cut lines.
- Swap blades constantly. A dull blade forces more downward pressure to cut through film, and that added pressure is what breaks through clear coat. Fresh blade per panel, minimum.
- Never pry or peel adhesive-mounted emblems to “get behind” them. Several documented failures involved installers treating a bonded emblem like a clip-on piece, cracking the emblem and then re-gluing it to hide the damage. If you don’t know whether a badge is adhesive, fastener-backed, or both, look it up by trim level before touching it — don’t find out by pulling.
- Support trim clips during removal. Push-pin and barbed clips are one-time-use on many trim panels; keep a stocked assortment on hand so a brittle 3-year-old clip doesn’t turn into a rattling panel or a customer complaint six weeks later.
Search: “PPF installation kit knifeless tape squeegee blade set” (mid-article — after this section)
The Post-Install Walkthrough: Catch It Before the Customer Does
The walkthrough is not optional, and it is not the same as handing over keys. Do it together, in daylight or under high-CRI shop lighting, panel by panel, and specifically point out:
- Film edges and any lift, silvering, or trapped debris
- Every emblem and trim piece that was removed and reinstalled — confirm it’s seated flush and not cracked
- Panel gaps compared to the intake photos
If a customer raises a concern during this walkthrough, do not dismiss it verbally as “moisture” or “it’ll settle” unless you can show them why — vague reassurance without inspection is exactly what turned several of these situations into public disputes and chargebacks instead of quiet warranty fixes. If something looks off, stop, inspect it together, and document it on the spot even if you believe it’s cosmetic and not damage.
When Something Goes Wrong: Handling Damage Claims the Right Way
If a customer comes back with a legitimate damage claim, the shops that come out of it intact follow a consistent pattern:
- Get it in writing immediately. Any commitment to repair, replace, or reimburse should be a signed agreement, not a verbal “we’ll take care of it” — verbal assurances with no follow-up are the single most common complaint in disputed jobs.
- Route body work through a shop the customer trusts, not one you assign. If the damage requires paint or panel repair, letting the customer pick (or approve) the body shop, with the PPF shop billed directly, avoids the perception of a second cover-up.
- Don’t let repair estimates linger unanswered. Silence after a documented complaint is what pushes customers toward card-network chargebacks, public reviews, and attorneys — all of which cost a shop far more than the original repair would have.
- Loop in your insurance carrier early if the claim exceeds a few hundred dollars. General liability and garagekeepers coverage exist for exactly this scenario, and carriers can move faster and more credibly than a shop negotiating directly with an angry customer.
Tooling and Process Investments That Reduce Risk
A few equipment and process upgrades pay for themselves quickly in reduced comebacks:
- Infrared or heat-gun temperature guides to avoid over-softening trim plastic during edge wrapping
- A dedicated, labeled bin system for removed clips and fasteners per vehicle, so nothing gets “reused” from a parts drawer that doesn’t match
- Paint depth gauges used pre- and post-install on a sample panel, so you have objective data if a clear-coat-cut claim ever comes up
- A written intake/outtake checklist signed by both tech and customer, kept with the RO
Quick Pre-Install QC Checklist
- Full photo/video walkaround completed and saved to the work order
- Emblem and trim type (adhesive vs. mechanical) identified before removal
- Fresh blade staged for trim-line cutting; knifeless tape used where possible
- Clip/fastener inventory checked against vehicle-specific parts list
- Post-install walkthrough scheduled with customer present, in good lighting
- Any customer-flagged concern documented and addressed same-day, not verbally dismissed
Search: “automotive detailing inspection lighting and paint depth gauge tools” (end-article — before FAQ)
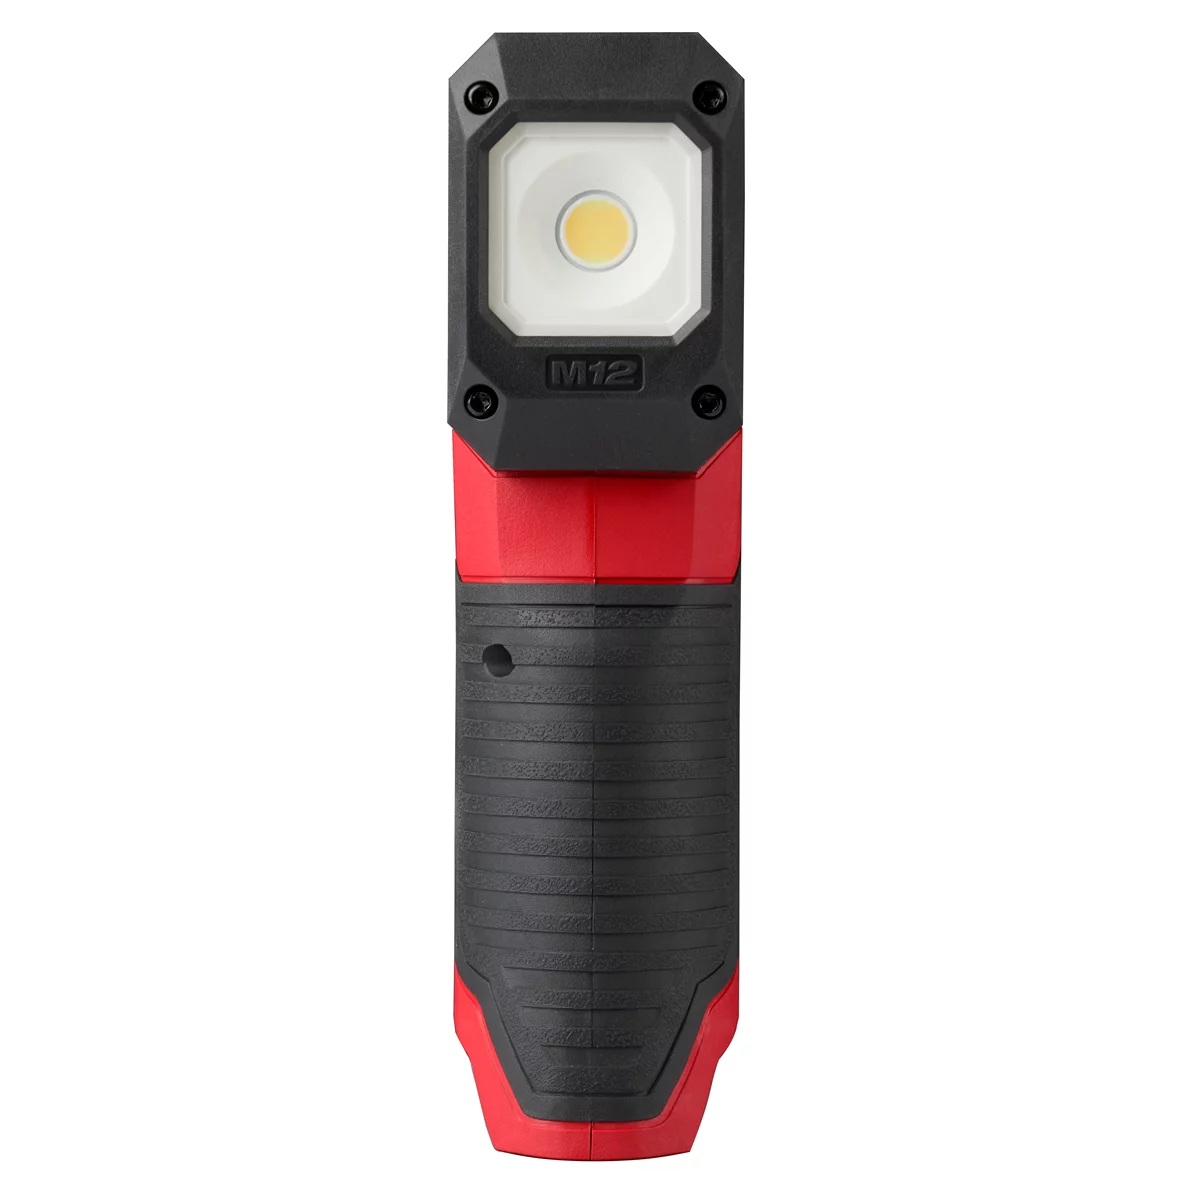
M12?,,? Paint and Detailing Color Match Light
Mfg: Milwaukee Electric Tools
Part #: 2127-20
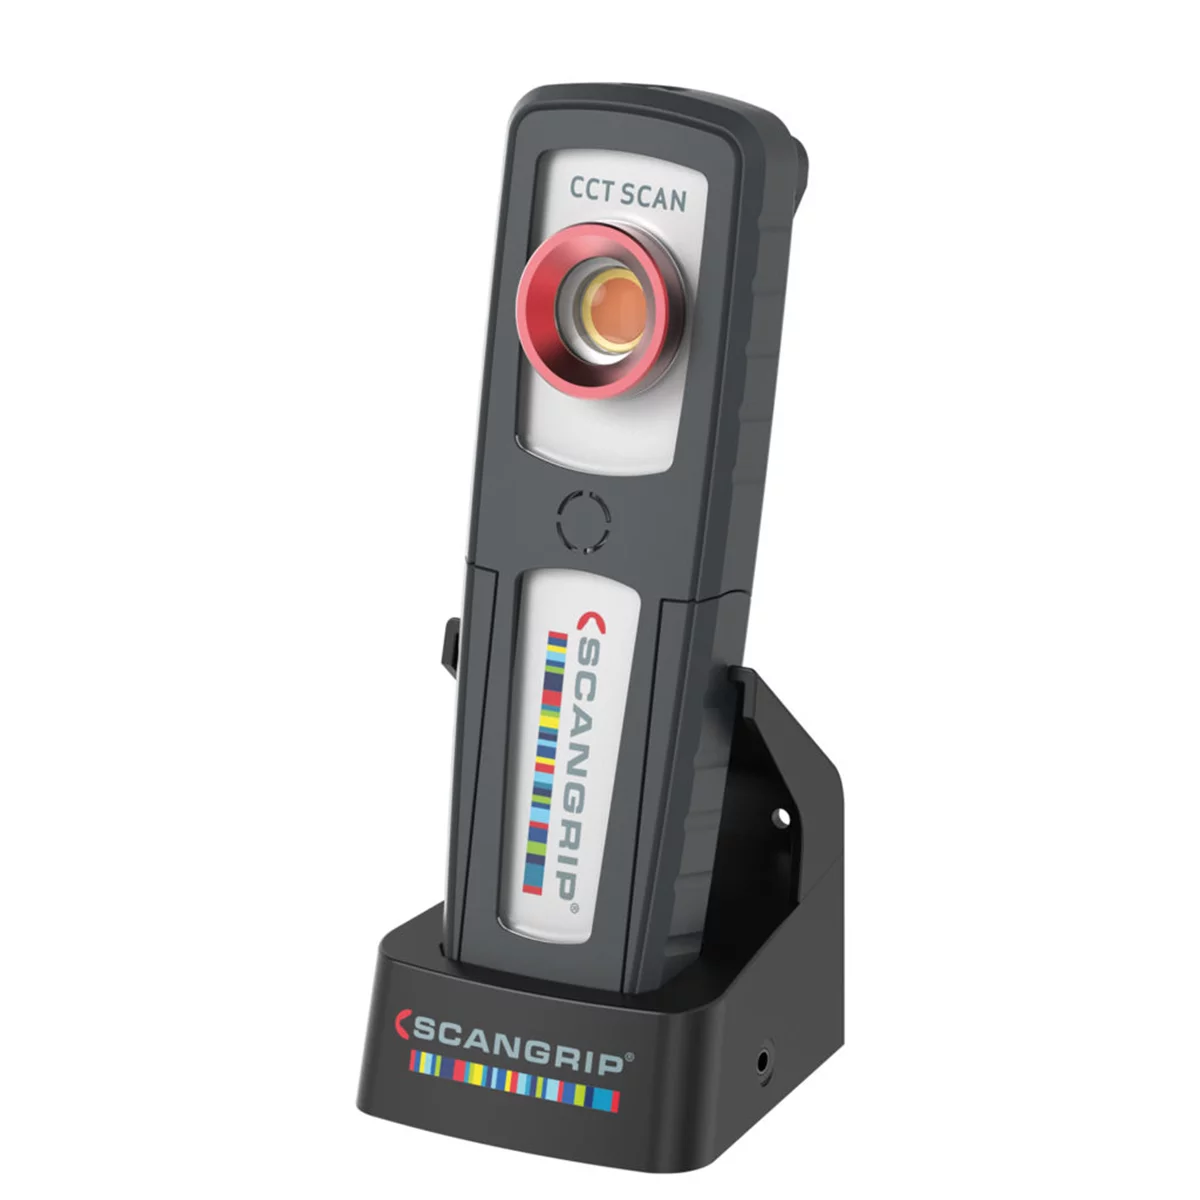
Scangrip SunMatch 4 SG-SM-4 Rechargeable Work Light, 100 to 240
Mfg: Innovative Tools and Tech
Part #: SG-SM-4
FAQs
What exactly is a “wrap cut,” and why is it hard to see right away?
A wrap cut is a blade score into the clear coat made during trim-line cutting. It’s often shallow enough to be invisible under film and only becomes obvious once the film is removed or the cut oxidizes and shows as a fine line. Paint depth readings taken before and after install are the most reliable way to catch it early.
Should adhesive-backed emblems ever be pried off during PPF prep?
No. If an emblem is bonded rather than clip-mounted, prying it risks cracking it — badges like large rear emblems are especially prone to this. Confirm mounting type by trim level before attempting removal, and budget for OEM replacement parts on high-end installs rather than risking reuse.
What should full-vehicle PPF actually cost?
Pricing varies by market and vehicle size, but full coverage on a performance coupe or sedan from an established shop commonly runs $7,500–$9,000+ in major metro areas; matte finishes run higher. Prices meaningfully below that range aren’t automatically a red flag, but they leave less labor time per panel, which is where technique shortcuts creep in.
What documentation should a customer expect before drop-off?
A full photo or video walkaround of existing paint condition, trim, and emblems, ideally timestamped, kept on file by the shop and shared with the customer. Its absence makes any later damage dispute much harder to resolve fairly for either side.
If damage is found, should the shop or the customer choose the repair facility?
The customer, with the installer billed directly and in writing. This avoids the appearance of the installer controlling or minimizing the scope of a repair to its own paint work.
Is a verbal promise to “take care of it” enough?
No. Get any repair or reimbursement commitment in writing, ideally as a signed agreement specifying scope, shop, and timeline. Verbal assurances with no signed follow-up are consistently what escalate disputes into chargebacks or legal action.
Shop Paint & Body Tools
Preventing wrap cuts and damage claims requires the right equipment. Our Paint & Body section carries inspection, prep, and cutting tools designed for precision PPF work.
- Paint depth gauges and inspection lighting for pre- and post-install documentation
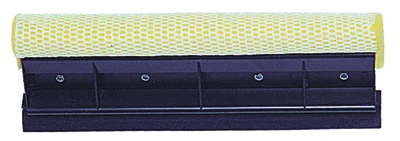
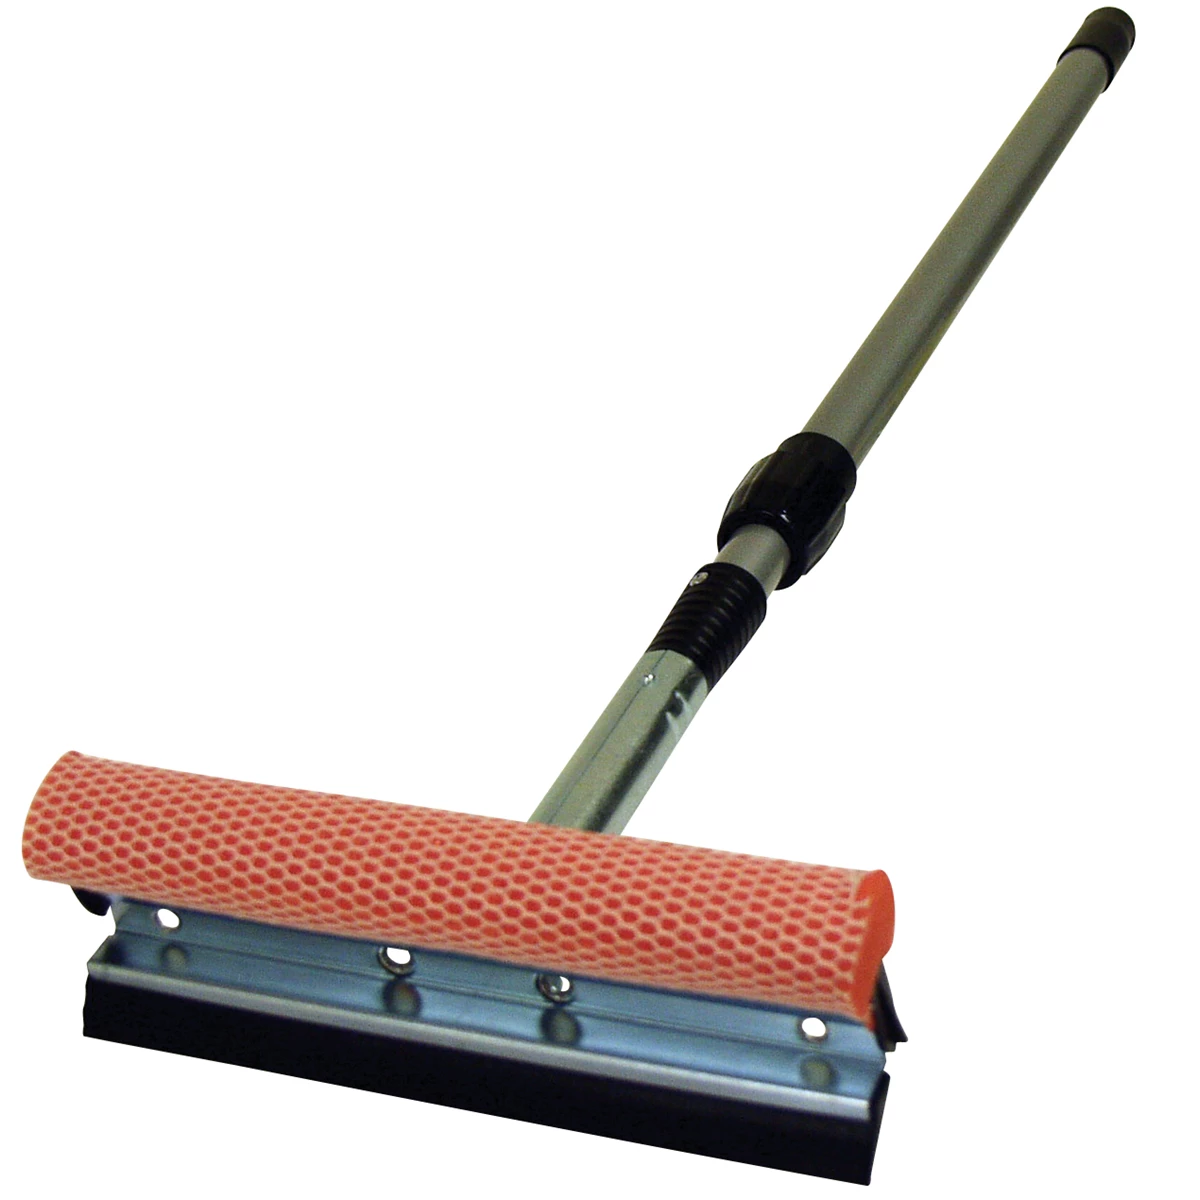
- Knifeless tape, blades, and squeegees to control trim-line cuts
- Trim removal and fastener tools for safe emblem and clip work

The Toolsource Technical Team blends decades of real-world automotive service experience with up-to-date technical research. Our writers collaborate with professional mechanics, shop owners, and diagnostic specialists to deliver practical, workshop-ready guidance you can trust.


Follow us on social media