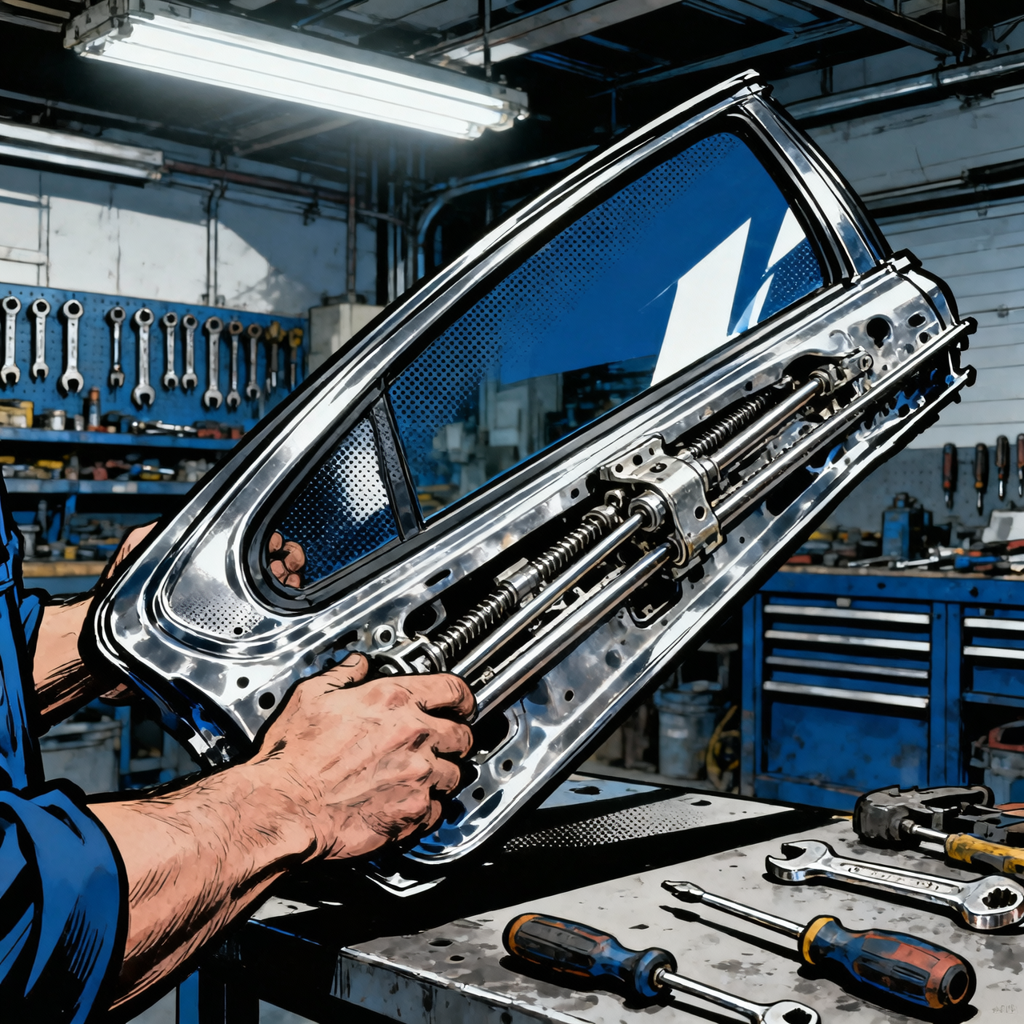
When a power window tilts, rotates, or turns into a lopsided triangle, the issue is almost always in the regulator or the guides that control the glass. Cold weather accelerates failures: a window frozen to the seal is commanded down, parts slip or break, and the glass goes off-track. This guide walks you through rapid stabilization, diagnosis, and repair. It’s written for DIYers and techs who want practical steps, not fluff.
Field Triage: Stabilize the Glass and Keep Weather Out
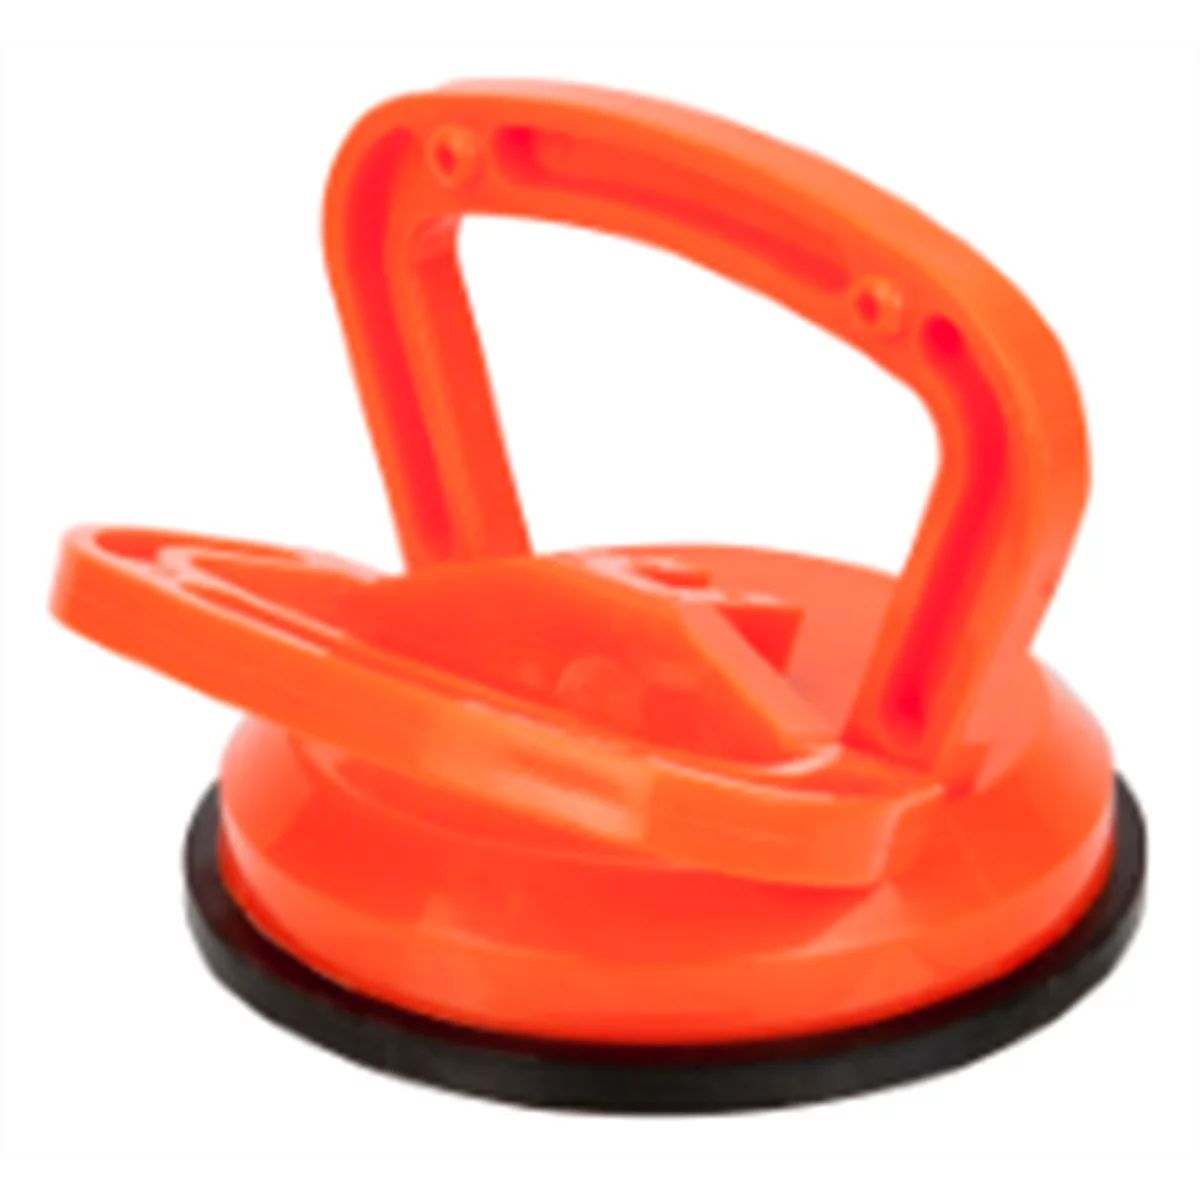
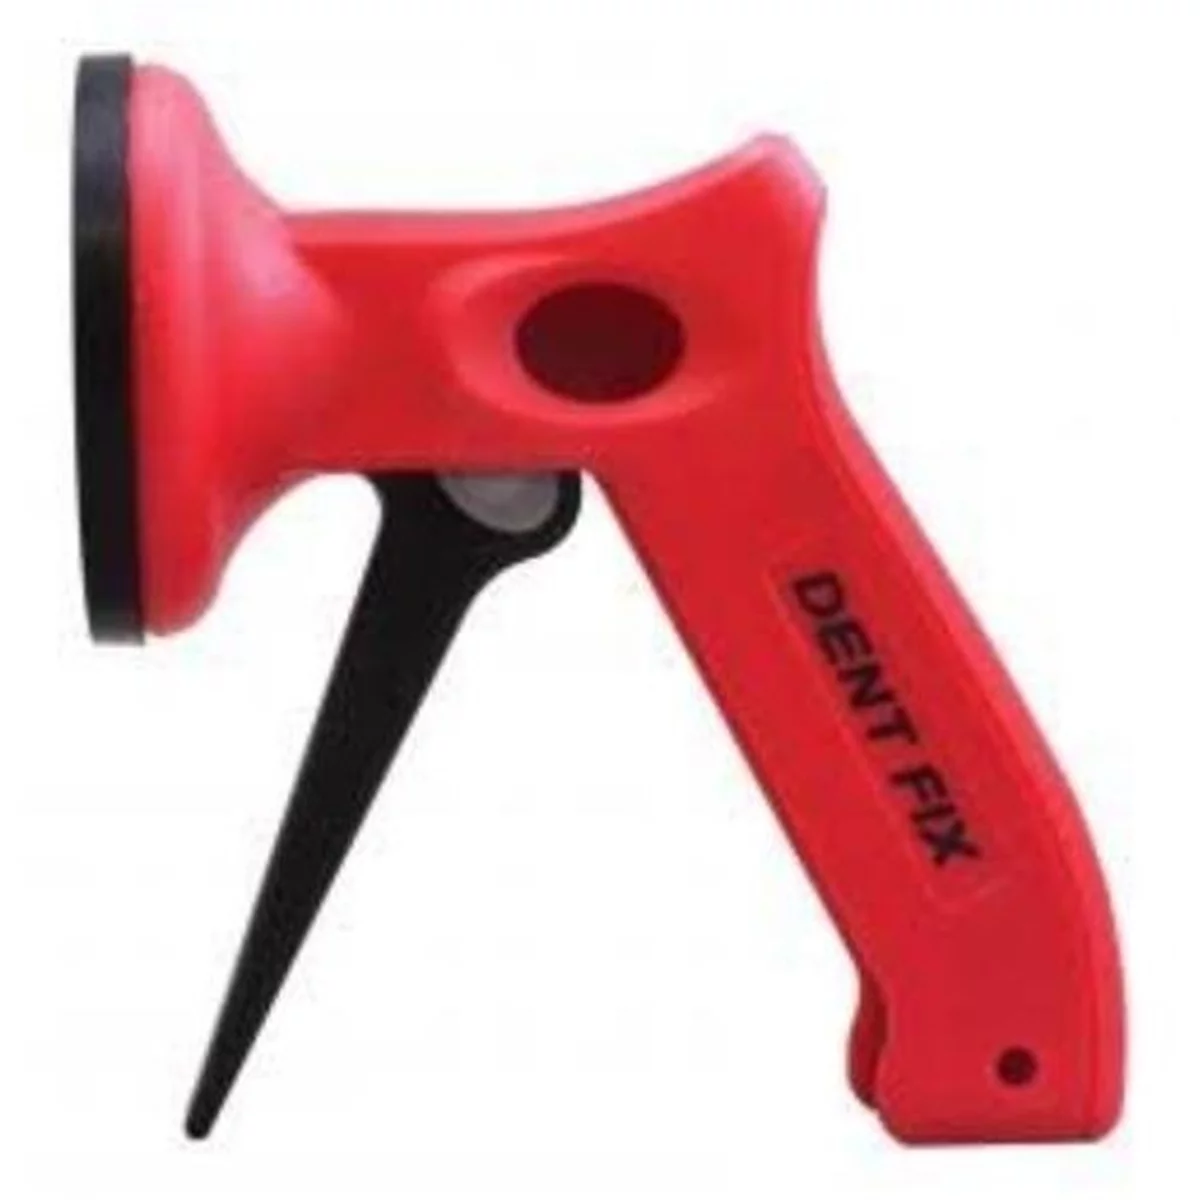
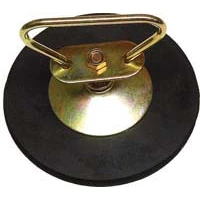
If the glass is tilted or has dropped into the door, stabilize it before you drive or park outdoors. Tempered glass can shatter if stressed at the wrong angle.
- Defrost and unstick: Warm the interior and exterior of the glass with the vehicle’s defroster. Don’t force the switch if the window is frozen. If needed, run a plastic trim tool along the top seal to break the ice bond.
- Lift and square: With the door open, use both hands or a suction cup handle to square the glass in the frame. Lift it evenly. Avoid prying on edges.
- Protect paint: Lay painter’s tape or a strip of plastic between paint and any tape you’ll use on the outside.
- Tape up: Use quality duct tape or painter’s tape across the top of the glass and over the door frame to hold the window fully up. Place several vertical strips. Do not rely on a single strip.
- Weather barrier: Cover the door top gap with plastic sheeting if the glass won’t seat fully. Tape to the outside of the door frame only.
- Disable switch: Pull the window switch connector or lock out the switch to prevent accidental operation until you’re ready to diagnose.
How Power Windows Fail: What You’re Likely Looking At
Most vehicles use one of two mechanisms:
- Cable-driven regulator: A motor spools a steel cable that slides a carrier up and down tracks. Weak points: frayed cables, cracked plastic pulleys, broken plastic sliders, stripped drum, and glass clamp failure.
- Scissor (X-arm) regulator: A motor drives a gear that opens/closes a scissor linkage. Weak points: worn pivot rivets, bent arms, stripped sector gear, and loose/broken glass mounting points.
Supporting components that commonly cause a tilted or rotating window:
- Glass run channels (felt-lined rubber): If the run freezes or degrades, the glass can stick or bind. Forcing the motor can pop the glass out of the clamps or bend guides.
- Guide rails and sliders: Bent rails or cracked nylon sliders let the glass twist.
- Glass clips/clamps: Many makes use plastic or hybrid clips bonded or clamped to the glass. In cold temps, clips crack or the adhesive lets go.
- Door intrusion/previous break-in: Slightly bent door frames from wedge tools can misalign tracks, causing repeated binding.
Common symptoms and likely causes:
- Window tilts forward or backward while moving: Glass off one guide or clamp loose/broken; bent guide rail or worn slider.
- Crunching/grinding then free-spinning motor: Cable fray or regulator drum failure.
- Window stuck after freeze, then drops suddenly: Adhesive/clamp slipped when ice released.
- Uneven gaps at frame-to-door on one side of vehicle: Door or frame may be slightly bent; check track alignment.
Diagnosis and Glass Re-Seating: Step-by-Step
Tools and supplies:
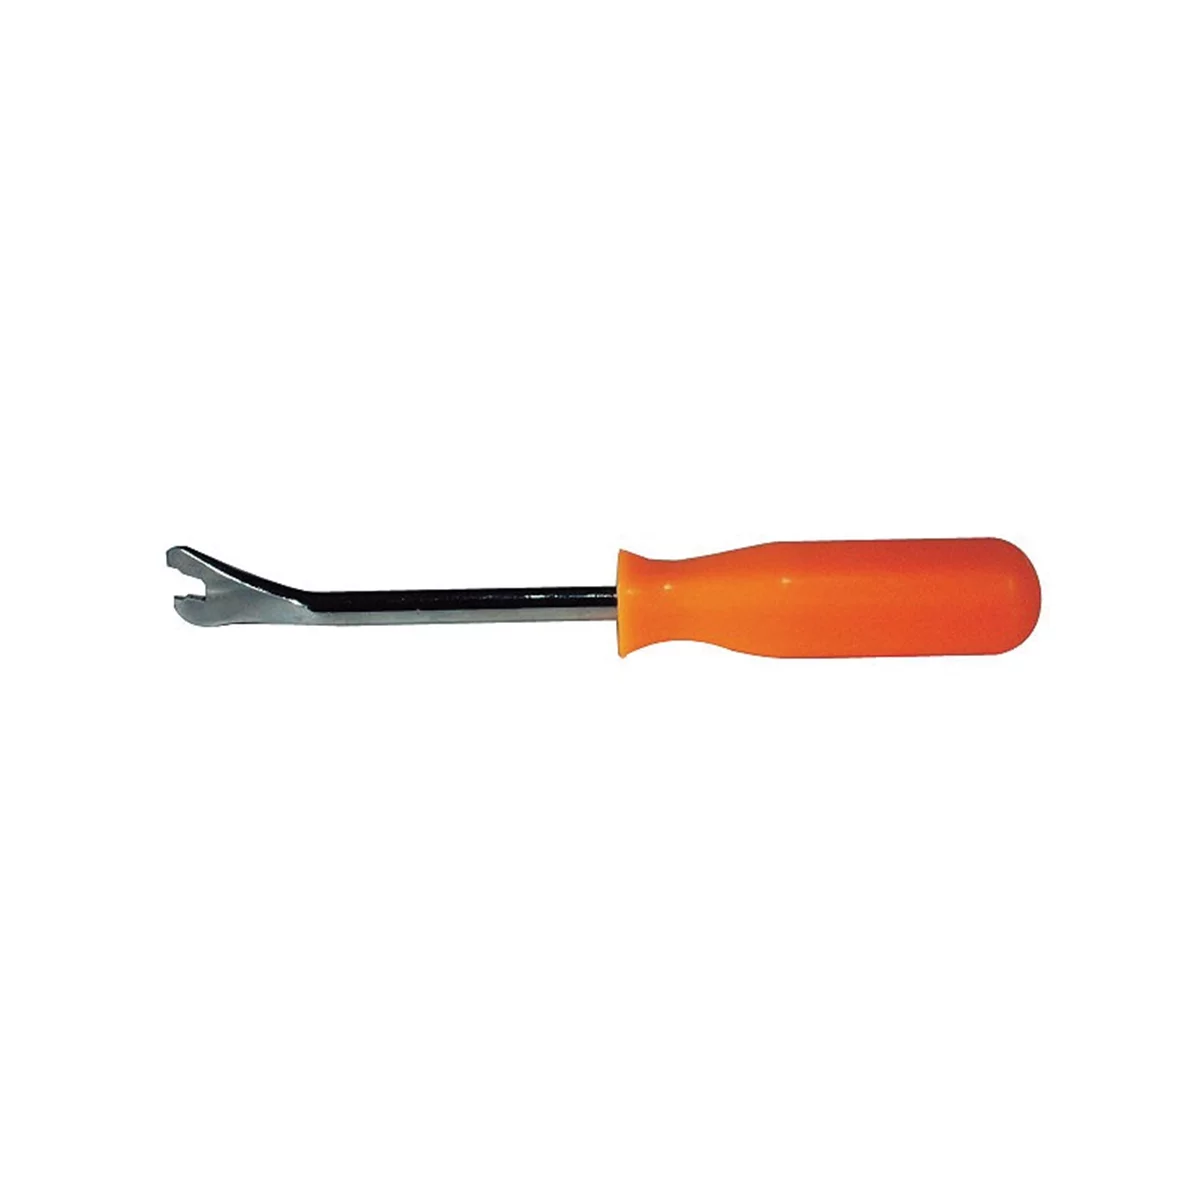
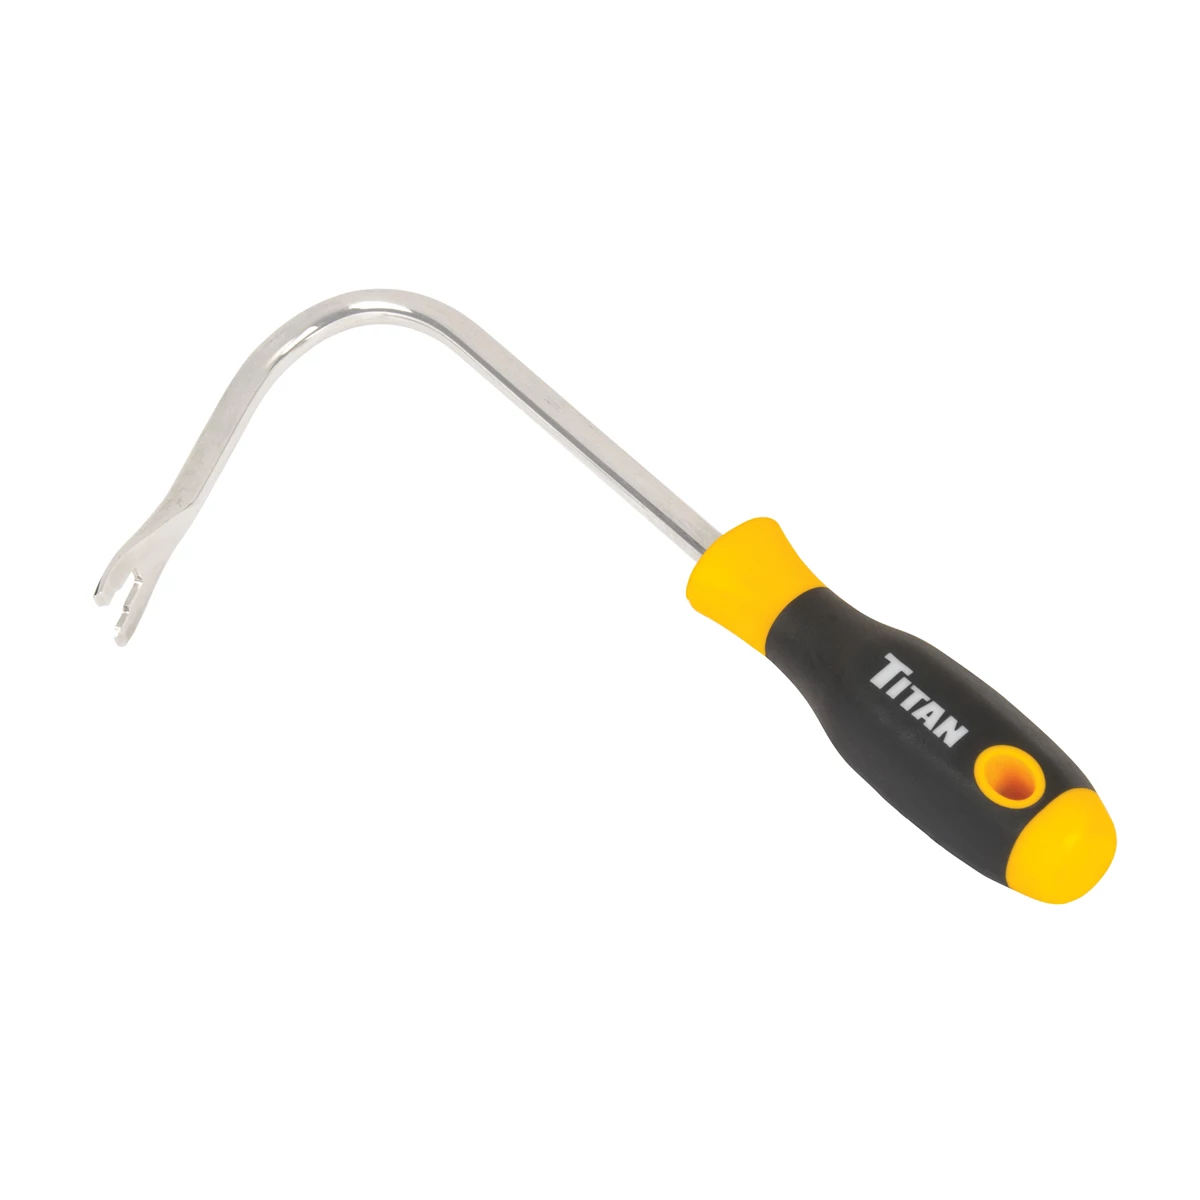
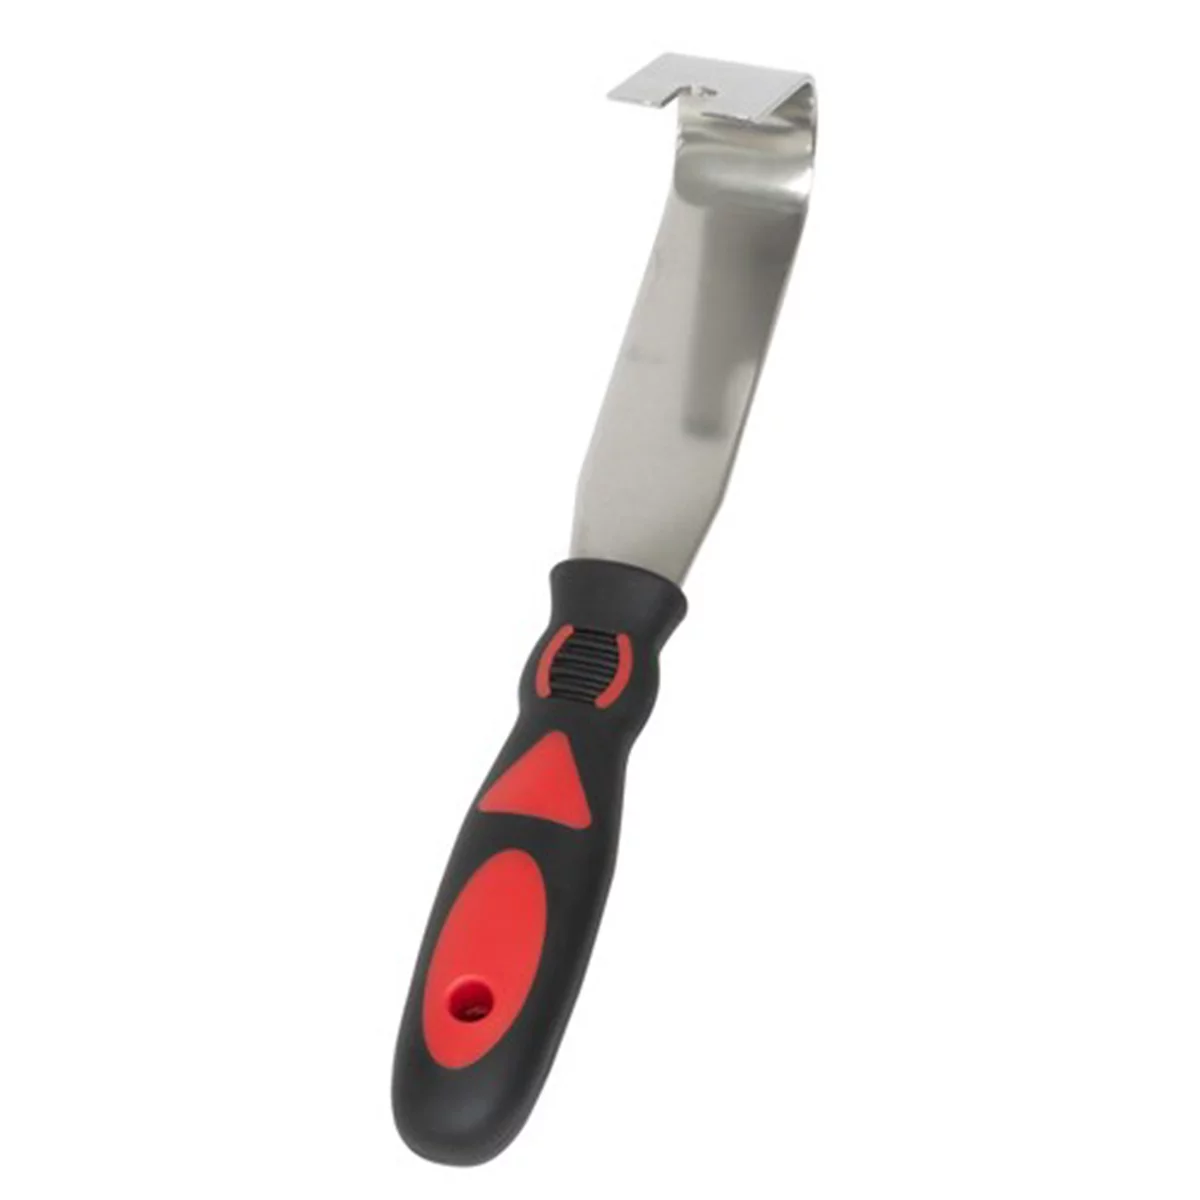
- Trim removal kit, panel clip tools, small pick
- Ratchet with 10 mm socket, Phillips/Torx drivers
- Flashlight/headlamp, inspection mirror
- Suction cup glass handle (optional but very helpful)
- Painter’s tape, plastic sheeting, gloves, eye protection
- Butyl rope or vapor barrier tape for re-sealing
- Power safe: Key off. If the vehicle has auto-up/anti-pinch, you’ll reinitialize later. Disconnecting the battery is optional for this task; do so if switches may be bumped while your hands are inside.
- Remove the switch panel: Pop the window switch bezel and disconnect the harness.
- Remove the door panel: Take out visible screws (behind handles, armrest, and along the bottom). Use a trim tool to release clips. Lift the panel up and off the window ledge.
- Vapor barrier: Carefully peel the plastic barrier away. Save the adhesive or plan to reseal with new butyl tape. Don’t tear it—this is your moisture defense.
- Secure the glass: Apply painter’s tape at the top to prevent sudden drops. If the glass is down inside the door, use a suction cup to control it.
- Find the glass-to-regulator interface: Most designs have two 10 mm clamp bolts (rubber-lined) or bonded clips. Position the glass to access service holes by briefly reconnecting the switch and bumping the motor, or manually move the regulator if the motor is inop. Support the glass first.
- Loosen clamps: Loosen (don’t remove) the two 10 mm bolts. If you have bonded clips that popped off, you’ll see the clip or pad separated from the glass.
- Inspect runs and guides: Check the felt run channel in the front and rear. It should be clean, not folded. Verify guide rails are parallel and not loose or bent. Check sliders on cable regulators; replace if cracked.
- Re-seat the glass: With clamps loose, align the glass evenly in both run channels. Slide it up into the frame by hand. Ensure the leading and trailing edges stay captured in the runs.
- Tighten clamps: Lightly snug both clamp bolts evenly, then torque. Typical clamp torque is 7–10 N·m (62–88 in·lb). Confirm your service data for exact spec. Over-tightening can shatter glass; under-tightening will slip again.
- Test travel: Reconnect the switch. Cycle the window down and up while guiding the glass. Stop immediately if it binds or tilts. Minor adjustments: loosen clamps slightly and re-center. Persistent binding indicates bent rails, a worn run channel, or a failing regulator.
- Run channel service: If runs are dry or tight, clean with glass cleaner and a lint-free cloth. Apply a light coat of silicone spray to a cloth and wipe the inner run surfaces. Avoid overspray on paint and upholstery.
If the regulator binds, the cable bunches, or the motor free-wheels, skip to regulator replacement.
Regulator and Motor Replacement: Proven Procedure
Have the replacement regulator ready. Decide whether you’re transferring the existing motor or installing a motor-plus-regulator assembly.
- Hardware note: Some regulators are riveted to the door. You’ll need a drill and large-flange rivets or a suitable bolt/nut replacement kit. Many techs use 1/4-inch large-flange rivets with a heavy-duty rivet gun.
- Position the glass: Raise the glass fully into the frame and tape it securely to the door frame. Alternatively, remove the glass: lower to service position, loosen clamps, then lift glass out the top with a helper. Store on a padded stand.
- Unplug and unbolt: Disconnect the window motor harness. Remove regulator fasteners (bolts or drill out rivets). If the motor is separate, remove its fasteners as well.
- Extract the regulator: Maneuver the regulator out through the large access opening. Note the routing of cables and position of guides.
- Prep the new unit: If transferring the motor, swap it to the new regulator using new screws or rivets as required. Lightly grease sliders and pivot points with white lithium or a plastics-safe grease. Do not pack the cable drum with grease.
- Install regulator: Feed the new assembly in and loosely fasten all mounting points. Ensure guide rails sit flat and square to the door’s inner panel.
- Set glass to clamps: If the glass was removed, reinstall it into the run channels carefully. If it remained taped up, lower it to the clamp points after reconnecting the motor. Seat evenly on both sides.
- Clamp or bond: For clamp-style, snug both bolts evenly before final torque. For bonded clip designs, clean the glass bonding area with a razor and isopropyl alcohol. Use an approved window urethane (automotive windshield urethane) in the clip pocket. Install per adhesive instructions and observe full cure times before cycling the window (often overnight). Do not use superglue or 5-minute epoxy; they will fail.
- Final torque and alignment: Torque regulator fasteners to spec. Run the window through full travel while observing for cable noise, twisting, or run channel rub. Make small adjustments by loosening the rail fasteners and nudging the rails until travel is smooth.
- Re-seal and reassemble: Reinstall the vapor barrier with butyl rope, ensuring a continuous seal around the perimeter. Reinstall the door panel and switch panel. Verify all clips engage and screws are snug.
Calibration, Quality Checks, and Cold-Weather Prevention
Many vehicles need anti-pinch reinitialization after power loss or regulator replacement.
Generic reinitialization procedure (consult service info for your model):
- Key on. Fully close the window by holding the switch up. Continue to hold for 3–5 seconds after the window reaches the top.
- Fully open the window by holding the switch down. Continue to hold for 3–5 seconds after it reaches the bottom.
- Repeat once if behavior is inconsistent. Some vehicles require a scan tool routine; follow OEM guidance.
Quality checks:
- Window travels smoothly and at even speed up/down with no rattle, squeak, or twist.
- No wind noise or water leak at highway speed or during a hose test.
- Auto-up/auto-down works and anti-pinch reverses when obstructed.
- Door locks, speakers, and mirror controls function after reassembly.
Cold-weather prevention tips:
- Lubricate run channels twice per season with a silicone-based rubber care product. Wipe off excess.
- Before operating windows in freezing conditions, run the defroster and gently tap along the outer seal to break ice adhesion.
- Avoid repeated switch cycling against a frozen window—this strains the regulator and can strip cables or crack clips.
- Inspect and replace worn run channels; crushed or hardened rubber increases bind and motor load.
Parts, Materials, and Tech Notes
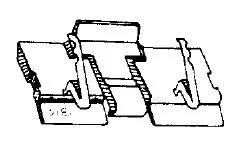

- Regulator quality: OEM fits best and often lasts longest. Premium aftermarket regulators with metal pulleys, reinforced sliders, and upgraded cables can outperform budget units.
- Motor vs. regulator-only: If the motor is slow, noisy, or draws excessive current, replace as an assembly. If the motor is strong and quiet, regulator-only can be cost-effective.
- Glass clips/clamps: Some makers use plastic clips that commonly crack in cold weather. When available, upgrade to fiber-reinforced or metal-reinforced clip designs. Always follow the manufacturer’s adhesive recommendations.
- Adhesives: Use automotive window urethane for glass-to-clip bonding. Clean with razor and isopropyl alcohol. Observe cure time—do not cycle the window early.
- Fasteners: If drilling out rivets, replace with equivalent large-flange rivets or appropriate bolts/nuts with threadlocker. Avoid mixing hardware that changes regulator alignment.
- Vapor barrier: Always reseal the barrier with butyl rope/tape to prevent water intrusion and module damage inside the door.
- Torque references: Glass clamp bolts typically 7–10 N·m; regulator/motor fasteners vary—check your service manual.
- Door alignment: If windows repeatedly bind on one door, measure door-to-frame gaps and inspect for prior intrusion or hinge/sash misalignment.
Quick Checklist: Before You Button Up the Door
- Glass seated in both front and rear run channels
- Clamp bolts torqued evenly; no glass creep during cycling
- Regulator/motor fasteners secured; no cable fray or rub
- Full up/down travel without twist, noise, or hesitation
- Vapor barrier fully sealed; drain holes clear
- Switches, speakers, locks reconnected and tested
- Anti-pinch/auto-up calibrated (if equipped)
FAQs
How do I know if it’s the regulator or just the glass off-track?
If the motor runs but the glass tilts, stalls, or drops, inspect the clamps, clips, and run channels. If you hear grinding or the motor runs without moving the glass, the cable or regulator drum is likely failed. A glass that can be re-seated and clamped securely may not need a regulator—unless binding returns during testing.
Can I re-glue a broken glass clip?
Yes, if the design uses bonded clips and the glass is intact. Remove old adhesive mechanically, clean with isopropyl alcohol, and bond using an automotive window urethane approved for glass-to-metal/plastic. Observe full cure time (often overnight) before cycling. Avoid epoxies and cyanoacrylates; they don’t tolerate shear and temperature swings.
Are rivets mandatory when replacing the regulator?
Many OEMs use rivets for speed and to maintain fixed alignment. You can replace with comparable large-flange rivets using a heavy-duty rivet gun, or use bolts and locking nuts of equivalent size. Ensure the regulator sits flush without distortion and apply threadlocker if using bolts.
How do I avoid shattering the glass during repair?
Support the glass with tape or suction cups, loosen clamp bolts only enough to reposition, and avoid twisting forces at corners. Never over-torque clamp bolts. Keep tools away from glass edges, which are the most vulnerable to impact fractures.
Why does this happen more in winter?
Ice bonds the glass to the weatherstrip. When the motor is commanded, the regulator loads up until the weakest link fails: a cable frays, a plastic slider cracks, or a clamp slips. Also, cold makes plastics brittle and rubber runs grabby, increasing the chance of going off-track.
Do I need to reprogram auto-up after disconnecting the battery?
Often yes. Many systems relearn with a simple up/down hold procedure. Others require a scan tool routine. If the window bounces back at the top or won’t auto-up, perform the initialization in this guide and consult service information for your vehicle.
Shop Paint & Finishing Tools
After door and regulator work, clean up scuffs and protect trim with supplies from Automotive Paint & Finishing Tools.
- Masking, tape, and plastic sheeting for clean edges and overspray control
- Sanding blocks, abrasives, and surface prep tools
- Polishers, pads, and compounds for removing light scratches
Essential Paint and Body Repair Tools
While diagnosing window regulator issues, you’ll often find that paint and body work is necessary to properly access and repair window mechanisms. Whether you’re dealing with rust around the door frame or need to repaint after disassembly, having the right tools makes the job easier.
- Automotive paint restoration compounds for refinishing scratched door panels during regulator access
- Body filler and sanders to prepare surfaces before repainting around window tracks
- Door panel removal tools to safely disassemble without damaging surrounding body panels

The Toolsource Technical Team blends decades of real-world automotive service experience with up-to-date technical research. Our writers collaborate with professional mechanics, shop owners, and diagnostic specialists to deliver practical, workshop-ready guidance you can trust.


Follow us on social media