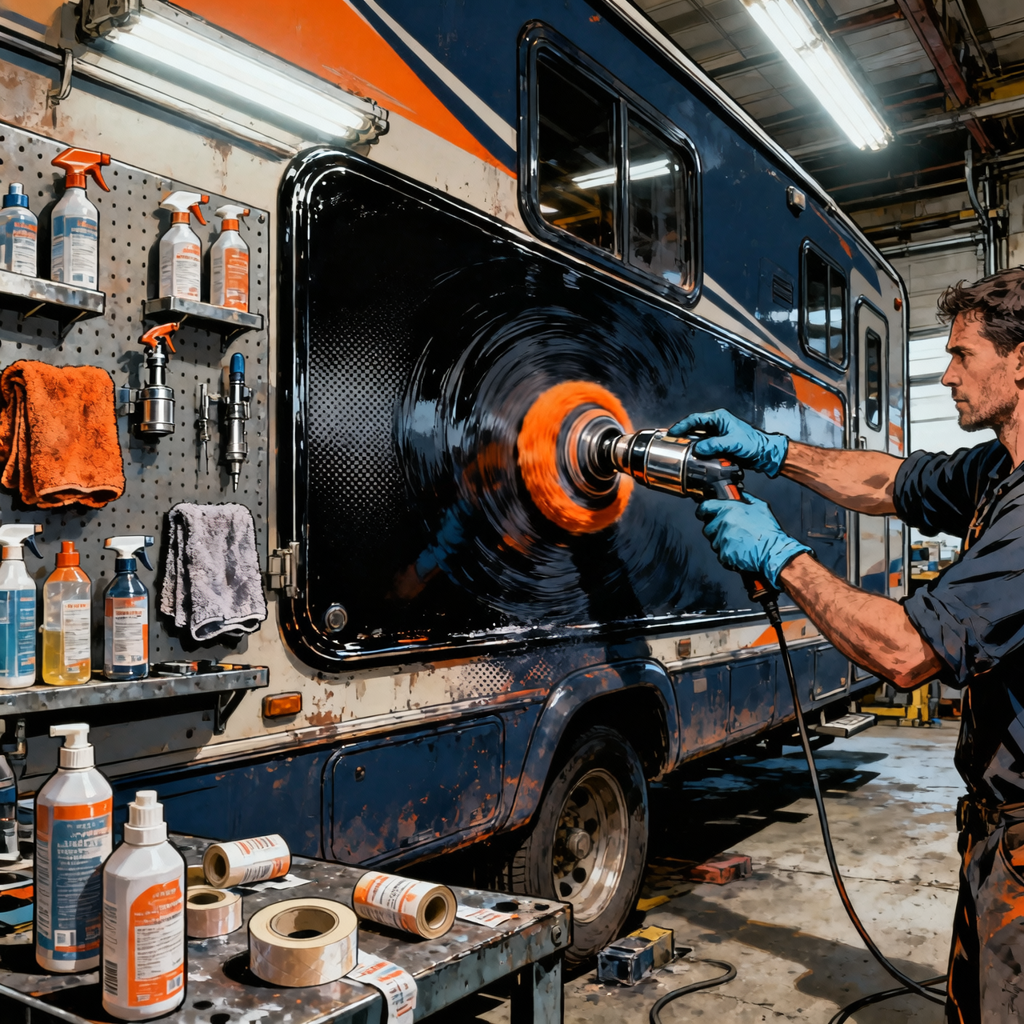
Large coaches and RVs magnify everything: the surface area, the labor, and the way defects show up in sunlight. Dark panels in particular can look incredible after proper correction, but they also reveal any missed sanding marks, haloing, or high-spots in coating. This workflow distills proven, technician-oriented practices for safely removing aged front-cap film, correcting paint or gelcoat, and applying durable ceramic protection that survives UV, road grime, and (for coastal rigs) salt exposure. Use the steps, tools, and inspection tips here to build repeatable results and to price, schedule, and deliver confidently.
Pre-inspection and Planning

Start by defining the surfaces and the scope.
- Identify substrates: painted fiberglass, gelcoat, aluminum and stainless trim, vinyl graphics or decals, existing PPF, and textured plastics. Substrate dictates cut strategy, pad choice, and chemical compatibility.
- Lighting baseline: inspect outside in direct sun if possible, then under high-CRI hand lights and area floods. Dark panels will hide haze at some angles; cross-light from multiple heights to catch it.
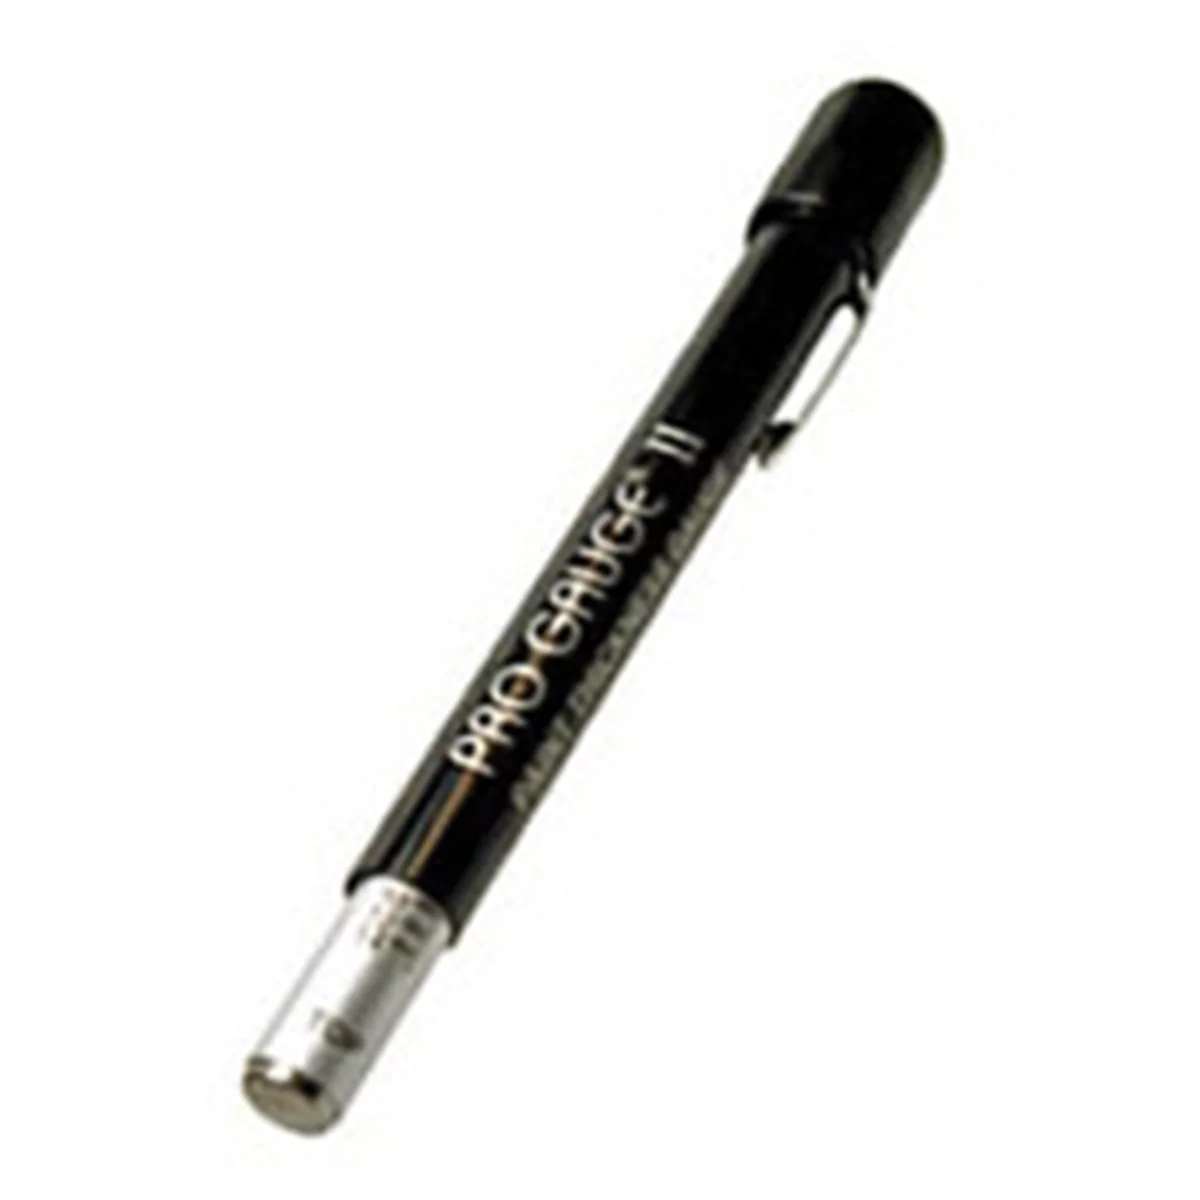
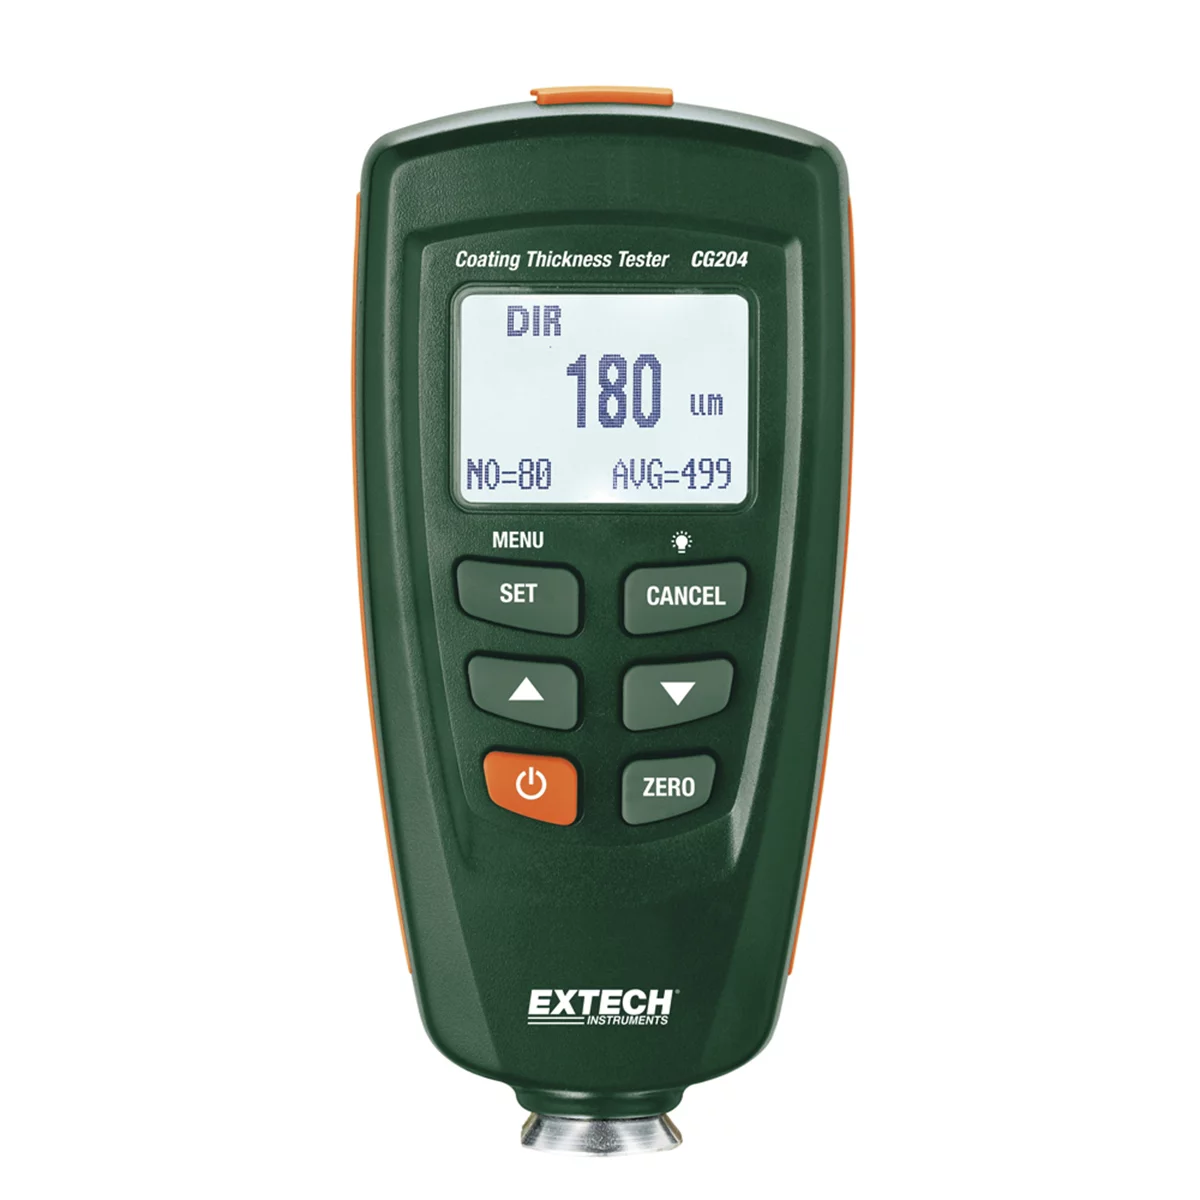
- Measure what you can: paint thickness gauges help on steel and aluminum but will not read fiberglass or gelcoat. On non-ferrous panels, rely on careful test spots and conservative heat management.
- Document defects: oxidation, water spotting, etching, swirls, deep random isolated scratches, adhesive transfer, and failing films. Photograph all sides before touching the vehicle.
- Safety and access: plan ladders, platforms, or mobile scaffold. Large vehicles require tie-offs in windy conditions and clear paths for moving the rig in and out of sunlight. Confirm shore power and water access, drainage, and neighbors if working mobile.
- Define scope and sequencing: film removal first, then wash and decon as needed, compound and polish, metal detail, panel wipe, coatings, and optional new PPF. Segment the coach by 8–10 foot zones to track time and quality checks.
- Estimate structure: a common model is to price exterior correction and one-year ceramic protection by linear foot, and price film removal by the hour or day due to unpredictability. Line-item metal polishing and any PPF installation separately. Build contingencies for heavy oxidation and severely crazed film.
Wash and Decontamination at Scale
A safe wash sets the table for correction and coatings. On large vehicles, water spots and trapped contamination can multiply if rushed.
- Dry prep and masking: blow dust off dry with a blower. Mask porous trims, matte decals, fresh paint edges, and delicate gaskets before heavy chemical use or polishing.
- Pre-soak and bug removal: foam the front cap, lower quarters, and rear with a high-lubricity shampoo. Use a dedicated bug remover on leading edges and rinse thoroughly.
- Main wash: use the two-bucket method with a long-handled chenille or microfiber mop head reserved for upper sections. Work top-down and in manageable sections to avoid soap drying. For heavily oxidized gelcoat, avoid strong degreasers that can streak; let the foam dwell and agitate gently.
- Iron fallout and tar removal: apply an iron remover to painted metal panels and clearcoated areas. Avoid raw aluminum and bare metal. Spot-treat tar on lower panels with a safe solvent and plenty of rinse.
- Decon: use a clay mitt or fine-grade clay with soapy lubrication to pull bonded contamination. On very large surfaces, divide panels by tape lines to avoid missing areas.
- Rinse and drying strategy: if available, use deionized water to slow spotting. Blow most water off with a vehicle dryer, then follow with large, plush drying towels. Inspect seams and emblems for trapped water that can drip during polishing.
Removing Aged PPF from Front Caps
Front-cap film often fails first due to UV and impacts. Removal is tedious but safer when you control heat, angle, and chemistry.
- Tools and chemicals: steamer or heat gun, infrared thermometer, plastic razor blades, nitrile gloves, microfiber towels, low-lint shop towels, adhesive remover designed for automotive paint, isopropyl panel wipe, painter’s tape, and a small squeegee for edge lifting.
- Heat range: warm the film surface to approximately 50–60°C (120–140°F). Keep heat moving to avoid softening the clearcoat beneath. Steam can penetrate and soften aged adhesives more evenly than dry heat.
- Lift and pull: use a plastic razor to create a clean starter tab. Pull at a low angle (roughly 15–30 degrees) while applying heat ahead of the pull. Avoid yanking upward; low-angle tension reduces chance of tearing and adhesive transfer.
- Cracked or crazed film: if the film fractures, slow down and use steam. Work in smaller zones, overlap your edges, and use tape tabs to control fragments. Expect more adhesive left behind.
- Adhesive removal: apply an appropriate adhesive remover to warm panels, allow brief dwell, and wipe gently with microfiber. Reapply as needed. Do not scrub aggressively on warm, soft paint. Rinse and wash once the bulk of adhesive is gone.
- What to avoid: metal blades, excessive heat concentration, and eraser wheels on painted fiberglass. These increase the risk of gouging, burning, or ghosting. If you must use a wheel, restrict it to glass or metal trim per manufacturer guidance.
- Post-removal inspection: clean with panel wipe, inspect for ghosting and etching, and plan a corrective polishing step to restore even gloss before protection. If replacing PPF, prep the surface to a high finish prior to installation.
If installing new PPF, choose an aliphatic TPU film rated for UV and impact resistance and follow proper slip/tack solution ratios. Pre-fit bulk material where patterns are unavailable, squeegee from the center out, and seal edges per film maker guidance. Avoid lower-grade films on front caps that are prone to yellowing and cracking.
Correction on Big, Dark Panels (Paint or Gelcoat)
Large black surfaces are unforgiving. Build your system around test spots, temperature control, and repeatability.
- Test spot protocol: choose a representative, well-lit area on a dark panel. Start with the least aggressive system likely to work and step up as needed. Document pad, product, speed, pressure, passes, and wipe technique.
- Machine selection: a long-throw dual-action polisher minimizes rotary haze on clearcoat and many gelcoat jobs. For heavy gelcoat oxidation, a rotary with a wool pad may be necessary for the first step, followed by DA refinement. Keep speeds moderate and inspect often.
- Pad and liquid selection: for cutting, consider low-dusting compounds with microfiber or wool pads. For finishing, use soft foam and a fine polish. On soft RV clearcoats, a one-step may suffice if defects are light; on hard gelcoat, plan for two steps.
- Heat management: large panels store heat. Use an infrared thermometer to keep panel temps in check and shorten cycle times if the panel warms quickly. Limit edge pressure and tape body lines and protrusions.
- Decals and textured plastics: avoid direct machine contact with aggressive pads. Polish up to edges, then hand refine if needed. Protect porous surfaces with tape to prevent staining.
- Arm speed and overlap: keep arm speed slow and overlaps consistent at roughly 50 percent. Clean pads frequently with compressed air or a brush to maintain cut and clarity across big surface runs.
- Lighting for clarity: verify results with high-CRI handhelds and floodlights set at different angles. Step back to view long reflections for waviness or missed haze. Dark panels make halos obvious; adjust your finishing system if you see micro-marring.
- Metal accents: mask first, then perform light metal polishing on stainless or aluminum with purpose-built compounds and dedicated cones or mops. Control sling and residue to prevent contamination of corrected panels.
Ceramic Protection Strategy for RVs and Marine Environments
Coating choices and application discipline matter more as the surface area grows. A thin, even layer applied correctly is easier to level and maintain across long panels.
- Surface prep: after polishing, thoroughly blow out seams and wash or panel-wipe to remove oils. Allow solvents to flash fully. Check that panel temperature and ambient conditions meet the coating’s spec.
- Application method: apply coatings with a block-and-suede or dedicated foam applicator, not a DA or wax pad. Lay thin, crosshatched passes in manageable sections. Watch for flash indicators and level within the manufacturer’s window using low-pile, clean microfiber towels.
- Coverage planning: large RVs can require multiple 30–50 mL bottles depending on the number of layers and the presence of slide-outs. Plan inventory so you do not stretch product too thin or run short mid-panel. Discard contaminated applicators promptly.
- Layering approach: single-layer one-year coatings are appropriate when paintwork is pending or for budget-conscious clients. For longer durability, pair a base layer designed for hardness and chemical resistance with a sacrificial, slick top coat. In high UV and salt environments, schedule topper maintenance every few months.
- Ancillary surfaces: use compatible coatings for glass, wheels, and plastics. Avoid staining porous trims and vinyl graphics; test compatibility and wipe promptly. Masking can still be valuable during coating to keep edges crisp.
- Cure and aftercare: respect the no-water window and full cure timeline. Instruct clients to avoid harsh detergents and to use proper wash techniques. Recommend periodic inspection and toppers to maintain hydrophobics.
Quality Control, Delivery, and Documentation
With so much surface to manage, closing strong depends on structured QC and clear communication.
- Final inspection: walk all sides with multiple lights, then, if possible, roll into sunlight or bright overcast for a second pass. Re-level any coating high spots and remove compound dust from seams and badges.
- Edge work: pull tape carefully, clean adhesive lines, and check rubber seals and window trim for residue.
- Touchpoints: degrease handles, fuel doors, and ladder rungs. Verify step covers, awnings, and slide-outs are free of residue.
- Client briefing: explain wash procedure, safe drying, coating maintenance intervals, PPF edge care, and what to avoid with pressure washers. Provide a simple maintenance kit and a one-page care sheet.
- Documentation: record products used, batch dates if applicable, cure times, hours per section, and before/after photos. Itemize invoice lines for wash/decon, correction steps, metal polish, coating layers, PPF removal, and PPF installation if performed. Note any areas left for future paintwork.
- Scheduling follow-up: set a 30–90 day check-in to address early maintenance, especially on vehicles stored outdoors or near saltwater.
Technician Checklist (Short)
- Confirm access, power, water, shade, and safe ladder/scaffold plan.
- Inspect and document substrates, defects, and existing films or graphics.
- Mask sensitive trims and decals before heavy chemical use or polishing.
- Warm and remove aged PPF with controlled heat or steam; low-angle pulls.
- Decon thoroughly: foam, wash, iron removal where appropriate, clay, dry.
- Dial in a test spot and record pad/product/speed/passes for repeatability.
- Manage panel temps and lighting; clean pads frequently.
- Panel-wipe and apply coatings with an applicator, thin and even; level on time.
- Perform multi-angle QC, de-tape, and clean touchpoints before delivery.
- Educate client, document work, and schedule maintenance follow-up.
FAQs
Can I apply a ceramic coating with a DA polisher or a wax pad?
No. Most ceramics are designed for thin, controlled application using a block-and-suede or a dedicated hand applicator. Machine application with a DA can lay product too thick, flash unevenly, and create high spots that are hard to level consistently across large panels.
How long do coatings last on RVs versus marine applications?
In automotive-style use with proper maintenance, a well-applied coating can deliver 1–3 years depending on chemistry and environment. In marine or coastal use where UV, salt, and frequent washing are harsher, expect shorter service intervals for toppers (every few months) and plan for periodic decon and refresh. Longevity depends on prep quality, layer choice, exposure, and maintenance practices.
What is the best way to judge polishing quality on big black panels?
Use multiple light sources: high-CRI handheld lights at oblique angles to highlight micro-marring, cross-lighting with floods to catch haze, and natural sunlight for final confirmation. Step back to view long, straight reflections across the entire panel; waviness or halos usually emerge at distance even if a close light looks clean.
Will removing old PPF damage the paint?
Proper technique minimizes risk. Controlled heat or steam, low-angle pulls, and patience reduce stress on the clearcoat. However, aged films can fracture and leave adhesive. Always test a small area, manage heat, and avoid metal blades. Expect to polish the area afterward to restore uniform gloss. Disclose the risks up front, especially on repaints or very thin clearcoat.
How much ceramic product will I need for a 40–45 foot coach?
Plan for multiple bottles. Coverage varies by product, the number of layers, and whether you coat glass and plastics. For a single layer on paint and gelcoat surfaces only, budgeting in the range of 50–120 mL is common. Have extra on hand to avoid stretching thin and to ensure uniform coverage across large areas.
How should I approach polishing around vinyl graphics and decals?
Mask porous or matte graphics to prevent staining. Polish up to edges with appropriate pads, minimizing dwell on edges to avoid lifting. If gloss vinyl needs improvement, use extremely mild polish by hand or with a soft foam pad at low speed and test first. Do not apply aggressive compounds or heavy machine pressure on vinyl unless the manufacturer explicitly allows it.
Shop Paint & Finishing Tools
For RV and coach correction work, explore Automotive Paint & Finishing Tools for polishers, pads, sanding, and inspection gear.
- Dual-action and rotary polishers with backing plates and pad options.
- Sanding and finishing accessories for gelcoat and clearcoat refinement.
- Lighting, masking, and panel prep tools to manage large, dark surfaces.
Essential Products for Paint Correction & Ceramic Coating
The techniques covered in this guide require specialized tools and products to achieve professional results. Our Paint and Body category features everything you need to execute flawless paint correction, PPF replacement, and ceramic coating applications on any vehicle size.
- Paint Correction Tools: Dual-action polishers, cutting pads, and compounds for swirl mark removal
- PPF Application Supplies: Precision squeegees, slip solutions, and UV-curing equipment
- Ceramic Coating Systems: Professional-grade coatings, prep solutions, and inspection lighting

The Toolsource Technical Team blends decades of real-world automotive service experience with up-to-date technical research. Our writers collaborate with professional mechanics, shop owners, and diagnostic specialists to deliver practical, workshop-ready guidance you can trust.


Follow us on social media