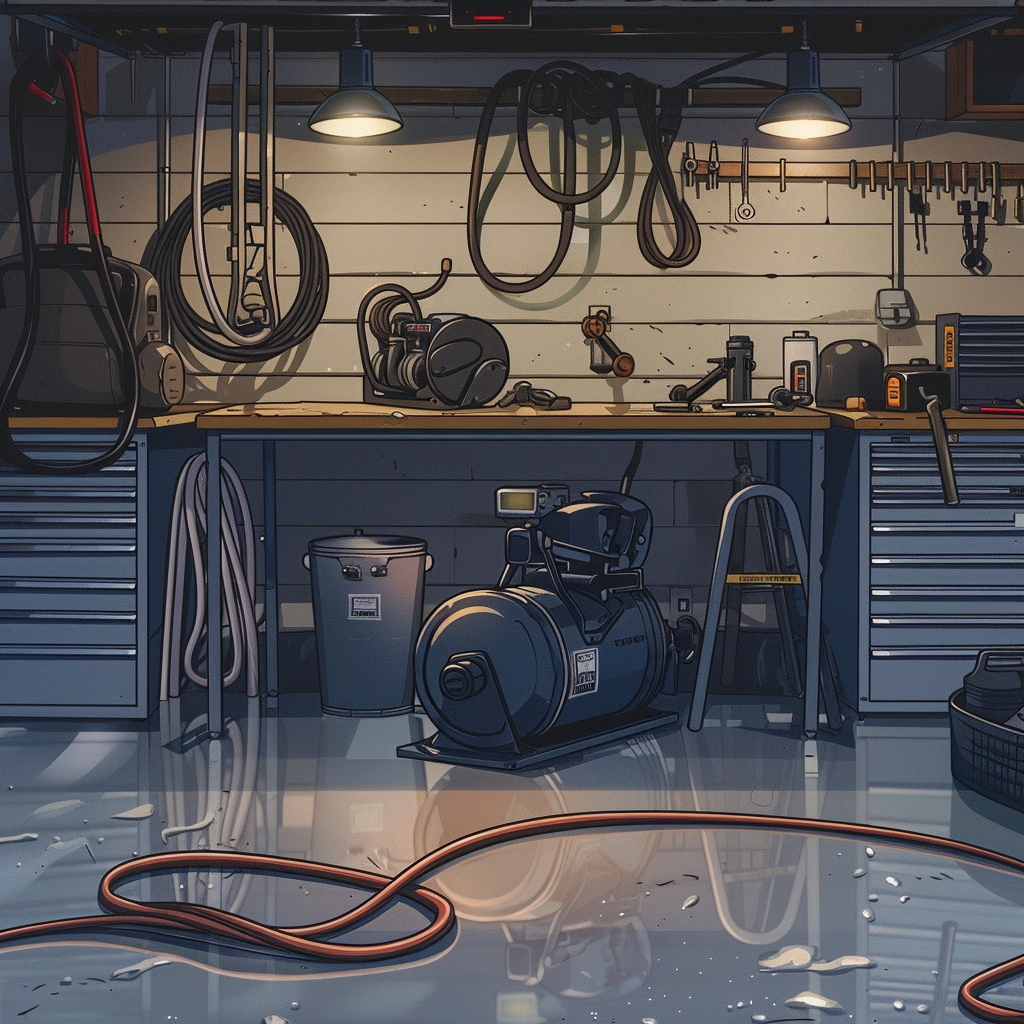
If your garage has reliable power, you can do far more than oil changes. With a modest electrical plan, a right-sized air system, and a targeted tool kit, you can take on body and underbody fixes that most DIYers avoid—like reattaching splash shields, fender liners, and bumper trims that scrape the road. This guide covers practical, technician-style setup for power and air, then walks through a durable reattachment procedure that avoids rattles, rubs, and repeat failures.
Plan Safe, Useful Power in the Garage
Before plugging in heavy-draw tools or an air compressor, stabilize your electrical foundation. You don’t need to be an electrician to plan correctly—stick to established practices and consult local code or a licensed pro when in doubt.
- Dedicated circuits: For small compressors, corded tools, and lighting, install at least one 20A, 120V dedicated circuit with 12 AWG copper wiring. Larger stationary compressors and lifts often need a 240V dedicated circuit (commonly 30A+). Check manufacturer nameplate amperage and local code.
- GFCI/AFCI: Modern codes generally require GFCI protection for garage receptacles. AFCI may also be required in some jurisdictions. Use properly rated breakers/receptacles; do not defeat protection.
- Outlet placement: Place multiple 20A duplex receptacles around the perimeter at bench height (about 48 in) to reduce extension cord use. Add one ceiling or high-wall outlet for a cord reel.
- Lighting: Overhead LED shop lights (4000–5000K) provide high CRI and low heat. Supplement with a magnetic hood light and low-profile under-car LED wand.
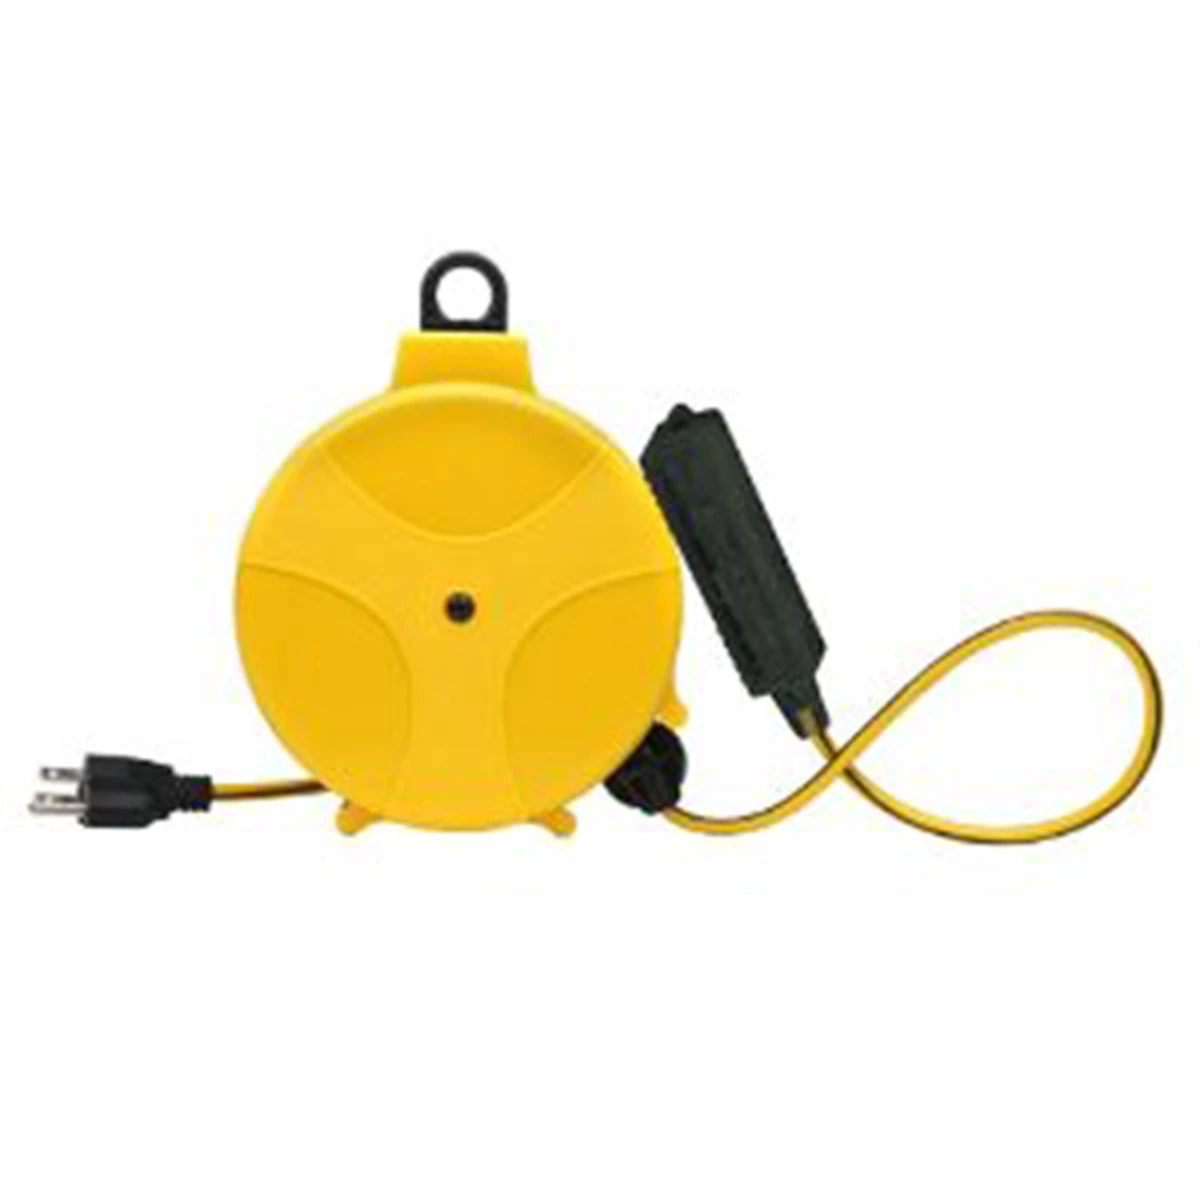
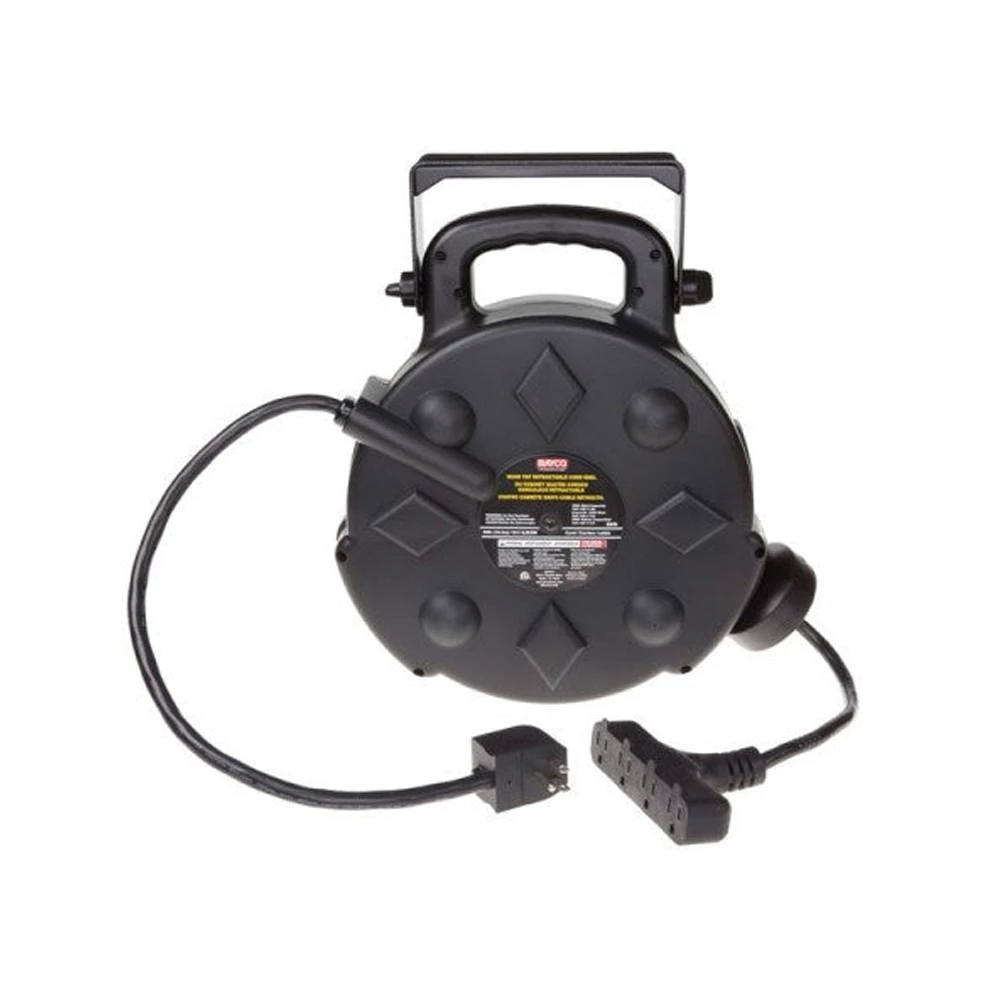
- Cord and hose management: Ceiling-mounted retractable cord and hose reels keep trip hazards off the floor and protect cords/hoses from damage.
- Power quality and surge protection: Use surge protection for chargers, scan tools, and sensitive electronics. Avoid daisy-chained power strips for high-draw tools.
- Ventilation: If grinding, welding, or using solvents/adhesives, add a fan or filtered exhaust. Keep CO detectors installed and tested.
Bottom line: build in enough capacity and protection to run a compressor and a tool simultaneously without nuisance trips, and keep cords and lighting optimized for visibility and safety.
Build an Air System That Matches Your Tools
A practical air system starts with the tools you plan to run and works backward to compressor and plumbing.
- Compressor selection:
- Output: Check SCFM at 90 psi. Light-duty use (brad nailer, blow gun, tire fill) can be 2–4 SCFM. Impact wrenches, die grinders, and paint guns need 5–12+ SCFM. Pick a compressor with 20–30% headroom over your most demanding tool.
- Tank size: 20–30 gal for intermittent air tools; 60 gal+ for sustained use. Larger tanks reduce cycling and moisture spikes.
- Voltage and duty cycle: 120V units are convenient but limited. 240V, oil-lubed compressors run cooler, quieter, and last longer. Verify duty cycle; avoid 100% continuous operation on light-duty models.
- Noise: Under 70 dB is comfortable for small spaces. Use isolation pads to reduce vibration.
- Air quality management:
- Drain: Moisture condenses in tanks. Install an easy-access ball valve drain or auto-drain and empty after each session.
- Regulator/filter: Use a 0.01–0.3 micron coalescing filter with a regulator near the point of use. Add desiccant for paint/adhesive-critical tasks.
- Lubrication: Oiled air tools perform best with a few drops of air tool oil per session, or use an FRL (filter-regulator-lubricator) manifold dedicated to oiled tools. Keep a separate dry line for paint and adhesives.
- Hoses and couplers:
- Diameter: 3/8 in ID hose for higher-flow tools; 1/4 in ID for light-duty. Hybrid hoses stay flexible in cold weather.
- Fittings: High-flow couplers (Industrial Type D or high-flow variants) reduce pressure drop. Standardize fittings across tools.
- Layout: A ceiling hose reel with a short whip hose from the filter/regulator keeps the workspace clear. Keep runs short to limit pressure loss.
- Pressure setpoints:
- Set regulator to tool requirements. Many impacts perform well at 90–100 psi. Avoid cranking pressure to compensate for inadequate CFM; it stresses the system without solving starvation.
With proper filtration and hose sizing, even a mid-size compressor can run an impact and trim tools reliably without moisture spitting or pressure sag.
Equip for Fast, Durable Body/Underbody Fixes
Road-scrubbing plastics are typically caused by missing fasteners, torn mounting holes, or broken tabs. Stock the following to diagnose and fix these failures on the first attempt:
- Lifting and safety: 3-ton floor jack, appropriately rated jack stands, wheel chocks, low-profile ramps, and a creeper. Always support the vehicle at factory lift points.
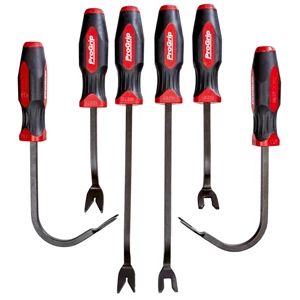
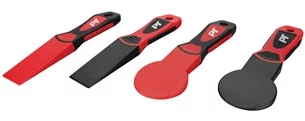
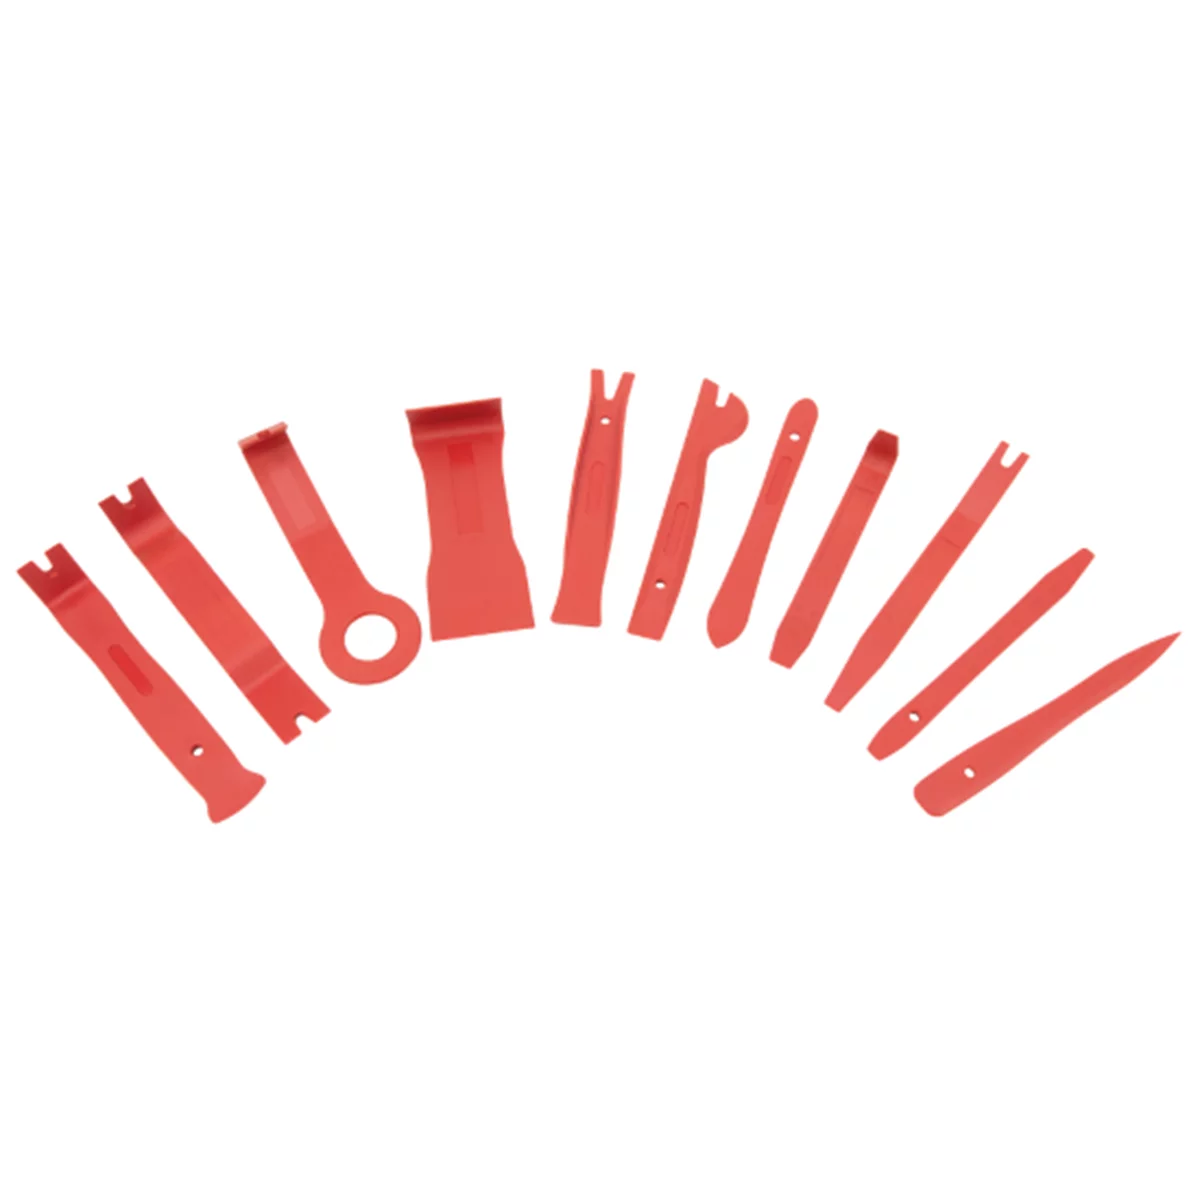
- Fastener tools: Trim clip pliers, panel popper, small pick set, right-angle screwdriver, step drill bits, countersink, and a compact 3/8 in drill/driver.
- Air tools: 1/2 in impact wrench for subframe bolts, 3/8 in air ratchet for shield hardware, die grinder with Scotch-Brite for cleanup. Keep torque wrenches for final tightening.
- Fasteners and hardware:
- Assorted push rivets (“Christmas trees”), scrivets (threaded plastic rivets), and screw/grommet sets commonly used by OE.
- Speed nuts/U-nuts and spire clips (M5–M8), captive nuts, and replacement J-clips.
- Rivnut (nutsert) kit with mandrel sizes M5–M8 for replacing stripped subframe/threaded holes; plus-nuts for thin sheet metal.
- Large OD washers and stainless hardware for non-critical edge supports where OE specs allow.
- Repair materials: Plastic welding kit (or nitrogen welder if available), 3M panel repair adhesives as specified, 3M VHB automotive molding tape, adhesion promoter, isopropyl alcohol (70–90%), rust converter/primer for exposed steel edges.
- Measuring and documentation: Tape measure, straightedge, paint marker, and access to OE service diagrams (VIN-based parts catalog helps identify exact fasteners).
- PPE: Safety glasses, hearing protection, gloves, and a dust mask when grinding plastics.
Diagnose and Reattach Underbody and Bumper Plastics
The goal is a secure, rattle-free repair that restores OE clearances and won’t fail at highway speed. Work methodically.
- Identify the components and failure points:
- Common parts: Front lower splash shield/undertray, engine belly pan, fender liners, rocker trim, lower bumper lips, and air deflectors.
- Look for missing push rivets/screws, torn holes, broken tabs, cracked edges, and bent brackets. Note any abrasion lines indicating where the part scraped.
- Access service information:
- Use VIN to pull OE diagrams and fastener counts. Each location often has a specific fastener type and size; mixing types can cause misalignment and noise.
- Prepare the workspace and vehicle:
- Park on level ground, set the parking brake, chock wheels. Lift the vehicle as needed and support with jack stands at OE points. Remove the wheel for fender liners if it improves access.
- Remove and inspect adjacent pieces:
- Temporarily remove partially detached shields or liners to inspect edges and mounting points. Clean mud and debris; inspect threads and clip nuts.
- Spin all existing bolts by hand to confirm threads are intact. Replace rusted or seized U-nuts and J-clips—they’re cheap and often the root of the problem.
- Repair stripped or missing attachment points:
- Metal structure (subframe/crossmember): If a threaded hole is stripped or missing, install a rivnut (nutsert) of the appropriate size (commonly M6). Drill to the rivnut’s recommended hole size, deburr, treat bare metal with primer, and pull the rivnut squarely using the correct mandrel. Plus-nuts are better in thin or soft sheet metal.
- Plastic holes elongated or torn: Plastic-weld a backer patch or use a bonded reinforcement strip to restore hole integrity. As a quick non-structural fix, a large OD washer can distribute load—use only where clearance allows.
- Broken plastic tabs: Plastic-weld and reinforce with mesh where possible. For non-structural tabs on bumper covers, OE-style repair adhesives or tab repair kits can be stronger than original when cured correctly.
- Replace fasteners with correct types and counts:
- Push rivets: Match head diameter and shank length. For two-piece rivets, set the body first, then depress the pin flush. Avoid reusing fatigued rivets.
- Scrivets: Used by many Asian makes; tighten only until seated—over-torque strips threads.
- Screws into U-nuts: Common sizes M5/M6. Replace deformed U-nuts; they lose clamping force when bent.
- Test fit and align:
- Dry-fit the panel and check adjacent edges and wheel clearance. Most shields align from center outward—start center fasteners loosely, then work symmetrically toward edges to avoid preloading.
- Confirm that the panel doesn’t preload against sway bar, control arms, or tire at full lock. Turn the steering lock-to-lock with the vehicle supported and check clearances.
- Torque and final tighten:
- Use hand tools for plastic and small hardware. If service data is unavailable, many M6 fasteners are in the 7–10 N·m range and M8 in the 14–25 N·m range. Verify for your vehicle; overtightening crushes plastics and deforms clips.
- For push rivets, “snug” equals seated and flush—no torque spec.
- Corrosion and edge protection:
- Prime any drilled or abraded metal. Where plastic edges meet painted surfaces, apply thin felt tape or edge trim to prevent squeaks and paint rub-through.
- Road test and recheck:
- After a short drive and speed bump test, recheck fasteners. New plastic and adhesives can settle slightly.
Note: If the part is missing large sections, heat-warped, or fatigued, replacement is often more efficient than repair. Undertrays and air deflectors affect cooling and aero stability; if heavily damaged, replace with OE-equivalent.
When Adhesives and Tape Are the Right Fix
Mechanical fasteners are preferred for underbody attachments. Adhesives and tapes excel for exterior trim and non-structural tabs. Use them correctly to avoid early failure.
- VHB molding tape (exterior trim, light lips):
- Surface prep: Wash with soap and water, dry, then wipe with 70–90% isopropyl alcohol. Avoid ammonia glass cleaners and silicone residues.
- Adhesion promoter: Apply to painted surfaces and bare plastics per manufacturer guidance for maximum bond.
- Temperature and pressure: Apply above 70°F (21°C). Use firm, uniform pressure with a roller. Achieves handling strength in minutes; full cure typically 24–72 hours. Avoid car washes during cure.
- Design: Use continuous strips to seal out water; avoid small patches that create stress risers.
- Panel repair adhesives (tab rebuilds, bumper cover cracks):
- Choose a product matched to the plastic type (PP/EPDM, TPO, ABS). Identification markings are usually inside the part.
- Surface: Bevel crack edges, ablate paint to clean substrate, and use recommended adhesion prep. Reinforce with mesh where specified.
- Cure: Respect work and cure times; accelerate only as allowed (some products accept mild heat).
- Do not use generic epoxy for load-bearing underbody points: It fails under vibration and heat cycling. Replace hardware or install rivnuts instead.
Post-Repair Checks and Noise Prevention
Before calling it done, confirm clearances, fastener security, and noise control.
- Wheel and tire clearance: With the car safely supported, rotate and steer lock-to-lock while observing fender liners and lower lips.
- Ground clearance: Back out over a curb cut or ramp slowly and listen for scrapes. Adjust shield overlap or add missing center supports if needed.
- Airflow-critical parts: Verify undertray louvers and deflectors are correctly oriented. Misinstallation can affect cooling or fuel economy.
- Edge isolation: Add felt/foam tape where plastic edges meet painted or metal surfaces to prevent buzzes.
- Fastener audit: Count fasteners against the OE diagram. If you installed alternates, note sizes and keep spares in the glovebox.
Quick checklist before road test:
- All required fasteners installed and seated flush
- No contact at full steering lock
- Undertray clears sway bar, control arms, and exhaust
- Adhesives/tape applied above minimum temperature and cured as specified
- Drains/vents in splash shields unobstructed
- No loose wiring or hoses trapped behind panels
FAQs and Quick References
Do I need 240V power for a home garage compressor?
Not always. For light to moderate work (tire fills, blow gun, small impacts), a quality 120V, 20A compressor can suffice. If you plan to run high-demand air tools (die grinders, sanders, HVLP spray) for extended periods, a 240V, 60-gallon, oil-lubed unit with higher SCFM is advisable. Always size to your tools’ SCFM at 90 psi and verify circuit capacity.
What SCFM should I target for common automotive air tools?
As a baseline: 1/2 in impact wrenches typically need 4–6 SCFM (bursts), 3/8 in air ratchets 3–4 SCFM, die grinders 6–8+ SCFM continuous, and HVLP paint guns 8–12+ SCFM continuous. Choose a compressor with at least 20–30% headroom over your highest continuous demand.
How do I identify the correct fastener for my splash shield or fender liner?
Use OE service diagrams or parts catalogs keyed to your VIN. Measure shank diameter and grip length on push rivets; match head diameter and shoulder. For screws, confirm thread size (commonly M5/M6) and whether they seat into U-nuts, J-clips, or threaded inserts. Mixing styles can cause misalignment and loss of clamping force.
Is it acceptable to “zip-tie” a dragging undertray as a permanent fix?
Zip ties are acceptable as a temporary roadside measure but are not a durable repair for load points. They creep under heat and vibration and can cut through plastics. Replace missing hardware, repair holes, or install rivnuts/speed nuts for a lasting fix.
When should I replace a shield instead of repairing it?
Replace when the plastic is heat-warped, cracked across load paths, missing large sections, or when multiple mounting points are compromised. Undertrays that manage airflow to radiators or brakes should be restored to OE shape and mounting to maintain thermal performance and stability.
What torque should I use for small body fasteners?
Always consult service information. If unavailable, many M6 body fasteners land around 7–10 N·m and M8 around 14–25 N·m. For plastics and scrivets, hand-tighten until seated; over-torque crushes plastic and deforms clips.
Shop Trim Clips & Fastener Tools
For reliable splash shield and bumper liner repairs, browse our trim clips and fastener tools to match OE hardware and install replacements cleanly.
- OE-style push rivets, scrivets, and screw/grommet sets.
- Speed nuts, U-nuts, spire clips, and replacement J-clips.
- Rivnut tools with inserts plus trim clip pliers and panel removers.

The Toolsource Technical Team blends decades of real-world automotive service experience with up-to-date technical research. Our writers collaborate with professional mechanics, shop owners, and diagnostic specialists to deliver practical, workshop-ready guidance you can trust.


Follow us on social media