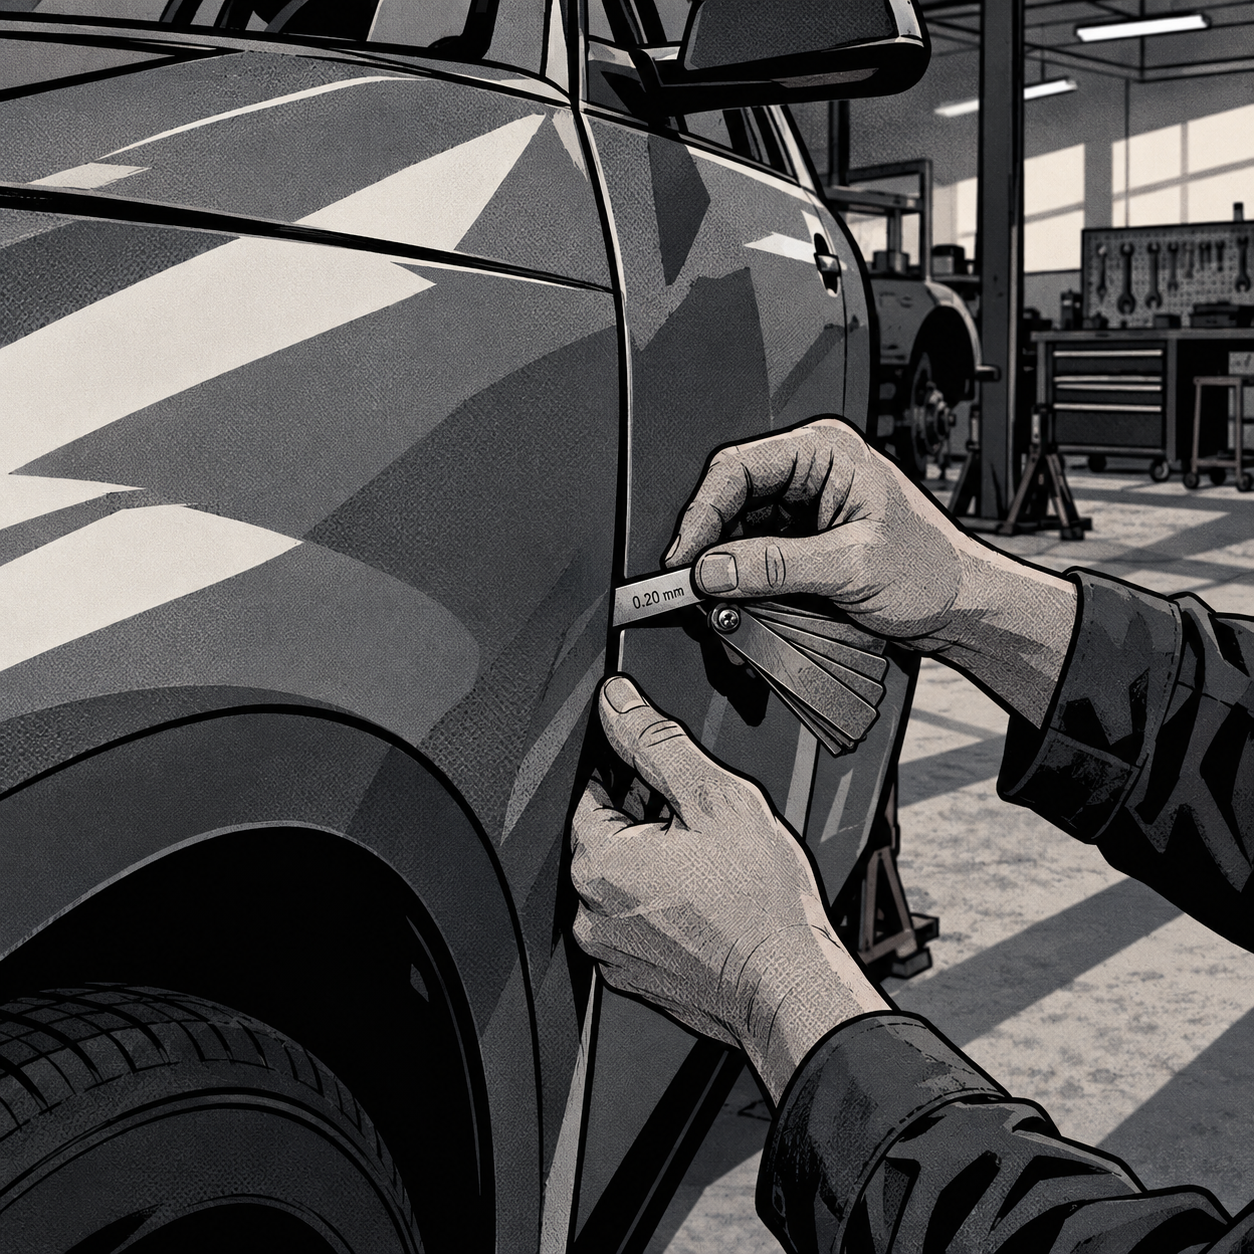
When a vehicle comes back from a body shop after a collision repair, panel gaps, headlight fit, and paint finish are the first things a trained eye should check before the car ever leaves the lot. Owners frequently can’t tell the difference between unavoidable post-accident tolerances and genuine shop error, and that confusion costs them leverage when a repair falls short. This guide breaks down a repeatable inspection process so techs, service writers, and owners can tell “this is as good as it gets after a wreck” from “this shop cut corners,” and how to document the difference for an insurance comeback.
Why Fitment Issues Happen After a Collision Repair
Unibody and partial-frame vehicles absorb impact energy by shifting structural members, and those members don’t always return to factory spec even after a shop pulls and measures the frame. That’s real, and it means some asymmetry after a significant hit is expected — not every panel gap complaint is a shop’s fault. The distinction that matters is between structural shift (which a shop can’t fully undo) and installation error (which they can and should fix). A fender that’s slightly out of alignment because the mounting point moved 2mm in the crash is a different problem than a headlight assembly that was never seated into its locating tabs. Technicians should always ask what was replaced versus repaired, and request the estimate/supplement sheet so they know which parts are OEM, aftermarket, or reused.
How to Properly Inspect Panel Gaps and Body Alignment
Panel gap inspection isn’t a visual guess — it’s a measurement exercise. Compare each gap to its mirror on the opposite side of the vehicle; factory tolerances typically run consistent side-to-side within a millimeter or two. Steps for a proper check:
- Use a feeler gauge or dedicated panel gap gauge at the hood-to-fender, fender-to-bumper, and door-to-fender junctions, and record the measurement at the top, middle, and bottom of each gap.
- Check for gap taper — a gap that’s tight at the top and wide at the bottom (or vice versa) indicates a misaligned hinge, mount, or shifted panel, not a tolerance issue.
- Run a hand along panel lines in good light, then repeat in direct sunlight or under a work light at a low angle; paint and metal flaws that don’t photograph well are often obvious to touch and raking light.
- Compare left/right symmetry using the same reference points (headlight edge, cowl seam, wheel arch) rather than eyeballing each side independently.
If one side’s gap is clearly inconsistent with the other and nothing structural was noted as shifted in the estimate, that’s installation error, not accident damage.
Product search: feeler gauge and panel gap measurement tools for auto body inspection (after_section=2, mid-article)


Inflate-A-Wedge Door Lockout & Dent Removal Tool
Mfg: Lock Technology LTI by Milton
Part #: LT275
Headlight and Fender Fitment: Where Water Intrusion Starts
Headlight assemblies are designed to sit flush against the fender with a small, intentional reveal gap sealed by a rubber boot or gasket at the back — the lens isn’t supposed to touch the fender (that would rub paint), but it also shouldn’t leave an open gap where the seal is visibly missing or displaced. When inspecting a replaced headlight:
- Confirm the headlight is from the correct year/trim — bulb pattern, connector shape, and mounting tab layout can differ across model-year updates even when the housing looks similar.
- Check that all mounting clips and tabs are engaged, not just “popped back in.” A headlight that reseats without resistance after being bumped usually means a broken clip or tab behind it, which won’t hold long-term and will eventually shift again.
- Inspect the rear seal/rubber gasket where the headlight meets the fender — if it’s missing, torn, or not making contact, water will track behind the assembly and pool against the fender’s inner structure, accelerating rust from the inside out.
- If only one headlight was replaced, compare both sides directly. A reused headlight next to a new one can expose fender misalignment that wasn’t visible before, since the two sides now highlight each other’s fit.
Aftermarket headlight assemblies are a common source of fitment complaints even when the part number is technically correct — tolerances on aftermarket lens/housing units are frequently looser than OEM. If fitment is off, ask the shop directly whether the part is OEM or aftermarket before assuming it’s the wrong part.
Paint Quality Red Flags: Orange Peel, Bubbling, and Poor Prep
Paint defects are the hardest repair issue to document because they rarely show up well on camera, but they’re straightforward to check in person. Look for:
- Bubbling or raised texture — almost always trapped moisture or contamination under the clear coat from inadequate surface prep; this will worsen over weeks as the bubbles eventually pop or peel.
- Excessive orange peel — a bumpy texture from poor spray technique or incorrect reducer/temperature. Some factory panels have mild orange peel, but a repaired panel should match the texture of the surrounding factory paint, not stand out from it.
- Color and metallic mismatch — view the panel from multiple angles and in both shade and direct sun; metallic and pearl paints shift color with viewing angle, and a bad color match often only shows up at certain angles.
- Overspray or masking lines — check edges of trim, weatherstripping, and badges for paint bleed, which indicates rushed masking.
Any bubbling or peeling found within days of pickup is a prep failure, not a cosmetic nitpick — it will only get worse and should be flagged immediately rather than waited out.
Documenting Issues and Escalating to the Shop or Insurer
Once defects are identified, documentation determines whether the comeback claim goes smoothly. Photograph every issue in multiple lighting conditions — direct sun, shade, and under shop lighting — since panel gaps and paint flaws often don’t register the same way on camera as in person. Get gap measurements in writing with a gauge, not just a description of “it looks off.” Request the original estimate and any supplements so you can confirm which parts were OEM versus aftermarket, and which panels were marked as replaced versus repaired.
Reputable shops will typically correct fitment and paint issues at no charge when the work falls short of their own estimate — this is standard practice, not a favor. If the shop won’t act, the next step is contacting the insurance company’s claims adjuster directly, especially if the shop was insurer-recommended; insurers have leverage over shops in their network that an individual customer doesn’t. If a rental car is needed during rework and the policy doesn’t include rental coverage, that’s a policy limitation to clarify with the insurer up front — it’s not something the shop or insurer is obligated to cover unless it’s written into the policy.
Quick Inspection Checklist
- Measure panel gaps top/middle/bottom and compare side-to-side symmetry
- Verify headlight assemblies are correct year/trim and fully seated on all clips
- Check headlight-to-fender seal/gasket for gaps or missing rubber
- Inspect paint for bubbling, orange peel, and color/metallic mismatch in multiple lighting conditions
- Confirm OEM vs. aftermarket parts against the written estimate
- Photograph all issues and request a written response from the shop before pickup sign-off
Product search: automotive body shop inspection and detailing tool kit (after_section=-1, end-article)
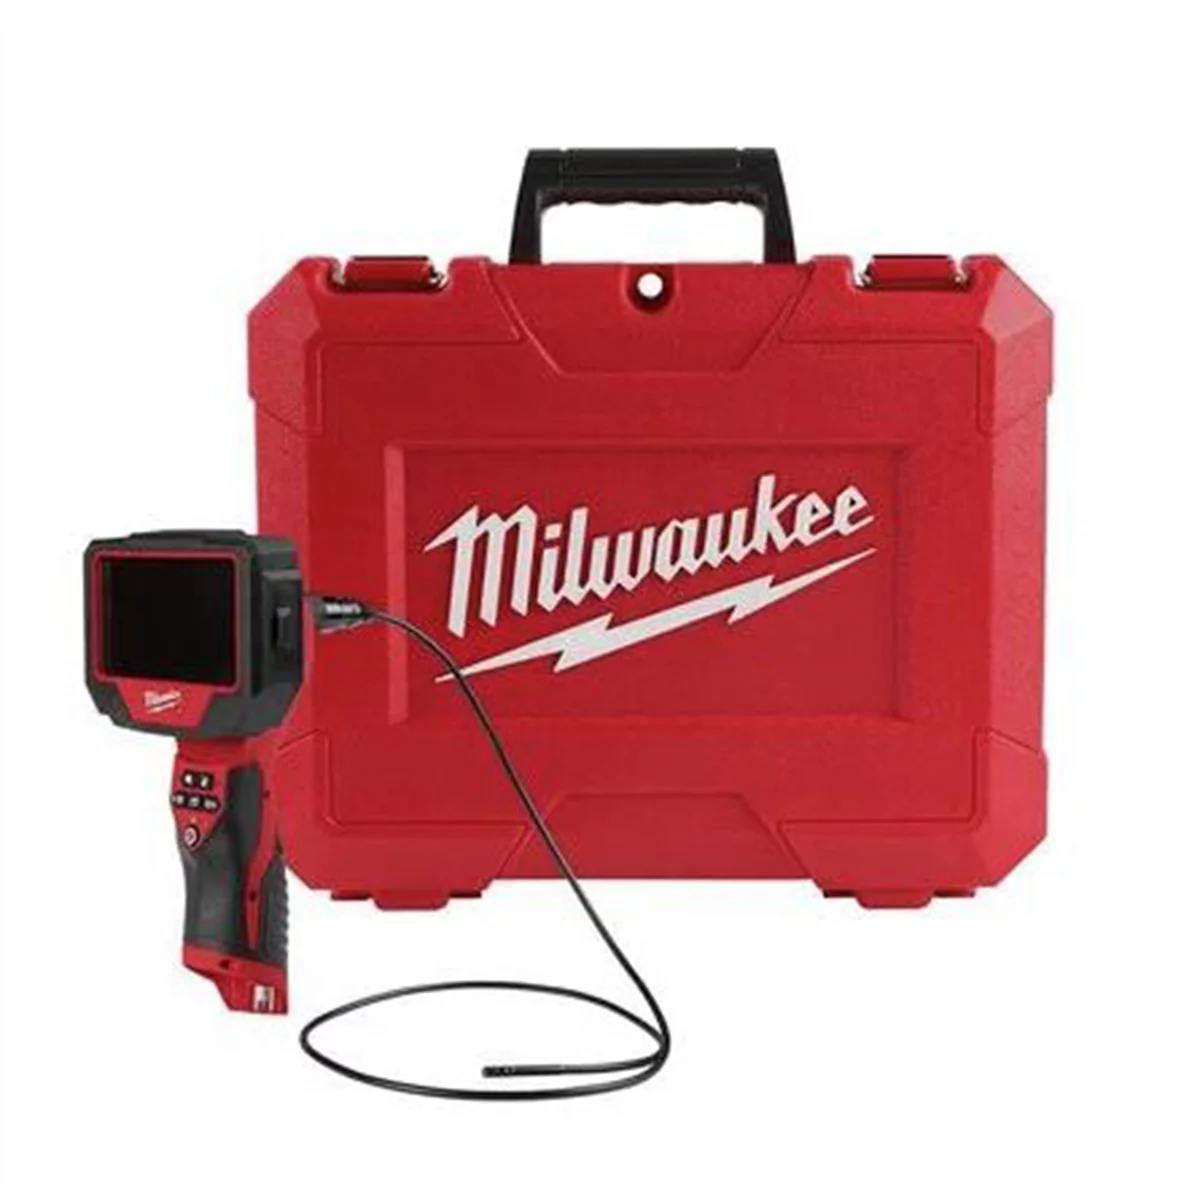
Milwaukee Tool M12 Auto Technician Borescope with 2.0 Starter Ki
Mfg: Milwaukee Electric Tools
Part #: TECHBORESCOPEKIT
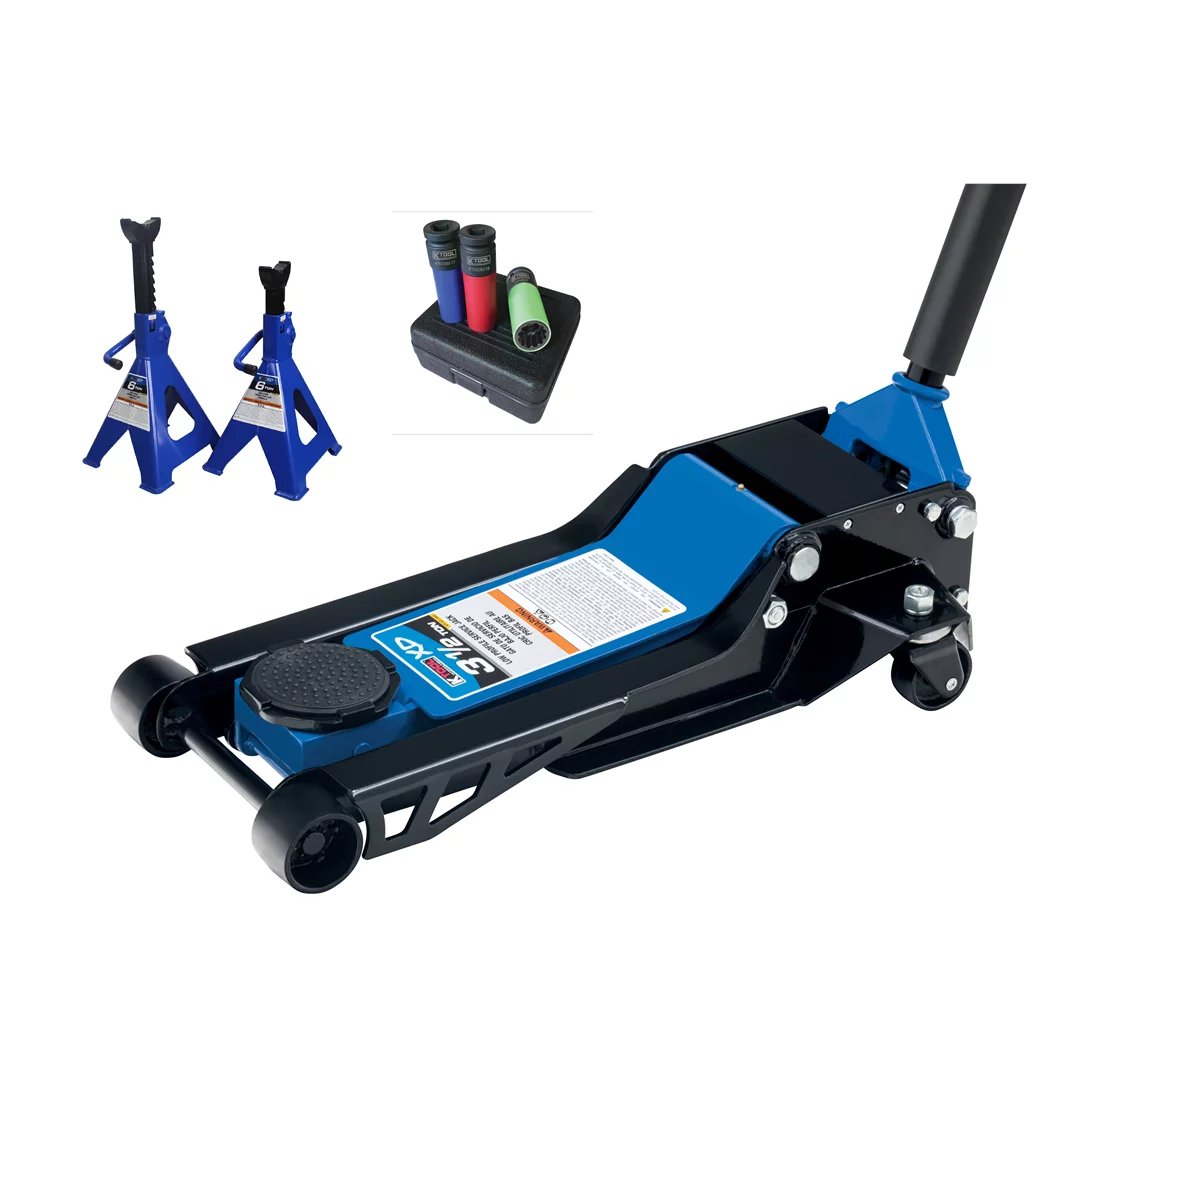
3.5 TON JACK/6-TON JACK STANDS/SOCKETS
Mfg: K Tool International
Part #: KTIXD13002KIT
FAQs
Is some panel misalignment normal after a collision repair?
Yes, if the vehicle had structural shift in the crash. The key is whether the shop’s estimate documents a structural issue — if not, inconsistent gaps point to installation error, not unavoidable damage.
Should a headlight lens touch the fender?
No. A small reveal gap is intentional so the lens doesn’t rub paint. The concern is a missing or displaced seal behind the headlight, which allows water intrusion, not the gap itself.
Why didn’t my phone camera show the paint problems clearly?
Bubbling, orange peel, and color mismatch are highly dependent on lighting angle and often don’t register on camera the way they do to the eye. Always inspect in direct sunlight, shade, and raking light before judging a paint job.
Who decides which parts get replaced after an accident — me or the shop?
Typically the insurance adjuster/appraiser approves the repair scope and parts list based on their inspection, not the vehicle owner or the shop unilaterally. Disputes over missing components should go through the adjuster.
What’s the difference between OEM and aftermarket headlight assemblies for fitment?
OEM parts are built to the vehicle manufacturer’s exact tolerances; aftermarket assemblies can have looser fitment even with the correct part number, which is a common cause of visible gaps after a headlight replacement.
What should I do if the shop won’t fix defects after a comeback request?
Document everything with photos and written gap measurements, then escalate to the insurance adjuster, particularly if the shop was insurer-recommended — insurers can apply pressure on network shops that individual customers can’t.
Paint & Body Inspection Tools
Conducting a proper post-collision inspection requires measurement tools and proper lighting to assess panel fitment and paint quality. Find the gauges, lights, and surface inspection equipment you need in our Paint & Body selection.
- Panel gap and feeler gauges for consistent, accurate fitment checks
- Work and inspection lighting for spotting paint defects in all conditions
- Prep and finishing tools for addressing identified body work issues

The Toolsource Technical Team blends decades of real-world automotive service experience with up-to-date technical research. Our writers collaborate with professional mechanics, shop owners, and diagnostic specialists to deliver practical, workshop-ready guidance you can trust.


Follow us on social media