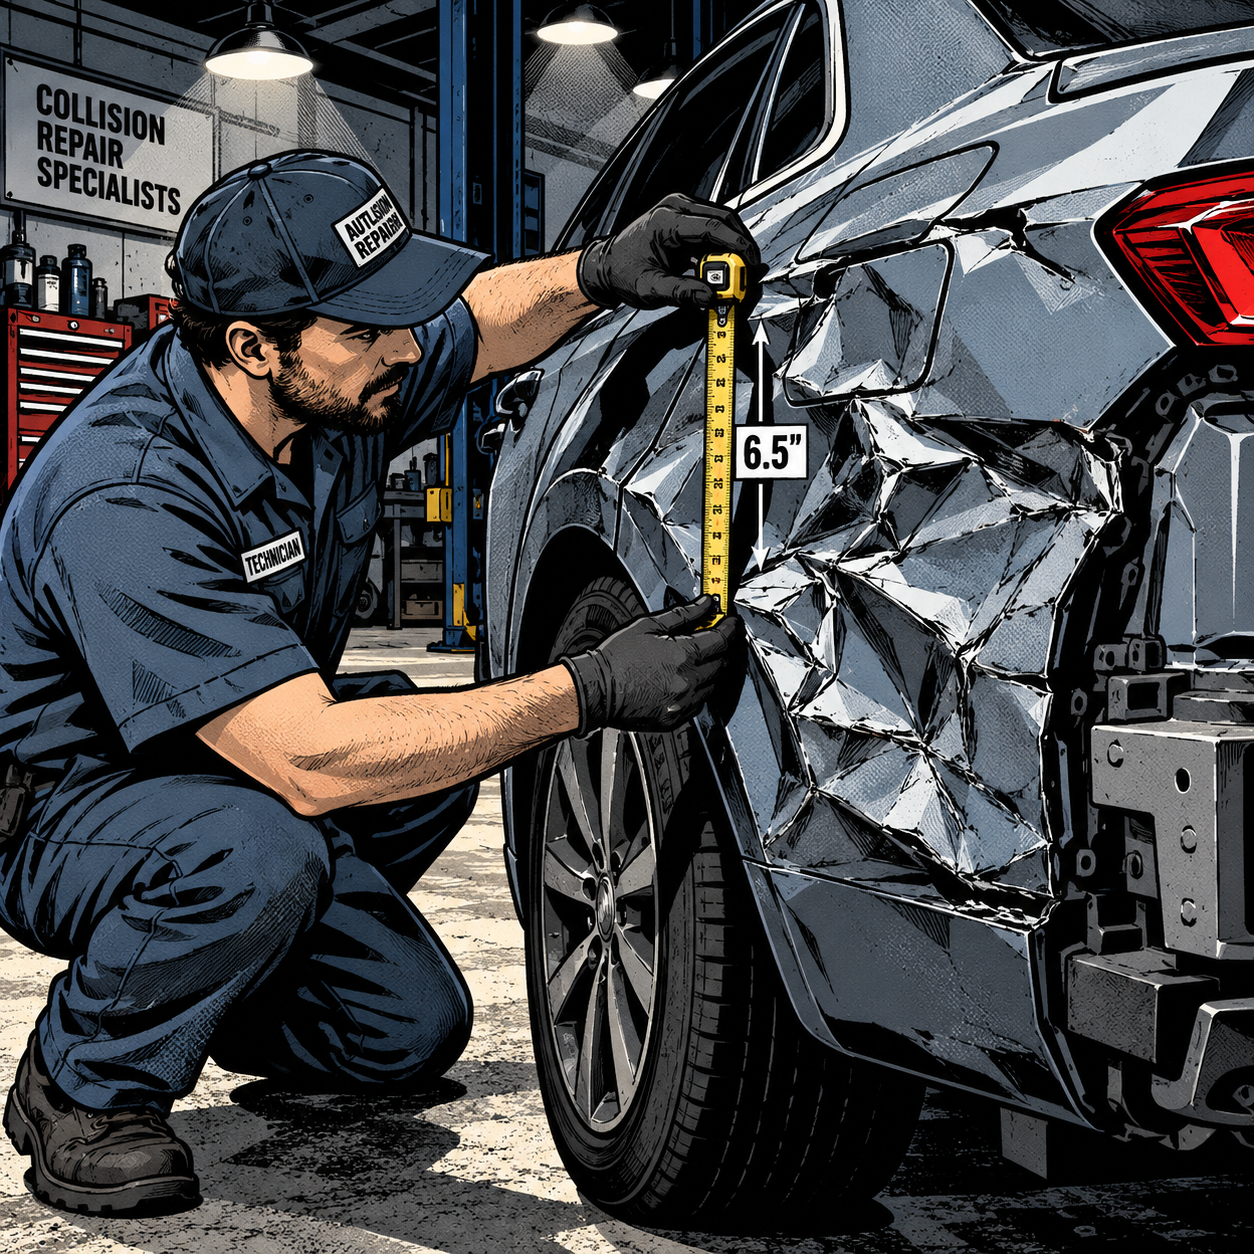
When a vehicle rolls into the bay with damage visible on three sides — front, rear, and a quarter panel — the instinct from the owner or the at-fault driver is often to ask for a quick, cheap fix. The technician’s job is different: read the impact pattern, find the damage that isn’t visible yet, and give an honest call on whether this is a repair or a total loss. Get this wrong and you either send a customer into a vehicle with compromised structural integrity, or you quote a repair that balloons past the car’s value the moment panels come off. This guide covers the practical steps for assessing multi-point impact damage, why older unibody vehicles hit total-loss thresholds fast, what hidden damage to expect, and how to document everything correctly for insurance and subrogation.
Reading a Multi-Point Impact Damage Pattern
Damage on multiple sides of a vehicle doesn’t always mean multiple separate collisions. A single violent impact can rotate or push a vehicle into a second object, producing damage on two or three sides from one event. Before writing any numbers down, map the damage by zone and note the apparent direction of force on each:
- Photograph each damaged zone separately — wide shot, mid-range, and close-up with a scale reference (tape measure or ruler in frame).
- Note crush direction and depth on bumpers, fenders, and quarter panels. Damage that “wraps” around a corner (e.g., front bumper into the fender into the door) usually indicates one continuous impact, not two events.
- Check for paint transfer, debris, or contact points that don’t match the panel damage — this can reveal a second, unrelated event (parking lot door ding vs. collision).
- Record tire and wheel condition on the impacted side; a bent wheel or blown sidewall confirms impact severity that photos alone may understate.
This zone-by-zone record becomes the backbone of your estimate and the documentation the insurance adjuster will want to see.

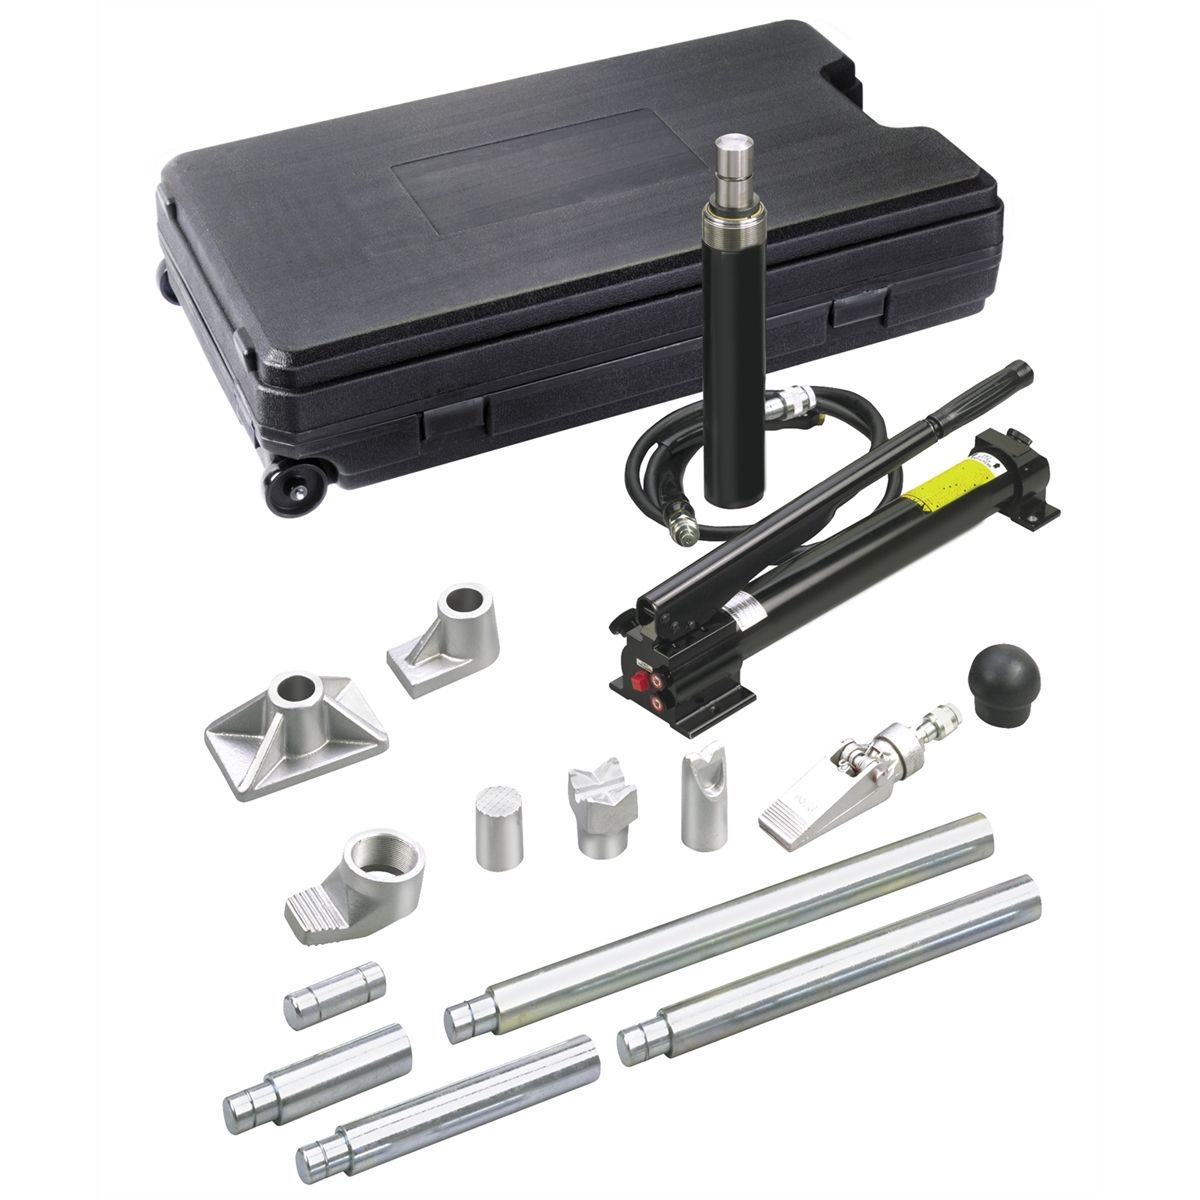
Cobra Series 10-Ton Collision Repair Set w/ 6 1/8 In Stroke Ram
Mfg: OTC Tools and Equipment
Part #: 1519A

Why Unibody and Older Economy Vehicles Hit Total-Loss Thresholds Fast
Unibody construction means the body panels are structural, not just cosmetic. There’s no separate frame to absorb and isolate damage — a hard hit to a quarter panel transmits force into the rocker, the rear rail, and often the floor pan. That means a “fender and bumper” hit on a unibody car can require rail, rocker, and floor repair once you start measuring, not just a bolt-on panel swap.
Combine that with a vehicle’s actual cash value (ACV). A 10-year-old compact sedan might have an ACV of $6,000–$9,000. A single quarter panel replacement with paint and structural pull can run $2,500–$4,000 on its own. Add a second panel, a trunk/hatch, bumper covers, lighting, and labor, and you blow past 70–80% of ACV — the threshold most insurers use to declare a total loss — before you’ve even opened up the trunk to check for hidden damage. Technicians should run this math early, even on a napkin estimate, before promising a customer or a third-party payer that “it’s fixable.”
Paint & Body Tools
Whether you’re prepping panels, applying fillers, or final-finishing repairs, the right equipment makes the job faster and more accurate. Check out our Paint & Body tools to find what you need for collision repair and restoration work.
- Sanders, grinders, and surface prep tools for panel finishing.
- Body fillers, primers, and adhesives for structural and cosmetic repairs.
- Respirators, safety glasses, and PPE for dust and fume protection.

The Toolsource Technical Team blends decades of real-world automotive service experience with up-to-date technical research. Our writers collaborate with professional mechanics, shop owners, and diagnostic specialists to deliver practical, workshop-ready guidance you can trust.


Follow us on social media