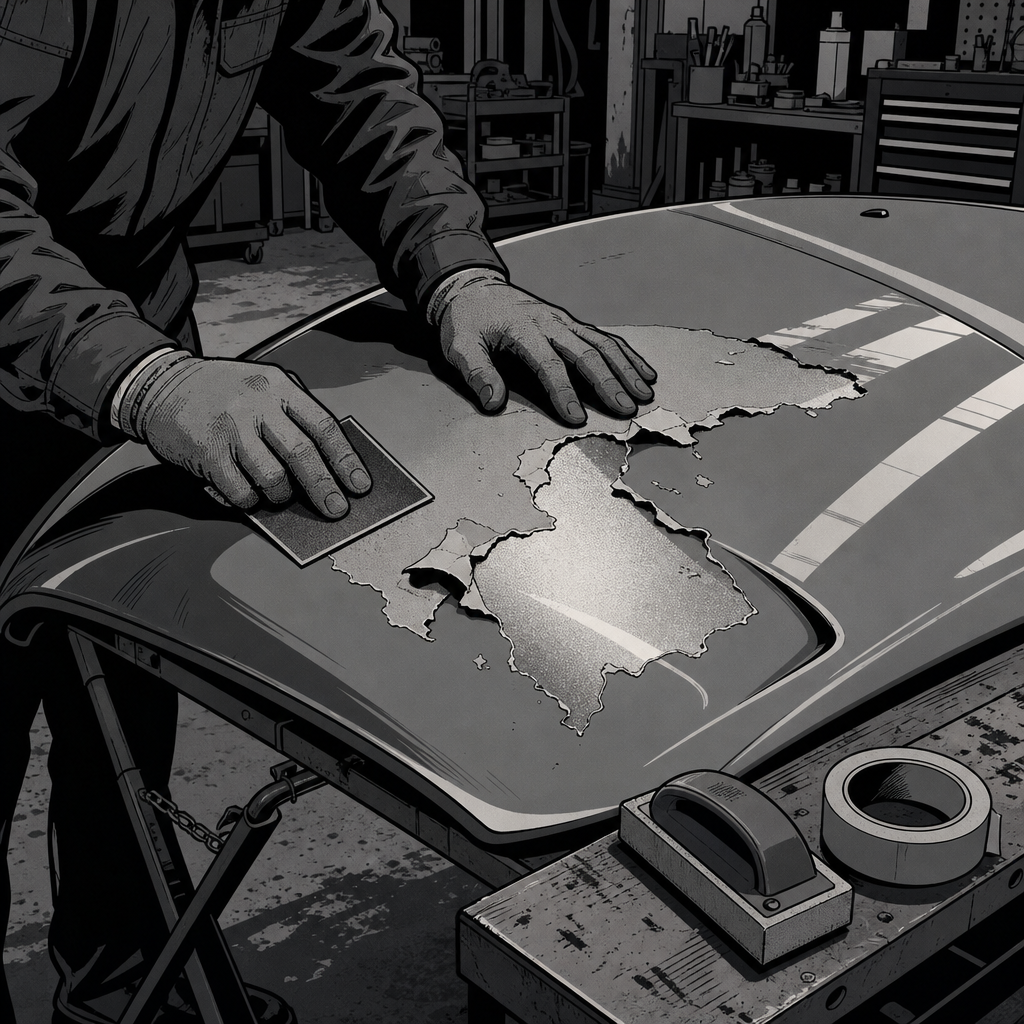
A customer rolls in convinced their pressure washer destroyed their hood, when in reality the clear coat was already failing from the inside out. This happens constantly in shops and driveways alike: a wash, a detail, or even just a sunny afternoon triggers a sheet of clear coat to lift off a panel that looked fine the day before. The washer didn’t cause it — it just finished a job that bad prep, old age, or a previous low-quality respray had already started. Here’s how to diagnose what’s actually going on, what a realistic DIY patch looks like, and why most of these jobs still end up back at the body shop.
Why Clear Coat Delaminates in the First Place
Clear coat is a UV-cured or catalyzed topcoat bonded to the base color coat underneath. When that bond fails, it’s called delamination, and it has a short list of real causes:
- UV and age breakdown. Clear coat has a service life. Past roughly 10-15 years of sun exposure, the resin network breaks down, the bond to the base coat weakens, and the clear becomes brittle. A 16-year-old panel that’s never been resprayed is squarely in the window where this is expected, not abnormal.
- Poor prep on a prior respray. If a panel was ever painted or touched up — even before the current owner had the car — inadequate sanding, contamination, or skipping a proper primer/sealer step leaves a weak bond that can hold for years before finally giving out.
- Incompatible products stacked on top of each other. Spraying new clear or touch-up paint over old, oxidized, or incompatible base coat can cause the layers to bubble or lift, sometimes immediately and sometimes months later.
What almost never causes it on its own: a standard consumer or commercial pressure washer at normal distance and pressure. It takes genuinely extreme settings — think 3,000+ PSI held a couple of inches from the surface — to strip healthy, well-bonded clear coat. If a normal wash knocked a sheet off, that clear was already separated and just needed a trigger.
Diagnosing What You’re Actually Looking At
Before deciding on a repair path, figure out exactly which layer failed. This changes everything about what’s fixable and what isn’t:
- Still glossy and smooth where it peeled? You’re likely down to an older clear coat layer from a prior respray, not the base coat. This is the best-case scenario for a DIY patch.
- Flat, dull, or colored surface exposed? That’s base coat. It’s thin, has no UV protection on its own, and will degrade fast if left exposed. It also burns through almost instantly if you touch it with sandpaper.
- Edges curling or flaking beyond the original spot? That’s active, spreading delamination. It will continue to creep outward from the original failure point — this is not a “catch it early” situation, it’s a “it’s already loose” situation. Expect the affected area to grow across the panel over time.
Run a fingernail test around the perimeter of the damage. If clear lifts easily with light pressure beyond the visible edge, the bond failure extends further than what you can see, and any patch will need to account for that larger area.

Fill Can 3746213 Nozzle, Black/Yellow, Use With: 1K and 2K F
Mfg: SprayMax
Part #: 3746213

3746214 Variator Nozzle, Black/Red, Use With: 1K and 2K Fill
Mfg: SprayMax
Part #: 3746214

A Realistic DIY Feather-and-Blend Patch
If the budget doesn’t support a full respray right now, a DIY stopgap can slow further damage and buy time — with clear expectations about the result.
- Feather the edge. Using fine-grit sandpaper (start around 800-1000 grit, finish finer), sand the transition between the failed area and intact clear coat until it’s smooth with no hard lip. The goal is a gradual taper, not a cliff edge.
- Stop at the right layer. If you’re down to base coat, do not keep sanding to “clean it up” — you’ll burn through the color layer entirely. Sand just enough to remove loose material and smooth the transition.
- Clean and mask. Degrease the area, then mask off the surrounding panel so overspray stays contained.
- Test compatibility first. Spray a test pass on an inconspicuous spot or scrap material. Old base coat can react badly to new 2K clear and bubble on contact — this is a known failure mode, not a rare fluke.
- Apply clear in light coats. Several thin passes of a 2K (catalyzed) clear coat from a can will bond and level better than one heavy coat, and are less likely to run or trap solvent.
- Wet sand and polish once cured. After full cure time (check the product’s cure window, often 24-48 hours), wet sand the edge with very fine grit and polish to blend the sheen.
Set expectations honestly: this will protect the exposed area from moisture and further oxidation, but the repaired spot will almost always be visible up close — slightly different texture, a faint edge line, or a sheen mismatch. It is a protect-and-delay move, not a cosmetic restoration.
{{PRODUCT_SEARCH}}
Why a Full Panel Respray Is Usually the Real Fix
If the goal is a repair that actually looks correct and stops the problem for good, the honest answer is a full strip-and-respray of the affected panel. Reasons a partial fix isn’t a substitute:
- Thin base coat makes partial sanding unreliable. Clear coat is applied thicker than base color specifically so it can be sanded and buffed without risk. Try to feather-sand through multiple layers near failed base coat and you will burn through color in spots, creating a worse blemish than the original peel.
- Delamination keeps spreading. Patching the visible spot doesn’t address the surrounding area where the bond is already weakening. Expect the failure to continue migrating outward from the original point, sometimes across an entire bumper or hood over following months.
- Color matching requires blending. Repainting one panel in isolation on a modern metallic or pearl finish will not match adjacent panels under a hard edge. A proper repair blends clear (and sometimes base) into the neighboring panels so the transition is invisible — which means the job is bigger than “just the hood.”
A cheaper alternative worth considering on common vehicles: source a used panel in matching color from a salvage yard. Swapping a hood or fender can come out less expensive than a quality respray, provided the color code matches closely enough (or the yard panel also gets blended in).
Cost Expectations and Choosing a Shop
Pricing varies by region and panel size, but rough benchmarks reported by techs and owners:
- Budget/independent body shop: roughly $300-$400 for a single panel respray, often without full blending into neighbors.
- Quality shop with proper blending: $600 and up, especially on metallics/pearls that need adjacent panel blending to match.
- DIY can-based patch: around $25-$50 in materials (clear coat, sandpaper, polish), plus your own labor and the risk of needing a professional fix later anyway.
- Salvage yard panel swap: varies widely, but can undercut a respray on common, high-production vehicles.
When shopping quotes, ask specifically whether the price includes blending into adjacent panels — a quote that doesn’t will leave a visible edge, even on a technically correct repair.
Quick Reference Checklist
- Identify the exposed layer: glossy old clear vs. flat base coat vs. actively spreading edges.
- Fingernail-test beyond the visible damage to find the true extent of the failure.
- Test new clear coat on scrap or a hidden spot for compatibility before full application.
- Feather-sand lightly; stop immediately if base coat starts showing through.
- Apply 2K clear in multiple light coats, not one heavy pass.
- Get quotes that specify whether adjacent-panel blending is included.
- Consider a salvage panel swap for common vehicles with simple paint codes.
{{PRODUCT_SEARCH}}

Platinum Select Filler premium body filler 35863, 276 mL, 6/
Mfg: 3M Automotive
Part #: 35863

Innovative Tools & Tech SuperStand 2 SS-II Bumper Cover Paint Ra
Mfg: Innovative Tools and Tech
Part #: ITT.SS-II

Frequently Asked Questions
Did my pressure washer actually cause the clear coat to come off?
Almost certainly not on its own. Standard wash pressure and distance don’t strip healthy clear coat. If it lifted during a normal wash, the bond was already failing — age or a prior respray is the real cause.
Can I just sand down the failed spot and leave the rest alone?
You can, but delamination tends to spread from its original point. A localized patch may need to be redone or expanded as the surrounding clear continues to lift.
Is it better to repaint just the damaged panel or the whole car?
Just the panel is usually fine functionally, but on metallic/pearl colors it needs to be blended into at least one adjacent panel to avoid a visible edge or mismatch.
Why did the paint bubble when I sprayed new clear coat over it?
Old, oxidized base coat can react poorly to solvents in new clear coat, causing lifting or bubbling on contact. Always test on a hidden area first.
How do I know if it’s clear coat or base coat exposed?
Glossy, smooth texture usually means another clear layer underneath (common after a prior respray). Flat, dull, colored surface means you’re at the base coat — handle it much more carefully, since it’s thin and easy to burn through.
Is a used panel from a salvage yard a realistic fix?
Yes, especially for common vehicles with simple, widely available color codes. It can be cheaper than a quality respray, though you’ll still want it checked for a color match and proper fitment.
Paint & Body Supplies for Clear Coat Repair
Whether tackling a DIY patch or prepping for a professional respray, having the right materials on hand is essential. Browse our Paint & Body selection for supplies suited to clear coat work:
- Fine-grit sandpaper and abrasive pads for feathering and finishing
- 2K clear coats and compatible primers for patch applications
- Masking tape, compounds, and surface prep materials

The Toolsource Technical Team blends decades of real-world automotive service experience with up-to-date technical research. Our writers collaborate with professional mechanics, shop owners, and diagnostic specialists to deliver practical, workshop-ready guidance you can trust.


Follow us on social media