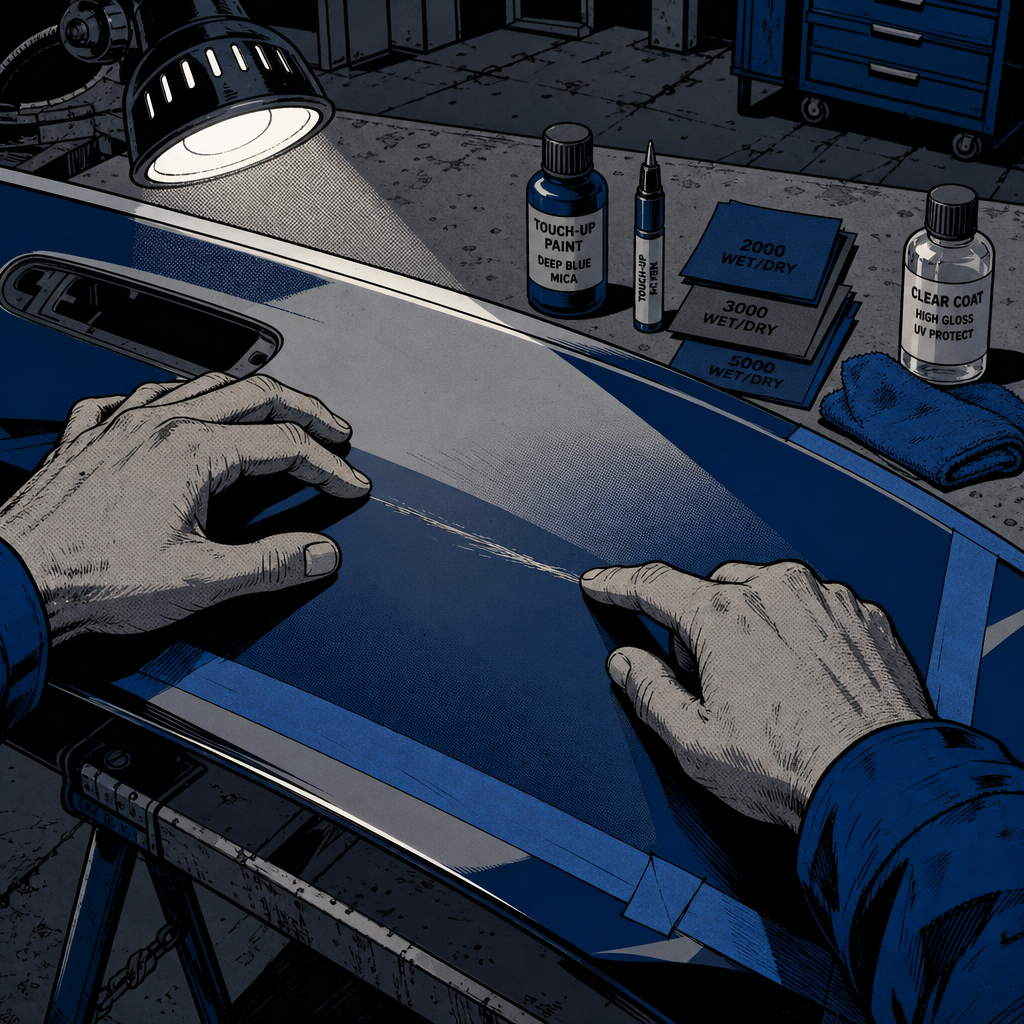
Every shop sees the same scratch story on repeat: a rock, a shopping cart, a key, or a three-year-old with a surprisingly sharp pebble leaves a mark that ranges from a faint clear coat scuff to a line straight down to bare metal. The repair path differs a lot depending on which one you’re dealing with, and guessing wrong wastes product and time. Here’s a practical, step-by-step approach for evaluating scratch damage, doing a proper DIY touch-up when it’s appropriate, and knowing when to send the car to a body shop instead.
Step 1: Determine How Deep the Damage Actually Goes
Before buying anything, run a fingernail test and look at the scratch under direct sunlight or a work light at an angle. There are generally three depths you’ll encounter:
- Clear coat only — the scratch looks white or hazy but you can’t feel a groove, and the color underneath looks unaffected. This is the easiest fix and sometimes buffs out entirely with compound and polish.
- Through the clear coat into the color (base coat) — you’ll see a visible color change or a slightly darker/lighter line, and you can feel a shallow groove. This needs touch-up paint plus clear coat.
- Down to bare metal or primer — the scratch shows gray, silver, or reddish-brown. This is the urgent one. Exposed metal starts oxidizing within days, especially in humid climates or after road salt exposure, and a surface scratch can become a rust spot in a matter of weeks if it’s ignored.
If the damage spans multiple panels, follows a crease line, or is longer than a few inches, that’s usually outside the scope of a touch-up repair — note that now and skip ahead to the body shop section below.
Step 2: Gather the Right Materials Before You Start
Rushing to dab paint on a scratch without prepping the area is the most common reason touch-ups look worse than the original damage. A proper kit includes:
- Color-matched touch-up paint (OEM paint code, not a generic “close enough” shade)
- Clear coat, matched to the paint if possible
- Fine-grit wet/dry sandpaper (1500–3000 grit) for feathering edges
- Painter’s tape to mask the repair area
- Rubbing/cutting compound and a finishing polish
- Microfiber towels and isopropyl alcohol for degreasing
- A fine-tip applicator or dabber — not a brush, which tends to overload the scratch
Find the factory paint code on the driver’s door jamb sticker, inside the glovebox, or under the hood on the firewall — never guess based on the car’s name or trim level, since many manufacturers run multiple shades of the same base color.
{{PRODUCT_SEARCH_1}}


Step 3: Clean, Sand, and Prep the Scratch
Wash and degrease the area thoroughly, then dry it completely. Mask off the surrounding paint with painter’s tape so you’re not working in a wide-open area — this keeps the repair contained and makes blending easier later.
If the scratch reaches bare metal, lightly sand just enough to remove any loose or flaking paint and any surface rust that’s already formed. You’re not trying to smooth the whole panel — just clear away debris so the touch-up paint bonds to a clean surface. For clear-coat-only scratches, a very light pass with high-grit (3000) wet sandpaper can help the surrounding clear coat blend once polished, but go easy; it’s easy to burn through clear coat that’s already thin from age or sun exposure.
Step 4: Apply Touch-Up Paint in Thin Layers
This step rewards patience over speed. Using the applicator tip (not a brush), lay down a thin film of paint directly into the scratch — less is more at every stage. Let it sit roughly 24 hours, then apply a second thin coat if the scratch still shows through. Avoid flooding the area; touch-up paint shrinks slightly as it cures, and multiple thin coats level out far better than one thick one.
Once you’re satisfied with the color fill and it’s fully cured (give it 48–72 hours), apply clear coat the same way — thin layers, allowing cure time between coats. Skipping clear coat on a base-coat repair leaves the patch dull and more exposed to UV and moisture than the surrounding panel.
Step 5: Level, Compound, and Polish
After the clear coat has fully cured, very lightly wet sand the repair with high-grit paper to knock down any texture or overspray edge, then remove the tape. Work in rubbing compound with a microfiber towel to cut down the repair until it’s level with the surrounding clear coat, then follow with a finishing polish to restore gloss. Test your process on a small, low-visibility section first — if it’s not working, you haven’t made the panel any worse, and you can stop before committing to the whole scratch.
This method typically gets a touch-up roughly 90% of the way to invisible without professional equipment. For a scratch that must be completely undetectable — especially on a lease return or a car headed for resale — a body shop with spray equipment and a proper booth will outperform any hand-applied repair.
{{PRODUCT_SEARCH_2}}
Preventing Rust While You Decide What to Do
If a customer or technician can’t get to the full repair right away, don’t let bare metal sit exposed. A coat of wax, a clear touch-up pen, or even clear nail polish as a stopgap will slow oxidation until the real repair happens. This matters more on vehicles with known paint and clear coat durability issues — some manufacturers’ factory clear coats are noticeably thinner or more UV-sensitive than others, and panels that see constant sun exposure are more prone to peeling and cracking over time regardless of the car’s age.
Quick Scratch-Repair Checklist
- Identify scratch depth: clear coat only, base coat, or bare metal
- Pull the correct OEM paint code from the door jamb or glovebox sticker
- Clean, degrease, and mask the area before touching it with paint or sandpaper
- Sand only enough to remove loose paint/rust — don’t over-sand
- Apply paint and clear coat in thin layers with full cure time between coats
- Finish with light wet sanding, compound, and polish once fully cured
- If bare metal is exposed and a full repair isn’t happening today, seal it with wax or a clear pen to buy time

3M Perfect-It Foam Polishing Pad 5725, Single Sided Flat
Mfg: 3M Automotive
Part #: 05725

3M Perfect-It Random Orbital Coarse Wool Compounding Pad 3
Mfg: 3M Automotive
Part #: 34124

FAQs
Will toothpaste actually remove a light scratch?
Sometimes, for very superficial scratches that haven’t broken through the clear coat. The mild abrasives in toothpaste can act like a weak polishing compound. It won’t do anything for a scratch that’s reached the base coat or metal.
How do I find my car’s exact paint code?
Check the driver’s side door jamb sticker, the glovebox, the trunk area, or the firewall under the hood. The code is usually a short alphanumeric string next to “Paint Code” or “Color Code” — don’t rely on the color name alone, since many models use several shades per name.
How long should a touch-up repair cure before washing or driving in rain?
Give paint at least 24 hours between coats and let the full repair (paint plus clear coat) cure 48–72 hours before washing, waxing, or compounding. Driving is fine, but avoid automatic car washes until the repair has fully hardened.
Is a scratch my own kid caused covered by comprehensive insurance?
Policies vary, and this is a question for your insurance agent or carrier, not a general rule. Comprehensive coverage often applies to accidental damage regardless of who caused it, but filing requirements (like a police report for vandalism claims) can differ. Confirm specifics before filing.
Why does a scratch rust so quickly on some cars but not others?
Clear coat and paint quality vary by manufacturer and model year, and thinner or more UV-sensitive clear coats break down faster, exposing bare metal to moisture sooner. Climate, road salt exposure, and how long a scratch sits untreated also play a big role.
Can I wet sand a touch-up repair myself, or is that too risky?
Light wet sanding with fine-grit paper (1500–3000 grit) is a standard part of a DIY touch-up, but it should always be gentle and tested on a small area first. Over-sanding can burn through clear coat or create new flat spots, so less pressure and higher grit numbers are safer for beginners.
Shop Paint & Body Products
A proper touch-up repair depends on the right materials — color-matched paint, clear coat, fine-grit sandpaper, masking tape, and compound. Our Paint & Body selection includes everything needed for a professional-looking scratch repair.
- OEM and aftermarket touch-up paints and clear coat systems
- Fine-grit wet/dry sandpaper, masking tape, and surface prep materials
- Rubbing compound, cutting compound, and finishing polishes

The Toolsource Technical Team blends decades of real-world automotive service experience with up-to-date technical research. Our writers collaborate with professional mechanics, shop owners, and diagnostic specialists to deliver practical, workshop-ready guidance you can trust.


Follow us on social media