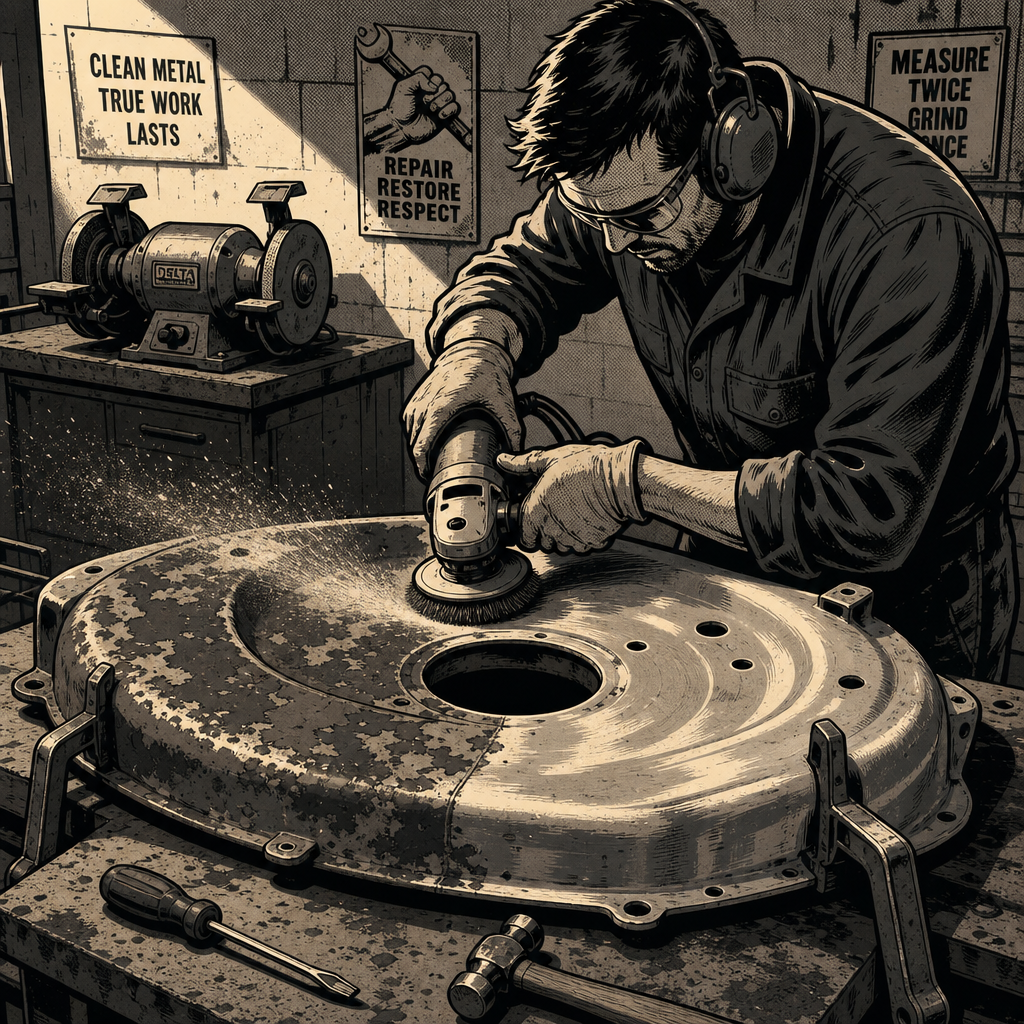
A viral thread of “pimped out” push mowers made the rounds recently — candy paint decks, whitewall tires, chrome mufflers, even under-deck LEDs — and the comment section split evenly between “that’s amazing” and “how did you keep it running.” Both reactions are fair. A mower deck is sheet steel or stamped aluminum sitting a few inches from a hot muffler and a spinning blade, so a custom job that looks like a lowrider but still starts on the second pull takes more planning than a rattle-can afternoon. The good news: the process is nearly identical to what you’d already do on a fender or valve cover — strip, prep, mask, paint, clear, reassemble — just scaled down and with a few small-engine-specific precautions layered in.
Why a Mower Deck Isn’t a Regular Panel
Before grabbing a grinder, understand what you’re working with. Most residential push mower decks are stamped steel with a factory powder coat or baked enamel finish, though some higher-end models use aluminum. Steel decks rust from the inside out, especially around the discharge chute and grass buildup zones, so what looks like surface flaking is often the tip of pitting underneath. Aluminum decks won’t rust but they do oxidize and can be trickier to get paint to bite without the right etching primer.
The other factor techs and hobbyists both underestimate is heat. The muffler side of the deck and the area around the engine mount can see sustained temperatures well above what a fender ever sees. Any paint or vinyl within a few inches of the exhaust needs a heat rating, not just a UV rating. Skip this step and you’ll get bubbling or discoloration within a season, right where everyone looks first.
Strip the Deck and Assess the Metal
Pull the spark plug wire before anything else — this is a rule, not a suggestion, since an accidental blade rotation with a hot plug can fire the engine. With the plug disconnected, remove the wheels, engine (if you’re doing a full strip), and any bolt-on guards so you’re only working the bare deck.
- Use a wire wheel or media blaster to remove old paint, rust, and grass residue down to bare metal. A small benchtop or handheld blast cabinet works well for decks this size.
- Check for pitting and thin spots by tapping with a screwdriver handle — a dull thud versus a sharp ring tells you where metal has thinned.
- Fill minor pitting with a two-part automotive body filler, sand to a smooth transition, then re-check flatness with a guide coat.
- If you find through-rust (holes), weld-in patch or plate the area before cosmetic work — paint over a hole just hides a mower that will fail structurally.
Degrease thoroughly after sanding. Oil and grass sap from years of mowing will sit in the metal pores and cause fisheyeing in the primer if you don’t wipe the deck down with wax and grease remover.
Product search: automotive body filler and DA sanding kit for small panels
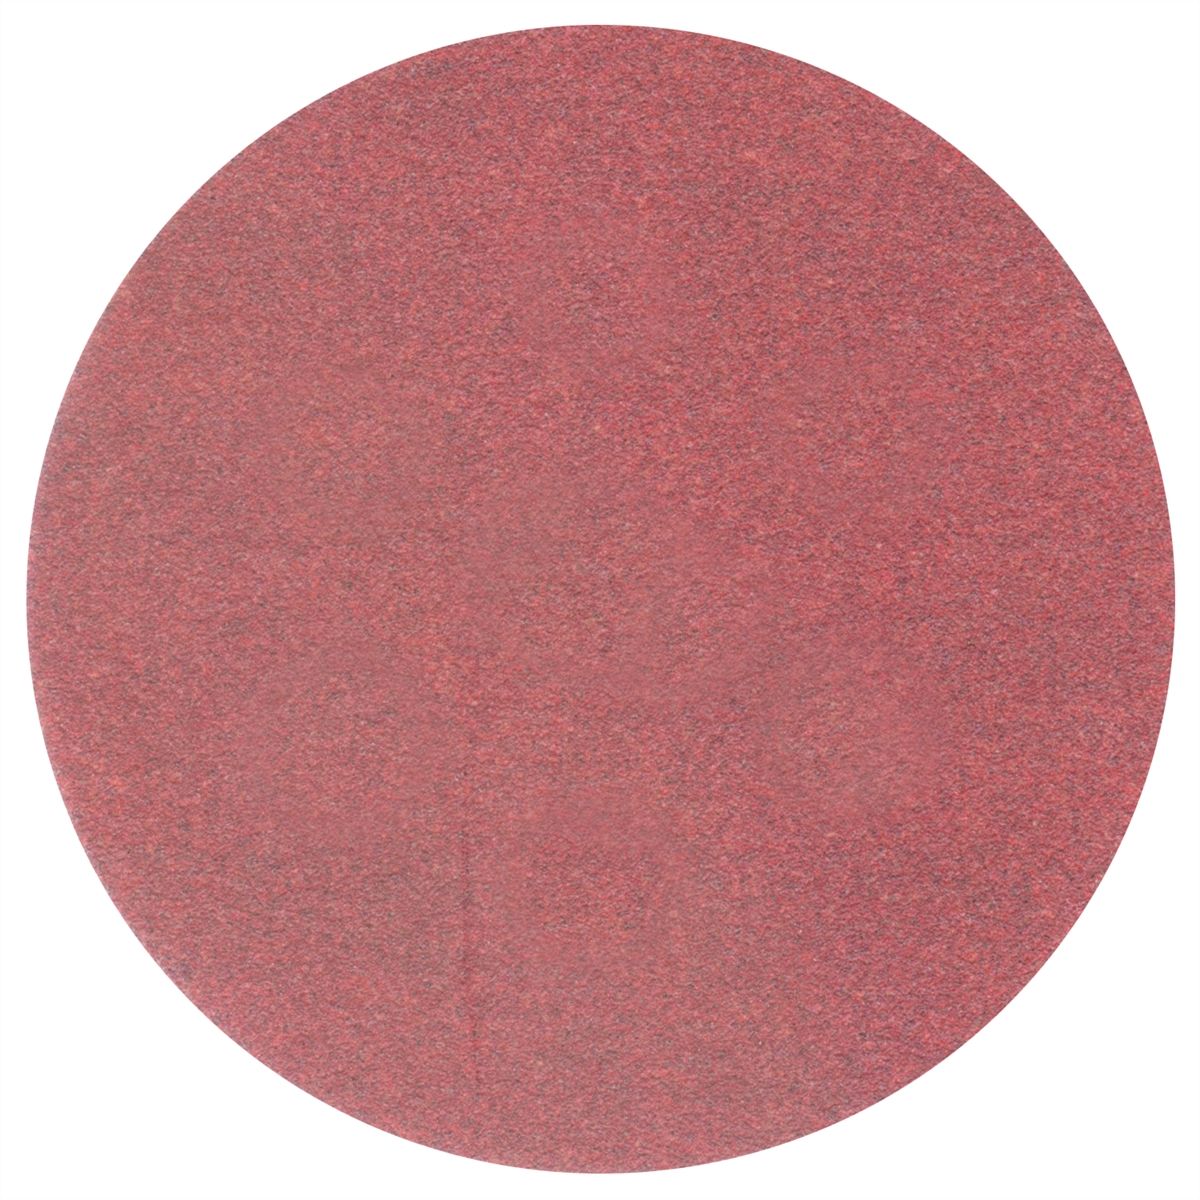
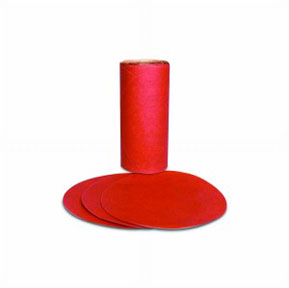

Purple Clean Sanding Hookit Disc, 6 Inch, 500 Grade 50/Box
Mfg: 3M Automotive
Part #: 1810
Priming and Paint Selection for Heat and Fuel Exposure
Once the deck is bare and smooth, self-etching primer is the right first coat on both steel and aluminum — it gives the topcoat something to grip and adds a layer of corrosion resistance before the color goes on. Two light coats, allowed to flash between passes, beats one heavy coat that sags in the corners.
For the topcoat, single-stage or base/clear automotive urethane and enamel systems both work, but the deciding factor is proximity to the muffler and fuel tank:
- Muffler-adjacent areas and the exhaust shield: use a high-temp engine enamel rated for 500°F+ rather than standard body paint, which will yellow or lift under sustained heat.
- Deck top and sides away from the exhaust: standard automotive base/clear or single-stage urethane holds up fine and gives you the widest color and metallic/pearl options.
- Anywhere fuel could splash during fill-ups: confirm the paint and clear are rated fuel-resistant — gasoline will lift a lot of consumer spray paints in weeks.
Clear coat isn’t optional if you want the color to survive outdoor storage and UV exposure — mowers live outside far more than cars do. Two to three coats of a UV-stable automotive clear will outlast a single rattle-can clear by years.
Trim, Chrome, and Wheel Upgrades
This is where the personality comes in, and it’s also where the comment section had the most (only half-joking) opinions — flames, spoilers, a chrome muffler, whitewall tires. Practically speaking, here’s what holds up:
- Whitewall or trim rings on the tires: paint pens and vinyl trim rings both work, but use a paint rated for rubber flex, not standard enamel, or it will crack and peel within a mowing season.
- Chrome or polished mufflers: aftermarket chrome muffler shields exist for small engines and are a direct swap in most cases — just confirm the mounting pattern matches your engine (Briggs & Stratton, Kohler, Honda GC/GCV series all differ slightly).
- Decals and flame kits: apply after clear coat has fully cured (follow the product’s cure time, typically 24–72 hours) and keep them off any surface that exceeds 200°F.
- Wheels: swapping in larger or styled wheels changes deck height and cutting angle — verify the axle bore and offset match, or you’ll get uneven cuts and extra vibration.
Skip anything electrical (underglow LEDs, sound systems) unless you’re confident in small-engine wiring — most push mowers have no onboard charging system, so anything added needs its own battery and a wiring path clear of the blade, belt, and hot surfaces.
Reassembly and Break-In Checks
Once paint and trim are fully cured, reassemble in reverse order and don’t skip the boring parts:
- Torque the blade bolt to the engine manufacturer’s spec — an under- or over-torqued blade bolt is one of the most common mower failures after any teardown.
- Reconnect the spark plug wire last, after you’ve confirmed the blade area is clear of tools and rags.
- Check that no new paint or vinyl obstructs the muffler’s cooling fins or the engine’s air intake screen — even a thin edge of trim over an intake can cause overheating.
- Run the mower for 5–10 minutes without cutting grass first, watching for unusual vibration (often from wheel or blade balance changes) and smell for hot paint, which indicates something is too close to the exhaust.
Quick Reference: Custom Mower Paint Checklist
- Disconnect spark plug before any teardown
- Strip to bare metal, repair rust/pitting before filling
- Degrease after sanding, before primer
- Self-etch primer on bare steel/aluminum
- High-temp paint within a few inches of the muffler
- UV-stable automotive clear coat over color
- Confirm decal/trim placement avoids hot surfaces
- Torque blade bolt to spec on reassembly
- Test-run before cutting grass
Product search: automotive touch-up paint and clear coat kits

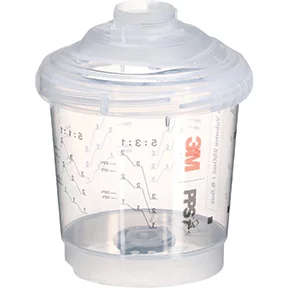
PPS SERIES 2.0 VENTED SPRAY CUP KIT 26161, MINI (8.5 FL OZ,
Mfg: 3M Automotive
Part #: 26161
FAQs
Can I use regular automotive spray paint on a lawn mower deck?
Yes, on areas away from the muffler and fuel tank. Automotive base/clear or single-stage urethane holds up well outdoors. Near the exhaust, switch to a high-temp engine enamel instead.
Do I need to pull the engine before painting the deck?
Not always — masking the engine and carburetor thoroughly can work for a deck-only refresh. A full teardown gives a cleaner result and lets you catch rust hidden under the engine mount, so it’s worth it for a full build.
What’s the biggest mistake people make on these builds?
Painting over rust or pitting without repairing the metal first, and using standard paint too close to the muffler. Both show up as failures within one season.
How do I keep whitewall tires clean on a mower that sits outside?
Use a rubber-rated whitewall paint or trim ring rather than a paint pen alone, and expect to touch up annually — grass stain and UV exposure are harder on tires outdoors than on a car parked in a driveway.
Will bigger or styled wheels throw off the cut quality?
Potentially. Any wheel diameter change alters deck height and cutting angle, so recheck and relevel the deck after installing them.
Is it safe to add lights or a sound system to a push mower?
Only with a dedicated battery and wiring routed well clear of the blade, belt, and hot surfaces — most push mowers have no charging circuit to tap into safely.
Paint & Body Materials for This Project
Customizing a mower deck draws on the same primers, paints, and finishing materials you’d use on automotive bodywork. The critical differences are heat rating near the muffler and fuel resistance near the tank. Our Paint & Body selection covers the primers and topcoats needed for this kind of work.
- Self-etching primers for bare steel and aluminum prep
- High-temp engine enamels rated for 500°F+ exhaust areas
- Automotive base/clear and single-stage urethane, body filler, and finishing materials

The Toolsource Technical Team blends decades of real-world automotive service experience with up-to-date technical research. Our writers collaborate with professional mechanics, shop owners, and diagnostic specialists to deliver practical, workshop-ready guidance you can trust.


Follow us on social media