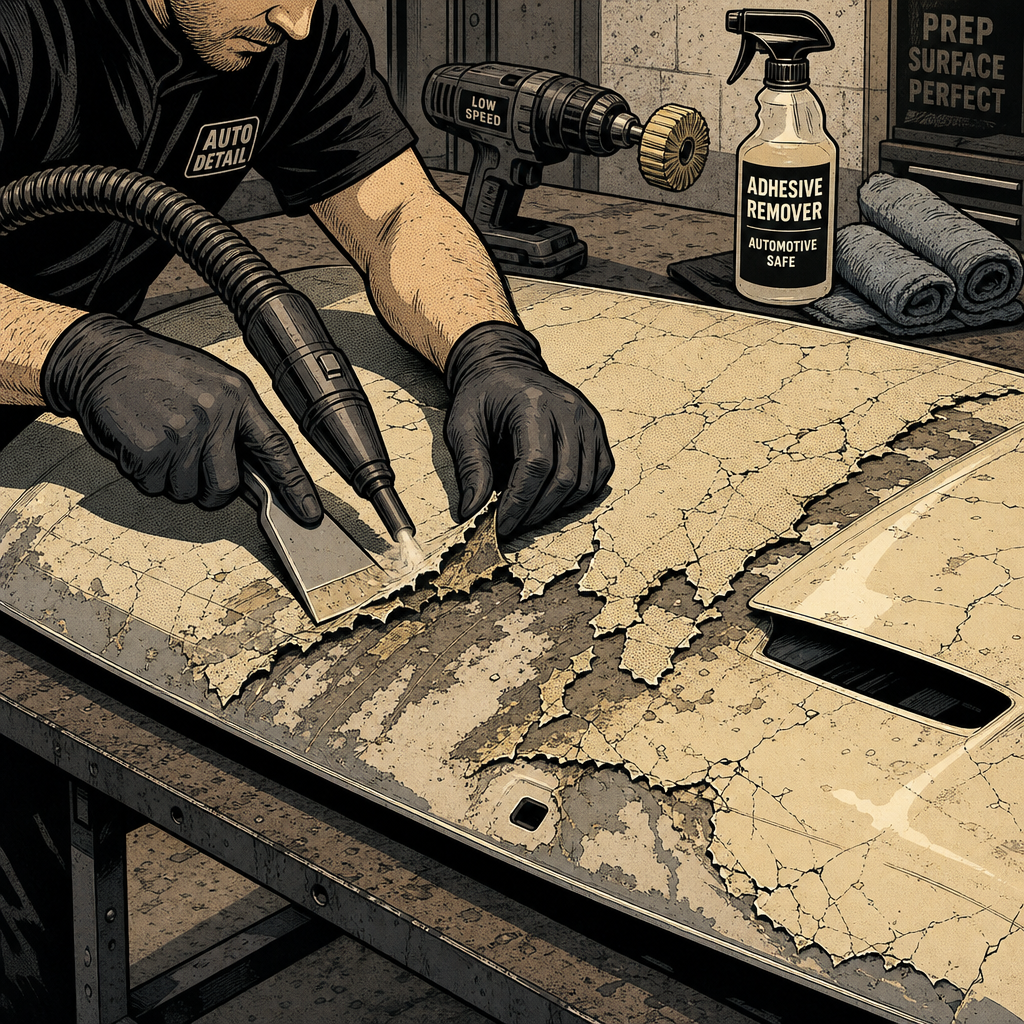
Paint protection film has a service life, and a lot of customers never got that memo. Left on past the 5-8 year mark, PPF cracks, yellows, and turns brittle at the edges, and what should be a two-hour job becomes a multi-day fight with brittle plastic and cooked adhesive. If a customer rolls in with a hood or bumper that looks like a spider web, here’s the process that actually works, the tools worth having on the bench, and the mistakes that turn a film removal into a paint repair.
Why Old PPF Turns Into a Multi-Day Job
PPF is a polyurethane film bonded with a pressure-sensitive adhesive, and both components degrade under UV and heat over time. The film itself gets brittle and starts cracking into small segments instead of peeling in long sheets. The adhesive goes the opposite direction – it softens, spreads, and bonds more aggressively to the clear coat the longer it sits, especially in areas that see direct sun or engine heat like hoods and mirror caps. That combination is why film that was meant to be replaced every 5 years, and that even “10-year” film manufacturers recommend swapping proactively, turns into an all-day project once it’s actually failed. There is no shortcut that turns brittle film back into removable sheets – the fix is controlled heat, patience, and the right blade.
Tools and Setup Before You Start
Don’t start pulling at a corner with your fingers – that’s how paint comes with it. Set up the bay with:
- A wallpaper steamer or a heat gun with a wide, low-flow nozzle (steamers are more forgiving and less likely to overheat one spot).
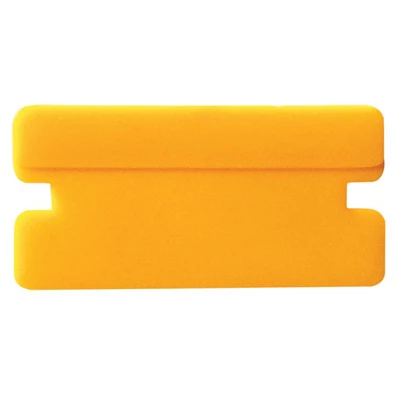
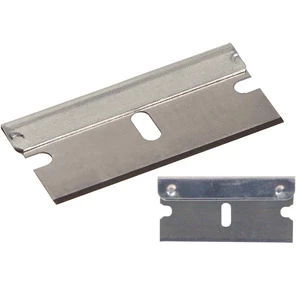
- A full set of plastic razor blades or trim removal tools – never metal blades directly on paint.
- An adhesive remover safe for automotive clear coat (citrus-based or isopropyl-based products work well; avoid harsh solvents on unknown paint systems).
- A low-speed rubber eraser wheel attachment for a drill, which speeds up residue removal on flat panels.
- Microfiber towels, isopropyl alcohol for final cleanup, and painter’s tape to mark panel edges and trim lines you don’t want to touch with heat.
Work in a shaded bay or overcast conditions if possible – direct sun adds heat you can’t control and makes it harder to judge how much you’re applying with the gun or steamer.

Step-by-Step Removal: Heat, Lift, Repeat
The method that consistently works, whether it’s a full hood wrap or just a bumper section, comes down to working in small zones rather than trying to lift the whole panel at once:
- Section the panel mentally into 6-12 inch working areas. Trying to heat and lift a full hood in one pass is what causes people to lose patience and start prying.
- Apply steam or low heat to one section for 20-30 seconds, keeping the heat source moving to avoid scorching paint or discoloring it.
- Starting at a corner or edge, work a plastic blade under the film at a low angle and lift slowly. If it’s resisting, more heat – not more force – is the answer.
- Peel in the direction the film wants to go. Cracked/brittle film will often come up in small pieces rather than long strips; that’s normal on film this age and not a sign you’re doing it wrong.
- Repeat section by section across the panel. Expect this to take several hours on a full hood – plan the job accordingly rather than promising a customer a 90-minute turnaround.
If a section is fighting you badly – film shredding into confetti instead of lifting in pieces – stop and move to a different area, then come back once you have a feel for how much heat that particular film needs.
Clearing Adhesive Residue Without Marring the Clear Coat
Once the film is off, you’ll almost always have a layer of gummy adhesive left behind, sometimes with a visible line or slight discoloration where the film edge sat for years. Don’t reach for a metal scraper here. Spray on an automotive-safe adhesive remover, let it dwell per the product’s instructions, and work it with a microfiber towel or the eraser wheel on a drill at low RPM with light pressure. Work small sections and wipe clean before residue dries again. Finish with an isopropyl alcohol wipe-down to remove any oily film the remover leaves behind, since that residue can interfere with wax, sealant, or ceramic coating adhesion afterward.
Expect a visible line or slightly different sheen where the PPF edge sat for years, particularly on darker colors that show UV fade contrast more. A machine polish afterward will usually blend this out; if it doesn’t, that’s a sign the clear coat itself was affected and it’s worth inspecting closer before sending the car out.
Mistakes That Turn a Removal Into a Paint Job
Most of the paint damage that happens during PPF removal is avoidable and comes down to a short list of habits:
- Using a metal blade or razor directly on the panel. Even a light touch can score clear coat, and a repaint costs far more than the removal job.
- Applying too much heat in one spot. This can blister or discolor paint, particularly single-stage or older repaints that don’t have the heat tolerance of factory clear coat.
- Forcing a corner that won’t lift. If film is tearing instead of peeling, that’s the film telling you it needs more heat, not more pull.
- Skipping a test spot. Always test heat and adhesive remover on a small, hidden area first, especially on cars with unknown paint history or aftermarket bodywork.
- Rushing edges near trim, sensors, or lighting. PPF installers often wrap film under bumper sensors and light housings; heating too aggressively near these can warp plastic housings or damage wiring underneath.
When to Send It to a Pro Shop Instead
Full-panel or full-body PPF removal, especially on a car where the film was professionally installed with edges wrapped around panel gaps, is genuinely a specialist job. Shops that do this daily have templated heat settings, bulk adhesive remover, and the experience to know exactly how much a given panel and film brand will fight back – which is why a job that takes an untrained installer a week can take a shop two hours. If the film covers a full hood, fenders, and bumper with wrapped edges, or if the vehicle has a repaint history you’re not fully sure of, it’s worth quoting the removal out rather than eating hours of bay time on a job priced for a quick estimate.
Quick Removal Checklist
- Confirm film age and condition before quoting time – cracked/brittle film always takes longer than intact film.
- Stage plastic blades, steamer/heat gun, and adhesive remover before starting.
- Work in small sections, moving heat continuously.
- Test adhesive remover on a hidden spot first.
- Finish with isopropyl alcohol wipe-down before any polish or coating.
- Inspect clear coat for damage once residue is clear, before promising a finished look.
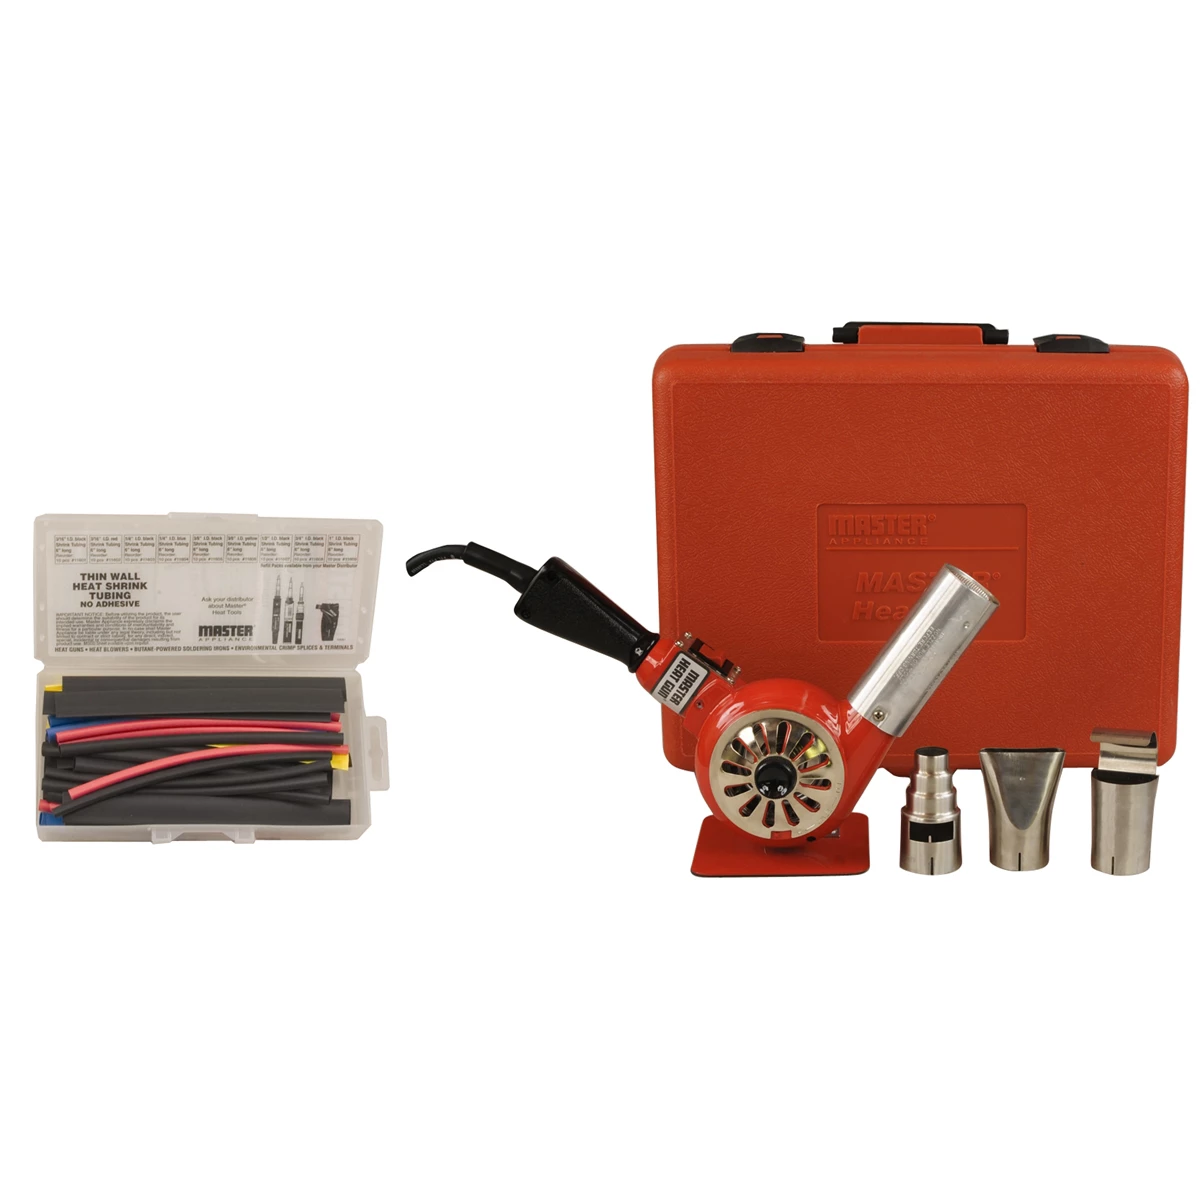
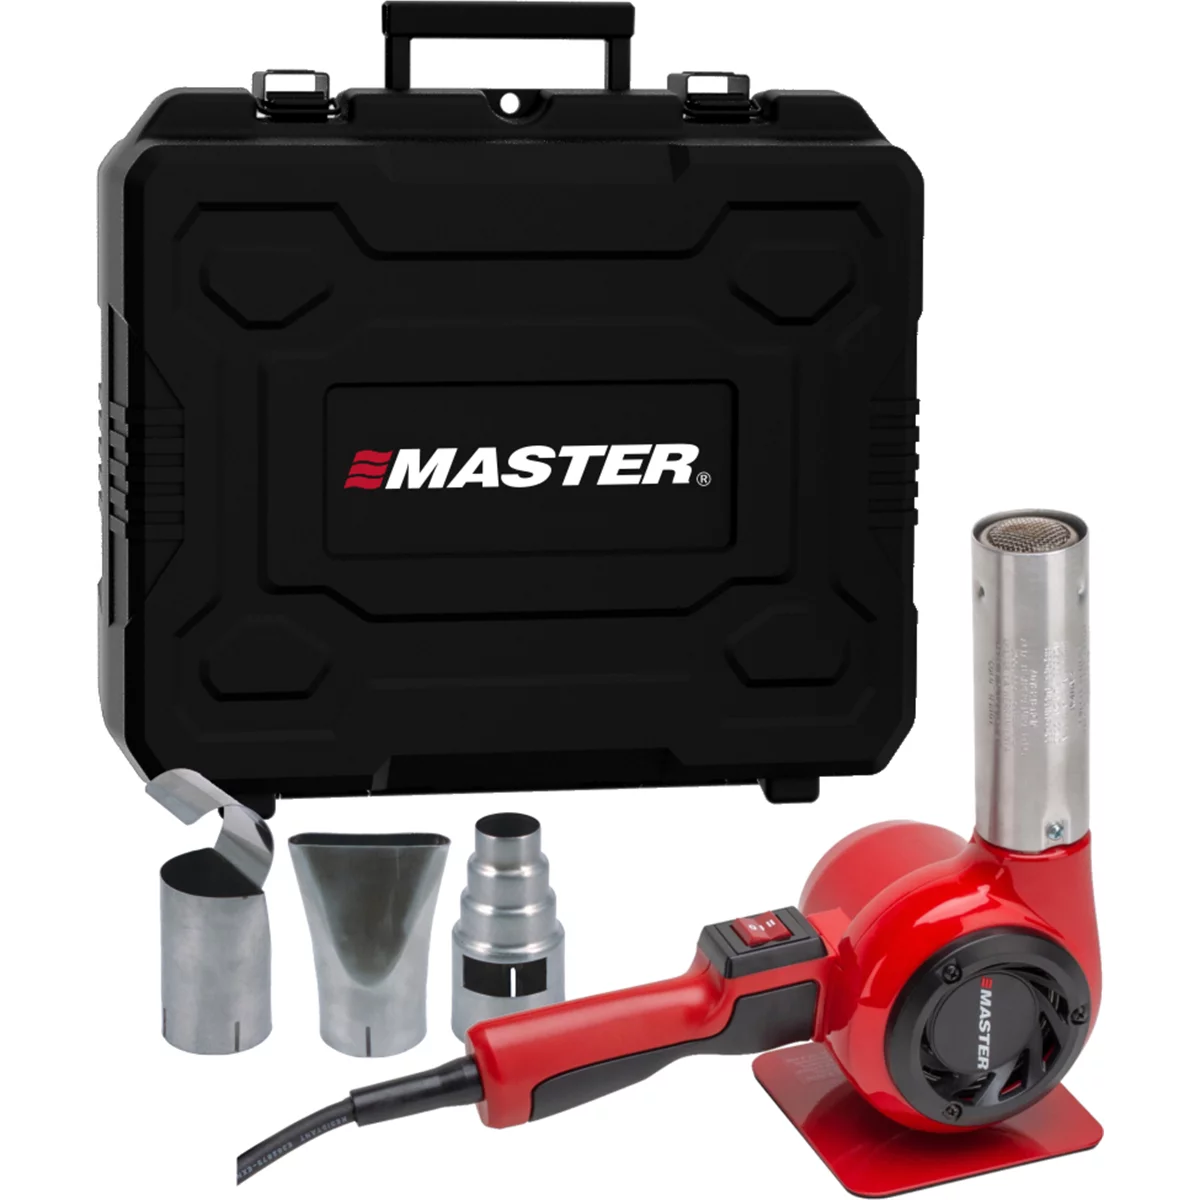
Varitemp Heat Gun Kit 120V, 100 to 1200F,14.5A, 27
Mfg: Master Appliance
Part #: VT-751D-00-K
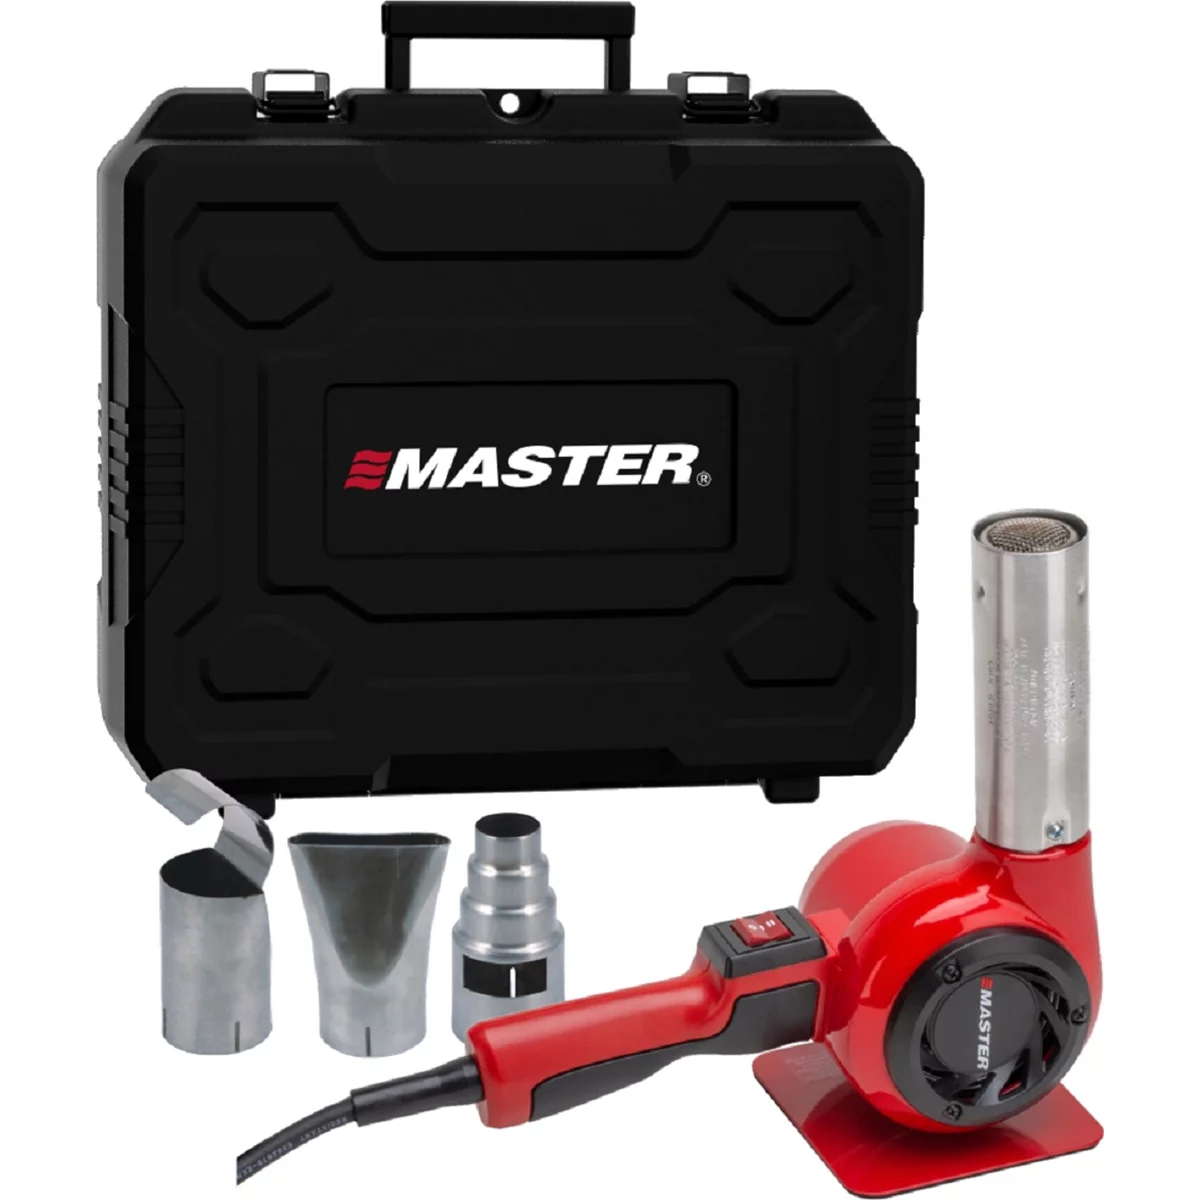
Master Heat Gun Kit 120V, 800F, 12A, 27 CFM
Mfg: Master Appliance
Part #: HG-301D-00-K
FAQs
How long does it take to remove old PPF from a hood?
Plan for a half day to a full day on badly cracked film, even for an experienced installer. Brittle film that’s been on 10+ years can take significantly longer than fresh film that’s just a year or two past due.
Will removing PPF damage the factory paint?
Not if it’s done with heat and plastic tools rather than force and metal blades. The main risk is pulling clear coat that’s already compromised underneath, which is more likely on repainted panels or very old, poorly installed film.
Can I just use a heat gun without steam?
Yes, but a steamer is more forgiving because it distributes heat more evenly and is less likely to scorch paint if you linger too long in one spot.
What’s the best way to remove leftover adhesive residue?
An automotive-safe adhesive remover with dwell time, worked gently with a microfiber towel or low-speed eraser wheel, followed by an isopropyl alcohol wipe to clear any oily film left behind.
How often should PPF actually be replaced?
Most manufacturers recommend replacement every 5-7 years, even for film rated for 10 years, particularly on high-UV or high-heat panels like hoods and mirror caps. Waiting until it visibly cracks means a much harder removal.
Is it cheaper to just buy a replacement hood than remove the film?
On heavily damaged film where the paint underneath is also questionable, sourcing a used panel in the same color can genuinely be cheaper than the labor hours to remove film and correct the paint – worth pricing out both before committing a tech’s day to it.
Get the Right Tools for PPF Removal
Controlled paint protection film removal depends on having the right equipment on hand. Browse our Paint & Body category for the steamers, plastic blades, adhesive removers, and eraser wheels professionals rely on.
- Plastic razor blades and trim removal tools designed for paint-safe work
- Automotive-safe adhesive removers that won’t harm clear coat
- Heat guns, steamers, and eraser wheel attachments for controlled removal

The Toolsource Technical Team blends decades of real-world automotive service experience with up-to-date technical research. Our writers collaborate with professional mechanics, shop owners, and diagnostic specialists to deliver practical, workshop-ready guidance you can trust.


Follow us on social media