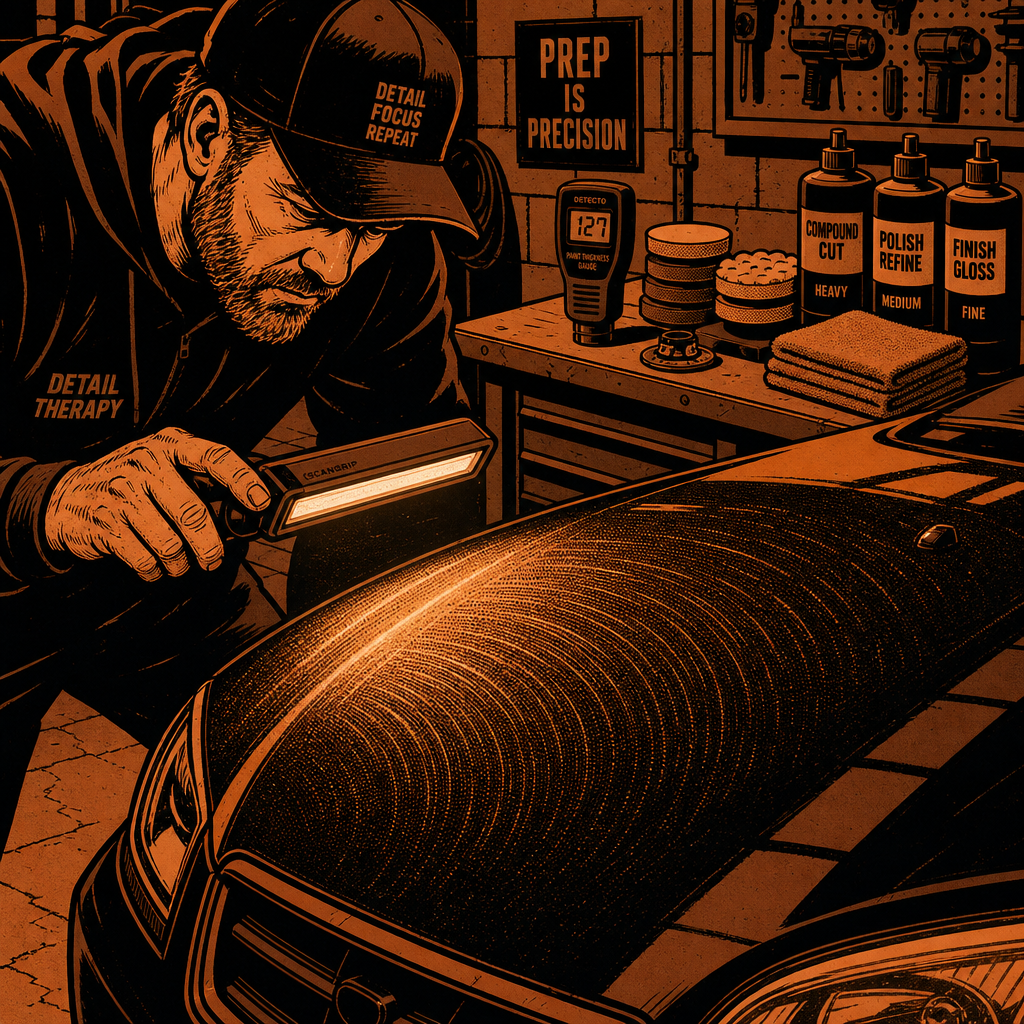
Every detailer has seen it: a customer brings in a “freshly detailed” car from a dealership, and under direct sun the clear coat is a mess of holograms, buffer trails, and fine scratches that were invisible under showroom lighting. This isn’t cosmetic bad luck — it’s almost always the result of an inexperienced tech grabbing a rotary buffer with an aggressive pad and compound combo, running it dry across thin factory clear coat, and never checking the work in proper light. The damage is fixable in most cases, but only if you diagnose it correctly before a single pad touches the panel. Here’s how to assess, correct, and protect paint that’s been through a bad one-step rotary job.
How to Recognize Rotary Buffer Damage vs. Normal Swirl Marks
Not all paint defects look the same, and misreading them leads to the wrong correction plan. Genuine rotary damage has a distinct signature: tight, circular “holograms” that look like a spiderweb of arcs under direct sunlight or a swirl-finder light, often following a visible back-and-forth pattern where the operator worked in straight lines instead of overlapping crosshatch passes. This is different from the fine, random micro-marring you get from years of automatic car washes.
Inspect the car in three lighting conditions before quoting any work: flat overcast light, direct sun, and a raking LED or swirl-finder light held at a low angle. Damage from an aggressive rotary pass will often be invisible in flat light and only appear once the sun hits the panel — which is exactly how these jobs slip past customers at pickup. Also check for burn marks: discolored, slightly sunken, or “wavy” reflection areas near edges and body lines. Burns mean the clear coat has been thinned or melted through in that spot, and no amount of polishing fixes that — it’s a repaint or panel resection issue, not a correction job.
Assess Paint Thickness Before You Touch a Pad
Before any correction work starts, pull out a paint thickness gauge and map the car. Factory clear coat typically runs 40-60 microns depending on the manufacturer, and you need a baseline reading on every panel, not just the ones that look bad. Compare readings panel to panel — a hood or roof reading noticeably thinner than the doors and fenders tells you either the panel was already corrected once, repainted, or is naturally thin from the factory.
This step matters more on cars known for thin or soft clear coats. Several Asian manufacturers, including Mazda, use clear coats that hold up fine day to day but leave very little margin for aggressive correction — they’re not necessarily “soft,” but they are thin, which means heat and cut depth matter more than pad aggressiveness. If your gauge shows readings under roughly 80-90 microns total (paint plus clear), or wildly inconsistent numbers across a panel, treat that panel as a single light pass candidate only, not a full two-stage correction. Skipping this step is exactly how a “we made it worse” callback happens.

Why a DA Polisher Should Be Your Default, Not a Rotary
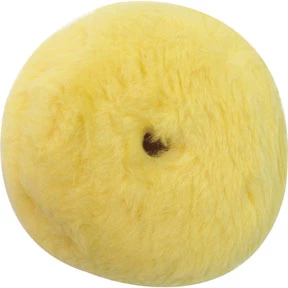
A dual-action (DA) polisher is inherently more forgiving than a rotary because the random orbital action generates less concentrated heat and doesn’t leave the directional swirl pattern a rotary does when used incorrectly. A rotary in the hands of someone who doesn’t understand pad pressure, dwell time, and panel temperature can burn through clear coat in seconds. A DA, even run at higher speeds with a cutting pad and compound, gives you a much wider error margin — which is why most correction gone wrong stories involve a rotary and almost never a DA.
That doesn’t mean a rotary is off the table for a professional shop — it’s still the right tool for heavy oxidation or deep defect removal on thick, durable paint. But for dealership prep work, used-car recon, and any job where the operator’s skill level is unknown or paint condition is unverified, defaulting to DA with a proper two-step polish (heavy cut pad/compound, then finishing pad/polish) is the safer standard. If you’re rebuilding a kit after inheriting a damaged car, prioritize a quality DA machine, a range of foam pad cut levels, and a compound/polish pair rated for thin OEM clear coats.
Product search: dual action polisher kit for thin clear coat correction
Step-by-Step Correction Process for Hologram and Swirl Removal
Once you’ve confirmed there’s enough clear coat to work with and no burn-through, follow a controlled, repeatable process:
- Wash and decontaminate first. Clay bar or use a chemical decon to remove bonded contaminants — polishing over grit just adds new scratches.
- Tape off edges and trim. Rotary damage often runs right up to body lines and plastic trim; protect adjacent surfaces before you start.
- Start with the least aggressive combo that works. Test a small hidden section with a finishing pad and polish first. Only step up to a cutting pad and compound if the defects don’t clear.
- Work small sections, low speed, light pressure. Roughly 18×18 inch sections, letting the machine do the work rather than pressing down, keeps heat and cut depth predictable.
- Check your work in raking light every section. Don’t wait until the whole car is done to discover a section wasn’t fully corrected — that’s how the original problem happened.
- Follow with a finishing polish pass. This removes any micro-marring left by the cutting stage (often called “buffer trails”) and restores full gloss and clarity.
- Wipe down with a paint-safe panel prep. This removes polish oils that can mask remaining defects and confirms the true finish before coating.
Managing Heat and Panel Temperature
Heat is the single biggest risk factor on thin clear coats, and it’s often overlooked by less experienced operators focused only on visible defect removal. Work in the shade or an indoor bay whenever possible, and avoid correcting panels that are hot to the touch from sun exposure — let them cool first. On warmer days, run the polisher at a lower speed setting throughout, use shorter dwell times per section, and check pad and panel temperature by hand periodically. A pad that’s noticeably warm mid-job is a signal to slow down, not push through. Cooler ambient conditions (cloudy, low humidity, moderate temperature) give you the widest safety margin and are worth scheduling correction work around when the job allows it.
Locking In the Correction: Sealant and Ceramic Coating
Correction work is wasted if it’s left unprotected — swirl marks and light scratching will start reappearing within weeks of normal washing and driving. Once the paint is fully corrected and wiped down, apply a ceramic coating rather than a traditional wax or sealant; a quality coating with a 2-3 year rated lifespan gives significantly more durability and easier maintenance than wax alone. Applying a spray topper or booster every couple of months extends the coating’s hydrophobic properties and gloss well beyond its base rating, and it’s a low-cost way to protect the labor that went into the correction. Skip wax on a freshly corrected car — it adds nothing a proper coating doesn’t already do better, and it can make it harder to judge the true finish if any missed defects remain.
Product search: ceramic coating kit with topper for daily driver protection
Quick Correction Checklist
- Inspect in flat light, direct sun, and raking LED light before quoting
- Map paint thickness panel by panel with a gauge — flag thin or inconsistent readings
- Rule out burn-through (discolored, sunken, or wavy reflection areas)
- Default to DA polisher; reserve rotary for confirmed thick, stable clear coat
- Test least-aggressive pad/compound combo first, escalate only if needed
- Work small sections, low speed, monitor panel and pad heat
- Finish with a dedicated polish pass, panel wipe-down, and ceramic coating
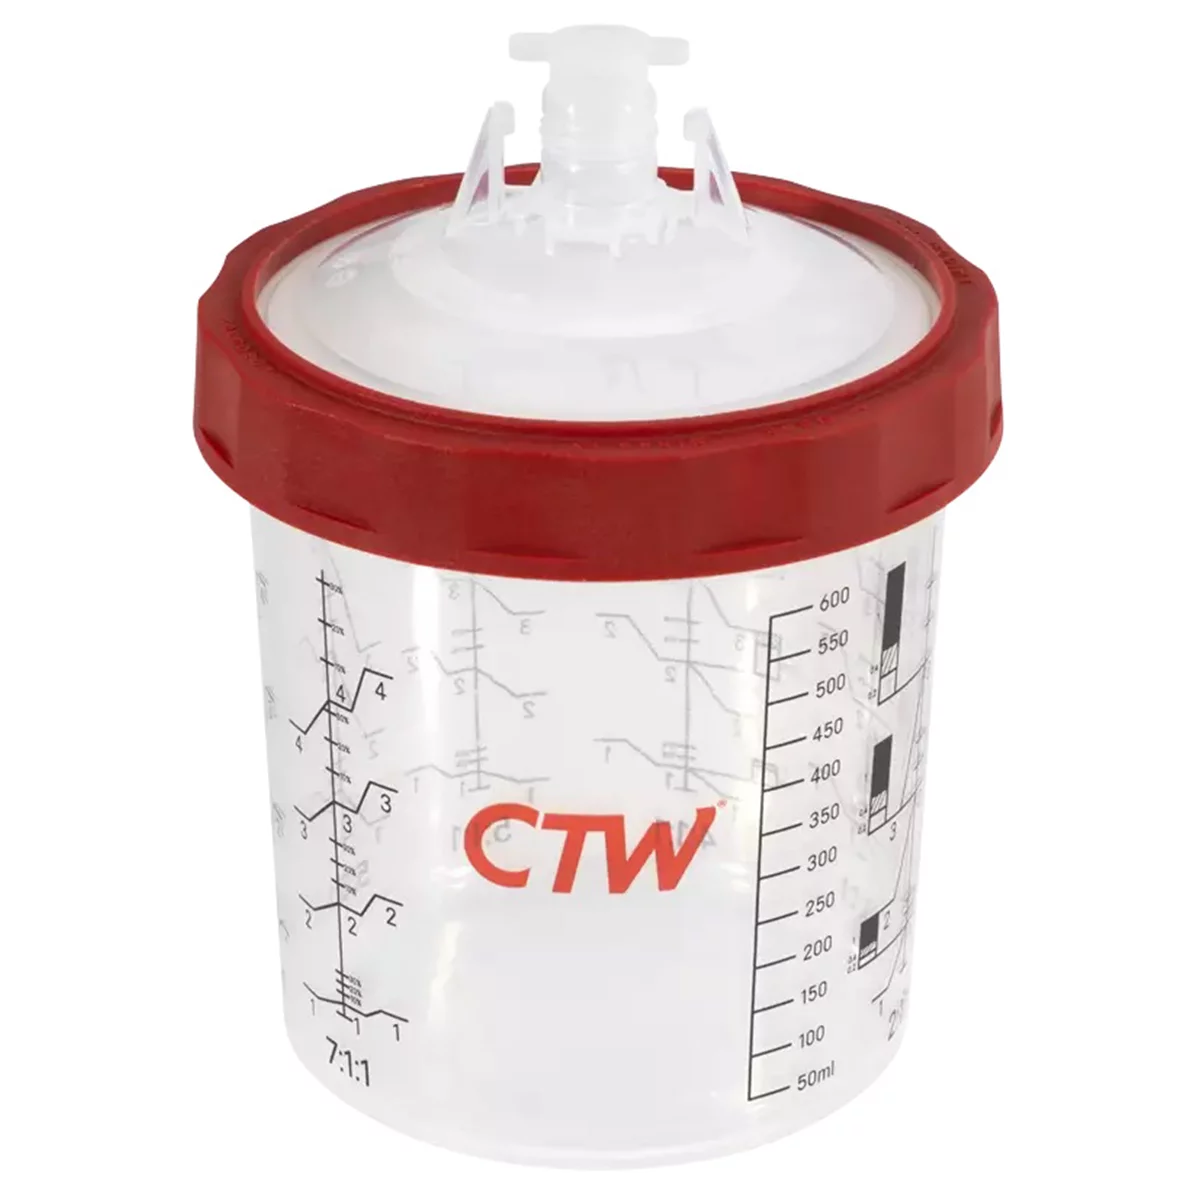
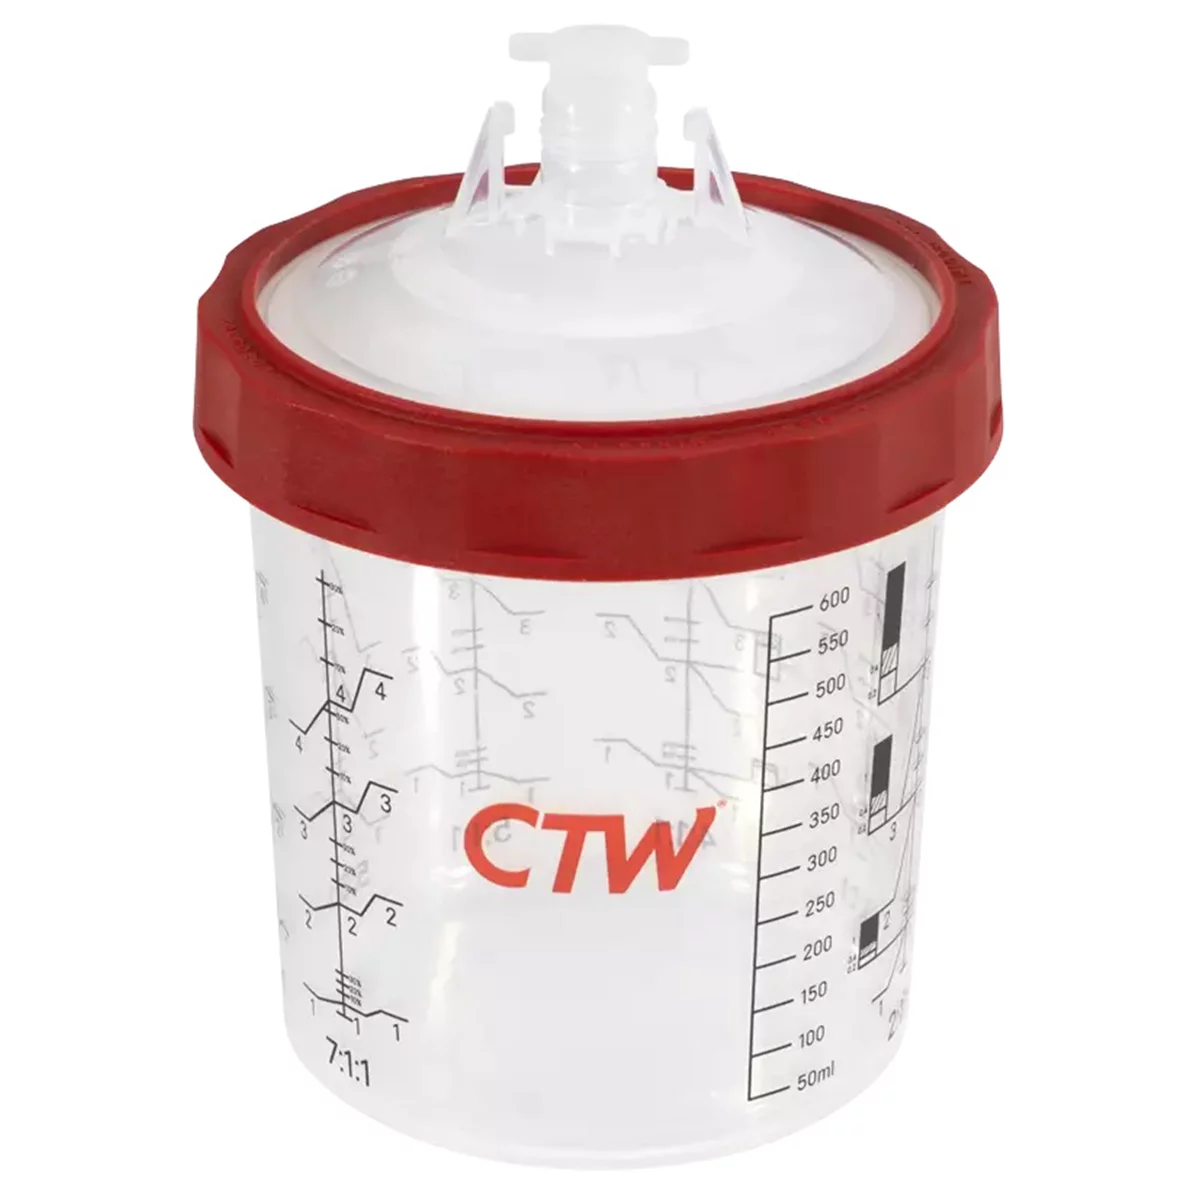
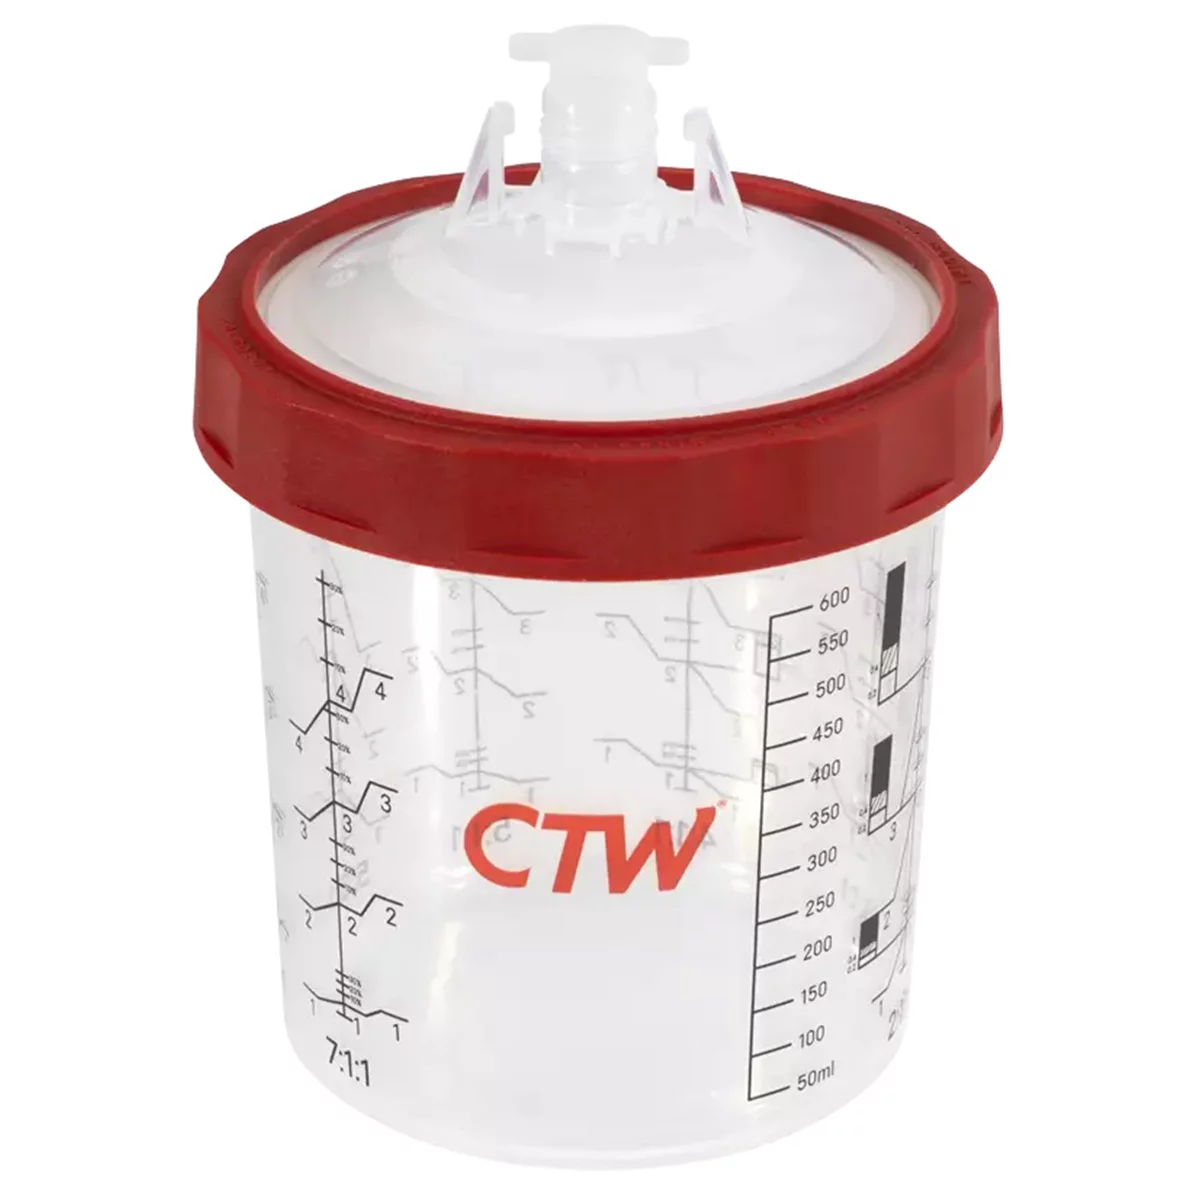
CS125-650 650ml/22oz Premium Disposable Spray Cup Paint Syst
Mfg: CTW
Part #: CS125-650
Frequently Asked Questions
Can a DA polisher fully remove rotary buffer holograms?
In most cases, yes — a two-stage DA correction with an appropriate cutting pad/compound followed by a finishing polish will remove holograms as long as there’s enough clear coat remaining. Deeper or burned areas may need panel-specific spot repair instead.
How do I know if the dealership burned through the clear coat?
Look for discolored, slightly sunken, or distorted reflection areas, usually near edges or body lines. If you see color variation or the surface feels uneven under a fingertip, that panel likely needs repaint rather than polishing.
Is Mazda paint really more prone to this kind of damage?
Mazda clear coat is generally considered medium-to-hard hardness but notably thin, which is why it chips easily and leaves little margin for aggressive rotary work — heat and cut depth control matter more than on thicker OEM finishes.
What paint thickness reading means I should stop correcting?
There’s no universal number, but readings noticeably below the surrounding panels, or total readings approaching the low end of factory spec (often cited around 80-90 microns combined), should trigger a single light pass at most, not a full cut-and-polish.
Should I use wax or ceramic coating after correction?
Ceramic coating is the better choice for locking in correction work — it offers longer-lasting protection and easier maintenance than wax, especially when paired with a spray topper applied every couple of months.
How should I handle a customer who suspects a dealership damaged their paint?
Document the damage with photos in multiple lighting conditions before starting any work — this protects both you and the customer if the case gets escalated to the dealership or manufacturer for reimbursement.
Recommended Tools
Proper correction of rotary buffer damage starts with the right equipment. Browse our Paint & Body selection for polishers, pads, compounds, coatings, and diagnostic tools.
- Dual-action and rotary polishers with variable speed control
- Cutting and finishing pads, compounds, and polishes for all clear coat types
- Paint thickness gauges, clay bars, and ceramic coating kits

The Toolsource Technical Team blends decades of real-world automotive service experience with up-to-date technical research. Our writers collaborate with professional mechanics, shop owners, and diagnostic specialists to deliver practical, workshop-ready guidance you can trust.


Follow us on social media