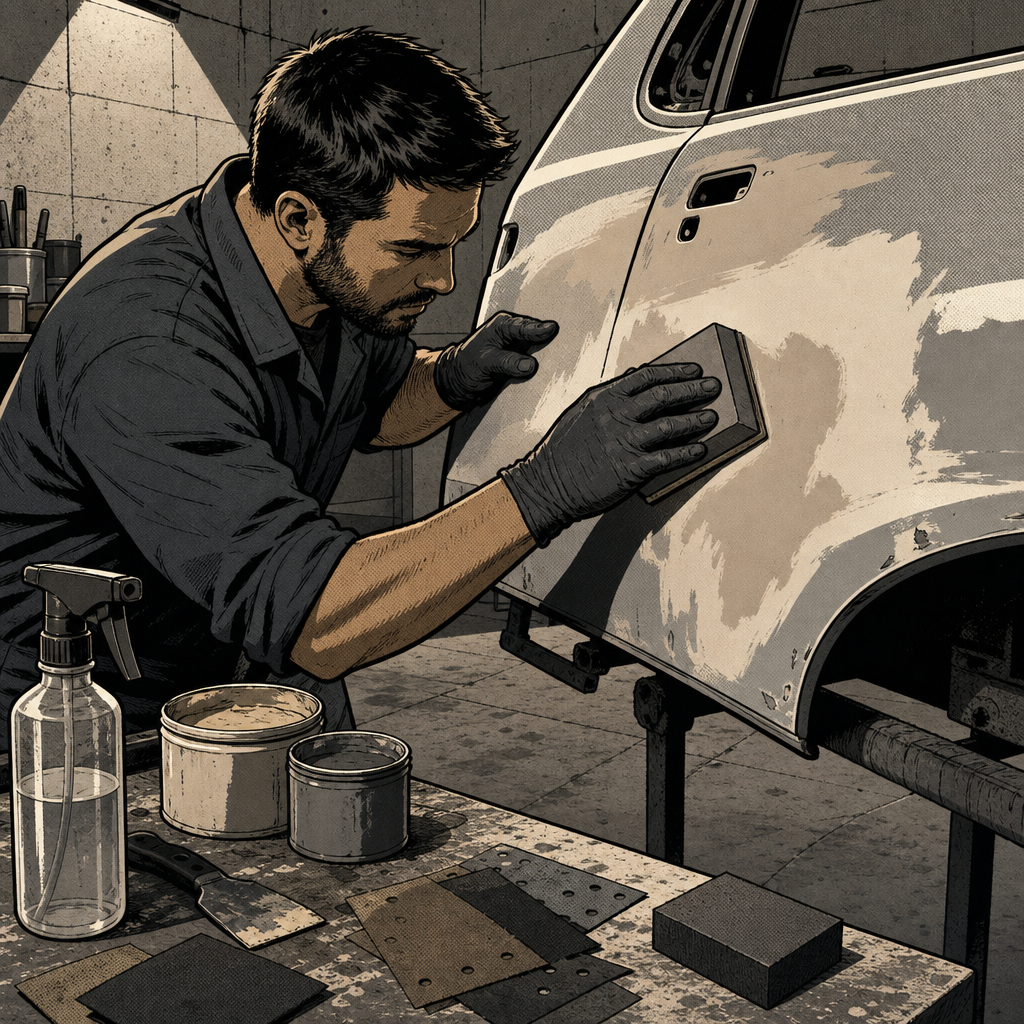
Every few months a driveway body repair makes the rounds online and technicians are surprised by how good it looks. That’s not luck. The techs who do this well aren’t skipping steps—they’re just spending the time on prep and blend technique that a rushed shop bay sometimes won’t. Below is a practical, technician-oriented breakdown of how to pull a dent, fill it correctly, and blend paint so the repair holds up for years instead of peeling in 24 months like some dealership jobs do.
Why Prep Beats Equipment Every Time
One of the most consistent points from experienced body techs is that a $175 driveway repair with careful prep will outlast a $3,000-4,000 shop repair done by someone rushing through the job. The materials themselves aren’t exotic—2K primer, clear coat, and even a two-stage rattle can color coat can produce a durable, well-matched finish if the surface prep underneath is done correctly. Conversely, expensive spray equipment and a full booth won’t save a repair if the technician doing it is cutting corners on sanding, degreasing, or featheredging.
The lesson for anyone attempting this at home: budget your time disproportionately toward prep, not paint. Most failed repairs—professional or DIY—fail because of what happened (or didn’t happen) before color went on, not because of the paint product itself.
Pulling the Dent: Skip the Stud Welder
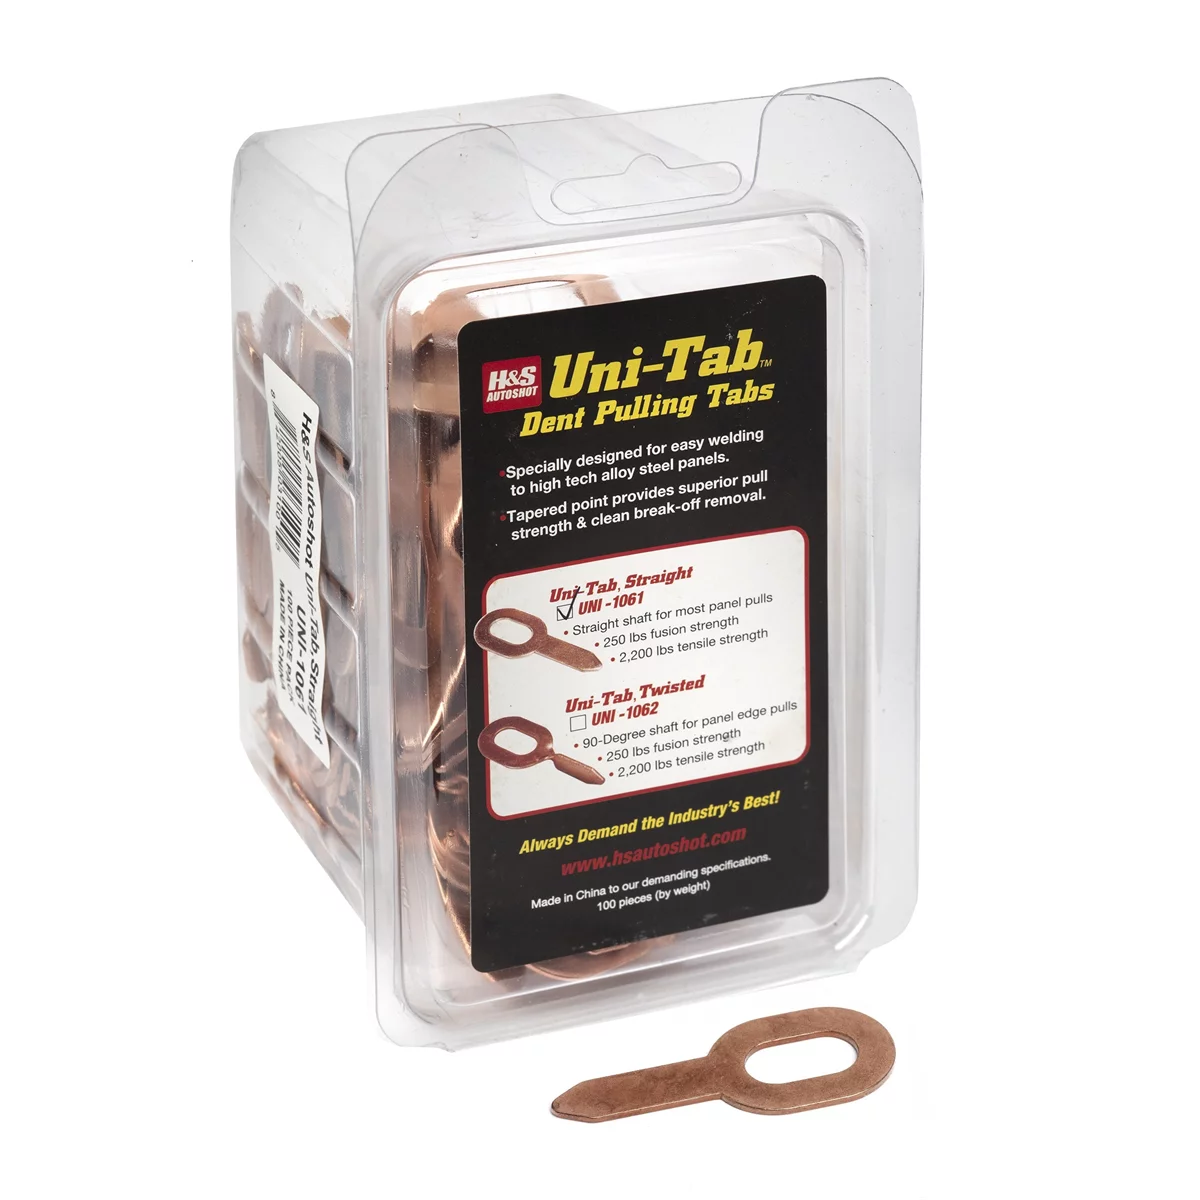
A common shortcut is using a stud welder to pull dents—welding small studs to the bare metal, pulling with a slide hammer, then grinding the studs off. It works, but it leaves behind small heat-affected spots where the weld penetrated the metal. Those spots are prone to corrosion starting underneath the filler. Over time, rust forms at the stud points, expands, and pushes on the filler from below. That’s a frequent cause of filler cracking or popping off a panel in one piece months or years after a repair looked perfect.
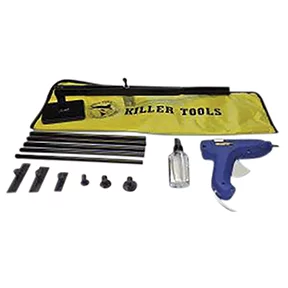
The safer alternative favored by paintless dent repair (PDR) technicians is a glue-pull system: PDR glue tabs (aftermarket “super tabs” are a common choice), hot glue sticks, and a basic glue gun. You glue a tab to the low spot, pull with a slide hammer or mini lifter, then remove the tab with a release agent instead of grinding or welding. No heat, no bare-metal hot spots, no future corrosion problem hiding under your filler.
Product search: PDR glue pull dent repair kit with glue tabs and slide hammer
If a slide hammer stud welder is genuinely the right tool for the job (deep creases, inaccessible backside), budget-friendly units are widely available and get the job done—just be aware of the tradeoff and prioritize thorough grinding and clean bare metal at each stud point before moving to filler.

Filler, Glaze, and the Epoxy Primer Question
Once the metal is pulled as close to true as possible, body filler (bondo) closes the remaining low spots. A widely used, affordable option is 3M-branded filler available at general retailers or auto parts stores. Apply it in thin coats, let it cure fully, then block-sand to shape rather than trying to fill deep in one pass—thick single applications are more prone to shrinking and cracking.
After the filler is shaped, a skim coat of glaze fills pinholes and fine scratches before primer. This step is what separates a smooth, wave-free panel from one that shows imperfections once color and clear go on.
On the question of epoxy primer: applying epoxy primer directly to bare, freshly sanded metal before filler is the more corrosion-resistant approach, and it’s standard practice at restoration shops working on collector cars. Most general repair shops skip it in favor of going straight to filler over bare metal, and it usually still holds up fine short-to-medium term. If you have the time and materials on hand, epoxy-priming bare metal before filler is cheap insurance against future rust, especially in rust-prone climates or on panels that see a lot of road spray.
Blending Paint So the Repair Disappears
A repair can have perfect shape and still look wrong if the paint transition is visible. The technique that consistently produces invisible blends:
- Scuff the surrounding factory clear coat with a fine grit (around 1200) or a gray scuff pad, working outward from the repair area in a fading pattern rather than a hard edge.
- Use a dedicated blending/reducer solvent (“spot blender”) in the clear coat transition zone so the new clear melts into the old rather than sitting on top of a visible line.
- When masking, avoid taping a hard edge directly on painted surface where color will be sprayed. Either leave the tape edge off the panel entirely and control overspray with technique, or roll the tape back slightly at the point paint will land so there’s no defined ridge to sand out later.
- Practice the blend technique on a scrap panel or hidden test piece first if this is your first time—the difference between a good and bad blend is almost entirely muscle memory and material feel, not a formula you can just read.
If the finished repair still shows some orange peel texture compared to the surrounding panel, wet sanding with a fine grit followed by machine polishing typically levels it out and restores gloss to match.
Rattle Can vs. Spray Gun 2K Systems
A two-stage rattle can system (aerosol basecoat color plus aerosol 2K clear) has gotten dramatically better in recent years and is a legitimate option for small panel and spot repairs, particularly for less experienced techs who don’t have access to a spray gun and compressor setup. The keys to making rattle can results competitive with a gun are the same prep steps above, plus patience with flash times between coats and clear coat cure time before wet sanding or polishing.
A gun-and-compressor setup gives more control over film build and reduces the risk of runs, and it’s the better choice for larger panels or when color-matching more complex modern finishes (pearls, tri-coats). For a single dent repair on a solid color, a quality rattle can system is often sufficient.
Quick Reference Checklist
- Pull the dent with glue tabs/glue gun rather than a stud welder to avoid future corrosion hot spots
- Consider epoxy primer on bare metal before filler, especially in rust-prone areas
- Apply filler in thin layers, block-sand to shape, then skim with glaze
- Scuff surrounding clear with fine grit or a gray pad and fade the sanding outward
- Use a spot blender in the clear coat transition and avoid hard tape edges on paint
- Wet sand and polish to correct orange peel and match surrounding gloss
- Practice blend technique on scrap before working the actual panel
Product search: automotive body repair kit filler primer paint
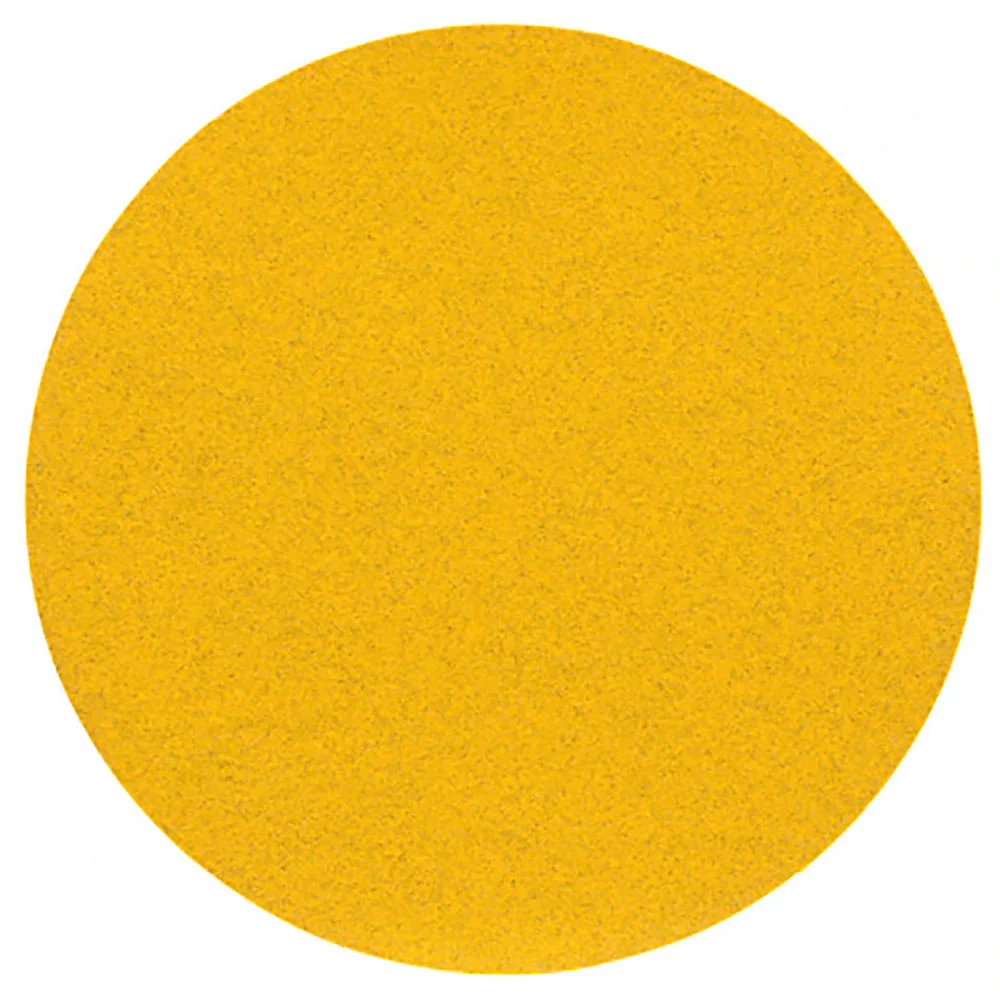
?? Hookit™ Gold Abrasive Disc 09271, 80D, 8 in (203 mm), N
Mfg: 3M Automotive
Part #: 9271
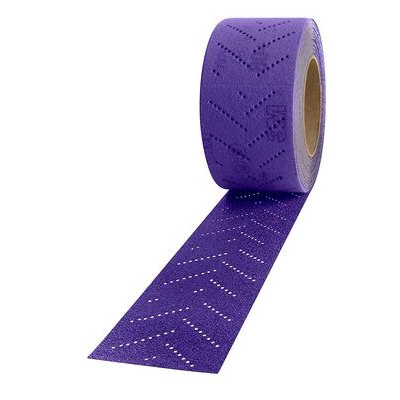
70mm x 12m Cubitron™ II Hookit™ 80+ Grade Clean Sanding Sheet Ro
Mfg: 3M Automotive
Part #: 34442

Frequently Asked Questions
Is a stud welder ever okay to use for dent pulling?
It can work for deep creases where glue pulling isn’t strong enough, but every stud point is a potential future corrosion site. If you use one, grind welds down to clean bare metal and consider epoxy priming before filler to reduce the rust risk.
How much does a basic driveway dent-and-paint repair typically cost in materials?
Simple panel repairs with filler, glaze, primer, and a two-stage rattle can paint system commonly run under $200 in materials when you already own basic tools like a slide hammer and sanding blocks.
Do I need epoxy primer, or is filler straight over bare metal fine?
Filler directly over properly sanded bare metal is common practice and usually holds up. Epoxy primer first adds corrosion resistance and is worth the extra step if you have the time, especially in humid or salt-exposed regions.
Why does my blend show a visible line even after painting?
A visible ring usually means the clear coat transition wasn’t faded with a spot blender, or the tape line was placed directly on a paint edge instead of rolled back or left open. Wet sanding and polishing can sometimes soften a mild line after the fact.
Can rattle can paint really match a body shop finish?
Modern 2K aerosol basecoat and clearcoat systems can produce durable, glossy results comparable to a spray gun on solid colors, provided prep, coat timing, and cure times are followed carefully. Complex finishes like pearls or tri-coats are harder to match with aerosols.
What’s the biggest mistake first-timers make on a repair like this?
Rushing the prep stages—inadequate sanding, skipping the glaze skim coat, or taping a hard edge for the blend—rather than problems with the filler or paint products themselves.
Recommended Paint & Body Products
The filler, primer, paint, and sanding supplies detailed in this guide are core tools for any dent repair. Browse our Paint & Body selection to find the exact materials covered here and more.
- Body filler, glaze coat, and primer products for the prep stages
- 2K aerosol and spray-gun paint systems for basecoat and clear coat application
- Sanding supplies, scuff pads, and blending materials for finishing work

The Toolsource Technical Team blends decades of real-world automotive service experience with up-to-date technical research. Our writers collaborate with professional mechanics, shop owners, and diagnostic specialists to deliver practical, workshop-ready guidance you can trust.


Follow us on social media