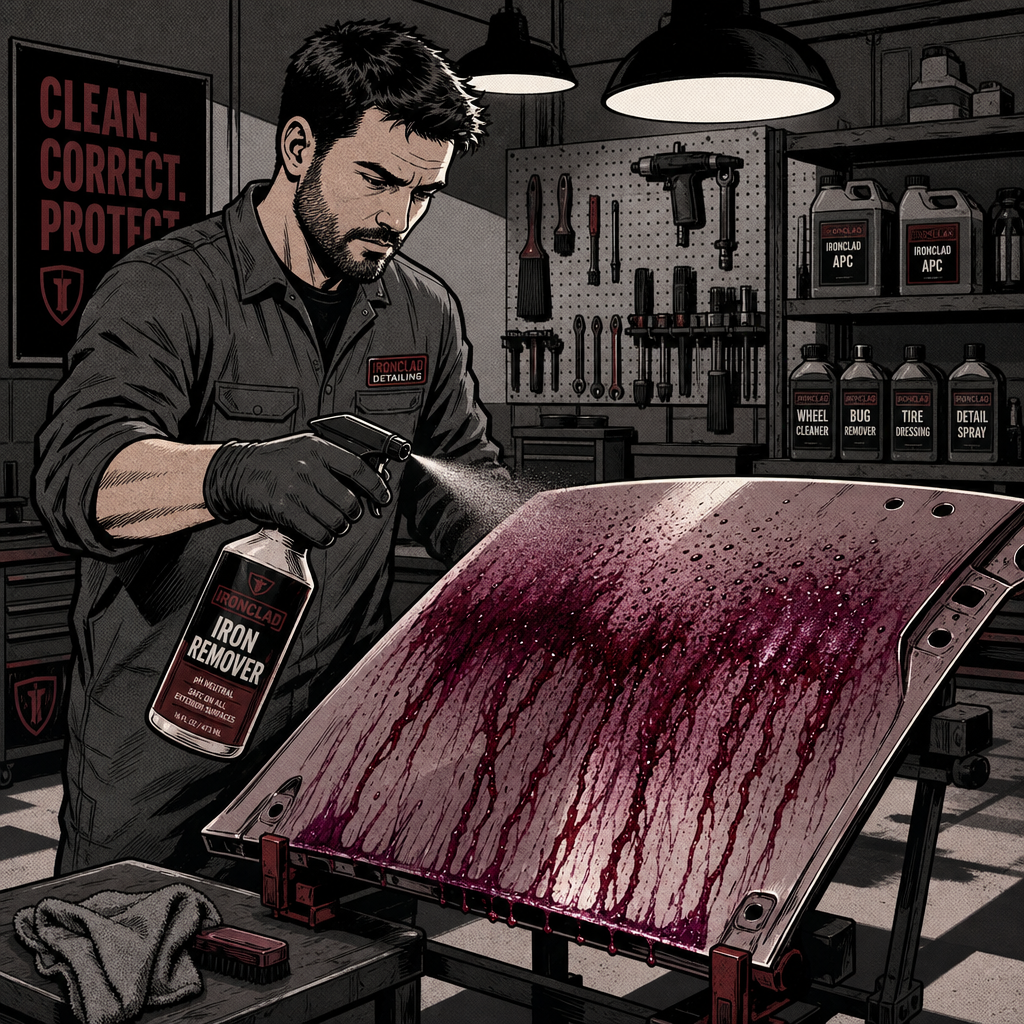
Any technician who has sprayed an iron remover on a customer’s vehicle and watched it bleed purple, red, or orange knows the reaction gets attention — but it’s also one of the most useful diagnostic tools in a detailing bay. That color change isn’t cosmetic damage; it’s a sign that ferrous metal particles embedded in the clear coat are being chemically dissolved. Understanding why this happens, how to apply the product correctly, and what to do afterward separates a proper decontamination job from a wasted bottle of chemical and an unhappy comeback customer.
Why Paint Turns Purple: Understanding the Iron Reaction
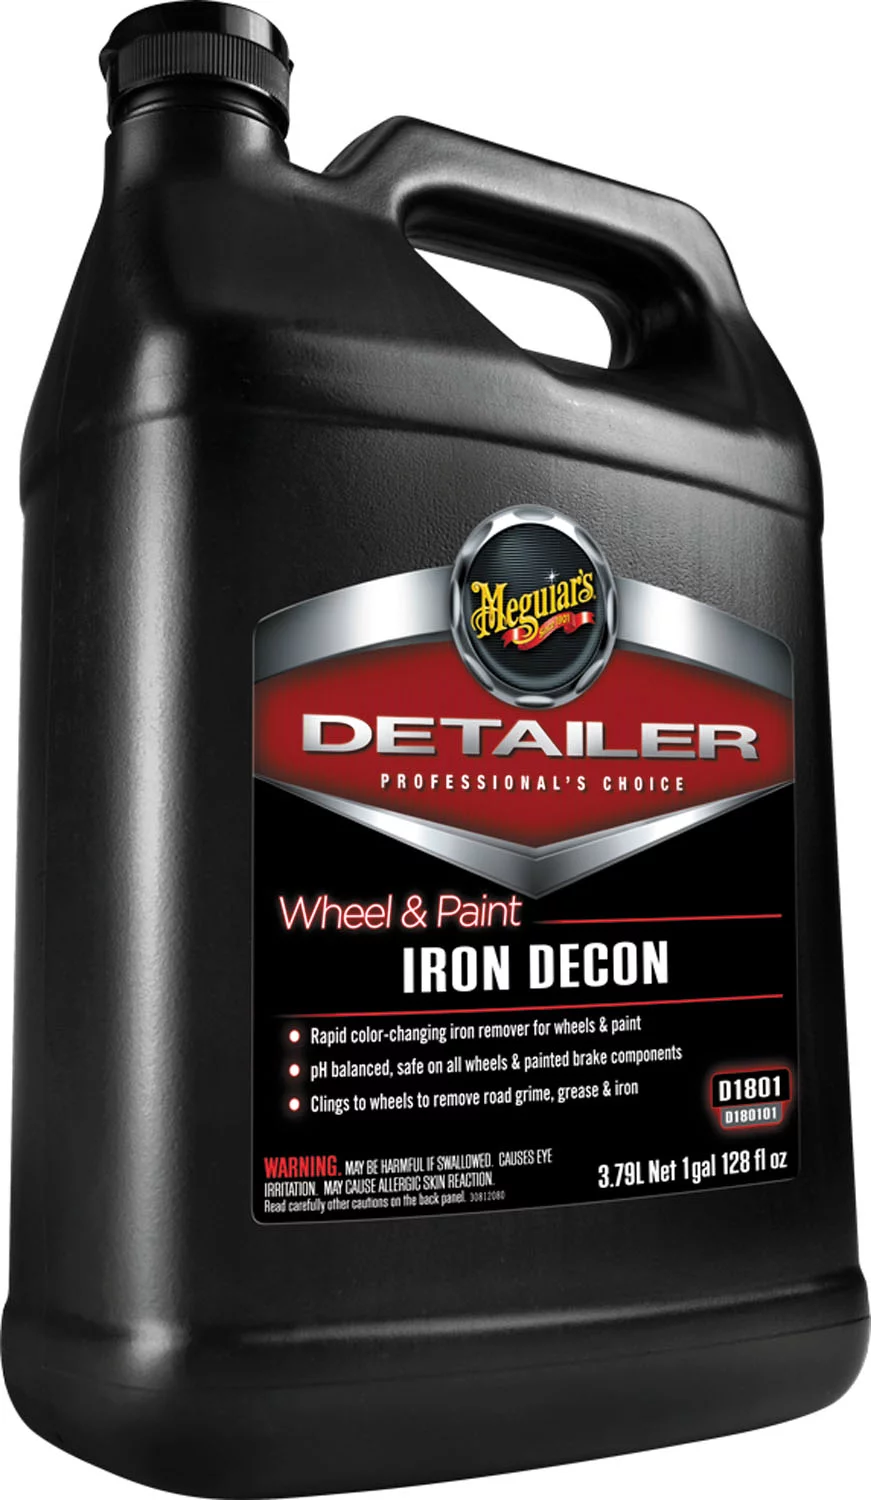
Iron fallout comes from brake dust, rail dust, industrial fallout, and airborne metal particulate that lands on paint and, over time, oxidizes and bonds into the clear coat. It’s not sitting on top of the surface the way dirt does — it’s mechanically embedded, which is why washing or even pressure washing won’t touch it. Iron remover products use a thiol- or ammonium-based chemistry (usually with a distinct sulfur smell) that reacts with the ferrous particles and converts them into a soluble compound, visible as a red, purple, or orange bleeding effect as the reaction happens.
The intensity of that reaction is a rough visual indicator of contamination level, not an exact measurement — a heavily contaminated panel will bleed dramatically, while a well-maintained daily driver may show almost nothing. It’s also worth noting the effect is far more visible on light-colored or dark solid paint than on already-red or orange vehicles, where the color bleed blends in. Set customer expectations accordingly so they’re not alarmed by what looks like the car is “bleeding.”
Pre-Wash and Surface Prep Before Decontamination
Never apply iron remover to a dirty vehicle. Loose dirt, road grime, and surface debris will interfere with the chemical reaction and can also introduce marring when you agitate or wipe the panel. Run a full two-bucket wash (or touchless pre-rinse plus contact wash) and dry the vehicle, or at minimum do a thorough rinse, before starting decon work. Confirm the panel is cool to the touch and out of direct sun — like most detailing chemicals, iron removers flash-dry and lose effectiveness on hot paint, and rapid evaporation increases the risk of streaking or spotting.
A quick fingertip or plastic-baggie test over the paint before you begin is useful for gauging contamination severity: heavy roughness under the baggie means you’re dealing with bonded contaminants that iron remover alone likely won’t fully clear, and clay or a clay-alternative pad will be mandatory afterward, not optional.
Applying Iron Remover: Technique and Dwell Time
Work one panel at a time in the shade. Spray a light, even coat — oversaturating doesn’t improve results and wastes product. Let it dwell per the manufacturer’s instructions, typically 3–5 minutes, and never let it dry on the surface; if it starts to flash dry, mist it lightly with water to reactivate it rather than letting it sit and potentially stain trim, plastic, or chrome.
There’s ongoing debate among detailers about agitating iron remover during dwell time with a soft microfiber or dedicated iron-remover mitt. Light agitation can help the chemical reach contamination in tight spots and reduces the clay workload afterward, but aggressive scrubbing risks marring, especially on soft clear coats. A light, low-pressure pass with a clean, dedicated microfiber towel partway through the dwell time is a reasonable middle ground. Always rinse thoroughly with a pressure washer or hose before the product dries, working from the top down.
Watch trim, badges, and any raw or polished metal — iron removers can discolor unclearcoated aluminum, chrome, and some plastics. Mask or avoid these areas, and rinse promptly if overspray lands on them.
Clay Bar Follow-Up: Removing Bonded Contaminants
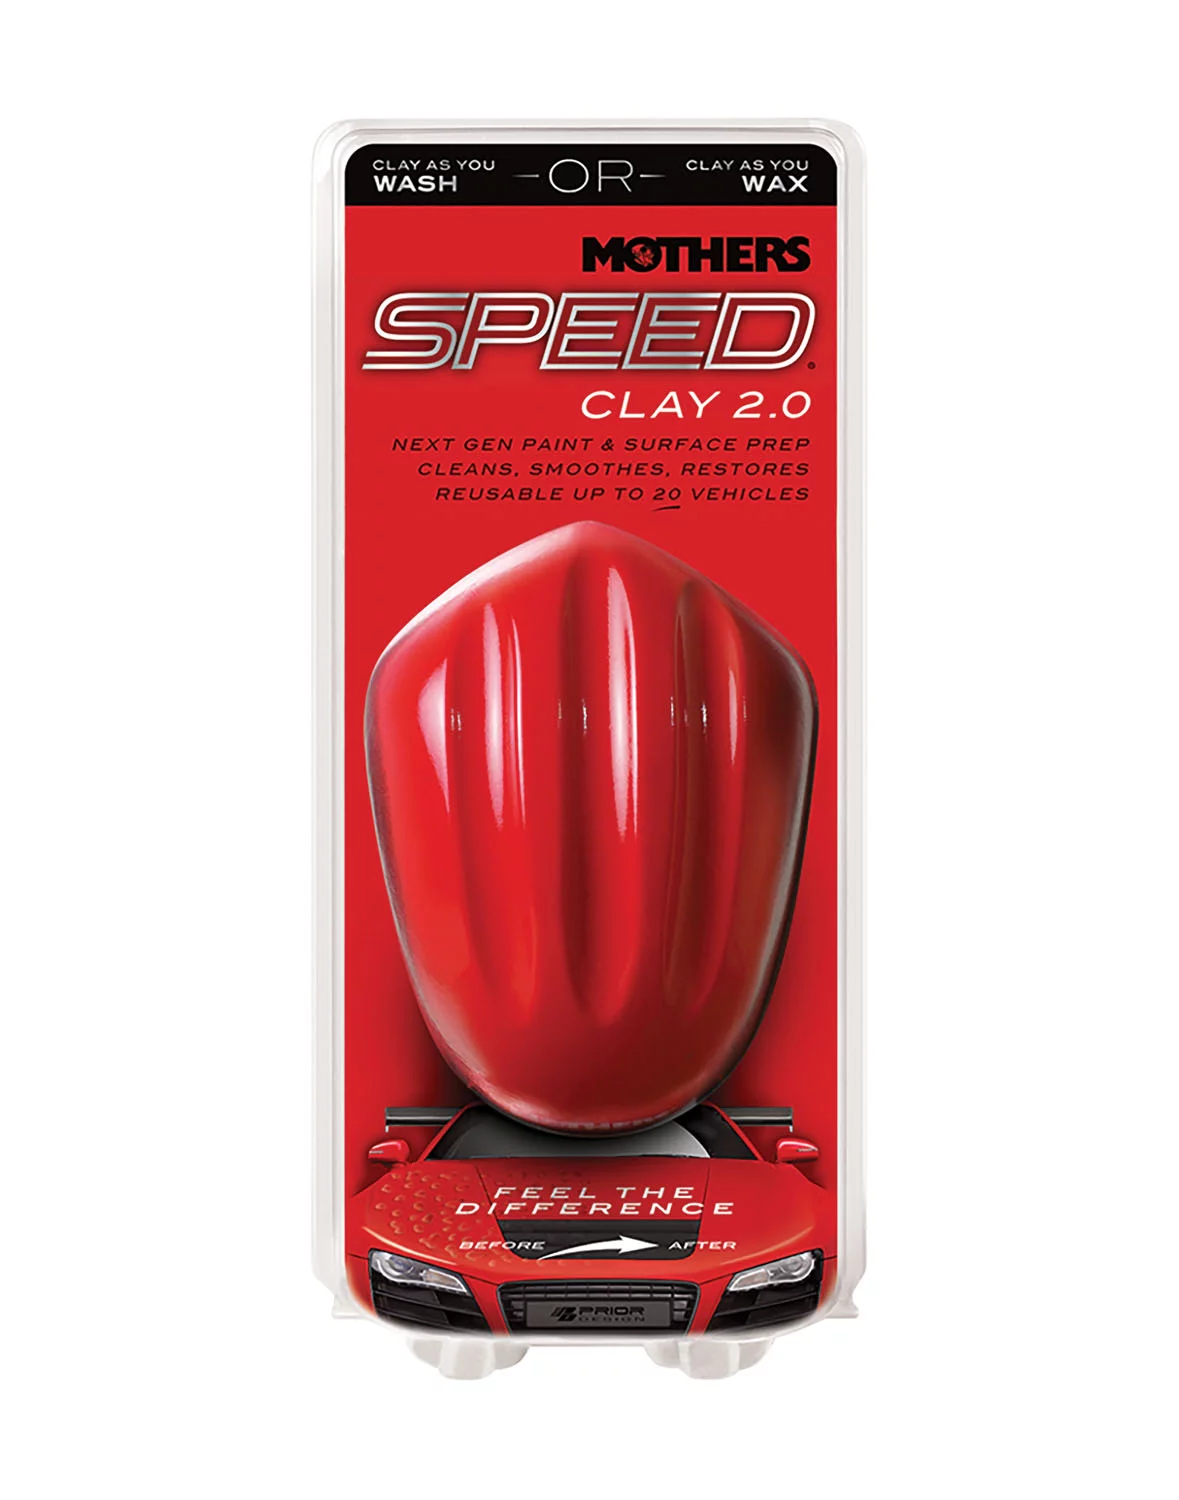
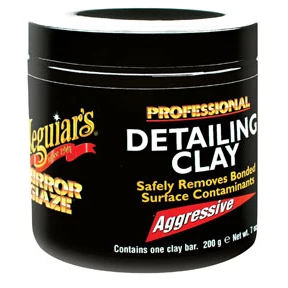
Iron remover chemically breaks down ferrous contamination, but it doesn’t remove everything bonded to the surface — tree sap, overspray, industrial fallout that isn’t iron-based, and mineral deposits typically still need mechanical removal. This is where claying comes in. After the iron remover has been rinsed off and the panel is clean and lubricated with a dedicated clay lube (never dry), work a fine or medium-grade clay bar or synthetic clay mitt in straight, overlapping lines with light pressure, folding the clay frequently to expose a clean face and prevent redepositing debris into the paint.
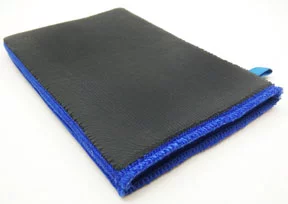
Clay mitts and towels have become popular alternatives to traditional bars because they’re faster to cover large panels and less prone to being dropped and contaminated with grit, though bars generally offer finer control on tight areas like around emblems and mirrors. Whichever you use, rinse the panel and wipe it dry immediately after claying, then run your hand or a baggie over the surface again to confirm it’s glass-smooth before moving to polishing or protection steps.
Post-Decon Protection: Sealants, Wax, and Ceramic Coatings
Decontaminated paint is bare and more chemically reactive than paint with an existing protective layer, so don’t leave it unprotected longer than necessary. If the vehicle isn’t going straight into paint correction or coating installation, apply at minimum a spray sealant or carnauba wax the same day. For vehicles heading into ceramic coating, iron decon combined with claying is a mandatory prep step — any residual iron or bonded contamination trapped under a coating will show through and can’t be corrected without stripping the coating and starting over.
If the contamination level was severe (a full bottle of remover for one vehicle, heavy bleeding across every panel), plan on a second decon pass before coating work, and consider recommending the customer address the contamination source — parking near rail lines, industrial areas, or not rinsing brake dust regularly — to extend the interval before it needs doing again.
Quick Reference Checklist
- Wash and dry the vehicle fully before applying iron remover
- Work in the shade on a cool panel, one section at a time
- Apply a light, even coat — don’t oversaturate
- Respect dwell time (3–5 min); mist with water if it starts to dry, never let it flash-dry
- Rinse thoroughly before moving to the next panel
- Mask or avoid raw metal, chrome, and unclearcoated trim
- Follow with clay bar/mitt using proper lubricant to remove remaining bonded contaminants
- Apply protection (sealant, wax, or coating) promptly on bare, decontaminated paint
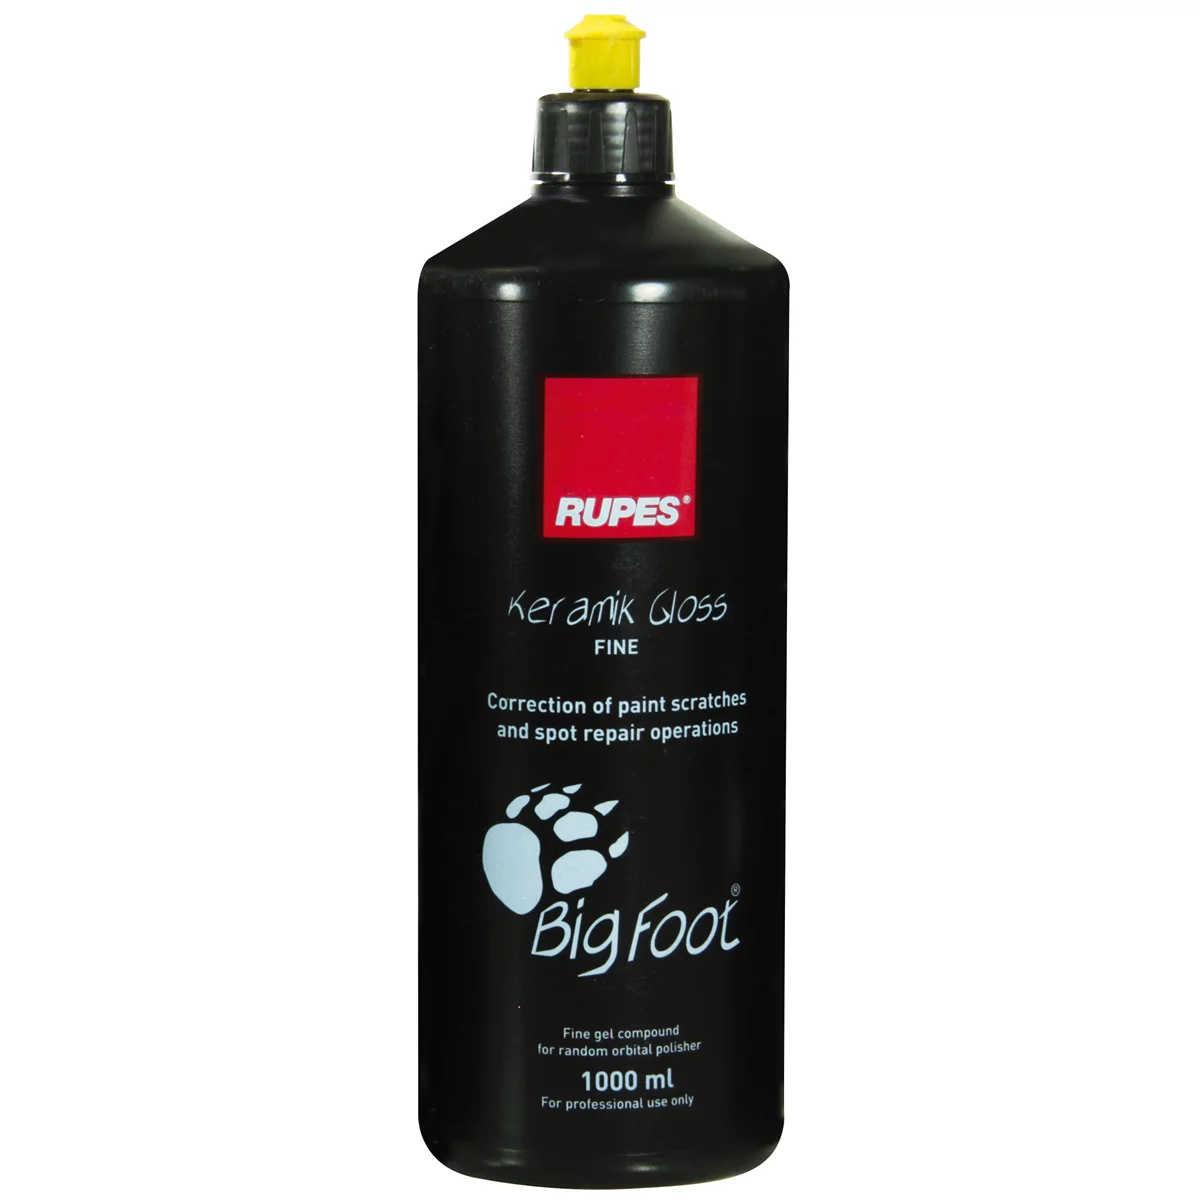
Fine compound/1 carton of eight 1000 ml bottles
Mfg: Rupes Tools
Part #: 9.BFKERAMIK1000-8
Frequently Asked Questions
Is the purple or red bleeding effect harmful to my paint?
No. The color change is the chemical reaction dissolving iron particles, not damage to the clear coat. It’s a normal and expected sign the product is working, though the intensity varies by brand and dilution.
Why didn’t iron remover fully clean my paint by itself?
Iron remover only targets ferrous (iron-based) contamination. Tree sap, tar, mineral deposits, and other bonded debris require mechanical removal with a clay bar or clay mitt afterward — the two steps are complementary, not interchangeable.
How often should a vehicle get iron decontamination?
For daily drivers in typical conditions, every 6–12 months alongside a seasonal detail is reasonable. Vehicles regularly parked near rail lines, industrial sites, or in heavy brake-dust environments may need it every 3–4 months.
Can I use iron remover on wheels too?
Yes — wheels are often the heaviest contaminated area due to brake dust proximity. Many iron removers are formulated for both paint and wheels, but check the product label, as some wheel-specific formulas are more aggressive and not paint-safe.
Is it safe to agitate the panel while the iron remover is working?
Light agitation with a soft, dedicated microfiber can help but isn’t required by most manufacturers. If you agitate, use minimal pressure and a clean towel to avoid introducing marring, especially on soft or single-stage paint.
Do I need iron decon before a ceramic coating installation?
Yes. Any bonded contamination left under a ceramic coating becomes permanent until the coating is stripped and redone. Iron decon plus claying is considered a mandatory, non-negotiable prep step before coating work.
Shop Paint Decontamination Products
Proper iron fallout removal and clay bar prep require the right chemical and mechanical tools. Our Paint & Body category stocks iron removers, clay bars and mitts, clay lubricants, and protection products to complete a full decontamination workflow.
- Iron remover sprays for dissolving ferrous metal contamination
- Clay bars, clay mitts, and synthetic clay pads for bonded contaminant removal
- Clay lubricants, sealants, waxes, and ceramic coating products for protection

The Toolsource Technical Team blends decades of real-world automotive service experience with up-to-date technical research. Our writers collaborate with professional mechanics, shop owners, and diagnostic specialists to deliver practical, workshop-ready guidance you can trust.


Follow us on social media