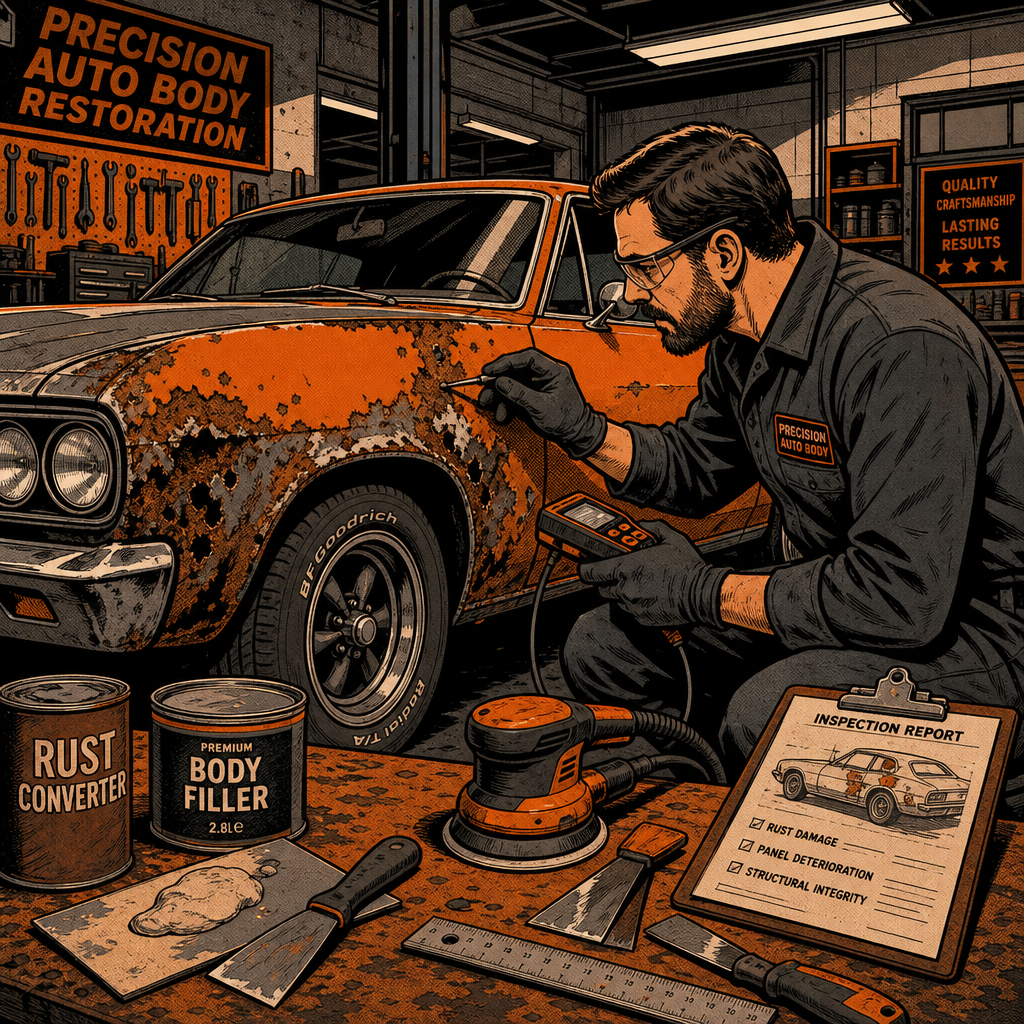
Rust repair and body panel restoration separate professional technicians from weekend warriors. The difference isn’t just cosmetic—it’s about structural integrity and longevity. Proper rust repair requires completely removing compromised metal, fabricating or sourcing replacement panels, and applying materials in the correct sequence. This guide synthesizes proven shop techniques for repairing rust damage, from initial assessment through final priming, ensuring your repairs hold up for years rather than months.
Assessing Damage and Planning Your Repair Strategy
Before cutting anything, thoroughly assess the extent of rust damage. What looks like surface rust often hides deeper corrosion. Use a pick or screwdriver to probe suspect areas—if the metal feels soft or the tool punches through easily, the rust goes deeper than surface level. Check both sides of the panel when possible, as rust frequently originates from the inside out where moisture gets trapped.
Document the damage with measurements and photos. Determine whether you need to fabricate a patch panel or source a used replacement section from a salvage yard. For common rust-prone vehicles, salvage panels offer a time-saving alternative to fabrication. When fabricating patches, you’ll need sheet metal of appropriate gauge—typically 20-22 gauge for most body panels. Thicker metal resists warping during welding but requires more heat and skill to form.
Plan your cut lines strategically. Cut at least one inch beyond visible rust to ensure you’re working with solid metal. Look for natural body lines or panel seams where you can hide welds. Avoid cutting through structural reinforcements unless absolutely necessary, and if you must, plan how you’ll reinforce or replace them.
Removing Rust and Preparing Metal Surfaces
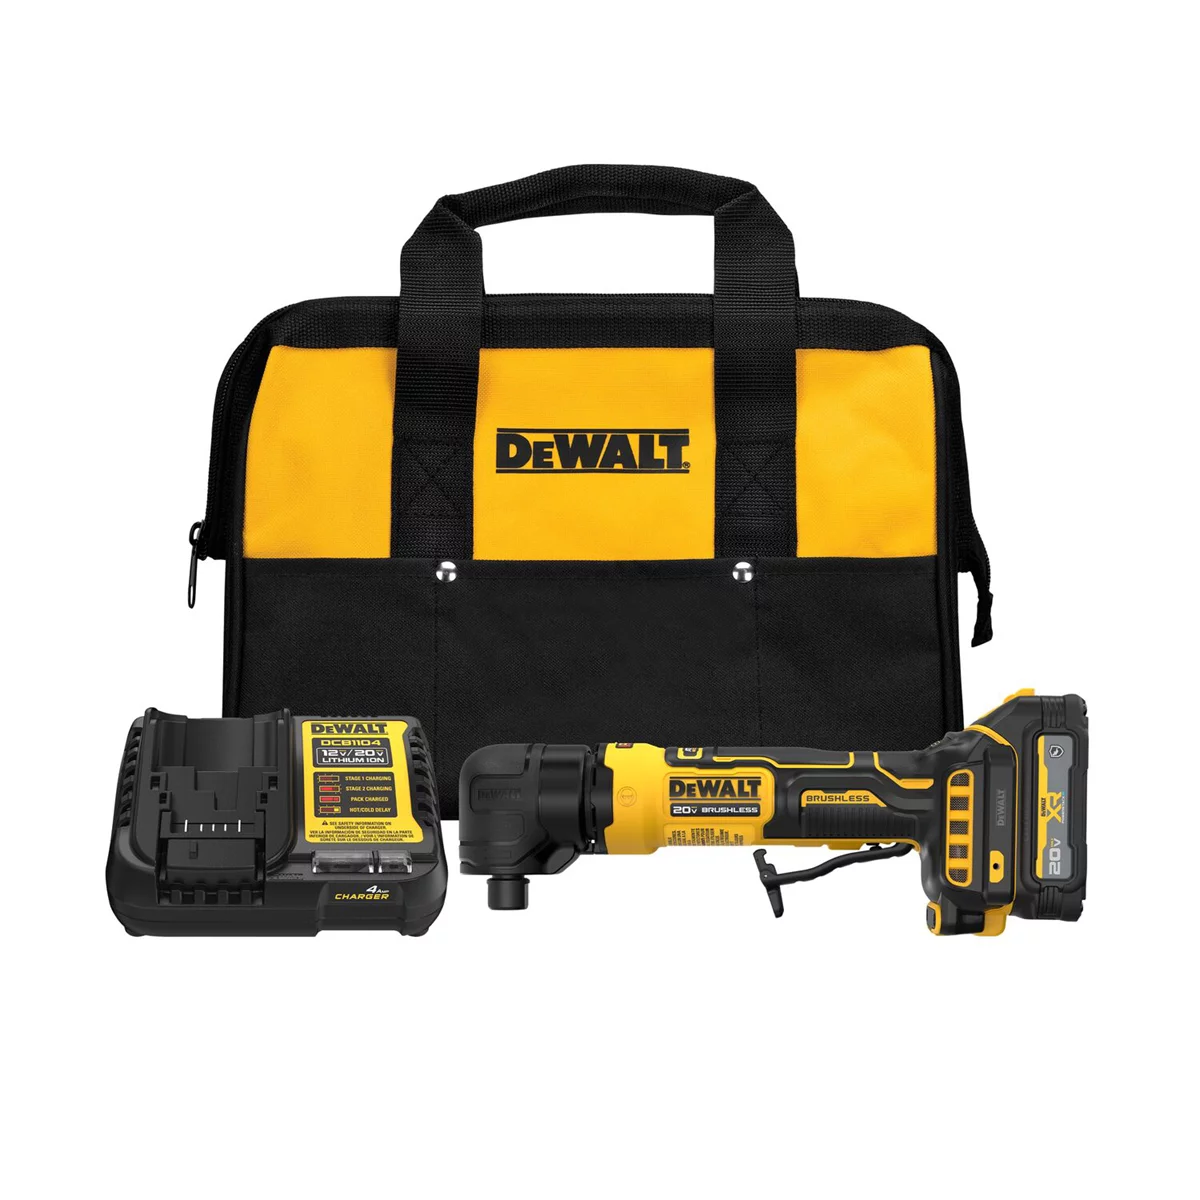

Complete rust removal is non-negotiable for lasting repairs. Cut out rusted sections using an angle grinder with a cutoff wheel, air saw, or plasma cutter depending on access and your equipment. Work carefully around surrounding panels to avoid collateral damage. After removing the obviously compromised metal, grind back to bare metal around the perimeter of the cut, extending at least an inch beyond the cut edge.
Prepare the bare metal surface with 80-grit sandpaper or a DA sander. This creates the mechanical tooth necessary for filler adhesion. The metal should be uniformly scratched with no shiny spots remaining. Clean the area thoroughly with wax and grease remover, then wipe with a tack cloth. Any contamination—oil, wax, old undercoating—will compromise adhesion.
For areas with surface rust but intact metal, consider treating with phosphoric acid before priming. Phosphoric acid converts iron oxide (rust) into iron phosphate, which passivates the steel and provides a more stable base for primers. Apply according to product directions, typically allowing it to work for 30 minutes before neutralizing and rinsing. This step adds insurance against rust returning from microscopic pitting you can’t see.
Fabricating and Welding Patch Panels
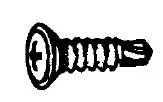

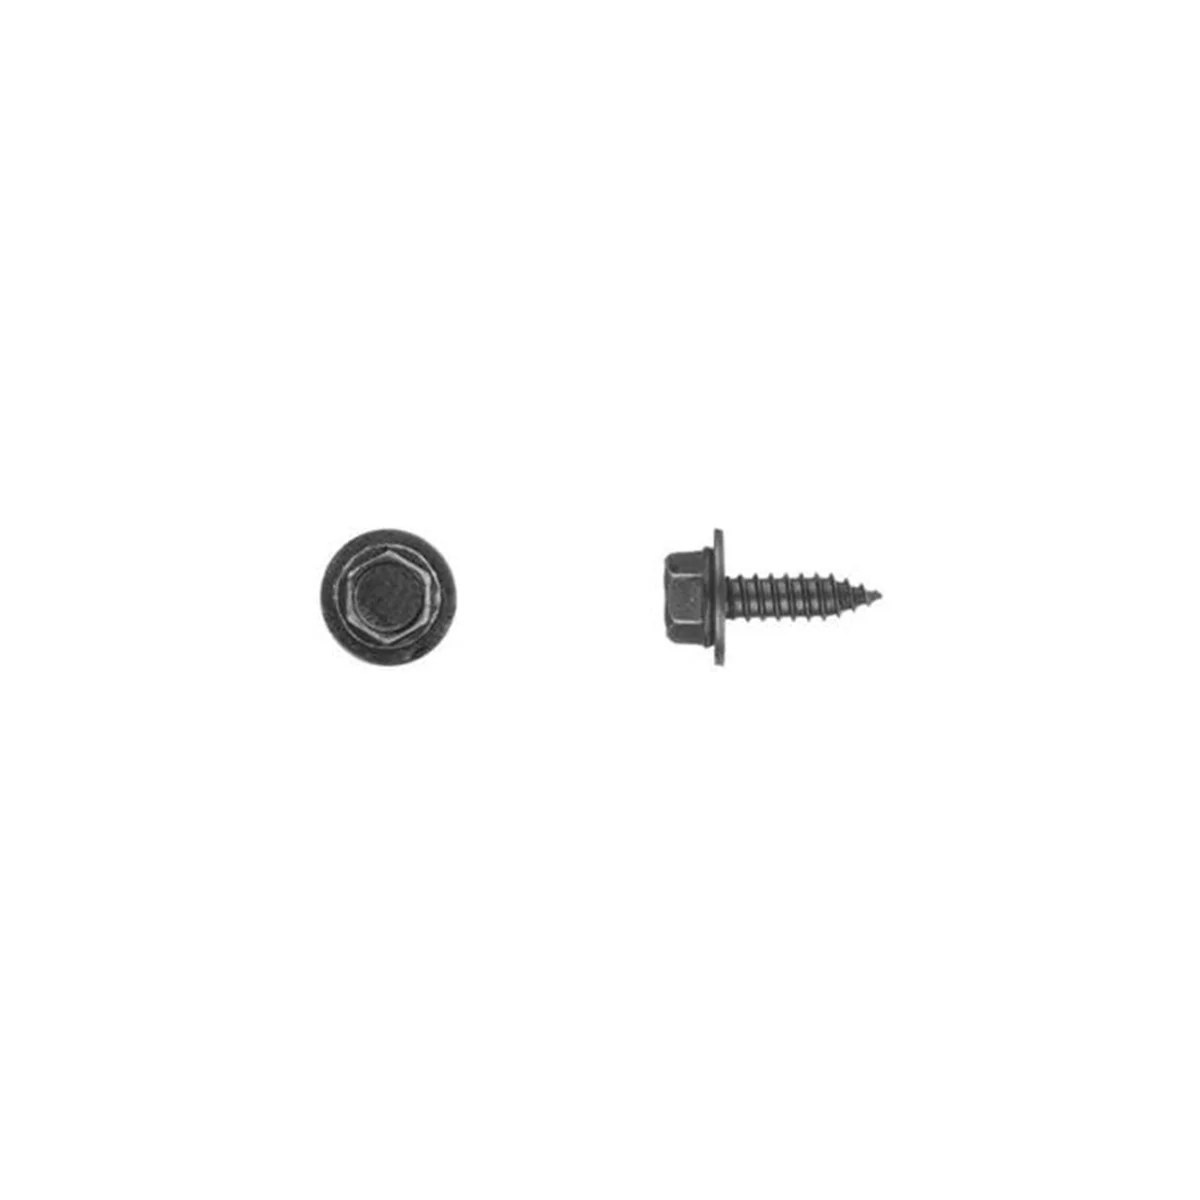
5950PK Hex Head Sems Sheet Metal Screw, M6.3 x 1.81 mm x 20
Mfg: Disco Automotive Hardware
Part #: 5950
Metal fabrication separates adequate repairs from excellent ones. If you’re fabricating patches, start by creating a cardboard template of the area. Transfer this template to your sheet metal and cut slightly oversize—you can trim to final fit during test fitting. For curved sections, use a combination of hammer work and English wheel or dolly to match the body contour. Simple curves can be formed over a tree stump, vice, or sandbag using body hammers.
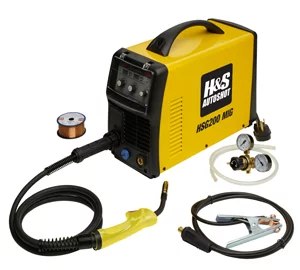
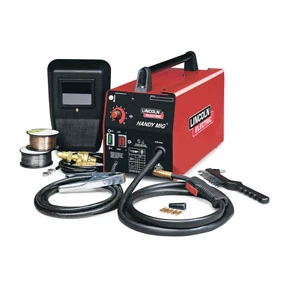
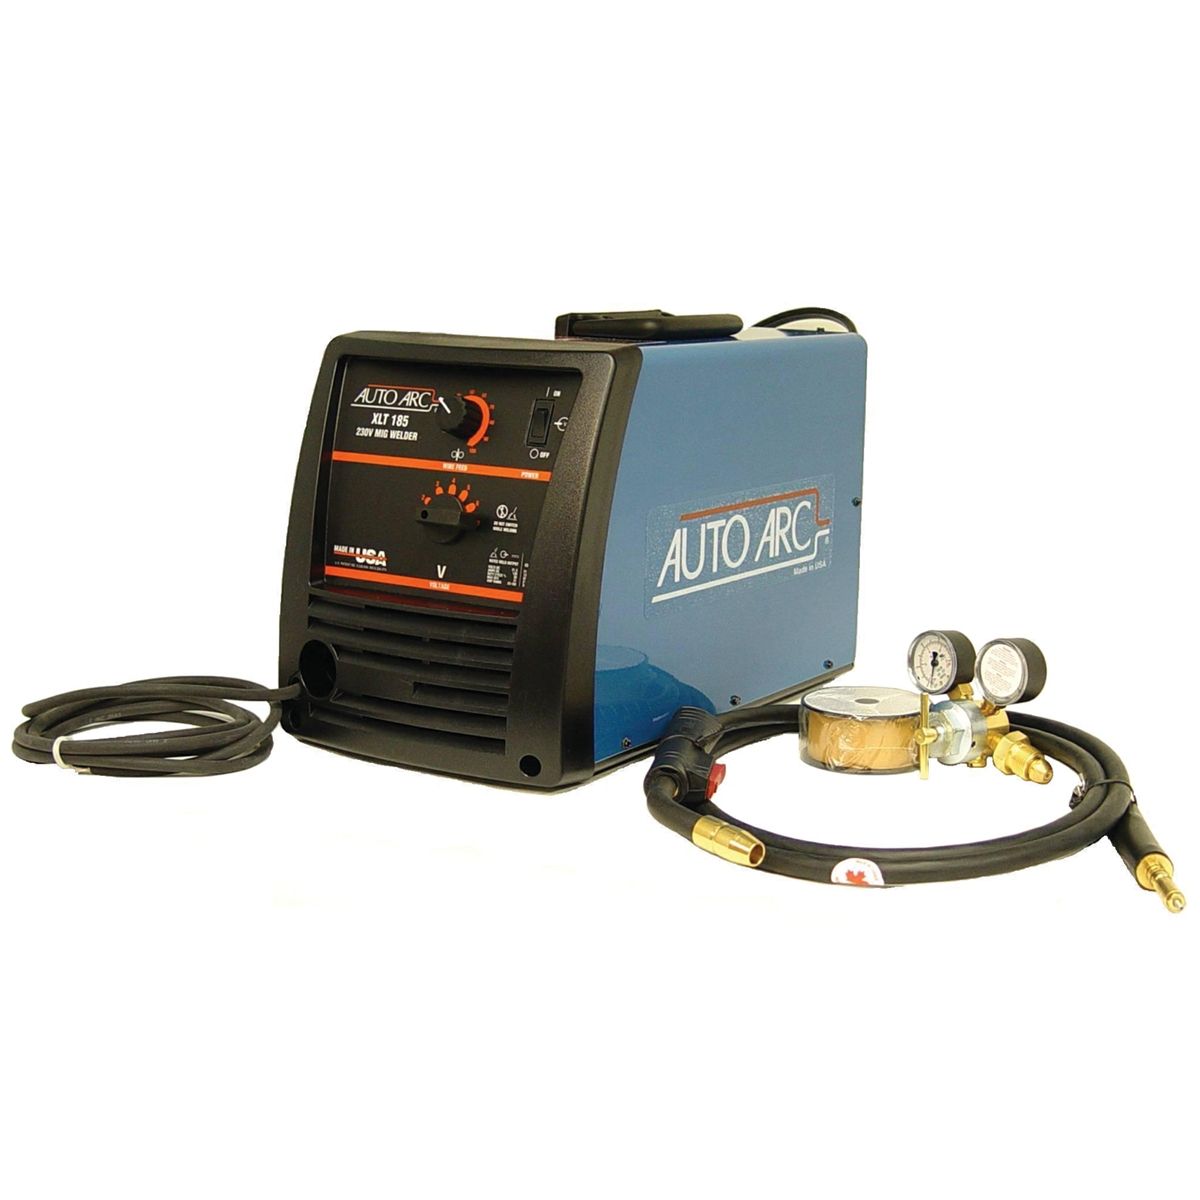
Test fit your patch repeatedly, trimming and adjusting until gaps are minimal and consistent—aim for 1/16 inch or less. Larger gaps require more filler weld, which introduces more heat and distortion risk. Clamp or tape the patch in position for welding. For body panel work, MIG welding offers the best combination of speed and control for most technicians. Use 0.023 or 0.030-inch wire and adjust settings for thin sheet metal—typically 15-17 volts and moderate wire speed.
Weld in short stitch welds rather than continuous beads. Make a 3/4-inch weld, skip 2-3 inches, make another weld, and work around the patch. This distributes heat and minimizes warping. After the first pass cools, fill in the gaps with the same stitch technique. Grind welds flush using 36-grit on an angle grinder, then progress to 80-grit on a DA sander. The goal is a smooth transition you can barely feel with your hand. Critical: inspect for pinholes in the welds. Body filler is not waterproof—any holes allow moisture behind the filler, causing future failure. Some technicians apply a thin layer of fiberglass resin over bare welded metal as additional moisture protection before filler.
Applying Body Filler Correctly
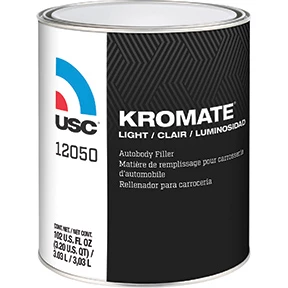
Kromate Light Quality Lightweight Autobody Filler Yellow-Gold Ga
Mfg: US Chemical & Plastics
Part #: 12050
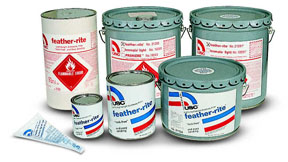
Feather-rite Lightweight Autobody Filler - Qt
Mfg: US Chemical & Plastics
Part #: 21335
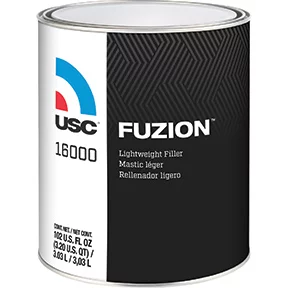
Body filler (polyester filler, often called by the brand name Bondo) goes directly on prepared bare metal—never over primer. The rough 80-grit surface provides mechanical adhesion. Mix filler according to manufacturer specifications, typically a golf-ball-sized amount of filler to a 1-inch ribbon of hardener. Mix thoroughly but quickly; you have limited working time before it kicks off.
Apply filler in thin layers—1/8 to 1/4 inch maximum per coat. Thick applications trap solvents, shrink over time, and are prone to cracking. Use firm pressure to work filler into the metal scratches. Apply slightly proud of the final contour since you’ll be sanding it level. Allow each coat to fully cure (usually 20-30 minutes) before applying additional coats if needed.
Shape filler using long board sanding with 40 or 80-grit paper. Work in overlapping X-patterns to avoid creating grooves. A long board (16 inches minimum) reveals high and low spots that handheld sanding misses. As you approach final contour, switch to finer grits—120, then 180, then 220. Apply guide coat (dry spray of dark contrasting color or black chalk line powder) to identify low spots. Sand until guide coat disappears evenly—remaining guide coat indicates low areas needing more filler.
Feather edges where filler meets original finish using 180-220 grit. The transition should be gradual and undetectable by hand. Any imperfections visible at this stage will telegraph through primer and paint. Take your time with blocking and shaping—this is where the quality of your finish is determined.
Priming for Corrosion Protection and Surface Preparation
Primer selection depends on what you’re covering. For bare metal areas (after welding but before filler), epoxy primer offers superior corrosion protection. Epoxy primers are DTM (direct to metal) products that provide excellent adhesion and seal metal against moisture. Apply epoxy primer in 2-3 medium coats following manufacturer’s specifications for flash times between coats.
Over body filler and epoxy primer, use 2K high-build primer surfacer. These primers are designed to fill minor imperfections and provide a uniform surface for paint. The “2K” designation indicates a two-component product requiring a hardener—these cure through chemical reaction rather than just solvent evaporation, resulting in harder, more durable films that sand better. Apply 2-3 coats of high-build primer, allowing proper flash time between coats.
Contrary to some advice, do not use self-etching primer before body filler—filler won’t adhere properly over etch primer. Etch primers are only for completely bare, virgin metal where you’re not applying filler. In most rust repair scenarios involving filler, you can skip etch primer entirely if using epoxy primer or DTM 2K primer on bare metal areas.
After primer cures (follow product specifications—typically 24 hours for full cure), block sand with 320-grit to level the surface. Apply guide coat again and sand until it disappears evenly. Any remaining imperfections need spot putty, re-priming, and re-blocking. Final sand with 400-600 grit before paint. Break through any primer during sanding requires spot re-priming of that area.
Protecting Interior Surfaces and Preventing Future Rust
Rust repair isn’t complete until you’ve addressed both sides of the panel. After exterior work is finished, access the interior side of your repair if possible. Remove interior panels, carpet, or insulation to expose the backside of your patch. Clean this area thoroughly and treat with cavity wax or corrosion inhibitor. These products creep into seams and coat surfaces with a waxy protective film that displaces moisture.
For areas where you cannot access the interior directly, use wand applicators with aerosol cavity wax. Drill small access holes if necessary—properly placed holes in non-structural areas won’t compromise integrity and can be plugged with rubber grommets or body sealant after treatment. Pay special attention to bottom edges of doors, rocker panels, and fenders where water naturally accumulates.
Apply seam sealer to joints and seams before final painting. Modern seam sealers are brushable or gunnable products that remain flexible and prevent moisture intrusion at panel joints. Match the texture to surrounding factory sealer if the area will be visible. For rocker panels and other undercarriage areas, consider additional undercoating or rubberized coating for stone chip and moisture protection.
Essential Rust Repair Checklist
- Probe all suspect areas to determine full extent of rust damage
- Cut at least 1 inch beyond visible rust into solid metal
- Sand bare metal to 80-grit for filler adhesion—no shiny spots
- Clean with wax and grease remover before any product application
- Weld patches using stitch technique to minimize heat warping
- Inspect welds for pinholes—filler is not waterproof
- Apply body filler in thin layers (1/8 to 1/4 inch maximum)
- Block sand with long board, not just hand sanding
- Use guide coat to identify low spots during blocking
- Apply epoxy or DTM 2K primer over bare metal, not etch primer before filler
- Treat interior surfaces with cavity wax or corrosion inhibitor
- Apply seam sealer to joints before final painting
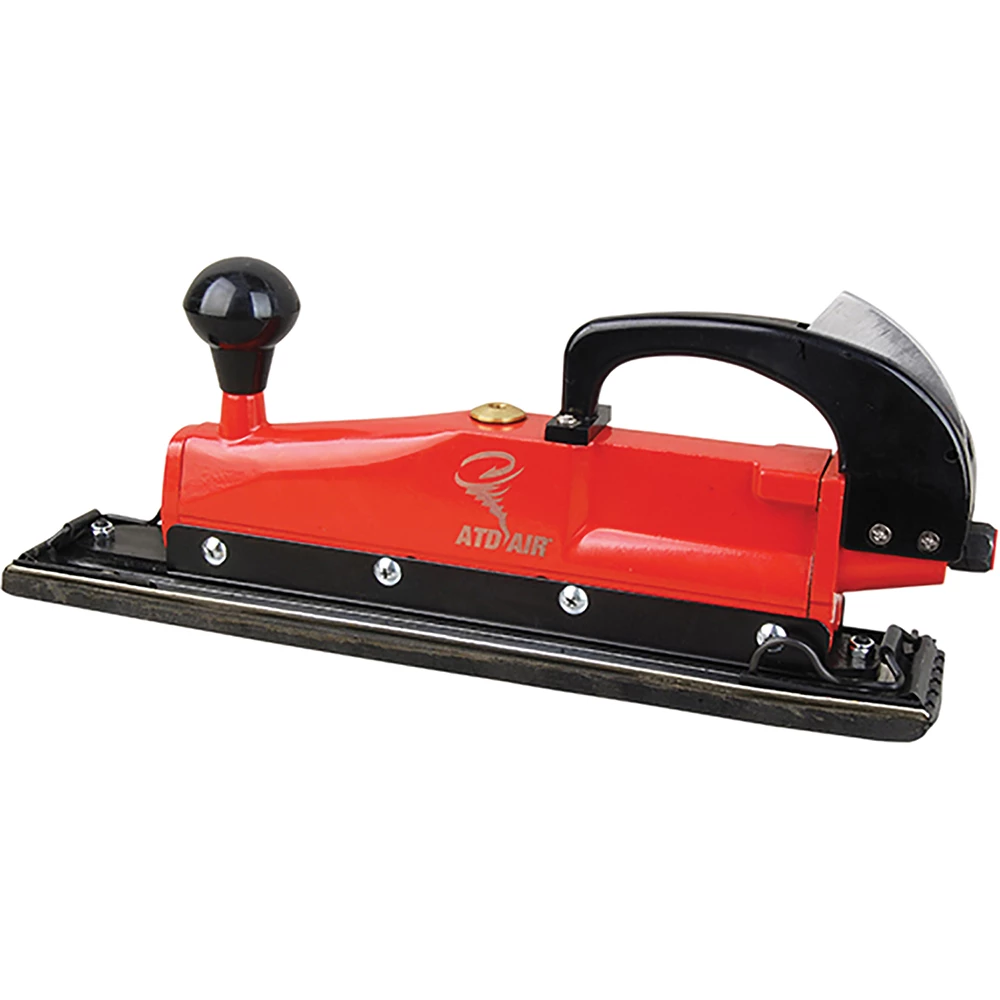
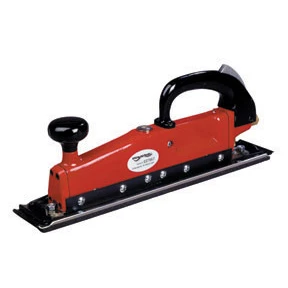
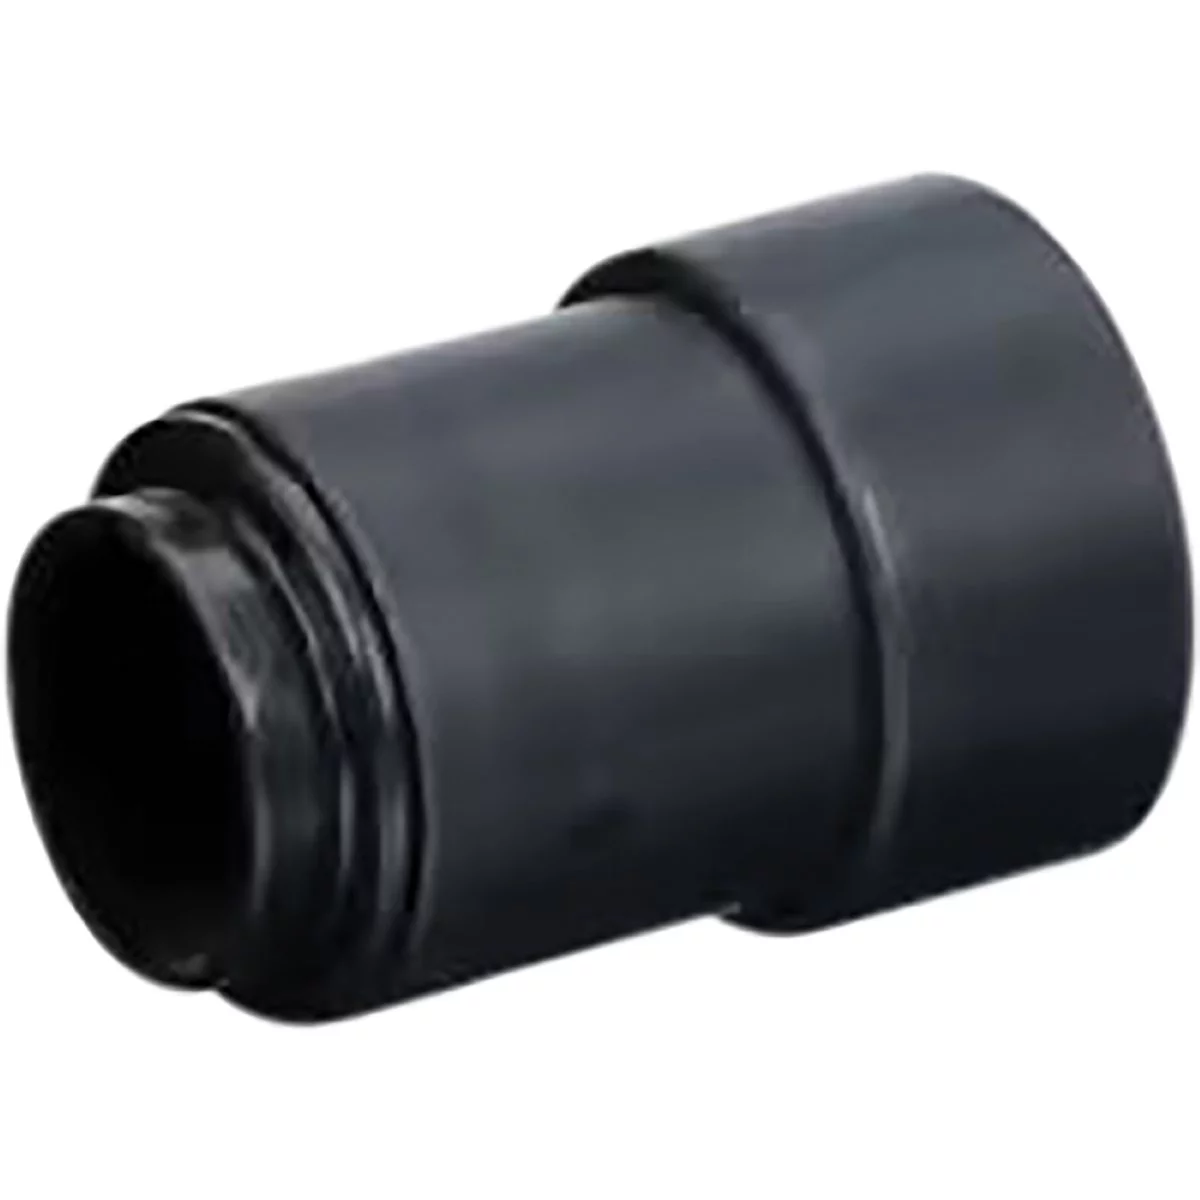
Random Orbital Sander Adaptor for Hose Assembly 33770, 57
Mfg: 3M Automotive
Part #: 33770
ID: 432945
Frequently Asked Questions
Can I apply body filler directly to bare metal?
Yes, body filler should be applied directly to prepared bare metal sanded to 80-grit. Do not apply etch primer or other primers before filler—filler requires the mechanical tooth of sanded metal for proper adhesion. Apply primer only after filler work is complete.
What’s the difference between etch primer, epoxy primer, and 2K primer?
Etch primer is for virgin bare metal and chemically etches the surface for adhesion but offers minimal build and protection. Epoxy primer is a DTM primer providing superior corrosion protection and adhesion for bare metal. 2K high-build primer is applied over filler and epoxy for surface leveling before paint. For most rust repairs with filler, use epoxy or DTM 2K primer on bare metal, skip etch primer entirely.
How do I prevent pinholes in my welds from causing problems?
Inspect welds carefully under good lighting and probe suspect areas. Grind welds smooth and look for any holes or porosity. Any openings must be rewelded and ground smooth—filler alone will not seal pinholes and moisture will eventually penetrate. Some technicians apply a thin coat of fiberglass resin over welded areas as additional moisture barrier before filler.
Why does my body filler keep cracking or shrinking?
Filler applied too thick (over 1/4 inch) traps solvents and shrinks as it cures, causing cracks. Apply multiple thin coats rather than one thick application. Also ensure you’re mixing filler and hardener in correct proportions—too little hardener causes incomplete cure and shrinkage. Environmental factors like applying in cold temperatures can also affect cure.
How much should I feather the edges where filler meets paint?
Feather edges gradually over 2-3 inches using 180-220 grit sandpaper. The transition should be undetectable by running your hand over it. Abrupt edges will show through primer and paint as a visible ring. Take time to properly feather—it’s the difference between professional and amateur results.
Do I really need to treat the inside of the panel?
Yes, if you want lasting results. Rust often starts from inside panels where moisture gets trapped. After exterior repair, accessing and treating the interior with cavity wax or corrosion inhibitor prevents rust from returning. This step is frequently skipped but is critical for repairs that last more than a few years.
Shop Paint & Body Supplies
Proper rust repair and body panel restoration require the right materials and tools. Our Paint & Body category carries everything you need for this work, from sanders and grinding equipment to fillers, primers, and protection products.
- Body fillers, epoxy primers, and high-build primer surfacers
- Sanding materials, long boards, and surface preparation tools
- Cavity wax, seam sealers, and corrosion inhibitors for protection

The Toolsource Technical Team blends decades of real-world automotive service experience with up-to-date technical research. Our writers collaborate with professional mechanics, shop owners, and diagnostic specialists to deliver practical, workshop-ready guidance you can trust.


Follow us on social media