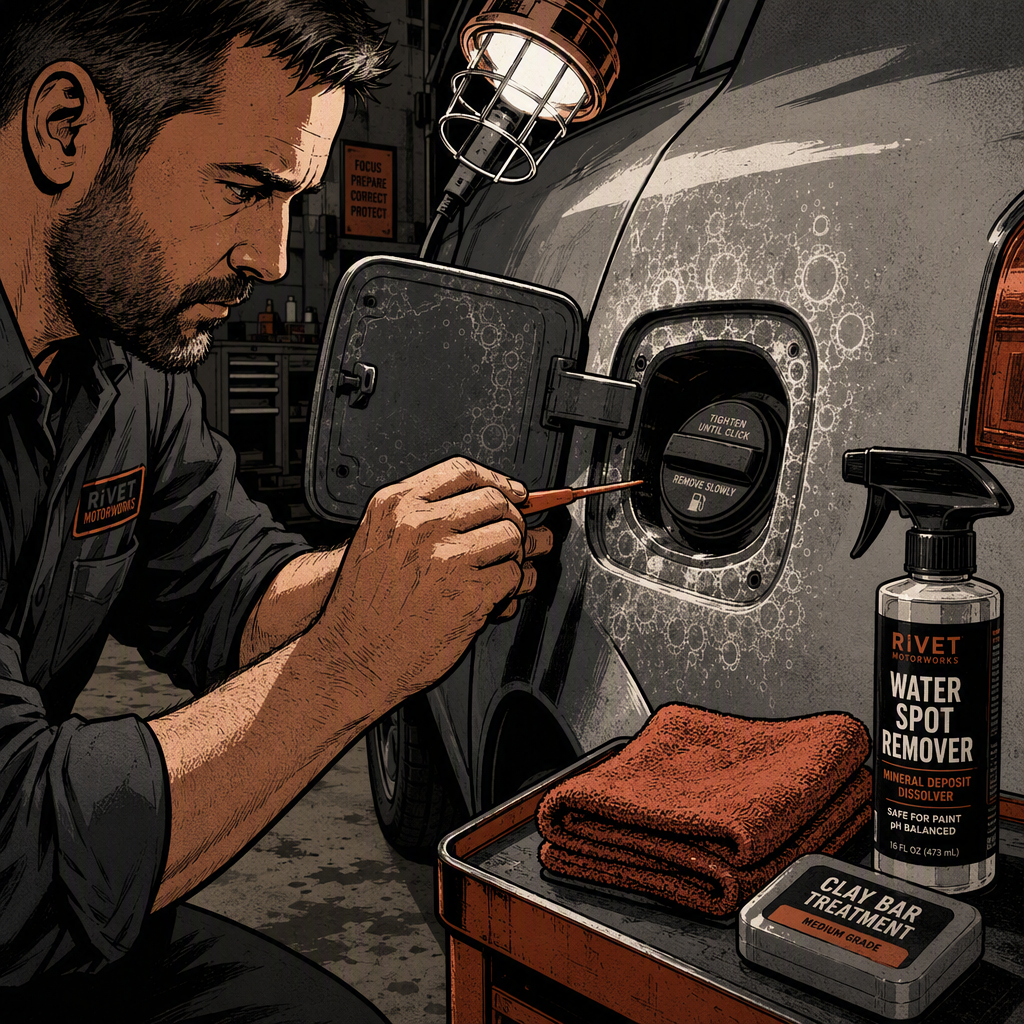
At least once a week, a customer rolls in convinced that spilled gasoline has permanently damaged the paint around their fuel filler door. In almost every case, the real cause is hard water residue, mineral deposits, bird droppings, or environmental fallout — not fuel. Gasoline evaporates too quickly at ambient temperature to leave the kind of chalky, ring-shaped staining techs actually see on these panels. Knowing how to correctly diagnose the contamination before reaching for a buffer saves diagnostic time, prevents unnecessary repaints, and keeps customers from paying for work they don’t need.
Why Gasoline Rarely Causes the Staining Customers Blame It For
Gasoline is a light hydrocarbon solvent. On a factory clearcoat in good condition, splashed fuel flashes off within seconds to a couple of minutes, especially in warm weather or direct sun. It can, in theory, soften or dull single-stage paint or a compromised/aftermarket clearcoat with repeated, prolonged exposure over years — but a single fill-up drip does not etch clear in one event. When a customer points to a ring or streak below the fuel door, look at the pattern first. Gasoline splashed during fueling tends to run in irregular streaks with horizontal drag marks from wind or nozzle motion. A tight, circular, or drip-straight-down pattern with a chalky or crusty texture is a strong signal you’re dealing with something else entirely — most commonly hard water spotting from a leaking garage ceiling, sprinkler overspray, or condensation dripping off a roofline, gutter, or parked equipment above the vehicle.
Field Diagnosis: The Fingernail Test and Visual Cues
Before recommending a repair path, run a quick low-cost diagnostic sequence:
- Fingernail/pick test: Gently drag a plastic trim pick or fingernail across the stain at a low angle. If it catches or has raised texture, you’re likely looking at etched clearcoat, bonded mineral scale, or baked-on organic matter (bird or tree sap) rather than a simple surface film.
- Wet-wipe test: Spray the area with plain water and wipe with a clean microfiber towel. Mineral/hard-water deposits often soften slightly and lighten; gasoline residue, if any remains, wipes away almost entirely with no scrubbing.
- Location and shape check: Confirm whether the stain sits directly below a roofline, gutter, tree limb, or parking structure beam — a dead giveaway for mineral or sap drip rather than fueling splash.
- UV/blacklight pass (optional): Some organic residues (sap, bird droppings, certain washer fluids) fluoresce differently than mineral scale, which can help confirm the source before you commit to a correction method.
If the pick test shows no catch and the panel feels smooth under the residue, you’re almost certainly dealing with surface contamination that clay, chemical treatment, and polish will resolve — not a clearcoat failure requiring paint work.
Step-by-Step Removal for Hard Water and Mineral Deposits
For the majority of these jobs, a conservative decontamination-first approach avoids unnecessary paint correction:
- Pre-rinse and foam wash the panel to remove loose grit before any contact cleaning — this prevents marring during the next steps.
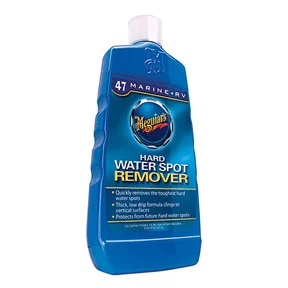
- Apply a dedicated water-spot remover gel or acidic wheel-safe spot treatment formulated to dissolve calcium and mineral scale. Let it dwell per label instructions (typically 3-5 minutes), agitate lightly with a soft microfiber applicator, then rinse thoroughly.
- For stubborn deposits, a 50/50 distilled white vinegar and distilled water solution applied with a soft microfiber sham and light agitation is an effective low-cost alternative — it’s mild enough for clearcoat but strong enough to break down mineral bonds. Rinse immediately after to prevent any residual acidity from sitting on the panel.
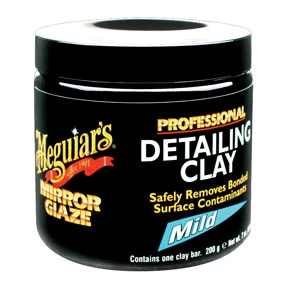
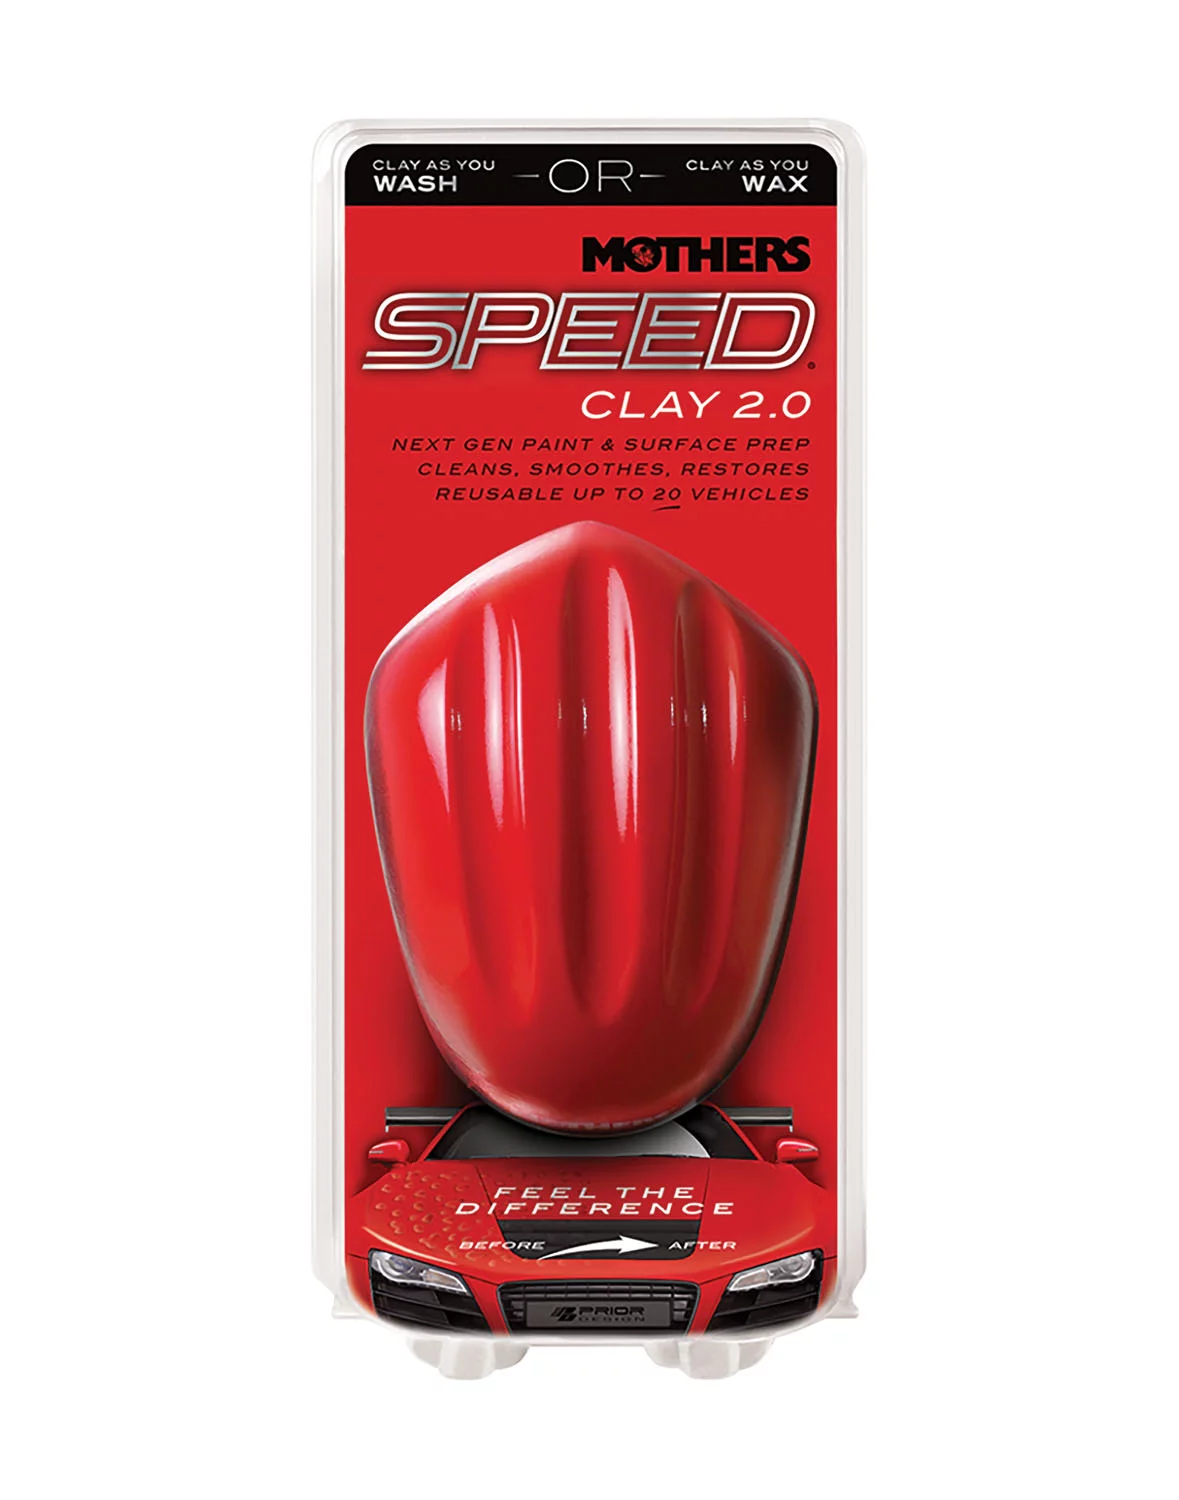
- Clay bar the area using a dedicated detailing clay lubricated generously with quick detailer spray. This lifts bonded contamination sitting on top of the clearcoat that chemical treatment alone won’t remove. Keep the surface wet and fold the clay regularly to avoid re-depositing grit.
- Inspect under good light after claying. If the panel is smooth and the haze is gone, you’re done — a coat of wax or sealant restores gloss and adds a barrier against future mineral bonding.
When Clay Isn’t Enough: Compounding and Polishing
If claying and chemical treatment leave behind dulling, haze, or a faint ring that won’t lift, the deposits have likely etched microscopically into the clearcoat rather than just sitting on top of it. At that point, move to mechanical correction:
- Test in a small inconspicuous area first to confirm clearcoat thickness and paint condition can handle correction.
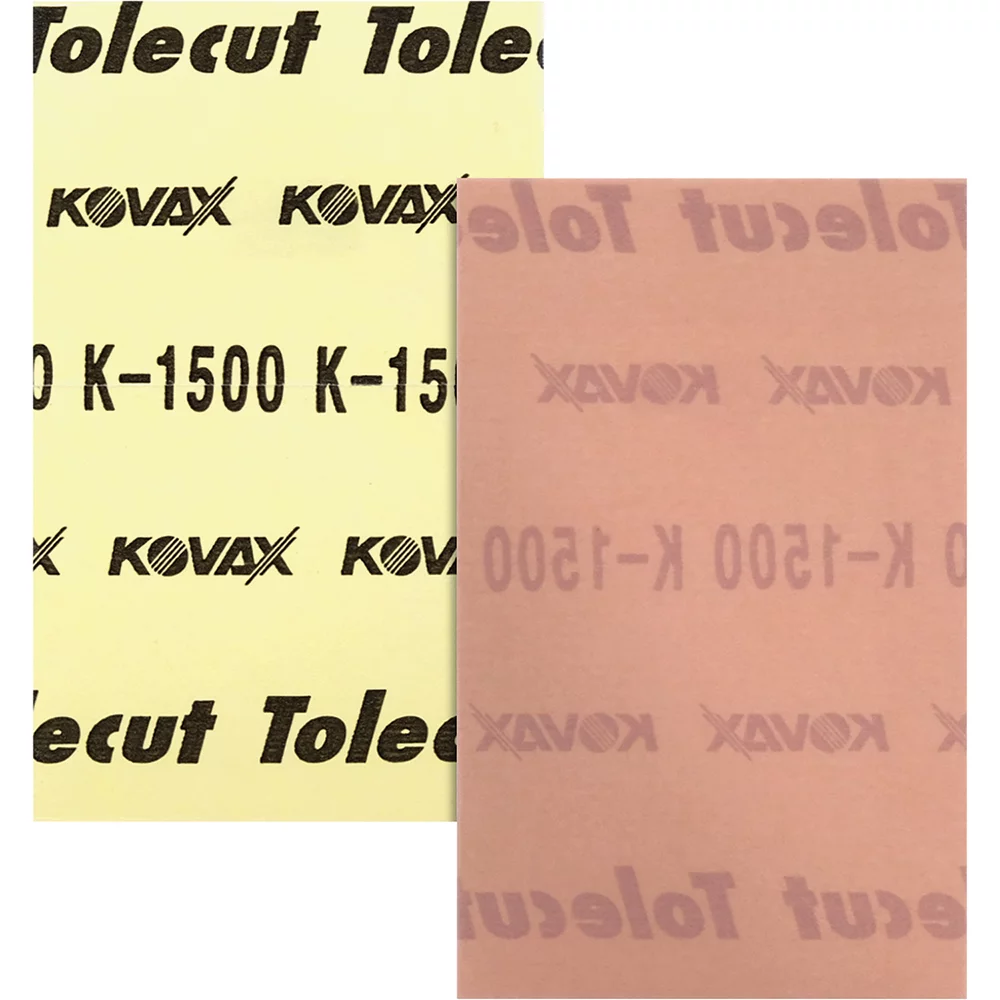
- Use a dual-action polisher with a medium-cut pad and a cutting compound to level the etched layer. Work in small sections, keep the pad speed moderate, and check progress frequently to avoid removing more clear than necessary.
- Follow with a finishing polish and softer pad to restore gloss and remove any compound haze or fine marring left by the cutting step.
- Seal the corrected area with a wax or synthetic sealant to protect the thinned clearcoat and slow future mineral bonding.
This two-step compound-then-polish approach resolves the vast majority of cases customers initially assume is fuel damage. It’s also far cheaper than a repaint and should always be attempted before quoting body work.
Recognizing True Clearcoat Failure That Needs a Repaint
Occasionally the pick test and polish trial will confirm real damage: cracking, lifting, or a soft/tacky clearcoat that compound can’t level without burning through to base coat. This is more consistent with prolonged solvent exposure (long-term diesel exposure is more likely than gasoline, since diesel is oily and clings rather than evaporating), UV degradation, or a factory clearcoat defect than with a single splash event. In these cases:
- Document the damage with photos and note whether it catches a fingernail or shows cracking under magnification.
- Quote a proper spot repair or panel repaint rather than attempting further mechanical correction, which risks burning through remaining clearcoat.
- Advise the customer on realistic causes — repeated heavy fuel spillage over many years, chemical exposure, or a pre-existing clearcoat defect — rather than assuming a single incident caused it.
Quick Diagnostic and Repair Checklist
- Check stain shape/location — vertical drip under a roofline or gutter points to water/mineral, not fuel splash
- Run the fingernail/pick test for texture and catch
- Wet-wipe test to see if residue lightens or lifts easily
- Try water-spot remover or 50/50 vinegar solution before mechanical correction
- Clay bar with generous lubrication to lift bonded contamination
- Compound and polish only if haze remains after decontamination
- Reserve repaint quotes for confirmed cracking or clearcoat lifting
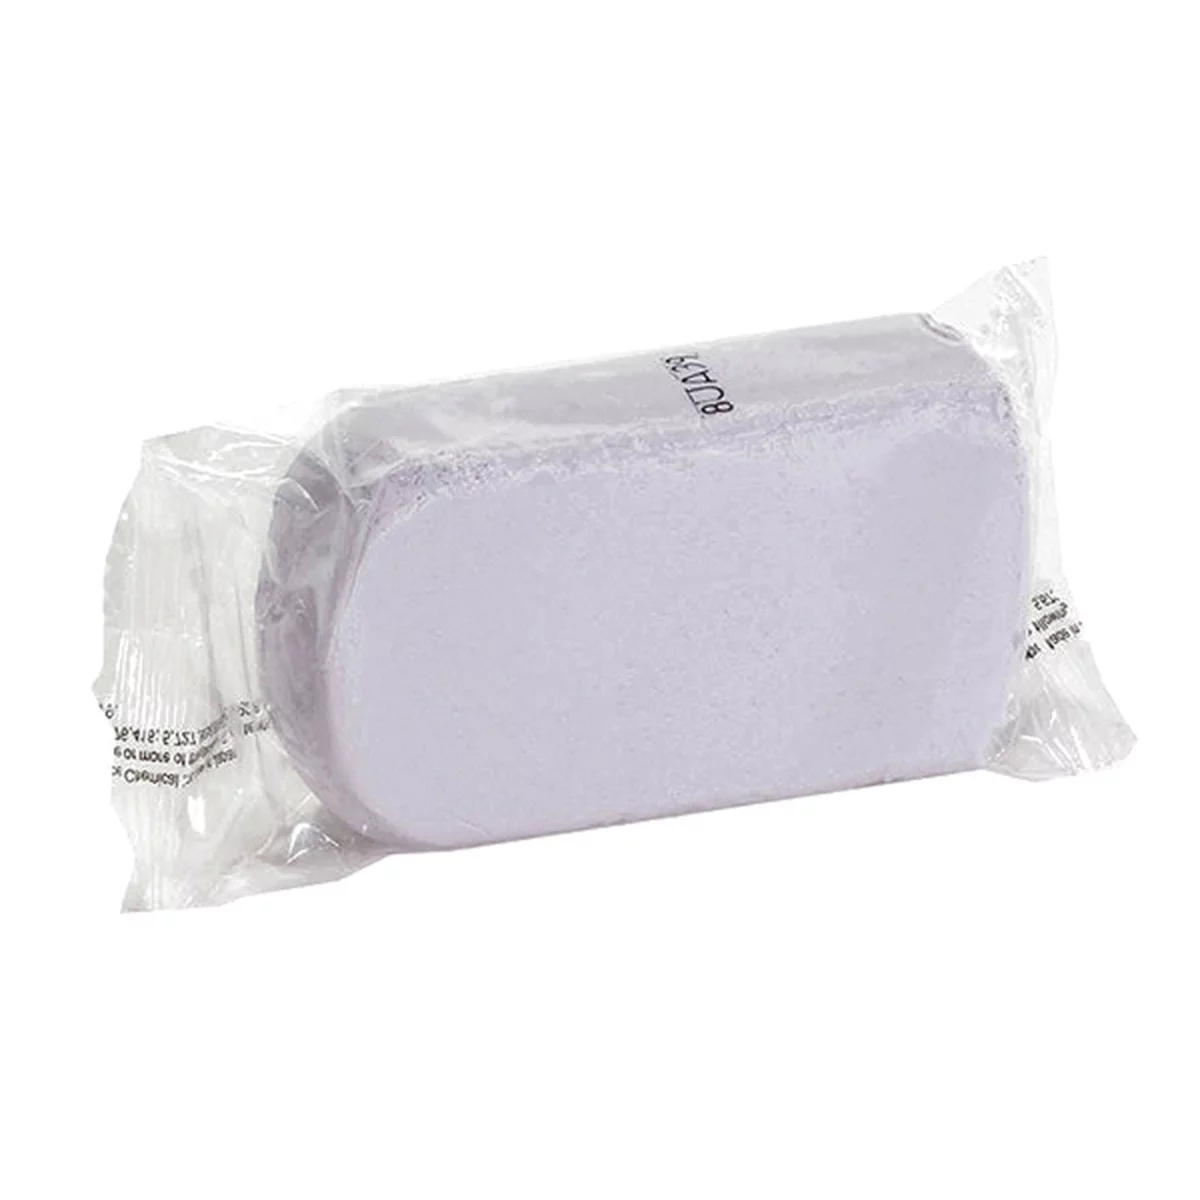
JB Gray Clay Bar 8oz - Removes Surface Contaminants
Mfg: Hi-Tech Industries
Part #: HT-21GR
Frequently Asked Questions
Does gasoline actually damage automotive clearcoat?
Rarely from a single exposure. Gasoline evaporates quickly and doesn’t sit long enough on a healthy clearcoat to cause visible etching. Chronic, repeated exposure over years on a compromised or single-stage finish is a different story.
What’s the most common cause of stains near the fuel filler door?
Hard water or mineral deposits dripping from a garage ceiling, gutter, tree, or parking structure above the vehicle — not fuel spillage. Bird droppings and tree sap are the next most common culprits.
Can hard water spots be removed without repainting?
Yes, in most cases. A dedicated water-spot remover or a diluted vinegar solution followed by a clay bar treatment resolves the majority of cases. Compounding and polishing handle anything left behind by decontamination alone.
How do I know if it’s clearcoat damage versus surface residue?
Run a fingernail or plastic pick test. Smooth, non-catching stains are almost always surface contamination. Catching, cracking, or a soft/tacky feel indicates the clearcoat itself has been compromised.
Is diesel more damaging to paint than gasoline?
Yes, comparatively. Diesel is oilier and evaporates more slowly, so it can sit on the surface longer and is more likely to leave a residue if not cleaned off promptly, though it still rarely causes the kind of staining customers describe as “burned” paint.
What prevents mineral staining from recurring?
Wash off water spots promptly, avoid parking under structures with known leaks or overhangs, and apply a quality wax or sealant regularly — it creates a barrier that makes mineral bonding and organic contamination easier to remove before it etches.
Paint Correction & Protection Tools
Successful diagnosis is only half the battle; removing contamination and restoring clarity requires the right products and tools. Our Paint & Body selection includes everything from water-spot removers and chemical treatments to clay bars, compounds, and polishes needed to handle hard water deposits, mineral scale, and light clearcoat correction.
- Water-spot removers and acidic treatments formulated to dissolve mineral deposits safely on clearcoat
- Clay bars and detailing lubricants for lifting bonded contamination before mechanical correction
- Compound and polish kits for finishing correction work and restoring gloss after decontamination

The Toolsource Technical Team blends decades of real-world automotive service experience with up-to-date technical research. Our writers collaborate with professional mechanics, shop owners, and diagnostic specialists to deliver practical, workshop-ready guidance you can trust.


Follow us on social media