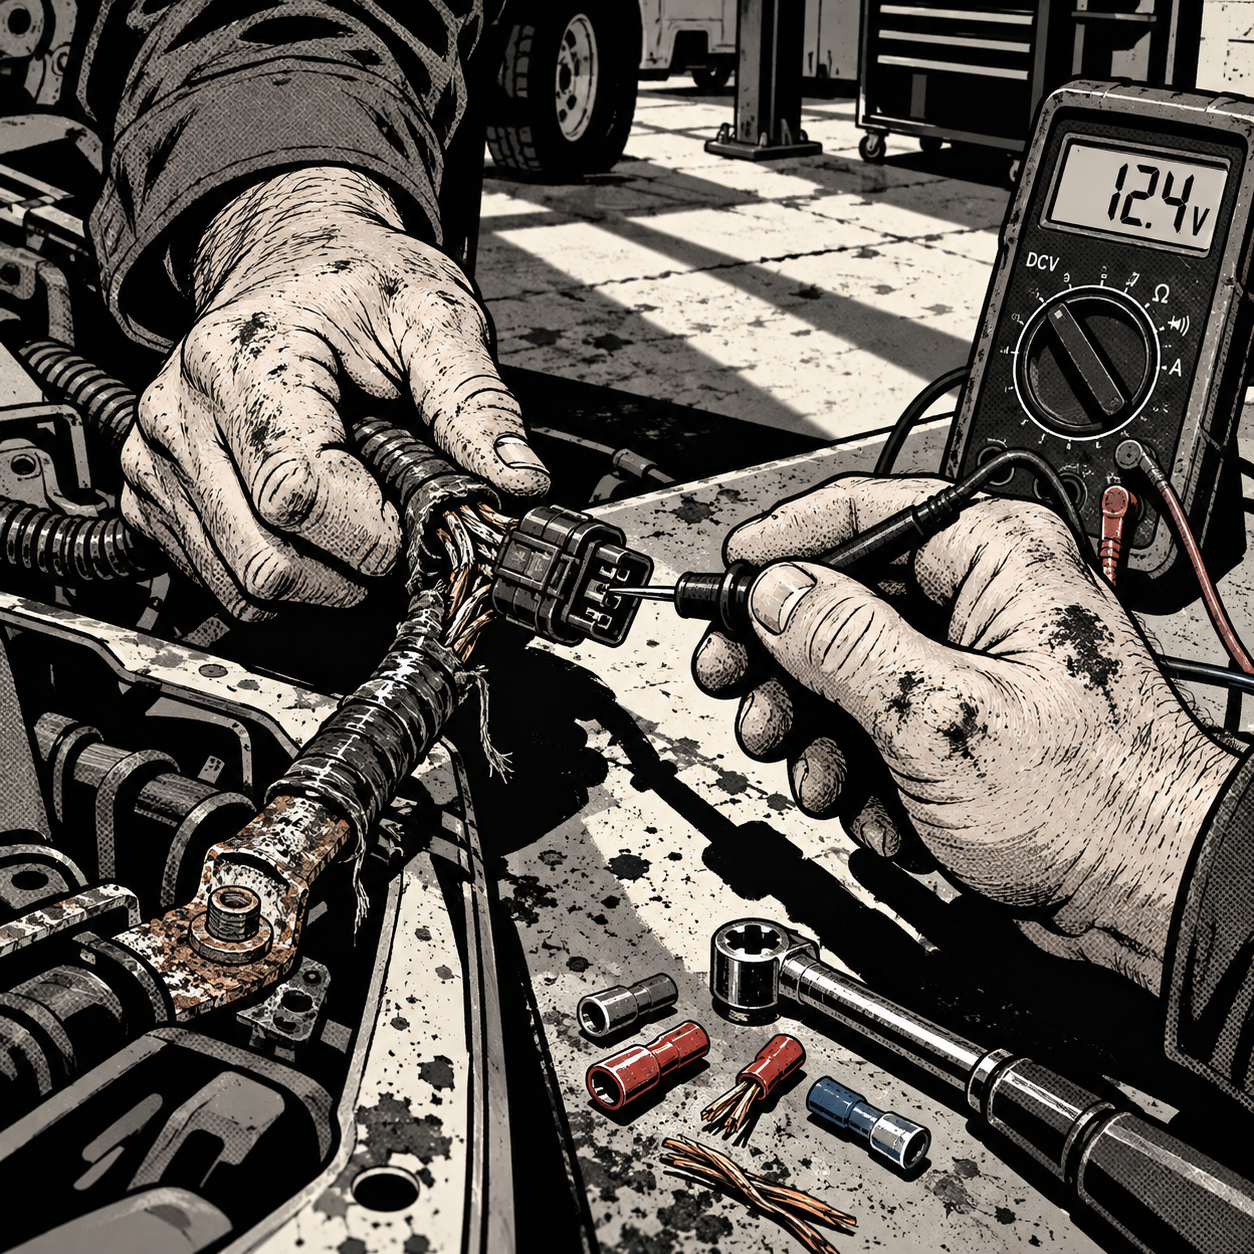
Every shop has a version of the same story: a customer hits a pothole, the check engine light goes out, and they’re convinced the car fixed itself. It’s a running joke online — “percussive maintenance,” “Schrodinger’s electrical fault” — but underneath the humor is a real diagnostic pattern. A fault that comes and goes with vibration, temperature, or road shock almost always traces back to a mechanical weak point in the wiring or a connector, not a coincidence. The light going off doesn’t mean the problem is gone; it means the circuit momentarily made contact again. This guide walks through how to actually chase down these intermittent faults instead of waiting for the next bump to do your diagnostic work for you.
Why a Pothole Can Turn a Warning Light On or Off
Vibration-triggered faults are almost always about contact, not components. A wire with a cracked strand, a connector pin that’s backed out of its housing, or a ground point with surface corrosion can all pass current fine most of the time — until a jolt flexes the harness or shifts the connector just enough to break the circuit. The reverse is just as common: a marginal connection that’s open will sometimes slam back together on impact, which is exactly what’s happening when a dash light goes dark after a hard hit. Neither outcome is a repair. It’s a snapshot of a connection that’s failing intermittently, and it will keep failing until the actual contact point is restored or replaced.
This matters for diagnostic order of operations. If a customer reports “the light went off after I hit a bump,” that’s not a dismissible detail — it’s a strong clue that you’re dealing with a mechanical/vibration-sensitive fault rather than a sensor that’s degraded gradually. It should shift your approach toward physical inspection and stress-testing the harness, not just pulling codes and swapping parts.
Common Culprits: Grounds, Connectors, and Chafed Wiring
A few failure points account for the vast majority of these complaints:
Bad or corroded grounds. Ground straps and body grounds see constant flex, moisture, and road salt. A ground that’s 90% connected can still pass enough current for a module to power up, but will drop out under load or vibration, triggering random, seemingly unrelated faults — dash clusters going dark, multiple modules losing communication, or warning lights that make no logical sense together. If a customer describes a whole cluster of unrelated symptoms clearing and returning together, suspect a shared ground before anything else.
Connector pins that have backed out or spread. Repeated heat-cool cycles and vibration can loosen a terminal in its connector body even when the connector itself is latched. This is extremely common at wheel speed sensor connectors, body control module connectors near door jambs, and anything routed near the engine or suspension.
Chafed or cracked wiring. Harnesses routed near moving suspension components, exhaust heat, or sharp body edges can develop a crack in the insulation and eventually in the copper strands themselves. The wire can still conduct when straight, and open up when flexed — which is why a light will cycle on and off with exactly the kind of jolt a pothole delivers.
Aftermarket or prior-repair splices. Butt connectors, electrical tape repairs, and non-weatherproof splices are common in radios, aftermarket accessories, and prior insurance repairs. These are a leading cause of “it comes back on if I smack the dash” complaints, especially for accessory circuits like radios and gauge clusters.
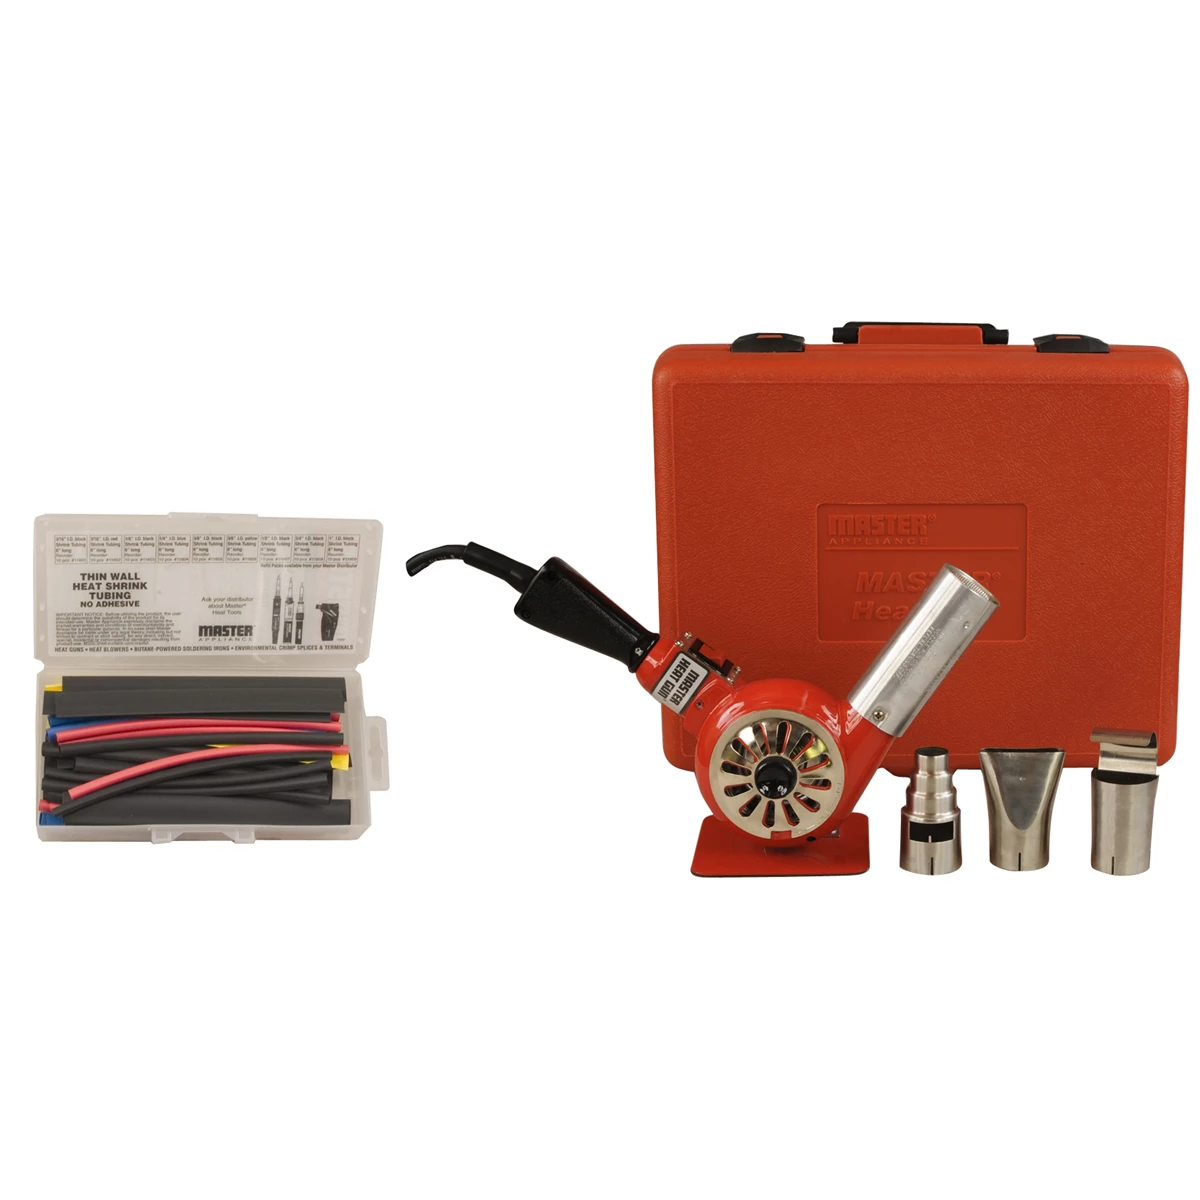
Product search: automotive wiring repair kit with heat-shrink butt connectors and dielectric grease

The Wiggle Test: Reproducing the Fault on Your Terms
You don’t need to wait for a customer to hit a pothole on a test drive. Reproduce the mechanical stress deliberately, with the circuit monitored, so you can watch the fault happen instead of hearing about it after the fact.
- Back-probe the suspect circuit with a multimeter or an oscilloscope if you have access to one, and set it to log or hold min/max voltage.
- With the circuit live, physically flex, tap, and wiggle the harness in sections — starting at the connector nearest the suspected component, then working back toward the module or ground point.
- Tap connector bodies and ground bolts directly with a plastic trim tool or screwdriver handle rather than just shaking the harness; a dropped ground often needs a firm tap on the bolt itself to reveal the fault.
- Watch for voltage drop, not just an open circuit. A connection can still show continuity on a static ohms test and still be the problem — the fault only shows up under the momentary load and flex of the wiggle test.
- If the car has stored intermittent DTCs, a scan tool’s freeze-frame data combined with a wiggle test can confirm whether you’re flexing the actual failing circuit or just a nearby one.
This is slower than swapping a sensor, but it’s the only way to actually find a vibration-sensitive fault instead of guessing. Replacing a part that tests fine at rest almost never fixes a connection problem that only fails in motion.
When the Fault Points to a Wheel Speed Sensor or ABS/Traction Control Light
Traction control and ABS lights that cycle on and off with road impacts deserve their own callout, because the pattern is specific and common. A wheel speed sensor itself is usually a simple, sealed unit and rarely fails intermittently on its own — the sensor’s wiring and connector are the far more frequent failure point. Before condemning a wheel bearing or sensor:
Check the sensor’s air gap and mounting — a sensor that’s not fully seated against its tone ring can produce a marginal signal that drops out under suspension travel. Inspect the connector at the sensor and anywhere the harness passes through a grommet near the hub or control arm; this is a high-flex zone and a common chafe point. Confirm wheel bearing play is actually present with a dial indicator before replacing a bearing based on a traction control light alone — a bad wheel speed sensor or its wiring is a far more common cause of an intermittent light than an actual bearing failure, and replacing a good bearing won’t touch the real problem.
Repairing It Properly Instead of Living With It
Once you’ve isolated the failing connection, repair it to a standard that will survive vibration, not just restore continuity:
Cut back to clean, uncorroded copper on any chafed wire and use heat-shrink, adhesive-lined butt connectors or proper solder-and-seal splices rather than tape or crimp-only connectors. Clean ground points back to bare metal, apply dielectric grease or anti-corrosion compound, and torque the ground bolt to spec — a loose or lightly corroded ground bolt is one of the most under-torqued fasteners on any vehicle. Replace connector housings or terminals that show spread pins rather than just bending them back; a terminal that’s lost its spring tension once will loosen again. Re-route or add protective sleeving anywhere a harness is rubbing against a bracket, suspension component, or body edge. Clear stored codes after the repair and road test over rough pavement specifically — smooth-road test drives won’t reproduce a vibration fault, so you need to go find the same kind of impact that triggered it in the first place.
Quick diagnostic checklist:
- Confirm the complaint pattern: does the fault correlate with bumps, temperature, or time, not just random occurrence?
- Pull and record all stored and pending codes with freeze-frame data before doing anything else
- Check the easiest, most common point first: grounds near the affected circuit
- Wiggle-test under live voltage monitoring, moving from the component outward toward the module
- Inspect connectors for spread terminals, corrosion, and partial seating
- Repair with heat-shrink/weatherproof splices and properly torqued, clean grounds — not tape or a bent-back pin
- Road test over rough pavement before releasing the vehicle
Product search: automotive electrical diagnostic tools multimeter and circuit tester kit

Electronic Specialties 312A Fuse Buddy Current Tester Kit
Mfg: Electronic Specialties
Part #: 312A

FAQs
Why does my check engine light go off when I hit a bump, then come back later?
The impact is momentarily restoring a marginal connection — usually a loose connector pin, a corroded ground, or a wire with a partial crack. The underlying fault is still there and will resurface as soon as the connection opens up again.
Can a bad ground really cause random, unrelated warning lights?
Yes. A single ground point often feeds multiple modules or sensors. A high-resistance or intermittent ground can cause symptoms that look completely unrelated — a radio cutting out, a gauge cluster flickering, and a module communication fault can all share one failing ground.
How do I find an intermittent short or open without a fancy scan tool?
A basic multimeter with min/max voltage logging, combined with a manual wiggle test on the live circuit, will find the vast majority of these faults. The key is monitoring voltage while physically stressing the harness, not just checking resistance with everything sitting still.
Is it ever okay to just leave an intermittent fault alone if the light is off?
Generally no, especially for ABS, traction control, or airbag-related circuits. A connection that fails intermittently now will fail more often and more completely over time, and safety systems that silently drop out between light cycles can be unavailable exactly when they’re needed.
My traction control light cycles on and off with road impacts — is it my wheel bearing?
Usually not. Check the wheel speed sensor’s connector, harness routing, and mounting before condemning a bearing. Confirm actual bearing play with a dial indicator; a bad sensor connection is a far more common cause of an intermittent light than true bearing failure.
Will electrical contact cleaner or dielectric grease fix a loose connector permanently?
It can help temporarily by improving contact and resisting corrosion, but it won’t restore spring tension to a spread terminal or repair a cracked wire. Treat it as a supplement to a mechanical repair, not a substitute for one.
Stock Your Electrical Diagnostic Kit
Finding and fixing intermittent electrical faults requires the right diagnostic tools and quality repair supplies. Browse our Automotive Electrical Systems selection for multimeters, connectors, and dielectric grease to handle vibration-triggered faults.
- Multimeters with min/max voltage logging for live-circuit testing
- Heat-shrink butt connectors, dielectric grease, and weatherproof splice kits
- Diagnostic probe kits and circuit testers

The Toolsource Technical Team blends decades of real-world automotive service experience with up-to-date technical research. Our writers collaborate with professional mechanics, shop owners, and diagnostic specialists to deliver practical, workshop-ready guidance you can trust.


Follow us on social media