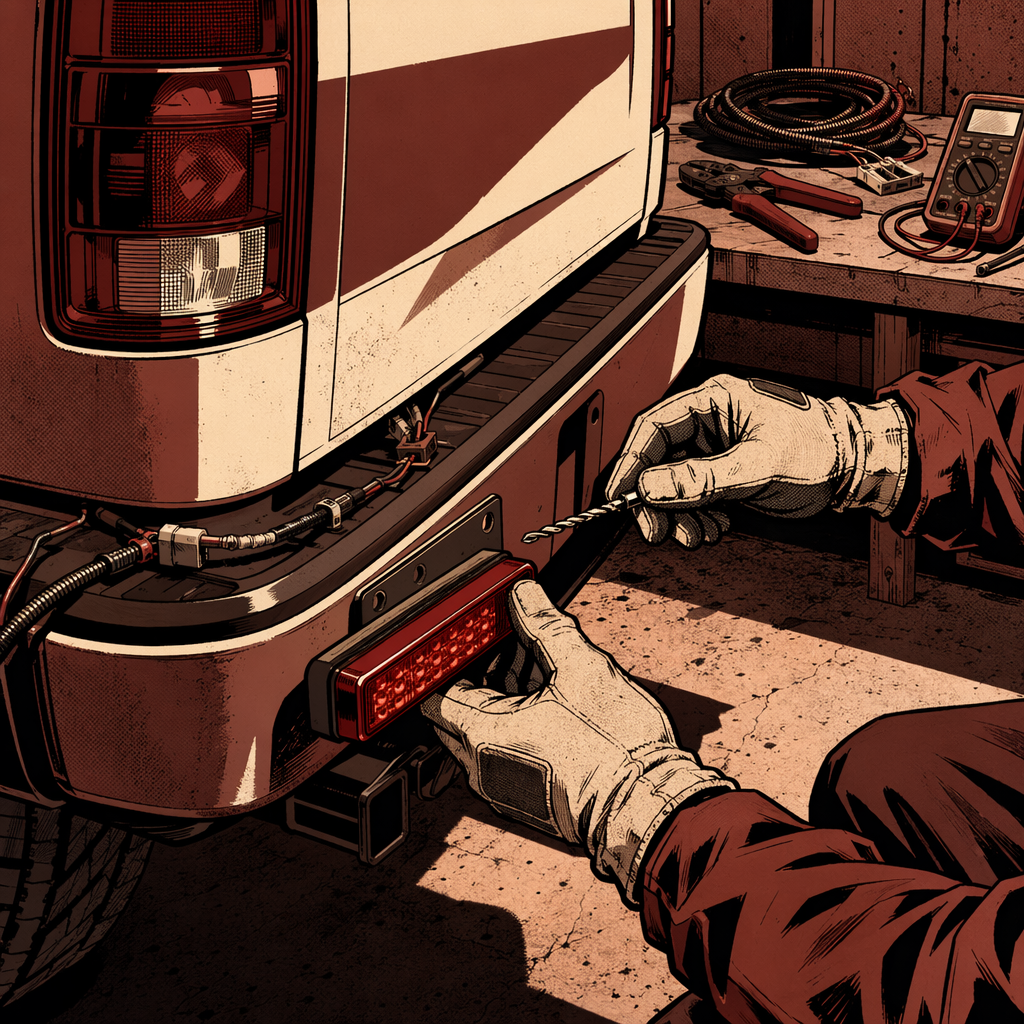
The frequency of rear-end collisions has reached a critical point for many drivers, particularly those in urban environments. Technicians and experienced drivers alike are witnessing an alarming trend: multiple rear-end incidents caused by distracted drivers scrolling through social media, texting, or watching videos while behind the wheel. The solution some are turning to isn’t just hoping other drivers pay attention—it’s installing additional brake lights to make their vehicles impossible to miss. This modification isn’t about aesthetics or showing off; it’s a practical safety measure born from real-world experience with inattentive drivers. Whether you’ve been rear-ended once or multiple times, understanding how to properly install and configure extra brake lighting can significantly reduce your risk on the road.
Understanding the Distracted Driving Problem
The scope of distracted driving has evolved beyond the occasional glance at a phone. Drivers are now watching full movies, scrolling TikTok, FaceTiming, and even viewing adult content while operating vehicles at highway speeds. This isn’t limited to passenger cars—commercial truck drivers have been observed engaging in these behaviors while driving 65 mph down interstates.
Statistics from real-world experiences tell a sobering story. Drivers report being rear-ended four times in a single year during their regular commutes. Multiple rear-end collisions while stopped at red lights are becoming commonplace. The problem is particularly acute in metropolitan areas where stop-and-go traffic creates constant braking situations, giving distracted drivers ample opportunity to collide with vehicles ahead of them.
For motorcycle riders and drivers of compact cars, the stakes are even higher. A rear-end collision that might cause minor damage to a full-size truck can be catastrophic for smaller vehicles. Many motorcyclists have abandoned city riding entirely due to concerns about being struck by inattentive drivers. The physical toll of repeated impacts accumulates over time—spinal injuries, neck damage, and chronic pain can result from what insurance companies classify as “minor” collisions.
The issue extends beyond immediate safety concerns. Insurance payouts for older vehicles often fail to account for inflated used car prices, leaving accident victims unable to replace their totaled vehicles with comparable models. A truck purchased for a certain price as a three-year-old vehicle might receive an insurance payout years later that’s only slightly higher, despite used vehicle prices doubling or tripling in the interim.
Why Standard Brake Lights Aren’t Enough
Modern vehicles come equipped with three brake lights as standard: two rear corner lights and a center high-mounted stop lamp (CHMSL). This configuration was designed for an era when drivers maintained visual contact with the road ahead. That assumption no longer holds true when a significant portion of drivers have their attention focused on smartphone screens in their laps.
The problem with standard brake light configurations is that they rely on static illumination. When a driver’s eyes are pointed downward at a phone, peripheral vision may not register a steady red glow as a warning signal. Even the third brake light, positioned at eye level, can be missed when a driver isn’t actively scanning the road environment.
Dark-tinted rear windows compound this visibility issue. Many modern vehicles, particularly certain electric car models, feature heavily tinted rear glass that obscures the view of traffic conditions ahead. When you’re following a vehicle with dark rear tinting and that driver isn’t paying attention to the road, you have no advance warning of sudden braking situations developing further up the traffic chain.
Burnt-out LED bulbs or blacked-out lens covers create additional hazards. Budget LED replacement bulbs often fail prematurely and may not be visible in bright sunlight. Aftermarket taillight covers that darken the lens appearance may look sleek but drastically reduce light output, especially in daylight conditions.
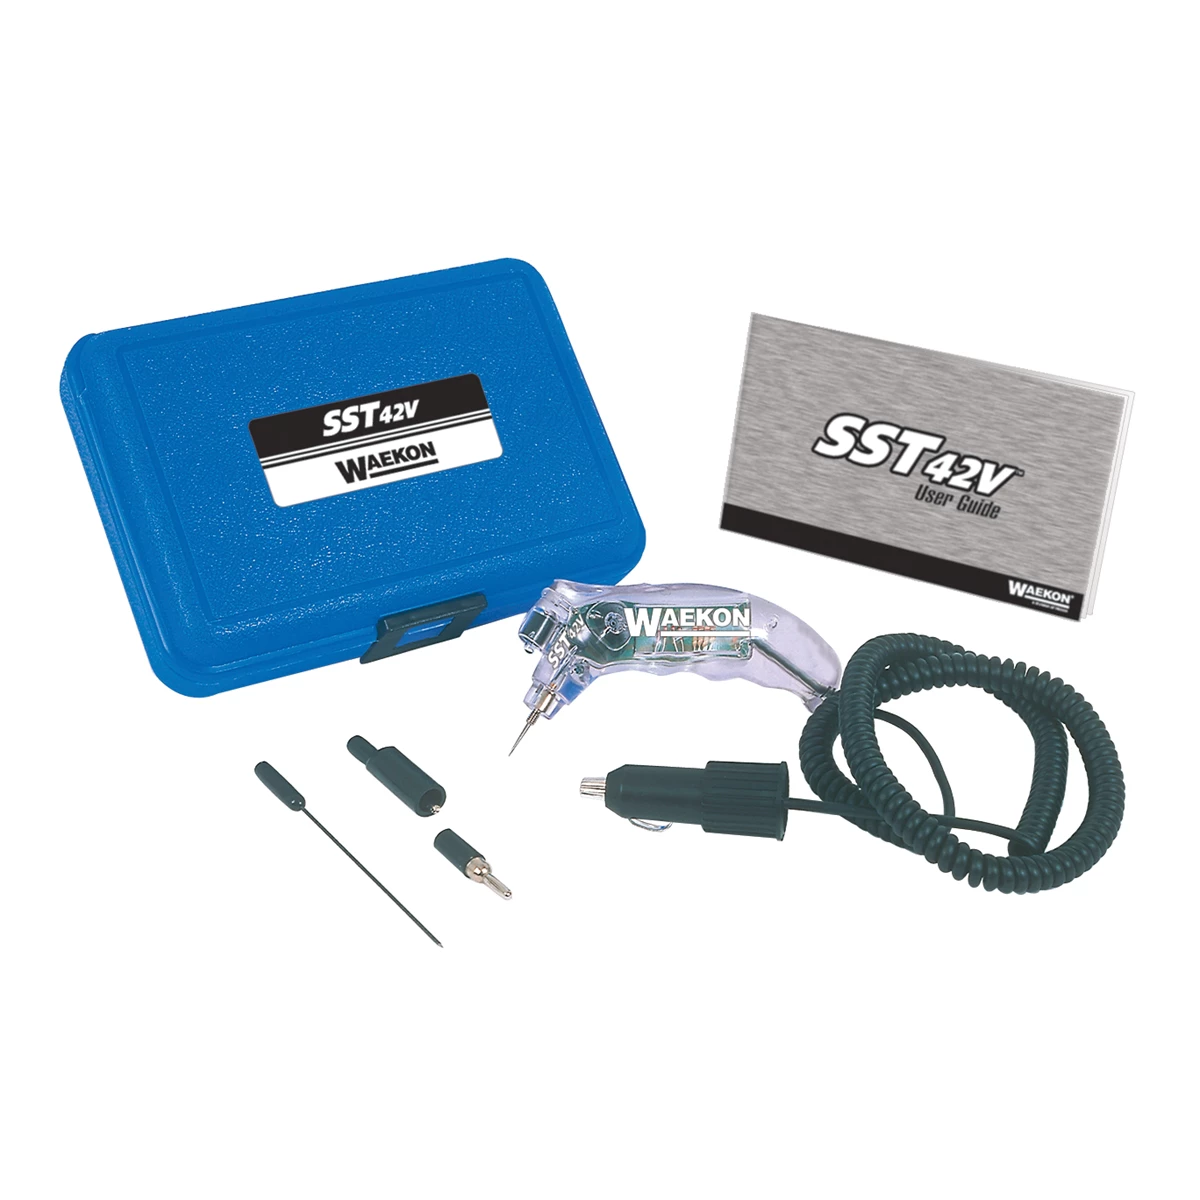
Electronic LED Test Light for up to 42 Volt Systems
Mfg: Waekon Industries
Part #: SST42V

Planning Your Extra Brake Light Installation
Before purchasing components or drilling any holes, you need to verify DOT compliance requirements for your jurisdiction. Federal regulations permit additional brake lights, but all installed lighting must function properly. If a light is installed, it must work—you can’t have non-functional lights mounted on your vehicle. Some states have specific regulations about light placement, color, and quantity that supersede federal guidelines.
Component selection starts with determining your mounting locations. Rear fog lights represent one approach—these amber or red lights mount to the rear bumper and can be wired to activate with the brake circuit. Auxiliary brake lights designed for commercial vehicles offer another option, providing high-intensity LED arrays in weather-resistant housings. For maximum effectiveness, consider lights that incorporate flashing or pulsing patterns, as irregular flashing red lights are significantly more attention-grabbing than static illumination.
Wiring planning is critical for a clean, reliable installation. You’ll need to tap into the brake light circuit, which typically means accessing the wiring at the third brake light location or at the brake light switch near the pedal assembly. Using proper wire taps or solder connections with heat shrink insulation ensures long-term reliability. Avoid Scotch-Lok or similar crimp connectors that can create intermittent connections or corrode over time.
For vehicles that will be driven in multiple states or for those concerned about law enforcement interactions, maintaining a stock appearance while adding functionality requires careful consideration. Unmarked police vehicles often use this exact strategy—auxiliary lighting that’s visible when activated but doesn’t dramatically alter the vehicle’s appearance when off. An additional antenna or professional wiring installation can raise questions during traffic stops, so be prepared to explain your modifications if questioned.
Step-by-Step Installation Process
Start by disconnecting the negative battery terminal to prevent electrical shorts during the installation. Identify your brake light power source—the CHMSL wiring is usually the cleanest tap point, as it’s only active during braking and doesn’t combine with turn signal circuits. Use a multimeter to verify which wire carries power when the brake pedal is pressed.
Mount your additional lights according to manufacturer specifications. For bumper-mounted auxiliary lights, drill pilot holes carefully, checking behind the mounting surface for fuel lines, wiring harnesses, or structural components. Use marine-grade sealant around mounting bolts to prevent water intrusion and corrosion. If mounting lights to the trunk lid or hatch, ensure wiring has adequate service loop to accommodate the opening and closing motion without stress on connections.
Wire routing should follow existing harness paths whenever possible. Use zip ties to secure new wiring to factory harnesses, maintaining neat runs that won’t chafe or interfere with moving components. When passing wire through body panels, use grommets to protect against abrasion. For vehicles with aluminum body panels, take extra care with grounding points—aluminum oxidizes quickly and creates poor electrical connections without proper surface preparation.
Install an inline fuse appropriate for your additional light load within six inches of the power tap point. This protects your vehicle’s wiring in case of a short circuit in your added components. A 10-amp fuse is typically sufficient for LED auxiliary lights, but verify the total amperage draw of your specific lights.
For installations incorporating flash or pulse patterns, you may need to add a flasher module or controller. F1-style strobe modules are available that create attention-grabbing flash patterns with 3-5 quick pulses when brakes are applied. These modules install in-line between your power tap and the additional lights. Test the flash rate before final installation—patterns that are too rapid can be annoying or potentially trigger seizures in susceptible individuals, while patterns that are too slow lose their attention-grabbing effectiveness.
After completing wiring connections, reconnect the battery and test all functions. Verify that standard brake lights still operate correctly, turn signals function on both sides, and your additional lights activate only during braking. Have an assistant watch the lights while you test, or back up to a garage door or window to observe the reflection.
Installation Checklist
- Verify DOT and state regulations for auxiliary brake lighting
- Select mounting locations with clear rearward visibility
- Disconnect battery negative terminal before starting work
- Identify brake light power source with multimeter
- Check behind mounting surfaces before drilling
- Use marine-grade sealant on all exterior mounting points
- Route wiring along factory harness paths with adequate service loops
- Install inline fuse within 6 inches of power tap
- Test all lighting functions before reassembly
- Document installation for future reference and inspections
Maintaining DOT Compliance and Avoiding Tickets
Department of Transportation regulations specify that all vehicle lighting must function as intended. Once you install additional brake lights, they become part of your vehicle’s required equipment. A burnt-out auxiliary brake light can result in a fix-it ticket just as a standard brake light failure would. Regular inspection of all lighting should become part of your routine vehicle checks.
Light color must remain red for rear-facing brake lights. Amber lights are permissible for some rear fog light applications in certain jurisdictions, but mixing colors or using white lights facing rearward will draw law enforcement attention and citations. Stick with red LEDs that match the color temperature of your factory brake lights for the most professional appearance.
Quantity limits vary by jurisdiction, but adding 2-4 auxiliary brake lights generally falls within acceptable ranges. Installing seven or more brake lights crosses into excessive territory and may trigger questions about whether you’re impersonating emergency vehicles. The goal is enhanced visibility, not creating a rolling light show.
During vehicle inspections, be prepared to demonstrate that all installed lights function correctly. Some inspection stations may question non-factory lighting, so having documentation of your installation—including part numbers, wiring diagrams, and compliance verification—can expedite the process. Professional-looking installations with proper mounting and wiring are less likely to raise concerns than obviously improvised setups.
Real-World Effectiveness and Limitations
Additional brake lighting demonstrably increases visibility and driver response times for attentive drivers following behind you. The modification works because it creates a larger, brighter warning signal that’s harder to miss in peripheral vision. Flashing patterns are particularly effective because human vision is naturally drawn to motion and irregular light patterns.
However, no amount of brake lighting will protect you from a completely inattentive driver staring at their phone screen. Physics dictates that a driver traveling 65 mph while watching videos will not see your brake lights—no matter how many or how bright—if they’re not looking at the road. The modification reduces risk but doesn’t eliminate it.
The psychological benefit for drivers who’ve experienced multiple rear-end collisions can be significant. Taking proactive safety measures provides a sense of control in an environment where other drivers’ negligence poses constant risk. For those dealing with chronic pain from previous collisions, knowing you’ve done everything possible to prevent another impact offers peace of mind.
Defensive driving habits remain your primary protection. Monitoring following distances in your mirrors, positioning yourself to allow escape routes when stopped, and avoiding situations where you’re trapped between an inattentive driver and an immovable obstacle are all more important than additional lighting. The extra brake lights serve as an additional safety layer, not a replacement for situational awareness.
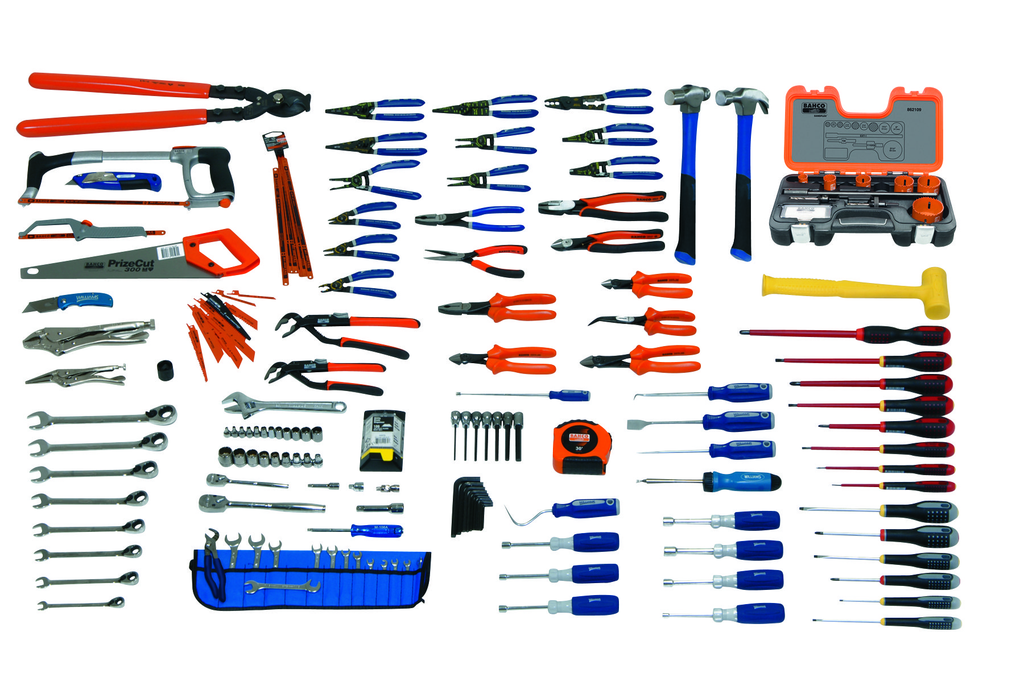
Electrical Maintenance Service Set With Tool Box
Mfg: J.H. Williams
Part #: JHWELECTRICALTB
Frequently Asked Questions
Is it legal to install extra brake lights on my vehicle?
Federal DOT regulations permit additional brake lights as long as they’re red, rear-facing, and function properly. State regulations may have specific restrictions, so verify local laws before installation. Any installed brake light must work—non-functional lights can result in citations.
Will extra brake lights drain my battery or cause electrical problems?
Modern LED brake lights draw minimal current, typically less than 1 amp for a full array. Proper installation with correctly sized inline fuses protects your vehicle’s electrical system. The lights only activate during braking, so battery drain is not a concern on functioning vehicles.
Do flashing brake light modules really work better than solid lights?
Yes, irregular flashing patterns are significantly more effective at grabbing attention than static illumination. Studies show that flashing brake lights reduce rear-end collision rates by creating a more urgent visual signal that’s harder for distracted drivers to ignore.
Can I install extra brake lights myself or do I need a professional?
Basic electrical knowledge and hand tools are sufficient for most installations. If you’re comfortable tapping into wiring, using a multimeter, and following wiring diagrams, this is a DIY-friendly project. Complex installations involving body panel modifications or extensive wiring may benefit from professional installation.
Will additional brake lights affect my vehicle’s resale value?
Professional-quality installations with reversible mounting typically don’t negatively impact resale value and may appeal to safety-conscious buyers. Poor-quality installations with visible drilling damage or improper wiring can reduce value. Keep factory parts for reinstallation if selling to buyers who prefer stock configuration.
What’s the best location for mounting auxiliary brake lights?
Eye-level mounting provides maximum visibility to following drivers. Bumper-mounted lights work well for trucks and SUVs but may be less visible on low-sitting cars in traffic. Trunk-mounted or rear window-mounted lights at the driver’s eye level of following vehicles offer the best sight lines in varied traffic conditions.
Electrical Components for Your Installation
Installing auxiliary brake lighting requires proper wiring, connectors, and fusing to ensure reliability and safety. Our Automotive Electrical Systems category stocks everything needed for a professional brake light upgrade.
- Wire, connectors, and sealants for secure installations
- Inline fuses and distribution blocks for circuit protection
- Multimeters and testing tools for verification

The Toolsource Technical Team blends decades of real-world automotive service experience with up-to-date technical research. Our writers collaborate with professional mechanics, shop owners, and diagnostic specialists to deliver practical, workshop-ready guidance you can trust.


Follow us on social media