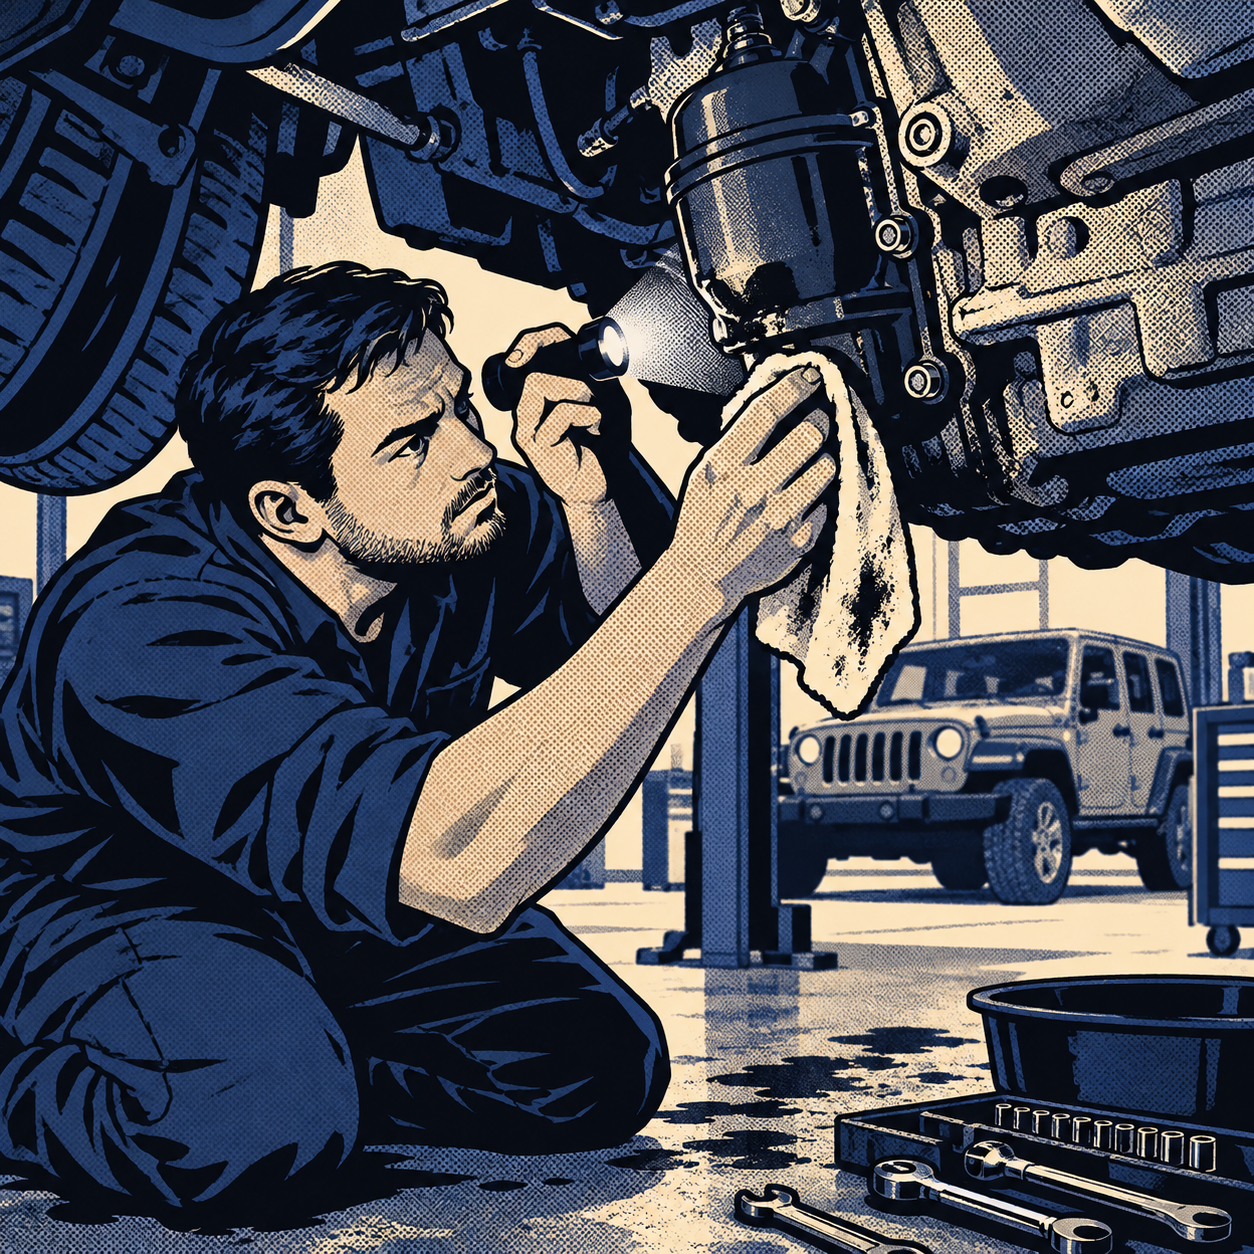
A customer walks in convinced their shop botched a transmission install because the bellhousing doesn’t line up flush against the block, or because there’s oil weeping somewhere near the bottom of the engine. Nine times out of ten on a Chrysler 3.6L or 3.8L Pentastar-equipped Jeep, what looks alarming in a phone photo is either a well-documented factory design quirk or completely normal manufacturing tolerance. The other one time out of ten, it’s a real problem that needs a real fix. The job of a technician isn’t to react to what a gap or a drip “looks like” — it’s to verify against known specs, reference vehicles, and documented failure patterns before telling a customer anything. This post walks through the two most commonly misdiagnosed complaints on these platforms — oil filter housing leaks and bellhousing-to-block mismatch — and gives you a process for telling cosmetic normal from mechanical not-normal.
Why Visual-Only Diagnosis Gets Techs (and Customers) in Trouble
Online forums and social media are full of confident answers from people who’ve never had their hands on the actual part. The pattern repeats constantly: someone posts a photo, and half the responses declare a part “obviously” wrong without ever having compared it to a correctly assembled example. Meanwhile, techs who’ve actually seen the component on a lift stay quiet or get buried under the confident-but-wrong replies.
The practical takeaway for a shop is simple: never issue a diagnosis — to a customer, in writing, or in a repair order — based on a single photo angle or a gut reaction to how something “should” look. Pull a reference vehicle (same engine/transmission combination), get it on a lift, and do a side-by-side. If you don’t have one in the shop, call a dealer parts counter or check OEM service bulletins and documented forum threads from owners who’ve done the same comparison with their hands, not just their eyes. A five-minute comparison prevents a comeback, a chargeback dispute, or a customer losing confidence in your diagnosis.
The Pentastar Oil Filter Housing Leak: A Known Design Flaw
If a customer brings in a 3.6L or 3.8L Pentastar V6 (common across Jeep Wrangler JK/JL, Grand Cherokee, Chrysler 200/300, and minivans of the era) with oil seeping from the front/lower area of the engine near the filter housing, don’t treat it as a mystery. This is a widely documented issue tied to the oil filter housing material. The factory housing and its adapter seals were produced in a composite/plastic construction that degrades with heat cycling over time, leading to a persistent oil leak at the housing-to-block mating surface or around the oil cooler lines that run through it.
Key points to confirm on inspection:
- Locate the leak source precisely — wipe the area dry, run the engine, and use UV dye or a borescope if needed to confirm it’s the filter housing gasket/seal and not the oil pan, valve cover, or a line fitting.
- Check for oil pooling specifically at the base of the housing where it bolts to the block — this is the classic failure point, not a random drip path.
- Inspect the housing itself for hairline cracking, especially around bolt bosses, which is common once the composite material has gone through repeated heat-cool cycles.
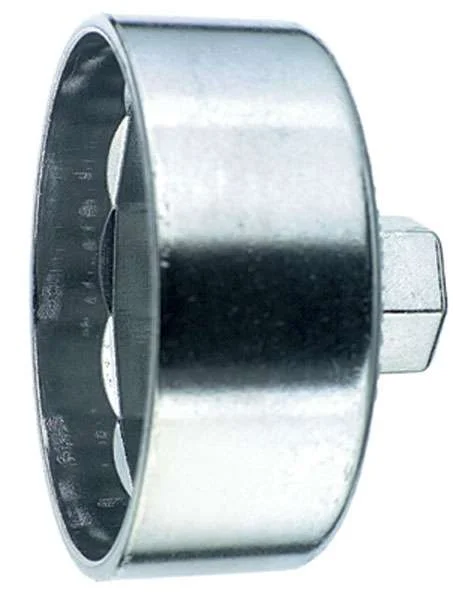
The permanent fix in most cases isn’t just replacing the OEM-style gasket and expecting it to hold — many shops now install aluminum-bodied oil filter housing/adapter replacements designed specifically to correct the original material weakness. Reinstalling another plastic OEM-pattern housing without addressing the underlying issue usually just delays the comeback.


Sourcing the Right Replacement Housing
Before ordering, confirm the exact engine code (3.6L vs 3.8L share some design lineage but not all parts) and model year, since housing design and oil cooler line routing changed across production runs.
[PRODUCT_SEARCH: aluminum oil filter housing adapter Pentastar 3.6L]
Bellhousing-to-Block Gaps: When “Mismatched” Is Actually Correct
The second common misdiagnosis involves the gap or step where the transmission bellhousing meets the rear of the engine block — frequently flagged after a transmission swap or rebuild as evidence of “the wrong transmission” or a bad install. In most cases, this is normal and expected, not a defect.
Here’s why: a given transmission casting is often engineered to bolt up to multiple engine families and multiple bellhousing bolt patterns. The casting includes extra bolt bosses, unused threaded holes, or a housing profile that doesn’t perfectly trace the block’s outline because the same core transmission (for example, a 42RLE) serves more than one engine/vehicle application. That means:
- Unused bolt holes or slightly offset casting lines are normal and not indicators of a wrong part.
- A visible step or lip where the bellhousing meets the block is a casting/design characteristic, not a fitment error, as long as every required bolt hole lines up and torques to spec.
- If the input shaft splines engaged properly, the vehicle shifts through all gears, and there’s no abnormal vibration or noise, the physical mismatch in appearance is not evidence of an incorrect transmission.
The one thing that is never normal: fluid actively dripping from the bellhousing area. A gap in the casting is cosmetic; fresh ATF collecting at the bottom of the bellhousing is a seal problem, full stop.
Telling Transmission Fluid From Engine Oil at the Bellhousing
Because the bellhousing sits at the junction between engine and transmission, a leak there can come from either side, and customers (and plenty of forum commenters) often guess wrong. Use this process instead of guessing:
- Clean the area thoroughly and identify the fluid color and smell — ATF is typically red/pink and has a distinct sweet smell when fresh; engine oil is amber-to-black and smells different.
- Check fluid level and condition in both the engine (dipstick) and transmission (per manufacturer check procedure) before and after a short drive cycle.
- If it’s transmission fluid pooling near the bottom of the bellhousing, suspect the transmission front seal or torque converter seal — not the engine.
- If it’s engine oil, suspect the rear main seal or, on Pentastar engines specifically, the oil filter housing covered above, since oil can travel along the bottom of the engine and appear to originate near the transmission.
Don’t replace a seal based on where fluid is pooling alone — fluid travels along the underside of the vehicle before dripping, so the drip point is often several inches from the actual source. Trace it back along the block/trans seam with the engine running and a flashlight, or use dye.
A Repeatable Verification Process for Leak and Fitment Complaints
When a customer disputes a repair based on something they saw online, walk through this sequence before responding:
- Confirm the exact part numbers and applications involved (engine code, transmission model, model year) rather than relying on generic “3.6L” or “transmission” descriptions.
- Physically compare against a second, known-correct vehicle of the same configuration whenever possible.
- Isolate and confirm the fluid type and exact leak origin before naming a root cause.
- Check OEM technical service bulletins and documented recall/campaign history for the platform — many of these “is this normal” questions have an official answer already on record.
- Document your findings with photos of the comparison vehicle and the leak source, not just the complaint area, before discussing next steps with the customer.
Quick Reference Checklist
- Identify exact engine/transmission codes before diagnosing — don’t generalize across model years.
- Wipe and re-check before declaring a leak location; fluid travel paths are deceptive.
- Confirm fluid type (color/smell) before assuming engine oil vs. ATF.
- Compare bellhousing fitment against a known-correct reference vehicle, not assumptions.
- Verify bolt torque and spline engagement before calling a transmission “wrong.”
- For Pentastar oil filter housing leaks, consider an aluminum replacement over OEM-style plastic to prevent repeat comebacks.
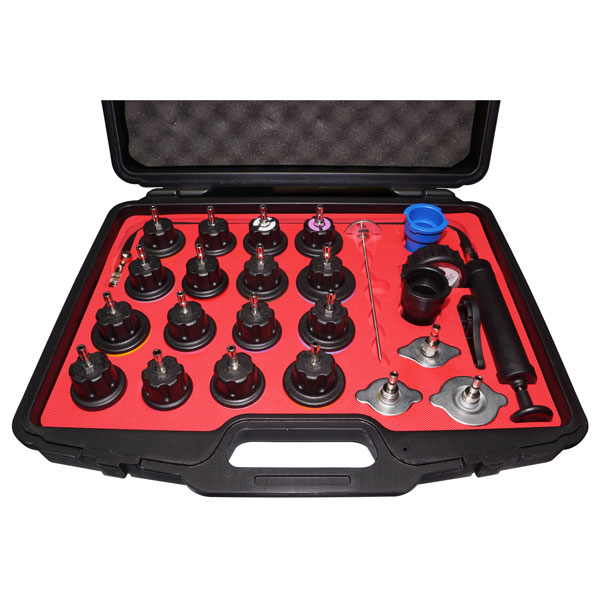
For shops that handle a steady stream of these Chrysler/Jeep Pentastar and 42RLE-equipped vehicles, having the right diagnostic and fastening tools on hand speeds up verification and avoids guesswork-driven comebacks.
[PRODUCT_SEARCH: automotive leak detection and diagnostic tool kit]
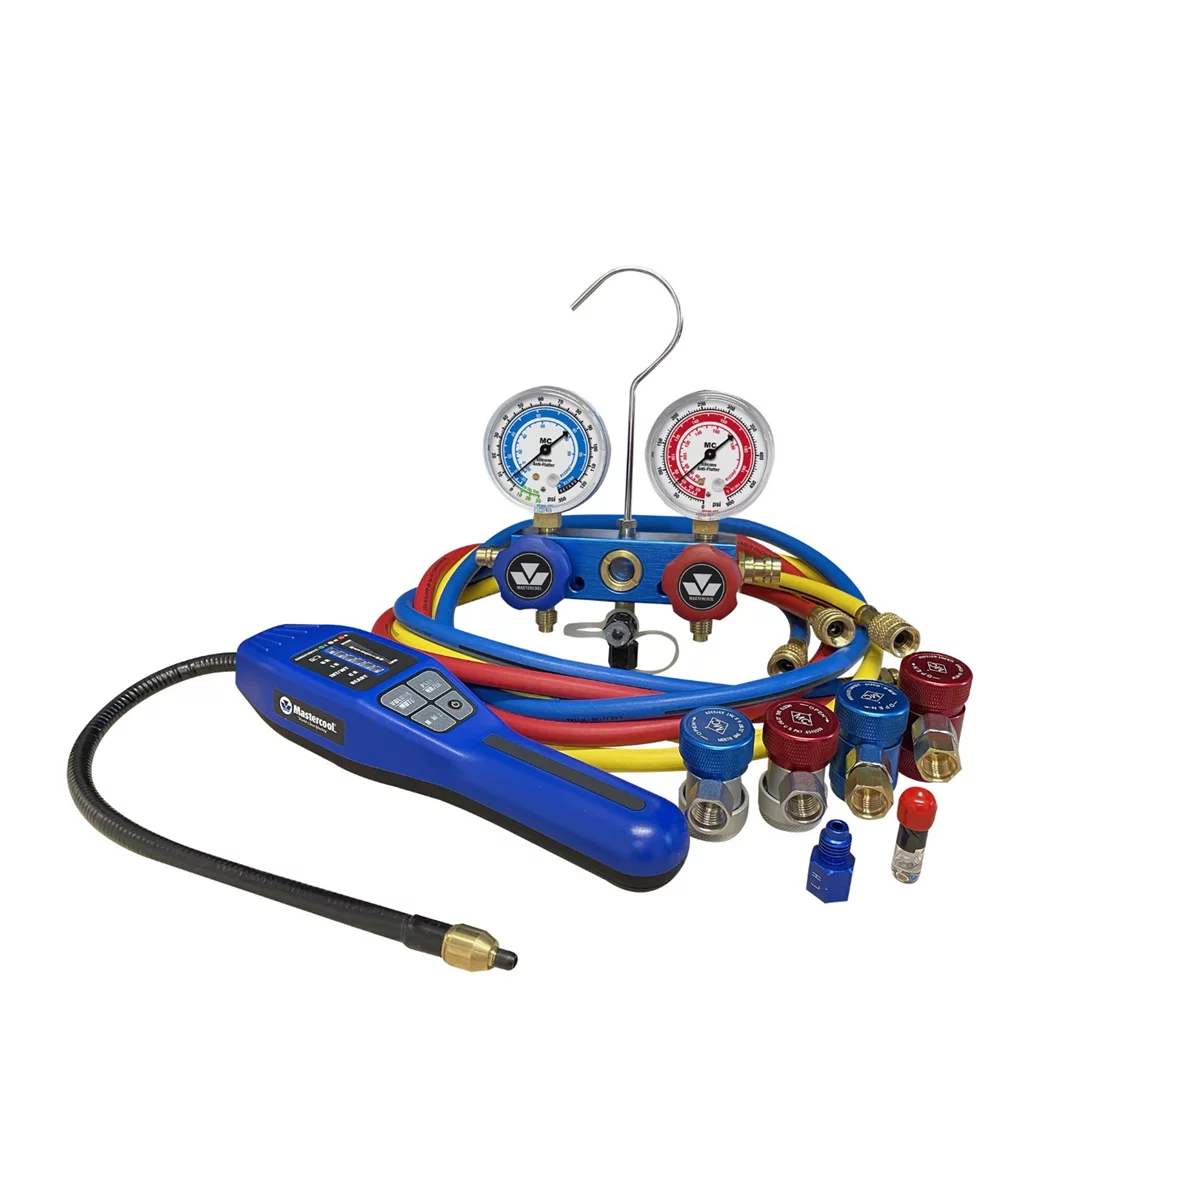
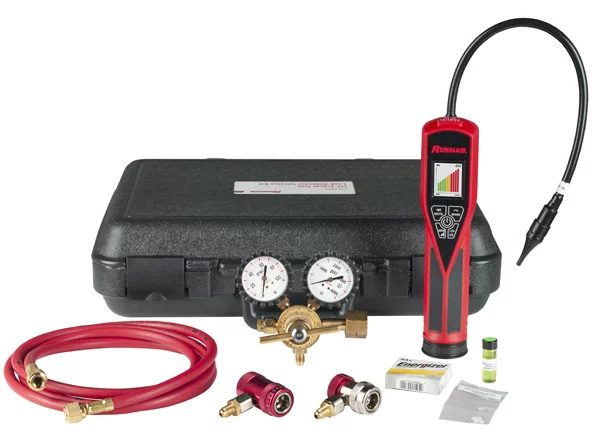
55900-COMBOKIT ELECTRONIC LEAK DETECTOR COMBO KIT
Mfg: Mastercool
Part #: 55900-COMBOKIT
FAQ
Is oil leaking from a Pentastar 3.6L or 3.8L always a filter housing problem?
Not always, but it’s the most common and most documented source on these engines. Confirm by tracing the leak to the housing’s mating surface before ordering parts, since valve cover and oil pan leaks are also possible.
Can I just replace the gasket instead of the whole housing?
You can, but if the housing material itself has degraded or cracked, a gasket-only fix often fails again within months. Inspect the housing closely for cracking before deciding.
Is a visible gap between the transmission bellhousing and engine block always a sign of the wrong transmission?
No. Many transmission castings serve multiple engine applications and have bolt patterns or casting profiles that don’t perfectly trace the block outline. As long as all required bolts are torqued and the vehicle shifts and drives normally, this is typically normal.
How do I tell if a bellhousing leak is engine oil or transmission fluid?
Clean the area, run the vehicle, and check color and smell at the actual source using a flashlight or dye rather than relying on where the drip lands, since fluid travels along the underside of the vehicle before falling.
Should I trust online forum diagnoses for these symptoms?
Use them as a starting point for documented patterns (like the Pentastar housing issue), but verify everything against a physical reference vehicle or OEM documentation before treating a forum consensus as a diagnosis.
What’s the long-term fix for a Pentastar oil filter housing leak?
Many shops move to an aluminum-bodied replacement housing/adapter designed to address the original composite material’s heat-cycling weakness, rather than repeatedly replacing OEM-style plastic housings and gaskets.
Diagnostic Tools for Leak Verification
Accurate diagnosis of oil leaks and transmission issues depends on having the right tools in your shop. The process outlined above—tracing leak sources with UV dye, using a borescope to inspect internal components, and comparing vehicles side-by-side—requires proper diagnostic equipment. Our Automotive Diagnostic Tools selection includes everything needed to confirm leak origins and verify fitment issues without guesswork.
- Leak detection kits with UV dye and markers for pinpointing fluid sources
- Borescopes and inspection cameras for examining hard-to-reach components
- Lighting and magnification tools for detailed visual verification

The Toolsource Technical Team blends decades of real-world automotive service experience with up-to-date technical research. Our writers collaborate with professional mechanics, shop owners, and diagnostic specialists to deliver practical, workshop-ready guidance you can trust.


Follow us on social media