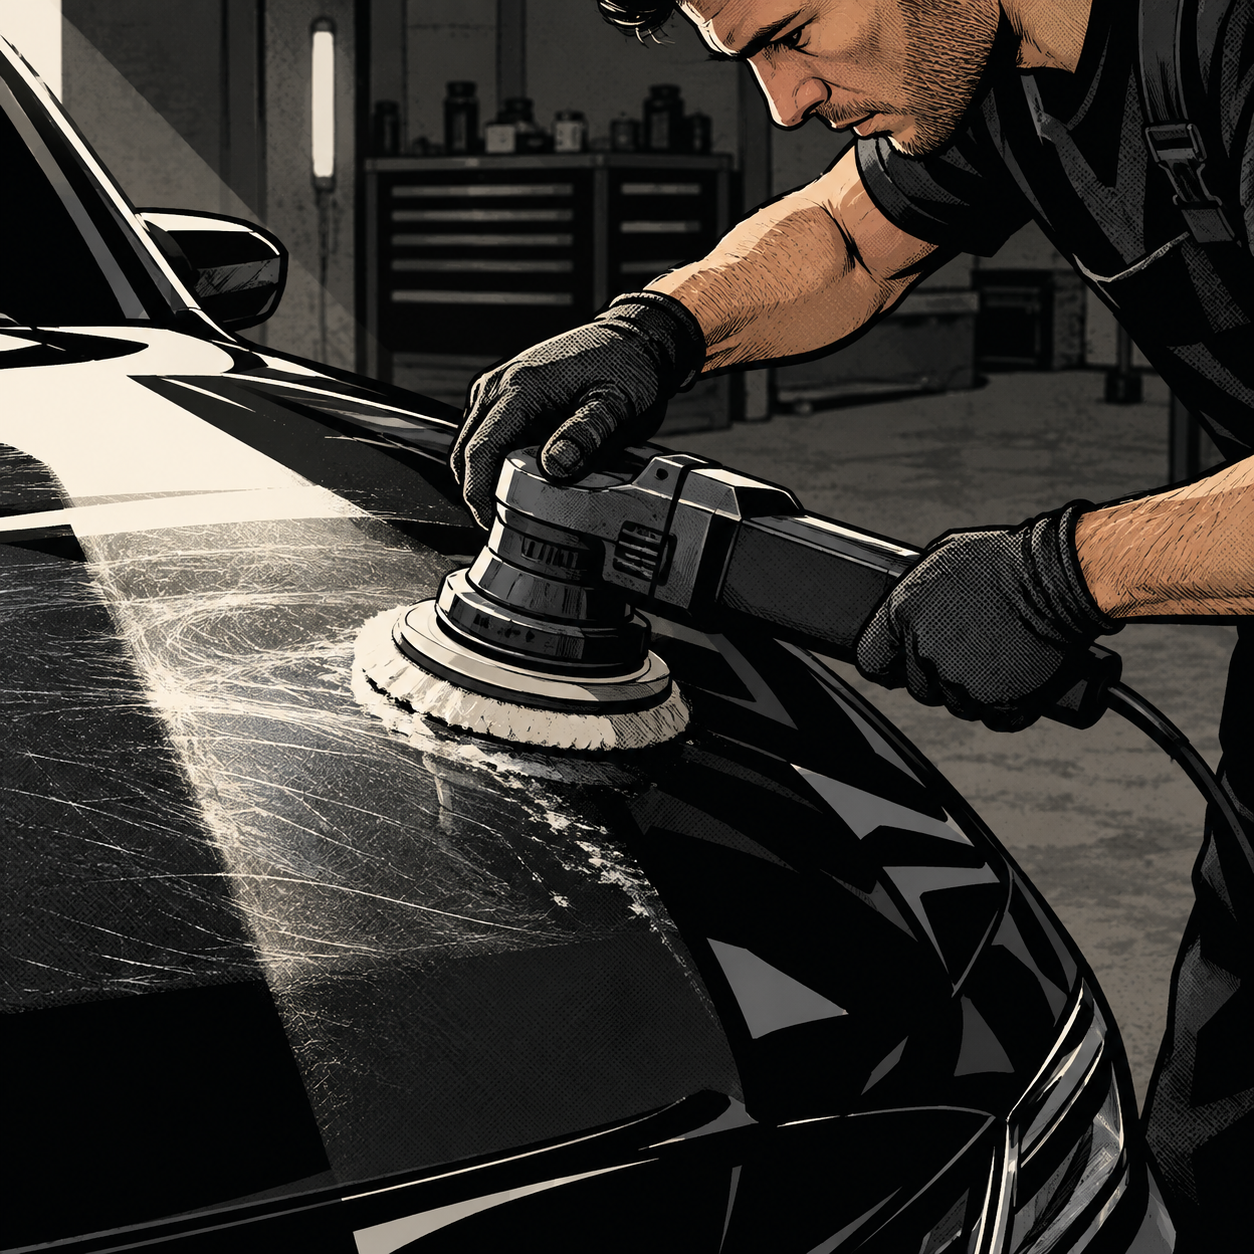
Black paint is the ultimate lie detector for a detailer’s work. It shows every swirl mark, every hologram, every missed spot that a lighter color would quietly hide — and it shows them to the customer in their driveway under the sun, not just under your shop lights. If you’re doing paint correction professionally or as a side hustle, black panels will teach you more about your technique, your lighting setup, and your pricing model than any other color on the road. Below is a practical breakdown of how to inspect, correct, and protect black paint, plus how to handle one of the trickiest situations a detailer runs into: partial PPF coverage left behind by a previous installer.
Why Black Paint Punishes Sloppy Correction
Dark, low-metallic paint has almost nothing to visually break up a scratch, swirl, or buffer trail. On a silver or white vehicle, light scattering off metallic flake or a lighter base coat camouflages minor defects. On black, the clear coat acts like a mirror — any uneven cutting, pad-induced haze, or leftover compound residue reads as a dull patch or a web of fine lines the second the vehicle sits in direct sun.
This cuts both ways. A truly well-corrected black panel looks spectacular and sells itself — satisfied customers tend to come back for maintenance washes and quick details because they notice every bit of dust or light swirling that accumulates afterward. But a rushed or under-polished black panel will get called out immediately, often by the customer’s own phone flashlight. Budget extra time for black vehicles compared to lighter colors, and don’t quote them the same as a silver sedan.
Inspect Under the Right Light Before You Call It Done
You cannot judge correction quality under shop fluorescents or diffused daylight. Swirls, buffer trails, and micro-marring only reveal themselves under hard, directional light — a raking light at a low angle, a dedicated swirl-finder lamp, or direct sunlight hitting the panel at an angle. A quick way to self-check: run a flashlight beam across the panel at a shallow angle in a dark bay. If the surface looks clean under that test, you’re in good shape; if it still looks clean but you haven’t tried a harsher angle or full sunlight, don’t assume you’re finished.
Document your inspection the same way you document the finished job: take close-up, angled shots in direct light, not just wide “after” photos in flat light. Customers and future clients (and anyone reviewing your work online) will judge the result by the harshest lighting they can find, so you should too. If you’re quoting or showing proof of work, close-up raking-light photos are far more convincing than a clean wide shot of the hood.
Product search: LED swirl finder flashlight for detailing inspection


Replacement Switch for Stinger Rechargeable Flashlight
Mfg: Streamlight, Inc
Part #: 75140
Handling Partial PPF and Film Edges the Right Way
Paint protection film has become a common dealer add-on, similar to the old vinyl bras, and it’s increasingly common to find it installed on only part of a panel — half a hood, a partial fender, or a bumper edge. This creates a visible line where film meets bare clear coat, and it’s a problem you inherit, not one you caused. A few rules for handling it:
Don’t try to blend it away by polishing across the edge aggressively. The film and the paint react differently to abrasives and heat; aggressive compounding right at the seam can leave a halo or uneven gloss line that’s more noticeable than the film edge itself. Polish each surface according to what it actually is — paint gets paint-appropriate compounds and pads, film gets film-safe products — and treat the seam itself gently.
Set expectations with the customer first. If the film is old, yellowing, or lifting at the edge, explain that correction can improve gloss on both surfaces but won’t erase the seam. Removing the film entirely and correcting the whole panel as one surface is usually the cleaner long-term fix, but it’s a separate conversation (and separate line item) from a polish-only job.
Check adhesive residue before you polish. If film was partially removed previously, inspect for leftover adhesive along old edges before you put a pad anywhere near it — compounding over residue will load your pad and can smear adhesive across the surrounding paint.
A Repeatable Compound-to-Protection Workflow
Consistency matters more than any single “miracle” product. A dependable sequence for correcting black paint and sealing in the results looks like this:
- Wash and decontaminate first. Clay or a chemical decon removes bonded contaminants that will instantly scratch black paint during the cutting stage.
- Cut with the heaviest compound the paint needs — no heavier. Use a cutting pad and compound combination matched to the actual defect severity, not a default “go hard” setting. Over-correcting removes clear coat you can’t get back.
- Step down in pad/compound aggressiveness. Moving from a cutting pad to a finishing pad and a finishing polish removes the micro-marring the compounding stage leaves behind — this step is what separates “looks shiny” from “looks flawless” under raking light.
- Wipe down with a dedicated panel prep/IPA solution. This removes polishing oils so you can actually see the true finish before applying protection, and ensures wax, sealant, or coating bonds properly.
- Apply protection appropriate to the job and the customer’s budget. A carnauba wax gives excellent warmth and gloss on black paint but needs reapplication every few weeks to a couple of months. A paint sealant lasts longer with similar ease of application. A ceramic coating costs more in time and product but holds up far longer and resists the fine marring that shows so easily on dark colors.
Time Budgeting and Pricing So the Job Actually Pays
It’s easy to sink eight, ten, or even thirty hours into a single vehicle chasing perfection, especially early on when you’re still building speed and confidence. That’s fine for a personal project or a skill-building exercise, but it’s a losing move if you’re running this as a business. A detail that takes ten-plus hours and brings in a flat fee will often net you a loss once you account for pads, compounds, coating product, and your own labor hours.
Set a target time per job based on condition, not perfection-chasing, and quote accordingly. A rough framework:
- Light maintenance correction (minor swirls, good base condition): 2–4 hours.
- Moderate correction (visible swirls, some scratches, one or two problem panels): 5–8 hours.
- Heavy correction (deep swirls, prior bad detailing, multiple problem panels): 8+ hours — and this should be priced as a premium service, not absorbed as overhead.
If a job is running long because of something you discover mid-process — like partial PPF, clear coat failure, or prior bad buffer work — stop and re-quote before continuing. Treating every vehicle as a flat-rate job regardless of condition is how side hustles stay unprofitable.
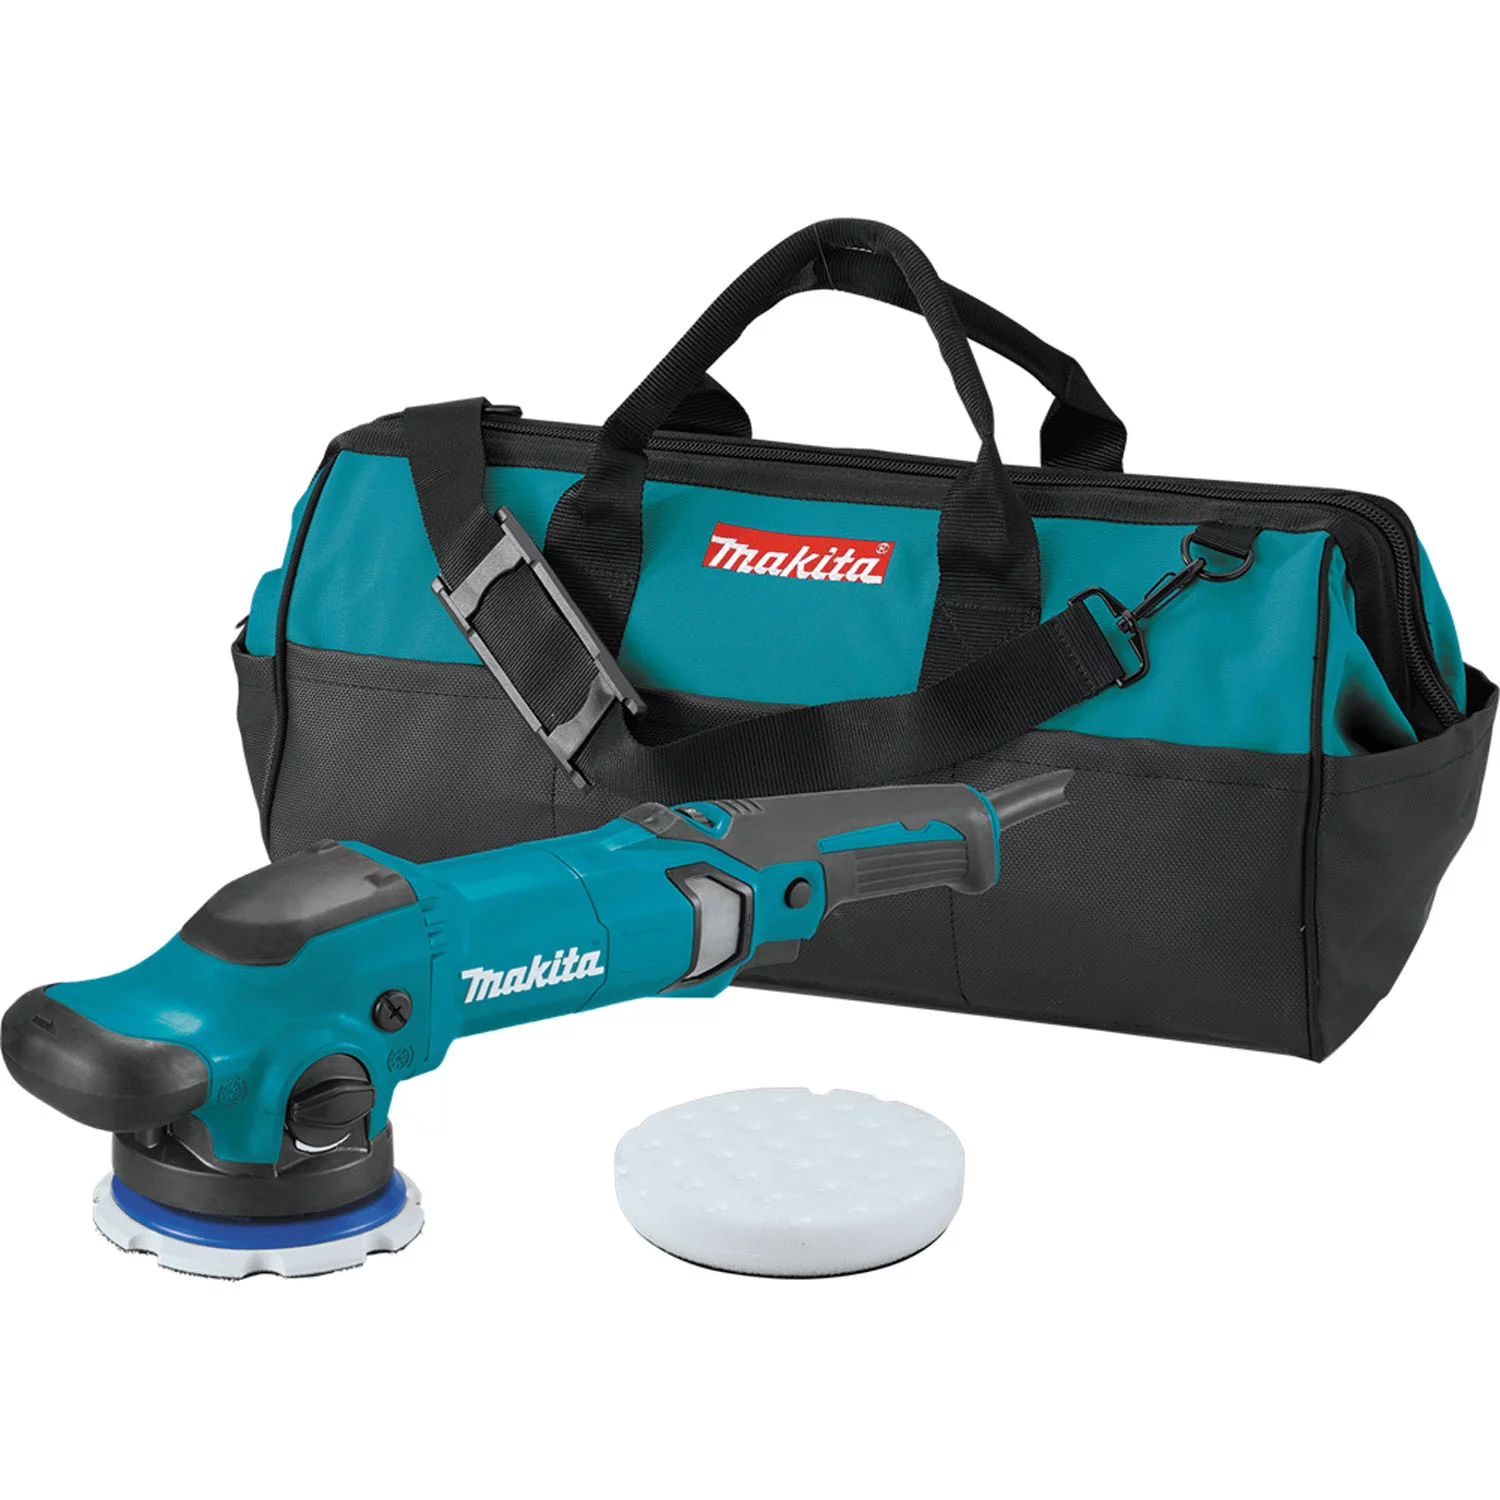
Product search: dual action polisher and pad kit for paint correction
Quick Checklist for Black Paint Correction Jobs
- Wash and decontaminate (clay/chemical decon) before any polishing
- Match compound/pad aggressiveness to actual defect severity, not habit
- Step down to a finishing polish to remove micro-marring from cutting
- Inspect under raking light or direct sun — not shop lighting — before calling it done
- Identify and respect PPF edges; don’t cross-compound film and bare paint the same way
- Wipe down with panel prep/IPA before applying any protection
- Choose wax, sealant, or ceramic coating based on customer budget and expected upkeep
- Track your hours per job and re-quote if scope changes mid-job


FAQs
Why does black paint show swirls more than other colors?
Black and other dark, low-metallic colors have little light-scattering to hide surface imperfections, so fine scratches and buffer trails are far more visible, especially in direct or raking light.
Is it normal for only part of a panel to have paint protection film?
It happens, often as a dealer add-on applied to high-impact areas like a partial hood or bumper, but partial coverage on a single panel is widely considered poor installation practice and leaves a visible seam.
Can I polish over a partial PPF edge to blend it in?
You can improve gloss on both surfaces, but aggressive compounding directly across the film-to-paint seam risks an uneven finish. Full film removal and correcting the panel as one surface is the more reliable fix if the seam needs to disappear.
What’s the best way to check my correction work before handing back the car?
Use a raking or direct light source — a swirl-finder lamp, strong flashlight at a low angle, or direct sunlight — rather than diffused shop lighting, which hides the same defects a customer will spot outdoors.
How long should a paint correction job realistically take?
It depends on paint condition: light maintenance correction can run 2–4 hours, moderate correction 5–8 hours, and heavy correction 8-plus hours. Jobs regularly running past that should be priced as premium work, not treated as standard flat-rate pricing.
Wax, sealant, or ceramic coating — which should I recommend after correction?
Wax gives strong warmth and gloss on black paint but needs frequent reapplication; sealant lasts longer with similar ease; ceramic coating costs more upfront in time and product but offers the longest-lasting protection and marring resistance, which matters most on dark paint.
Shop Paint Correction Supplies
Achieving professional results on black paint requires the right tools and compounds. Our Paint & Body category offers everything from polishers and pads to inspection lighting.
- Cutting and finishing compounds matched to defect severity
- Dual-action and rotary polishers with quality pad sets
- Inspection lighting and evaluation tools

The Toolsource Technical Team blends decades of real-world automotive service experience with up-to-date technical research. Our writers collaborate with professional mechanics, shop owners, and diagnostic specialists to deliver practical, workshop-ready guidance you can trust.


Follow us on social media