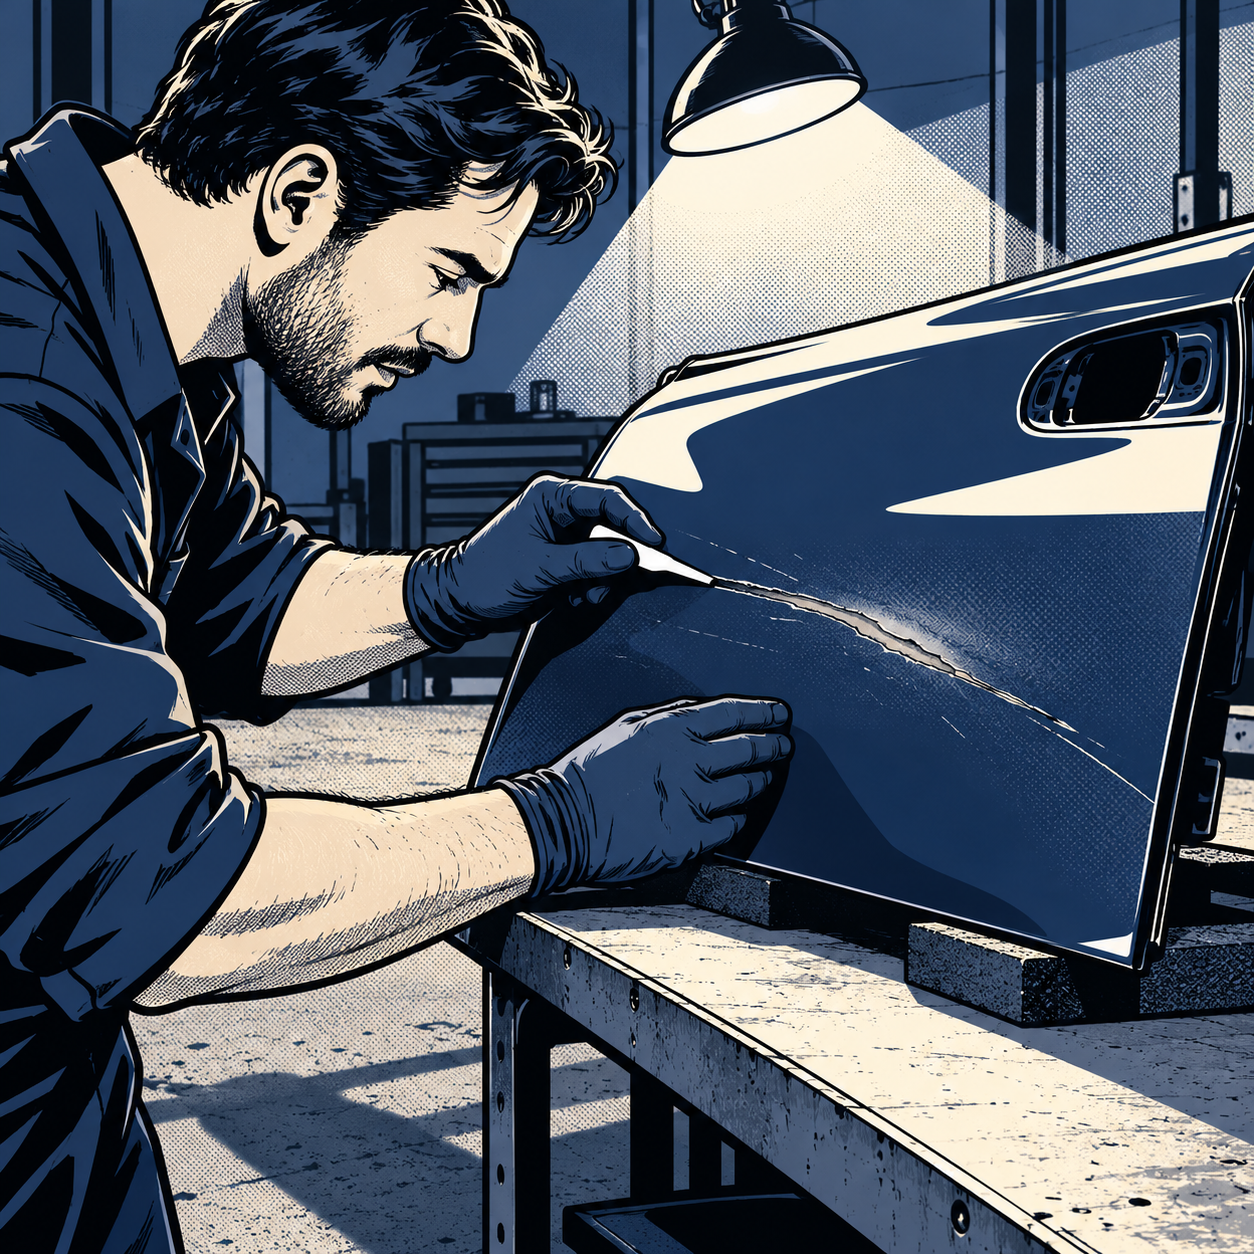
Customers bring in scratched panels almost daily, and nearly every one arrives with a theory about what caused it—an animal, a shopping cart, an ex, or a neighbor with a grudge. The cause matters less to a shop than the diagnosis: how deep did the damage go, which layers of the paint system are affected, and what’s the most cost-effective way to fix it without creating a mismatch down the road. This guide breaks down a repeatable process for assessing scratch and gouge damage, picking the right repair tier, and communicating realistic outcomes to customers.
Step One: Read the Scratch Before You Touch It
Before pulling out any tools, do a visual and tactile inspection in good light—ideally natural daylight or a high-CRI shop lamp, since fluorescent lighting hides depth variation. Run a fingernail or a plastic trim pick lightly across the mark:
- Surface haze or light webbing that catches light at an angle but doesn’t catch a fingernail is usually clear coat only—often from an automatic wash, a loose strap, or a backpack brushing past.
- A scratch that catches your nail but shows no color change has gone through clear coat into the color coat but hasn’t reached primer or metal.
- A gouge with visible color contrast—gray primer, gray e-coat, or bare metal—has gone through all paint layers. This is the category most “keying” complaints fall into, since a key edge is rigid and narrow enough to cut straight through in one pass.
Pattern matters as much as depth. A single, continuous, slightly curved line with consistent pressure typically indicates a deliberate pass—consistent with keying. Multiple shorter, irregular, crossing marks with inconsistent depth are more consistent with repeated incidental contact: branches, a bike pedal, a pet, or debris dragged across the panel during a wash or while driving. Document this on the estimate; it protects the shop if the customer disputes the repair scope or is filing an insurance/police report.
Step Two: Measure Before You Estimate
Don’t eyeball depth—measure it. A paint depth (coating thickness) gauge gives you a baseline reading on an undamaged area of the same panel, then a reading as close to the scratch as the probe allows. The delta tells you how much material you have to work with before you’re sanding into primer. OEM clear coat is typically 1.5–2.5 mils; total paint systems usually run 4–6 mils over e-coat. If your gauge shows you’re already thin on a panel (common on re-painted bumpers or older repaints), be conservative with wet sanding—there’s less margin before you burn through.
Product search: paint depth gauge coating thickness tester


Step Three: Match the Repair to the Depth
Once you know the depth, the repair tier is mostly dictated for you:
- Clear coat only: Machine polish with a cutting compound and firm pad, working in sections, then step down to a finishing polish. No filler needed. This is the cheapest and fastest fix and should be sold as such—don’t upsell a full respray for cosmetic clear coat scuffs.
- Through color coat, not to primer: Use a touch-up pen or airbrush matched to the VIN-specific paint code (not just the color name—many manufacturers run multiple shades under one name), fill level with the surrounding clear, let cure fully, then wet sand with progressively finer grits (1500 → 2000 → 3000) before polishing. Rushing the cure time before sanding is the single most common cause of touch-up failure.
- Through to primer or metal: This needs primer-filler before color. Spot-prime, block sand flush, re-clear, and blend into at least half the adjacent panel to avoid a visible edge. On gouges this deep, flag the panel for a shop estimate rather than a DIY-style touch-up—corrosion can start at bare metal within days in humid climates, so don’t let the repair sit on the schedule.
Step Four: Blend, Don’t Spot-Fix, When Color Is Involved
Anytime you’re laying new color, plan the blend zone before you spray. Spot-fixing a scratch and clear-coating only the damaged inch will almost always leave a visible halo once it cures, even with a perfect color match—metallics and pearls shift with spray angle and film build. Feather the base color out past the repair area, then clear coat the entire panel edge-to-edge (or blend into the adjacent panel with a fade-out reducer) so there’s no hard clear coat edge to catch light. This is also the fix for the common customer complaint of a previously repaired panel “not matching the rest of the car”—usually the result of a prior repair that was spot-cleared instead of blended, or sprayed off a generic code instead of a scan-matched one.
Step Five: Confirm the Repair Holds Before Release
After final cure, inspect under angled light for sand-through (dull spots where clear was cut too thin), orange peel mismatch against factory texture, and edge mapping where the blend meets original paint. Re-measure coating thickness over the repair—if it’s within 0.5–1 mil of the surrounding panel, the blend will hold up visually. Anything thinner is a callback waiting to happen.
Checklist: Scratch Damage Workflow
- Inspect in strong, even light; note pattern (single pass vs. irregular/crossing)
- Measure coating thickness on damage and adjacent clean panel
- Classify depth: clear only / through color / through to primer-metal
- Pull VIN-specific paint code, not just color name
- Select repair tier: polish / touch-up + sand / primer-fill + blend respray
- Plan blend zone before spraying to avoid visible edges
- Re-check coating thickness and texture match after final cure
Product search: automotive paint correction and scratch repair tools

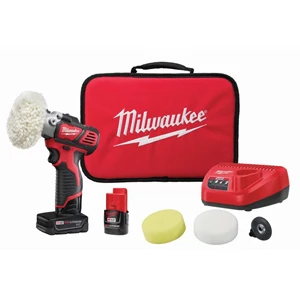
M12 REDLITHIUM 12V Variable Speed Polisher Sander Kit
Mfg: Milwaukee Electric Tools
Part #: 2438-22X
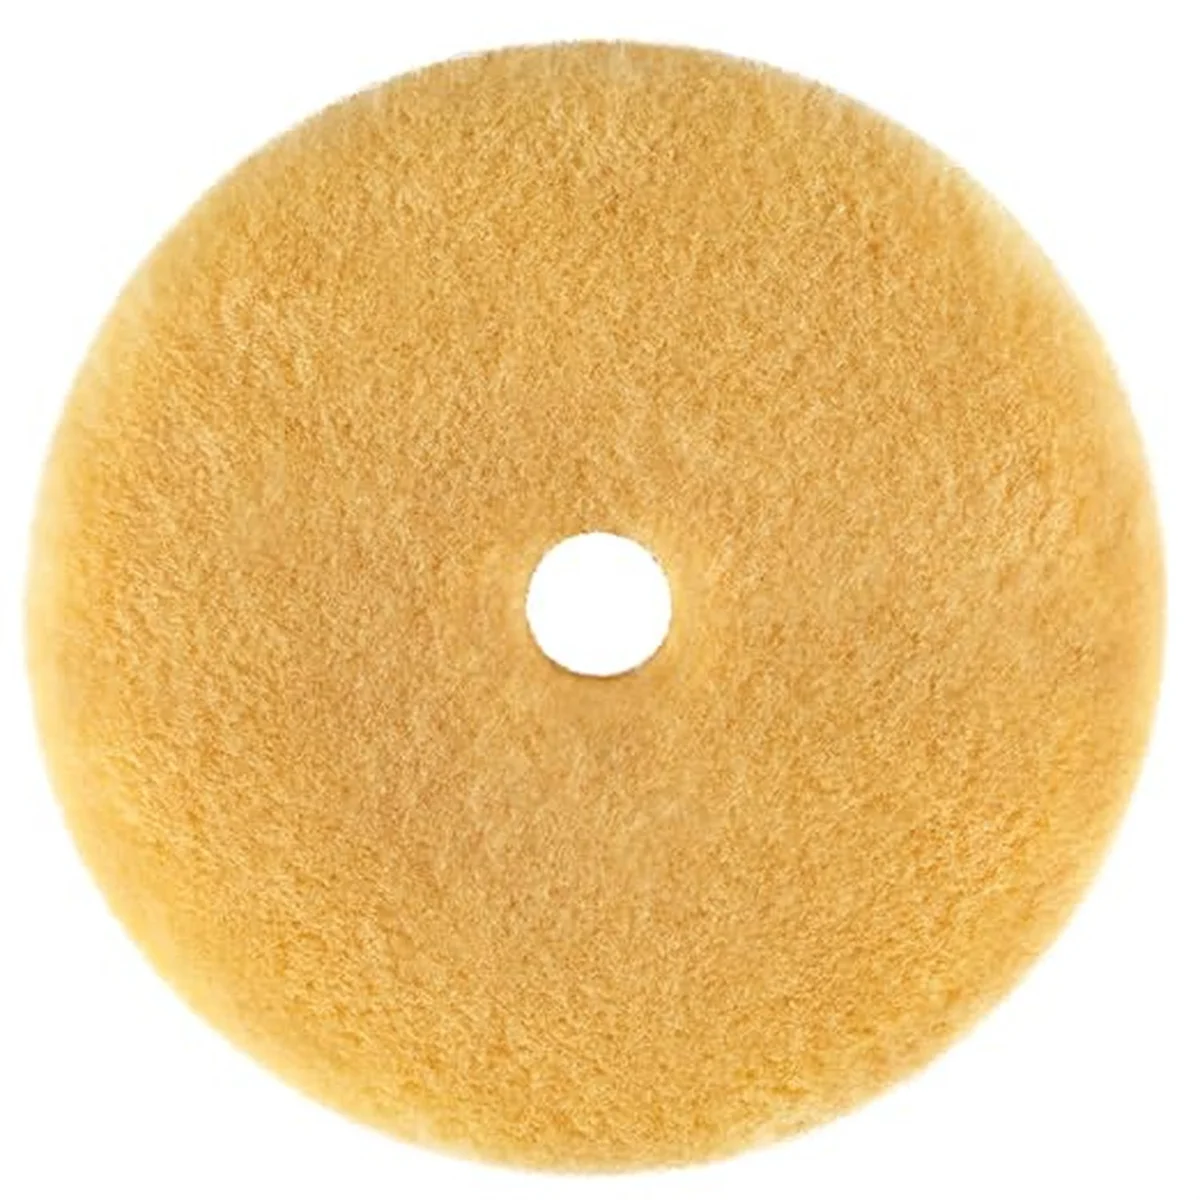
Rupes WOOL POLISHING PAD, DA MEDIUM, 160mm, SINGLE PAD
Mfg: Rupes Tools
Part #: 9-NW160M
FAQ
How can I tell if a scratch was keyed versus caused by an animal or debris?
Keying produces a single, continuous, fairly straight or gently curved line with uniform depth, often at a consistent height matching hand reach. Animal or debris contact tends to produce shorter, irregular, crossing marks with inconsistent depth and direction.
Can a deep scratch be buffed out, or does it need filler?
Buffing only works if the damage is confined to clear coat. Any scratch that shows a color change when viewed closely needs touch-up paint or primer-filler before clear coat and polish—buffing alone won’t restore removed material.
Why doesn’t my touch-up repair match the rest of the panel?
Usually one of three causes: a wrong or generic paint code instead of a VIN-specific match, insufficient cure time before sanding/polishing, or a hard clear coat edge from spot-clearing instead of blending into the full panel.
How deep does a scratch need to be before it risks rust?
Once a scratch reaches bare metal (through clear, color, and primer/e-coat), corrosion can start within days in humid or salted-road conditions. Treat any metal-exposing gouge as a priority repair, not a cosmetic one.
Is a paint depth gauge really necessary for a simple scratch repair?
Yes for any panel with unknown repaint history. It tells you how much clear coat margin you have before wet sanding burns through, and confirms after the repair that new coating thickness matches the surrounding panel—both reduce callbacks.
Should I recommend a full respray instead of a blend repair?
Only when the panel has multiple deep gouges, significant prior clear coat thinning, or color that’s faded enough that even a good blend will show a boundary. For an isolated gouge on sound paint, a properly blended spot repair is faster, cheaper, and holds up as well as a full respray.
Recommended Tools
Properly diagnosing and repairing paint scratches requires the right tools and supplies. Our Paint & Body section stocks paint depth gauges, touch-up systems, polishing compounds, and finishing supplies to execute the workflow covered in this guide.
- Paint depth gauges for measuring coating thickness and assessing damage depth
- Touch-up paints, primers, and fillers in VIN-specific color matches
- Polishing compounds, buffing pads, and sandpaper for surface finishing and blending

The Toolsource Technical Team blends decades of real-world automotive service experience with up-to-date technical research. Our writers collaborate with professional mechanics, shop owners, and diagnostic specialists to deliver practical, workshop-ready guidance you can trust.


Follow us on social media