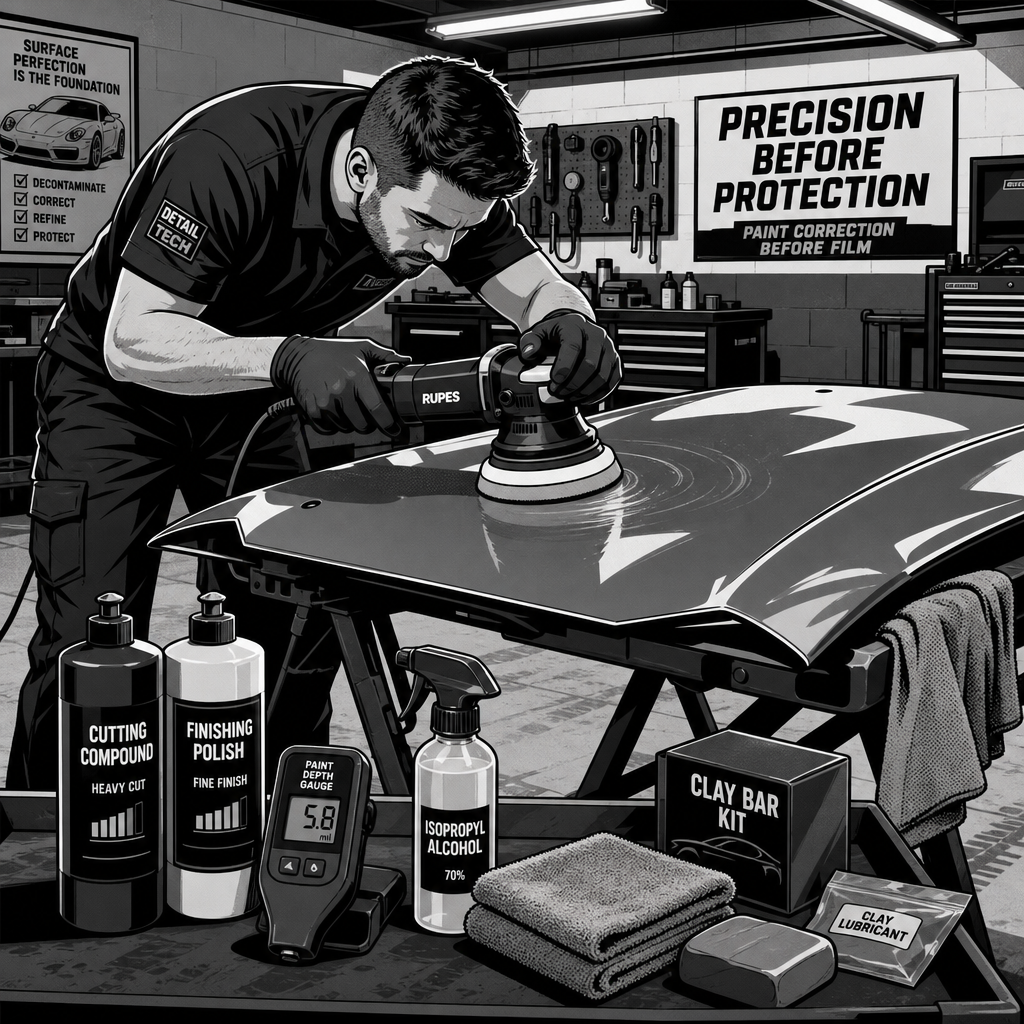
Paint protection film represents a significant investment in vehicle finish preservation, but that investment becomes worthless when installers skip the critical paint correction step. The adhesive layer in quality PPF is designed to fill minor imperfections, but it cannot mask swirl marks, deep scratches, or oxidation that should have been removed during prep. When PPF goes over uncorrected paint, those defects become permanent fixtures under the film—visible every time light hits the surface at the right angle. Understanding what proper paint correction looks like, how to verify it was actually performed, and what recourse you have when shops cut corners will help you protect both your vehicle and your wallet.
Understanding Paint Correction Requirements for PPF
Paint correction is not optional before PPF installation—it’s a mandatory prep step that determines whether your protection film will enhance or degrade your vehicle’s appearance. The process involves using progressively finer abrasive compounds and polishing pads to remove a microscopic layer of clear coat, eliminating swirl marks, light scratches, water spots, and oxidation. This creates a smooth, defect-free surface that allows the PPF to bond properly and appear virtually invisible.
The correction level required depends on the paint’s condition. A new vehicle with dealer-installed swirls from automatic car washes needs a single-stage polish to remove those light defects. Older vehicles or those with more severe paint damage require multi-stage correction: cutting compounds to remove deeper scratches, followed by polishing compounds to refine the finish, and finally finishing polishes to eliminate any haze left by the previous steps.
Quality installers perform this work under high-intensity LED lighting that reveals every defect. They document the before condition with photos, discuss correction expectations with the customer, and photograph the corrected surface before film application. When shops skip this documentation, it’s often because they’re planning to skip the work itself.
The paint correction step typically adds 4-8 hours to a full front-end PPF installation, depending on paint condition and vehicle size. Shops that quote suspiciously low prices or promise same-day turnaround on full installations are usually cutting this corner. The math is simple: proper paint correction cannot be rushed, and shops that don’t charge appropriately for this time aren’t performing it.
Identifying Incomplete or Skipped Paint Correction
Swirl marks under PPF are the most obvious indicator of skipped paint correction. These circular scratches appear as spider-web patterns when you view the paint under direct sunlight or bright overhead lighting. If you can see distinct swirl marks through the film, especially in patterns that suggest rotary buffer marks or automatic car wash damage, the paint was not corrected before installation.
Water spot etching, oxidation hazing, and random scratches visible under the film also indicate incomplete prep. These defects should have been removed during correction. The PPF adhesive will fill very minor imperfections—hairline scratches less than 0.5 mil deep—but anything deeper or wider remains visible. If you’re seeing defects through the film, they’re too significant to have been acceptable before installation.
Partial correction is another common shortcut. Installers might correct only the areas that will be visible after PPF installation, leaving uncorrected sections at panel edges or in areas they consider “less important.” This creates a distinct line where corrected paint meets uncorrected paint, visible as a difference in gloss level or defect density. No professional installer should deliver work with visible correction boundaries.
Check the invoice and work order carefully. Legitimate paint correction should be itemized as a separate line item with specific hours allocated. If your invoice shows “paint correction included” with no time breakdown, or if the total labor hours seem insufficient for both correction and installation, you probably didn’t receive proper correction. A full front-end PPF installation with proper paint correction on a sedan typically requires 12-16 hours of skilled labor; anything less suggests corners were cut.
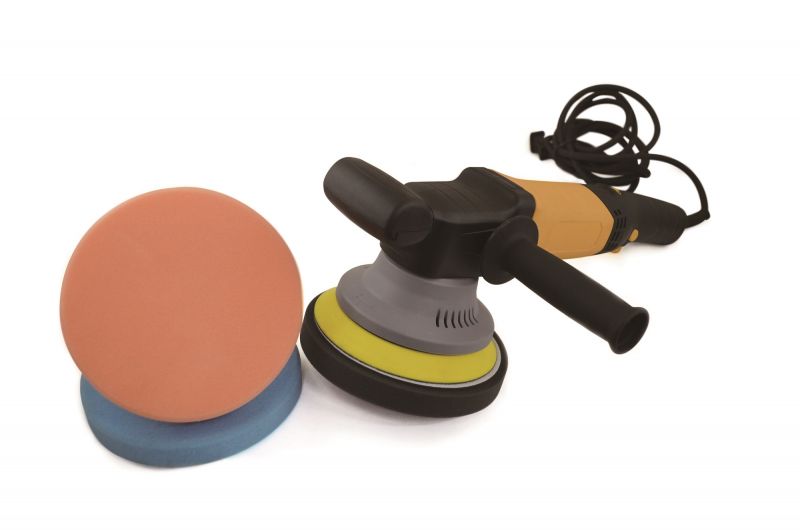
Electric 6" Dual Action Random Orbital Polisher W/ 3pc Pad Kit -
Mfg: Astro Pneumatic
Part #: 3058
Body Shop Professional Dual Action Cleaner / Polish - 32 Oz
Mfg: Meguiars
Part #: M8332
Proper Paint Correction Process and Standards
Professional paint correction for PPF prep begins with a thorough wash using pH-neutral soap and a two-bucket method to remove loose contamination. The vehicle is then decontaminated using a clay bar or synthetic clay mitt to remove bonded contaminants—industrial fallout, tree sap, tar, and embedded dirt—that would interfere with polishing. This step is non-negotiable; attempting to polish over contamination drives particles across the paint, creating new scratches.
Paint thickness measurements come next. Technicians use a digital paint depth gauge to measure clear coat thickness at multiple points across each panel. This data determines how aggressive the correction can be without risking burn-through to the base coat. Most modern automotive clear coats measure 1.5-2.5 mils thick; correction removes 0.2-0.5 mils depending on defect severity. Panels with thin clear coat, previous repairs, or inconsistent readings require more conservative approaches.
The actual correction involves machine polishing with appropriate pad and compound combinations. Heavy defects require a cutting stage using a wool or microfiber pad with a compound containing larger abrasive particles. Moderate correction uses a polishing pad with medium-cut polish. Final finishing uses a soft foam pad with a fine polish to remove any hazing left by previous steps. Each stage must be followed by panel cleaning with isopropyl alcohol to verify that all defects from the previous stage have been removed and no residue remains.
High-intensity LED lighting during the entire process ensures the technician can see exactly what they’re correcting. Work performed under poor lighting conditions invariably misses defects that become obvious once the vehicle is outside. The corrected surface should show consistent gloss with no swirl marks, scratches, or haze when viewed under direct sunlight at multiple angles. If the shop cannot or will not show you the corrected paint under bright lighting before film application, walk away.
Working with Film Brand Requirements and Quality Standards
Premium PPF manufacturers like XPEL, Llumar, Suntek, and 3M maintain certified installer networks with specific training and quality requirements. These manufacturers understand that their film’s reputation depends on proper installation over properly prepared paint. Certified installers receive training on paint correction standards specific to PPF applications, and many manufacturers require correction as part of their warranty terms.
Film selection matters significantly. Top-tier films feature self-healing topcoats, advanced adhesives that minimize orange peel, and superior optical clarity that won’t hide poor paint correction. Lower-tier films, particularly off-brand products from unknown manufacturers, often feature thicker adhesive layers and lower clarity specifically because they’re expected to be installed over poorly prepared paint. When a shop pushes an unfamiliar film brand, investigate whether they’re selecting film that will mask their own shortcuts.
Warranty terms reveal quality expectations. XPEL’s manufacturer warranty, for example, requires certified installation and doesn’t cover defects visible under the film at the time of installation. This means if you accept a vehicle with visible swirl marks under the film, you’ve accepted that the paint was not properly corrected, and the manufacturer won’t cover it. Read warranty terms carefully and document everything before accepting the vehicle.
Ceramic coating over PPF is a common upsell, but it’s irrelevant if the paint underneath wasn’t corrected. Ceramic coatings provide hydrophobic properties and some UV protection, but they cannot fill scratches or hide swirl marks—that’s the paint correction step’s job. If a shop skips paint correction but still charges for ceramic coating, they’re either incompetent or fraudulent. Proper sequence is: paint correction, PPF application, then optional ceramic coating over the film.
Quality Inspection Checklist Before Accepting Work
Never accept a PPF installation without performing a thorough inspection under multiple lighting conditions. Start indoors under the shop’s lighting, but insist on viewing the vehicle outside in direct sunlight. Swirl marks and other defects that might be invisible under diffused shop lighting become obvious in bright, directional light.
- View all PPF-covered panels under direct sunlight at multiple angles, looking specifically for swirl marks, scratches, water spots, or oxidation visible through the film
- Check panel edges where PPF meets unprotected paint for differences in gloss level or defect density that indicate partial or skipped correction
- Verify that PPF coverage matches what you paid for—full hood, full fenders, complete bumper coverage with no unexplained gaps
- Inspect film edges for proper tucking, sealing, and absence of lifting or bubbling that indicates poor adhesive preparation
- Pour water across PPF-covered panels to verify ceramic coating application if you paid for it—properly coated surfaces should sheet water cleanly with minimal beading
- Review all documentation including before photos, correction details, and film brand verification to ensure what you paid for matches what was delivered
Document everything with your own photos if you notice defects. Take pictures showing swirl marks or scratches through the film, partial correction lines, or any other quality issues. These photos become critical if you need to demand correction work or pursue a refund. Most importantly, do not authorize final payment until you’re satisfied with the work quality.
Addressing Failed Paint Correction After PPF Installation
When you discover that paint correction was not properly performed after PPF has been installed, you face a challenging situation. The only correct remedy is complete PPF removal, proper paint correction, and reinstallation of new film. This represents significant time and material cost for the shop, which is why many installers resist this solution.
Start with clear documentation. Photograph all defects visible through the film under good lighting. Compare these images to any before photos the shop provided. If they documented pre-existing defects and those same defects are now visible under the film, they’ve proven they didn’t correct the paint. Contact the shop immediately, provide your documentation, and request a specific correction plan with timeline.
Be prepared for pushback. Shops may claim the defects are “normal,” that PPF “isn’t supposed to hide scratches,” or that you accepted the work so it’s too late to complain. These responses are incorrect. PPF installed over properly corrected paint should show no swirl marks or scratches—that’s the entire point of paint correction. The fact that you drove the vehicle off the lot doesn’t mean you accepted defects you couldn’t see until you got it into proper lighting.
Escalation options include manufacturer complaints if certified film was used, credit card chargebacks for services not rendered, and reviews on platforms where the shop advertises. Most shops will eventually agree to correction work rather than accept the reputation damage. However, consider whether you trust a shop that cut corners on the initial installation to properly correct their work. In many cases, accepting a refund for the correction and ceramic coating portions and taking the vehicle to a reputable shop for strip-and-redo makes more sense than letting the original installer compound their mistakes.
The nuclear option is demanding complete refund, vehicle restoration to pre-installation condition, and taking your business elsewhere. This is appropriate when the quality failures are severe, when the shop refuses reasonable correction, or when you’ve lost confidence in their competence. Document everything, maintain professional communication, and be prepared to involve your payment provider or small claims court if necessary.
Selecting a Quality PPF Installer
Avoiding paint correction failures starts with choosing an installer with demonstrated expertise and appropriate equipment. Certified installers for major film brands undergo training and maintain quality standards to keep their certifications. While certification doesn’t guarantee perfect work, it indicates the installer has invested in proper training and has recourse if they deliver substandard results.
Visit the shop before committing. A quality PPF installation facility should have a clean, climate-controlled installation bay with professional lighting, a separate paint correction area with proper ventilation, and organized tool storage. The presence of proper equipment—dual-action polishers, paint depth gauges, high-intensity LED inspection lights, and film cutting software—indicates serious capability. Shops operating out of generic garage bays with minimal equipment usually deliver work quality that matches their investment level.
Request to see completed work in person, not just photos on social media. Shops that maintain high standards are proud to show off their installations and will let you inspect finished vehicles before you commit. Look at panel edges, film clarity, and absence of visible defects. Talk to customers picking up vehicles and ask about their experience. A shop with nothing to hide welcomes this scrutiny.
Get detailed quotes in writing that break down paint correction labor, film material, installation labor, and any additional services separately. Quotes that lump everything into a single “PPF package” price make it impossible to verify what work was actually performed. Expect to pay appropriately for quality work—full front-end PPF with proper paint correction on a sedan typically runs $1,500-$2,500 depending on region and film brand. Quotes significantly below this range usually indicate shortcuts.
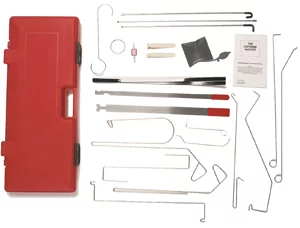
Supreme Master Automotive Lockout Tool Kit LT-1000
Mfg: Lock Technology LTI by Milton
Part #: 1000
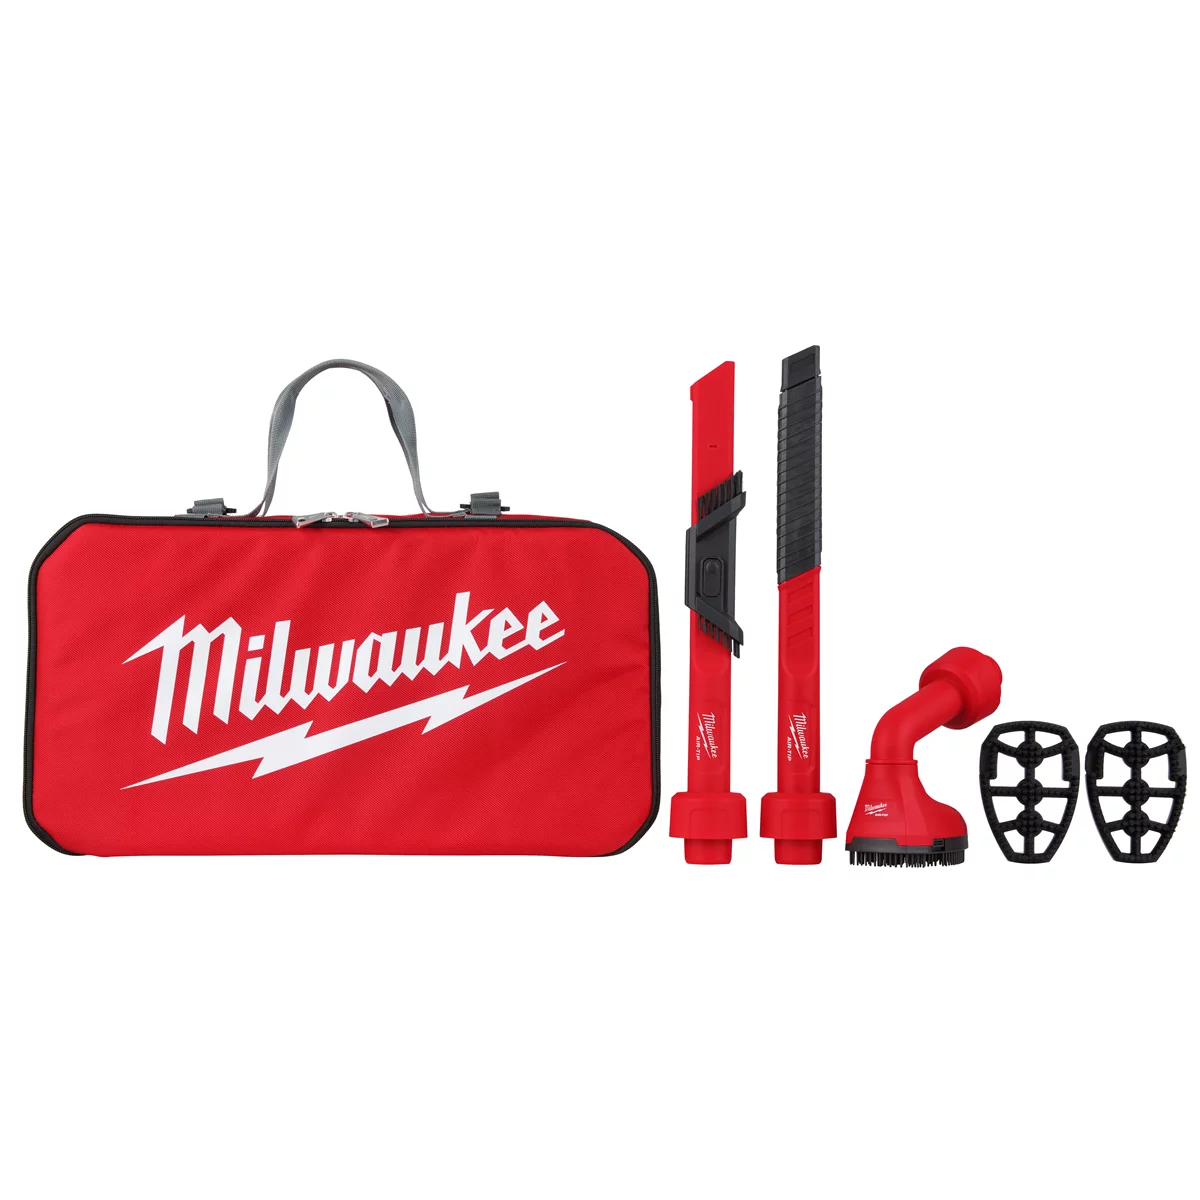
AIR-TIP(TM) 3-Piece Automotive Vacuum Tool Kit
Mfg: Milwaukee Electric Tools
Part #: 49-90-2019A
Frequently Asked Questions
Can PPF hide swirl marks and light scratches?
PPF can fill very minor imperfections—hairline scratches less than 0.5 mil deep—making them less visible. However, typical swirl marks from improper washing or automatic car washes are too pronounced for the film adhesive to hide. These defects require proper paint correction before PPF installation, or they’ll remain visible through the film permanently.
How long does proper paint correction take before PPF?
Paint correction time depends on vehicle size and paint condition. A new vehicle requiring only swirl mark removal might need 4-6 hours. Vehicles with moderate paint damage require 6-10 hours for multi-stage correction. Severely damaged paint can require 12+ hours of correction work before it’s ready for PPF. Shops promising same-day PPF installation are usually skipping adequate correction time.
Should I insist on seeing the corrected paint before PPF installation?
Absolutely. Request photos of the corrected paint under high-intensity lighting before any film is applied. Quality installers document their work at every stage and welcome customer review. If a shop refuses to show you corrected paint before covering it with film, they’re likely skipping the correction step entirely.
What should I do if I discover poor paint correction after driving away?
Document all visible defects with photos under good lighting, contact the shop immediately with your documentation, and request a specific correction plan. The only proper remedy is PPF removal, paint correction, and new film installation. Don’t accept partial corrections or claims that visible defects are “normal”—properly installed PPF over corrected paint should show no swirl marks or scratches.
Does ceramic coating over PPF eliminate the need for paint correction?
No. Ceramic coating provides hydrophobic properties and UV protection but cannot hide paint defects. The correction must happen before PPF installation, then optional ceramic coating can be applied over the film. Shops that skip paint correction but still charge for ceramic coating are not delivering value.
Are off-brand PPF films adequate if properly installed?
Film quality matters significantly. Premium brands like XPEL, Llumar, Suntek, and 3M offer superior optical clarity, self-healing properties, and warranty support. Off-brand films often feature thicker, less clear adhesive layers that can’t match this performance. More concerning, shops that use unknown film brands often do so because they’re cutting corners across the entire installation process, including paint correction.
Paint Correction Tools & Supplies
Proper paint correction before PPF installation requires the right equipment and compounds. Our Paint & Body category stocks professional-grade polishing pads, cutting compounds, finishing polishes, and inspection tools that technicians need to prepare paint surfaces correctly.
- Machine polishing pads and compounds for multi-stage correction
- Paint depth gauges and inspection lighting for quality verification
- Clay bars and decontamination products for pre-correction prep

The Toolsource Technical Team blends decades of real-world automotive service experience with up-to-date technical research. Our writers collaborate with professional mechanics, shop owners, and diagnostic specialists to deliver practical, workshop-ready guidance you can trust.


Follow us on social media