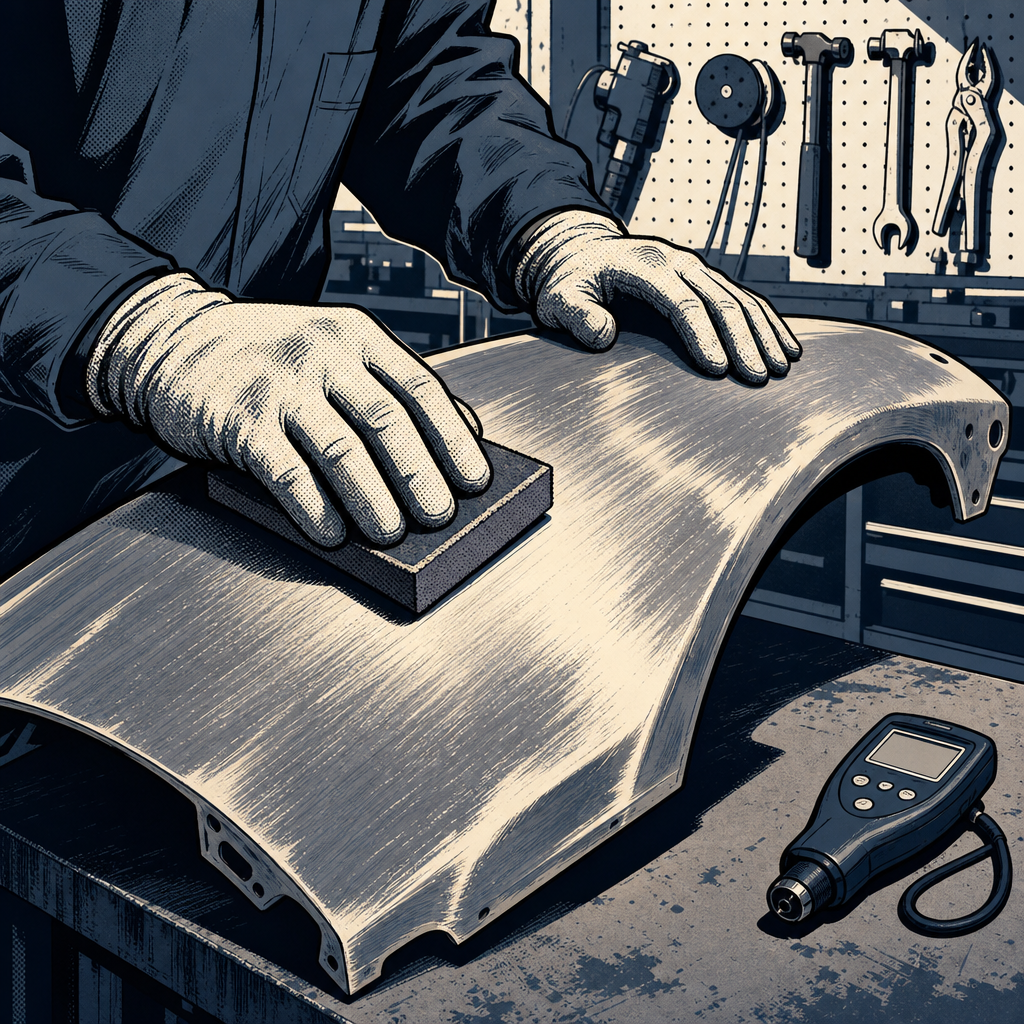
When paint lifts off an aluminum body panel in sheets, it’s not a defective coating—it’s a repair process that skipped critical steps. Paint delamination on aluminum surfaces stems from three primary failures: inadequate mechanical adhesion, improper primer application, or insufficient cure time. Modern aluminum panels, particularly on GM trucks and other vehicles using aluminum-intensive construction, require specific prep and priming protocols that differ significantly from traditional steel repair. Understanding where the previous repair went wrong is essential before stripping and redoing the work correctly.
Identifying the Failure Point in Paint Delamination
The first step in any delamination diagnosis is determining which layer failed. Paint systems on aluminum consist of e-coat (factory electrocoat, typically green on GM vehicles), primer or UV primer, sealer, basecoat, and clearcoat. When examining delaminated paint, the failure layer tells you exactly what went wrong.
If the paint separates cleanly from bare or sanded aluminum, you’re looking at adhesion failure between the substrate and the first primer layer. Raw aluminum or previously sanded aluminum that shows no e-coat coverage indicates a repair panel or damaged area where the factory coating was removed. The failure occurs because the surface wasn’t properly prepared for mechanical adhesion.
UV primer failure presents differently. The primer itself delaminates as a cohesive layer, often curling inward when exposed to UV radiation. This specific pattern—where the failed primer shows shrinkage and cracking—indicates the material wasn’t fully cured before topcoats were applied. Trapped solvents continue evaporating under the paint film, eventually causing the primer to shrink, crack, and separate. Excessive primer thickness compounds this issue, as the bottom layers can’t cure properly even when the surface feels dry.
White rust or galvanic corrosion visible under failed paint points to moisture intrusion, typically from inadequate sealer application over bare aluminum or insufficient edge sealing. Aluminum oxide forms rapidly when aluminum is exposed to moisture, and this powdery white oxide has zero adhesion properties.
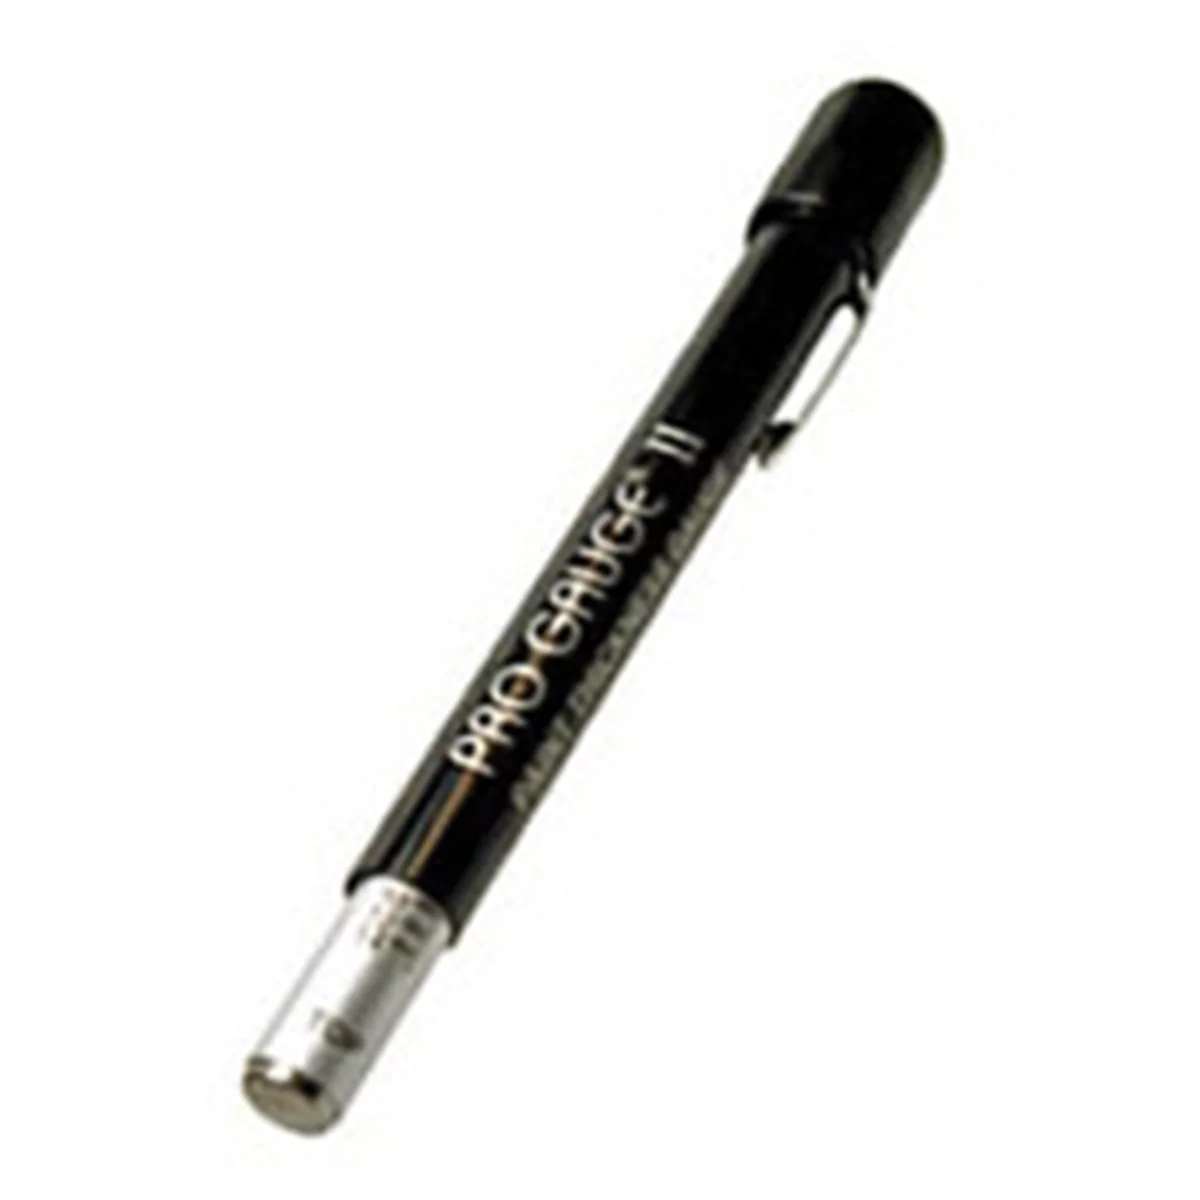
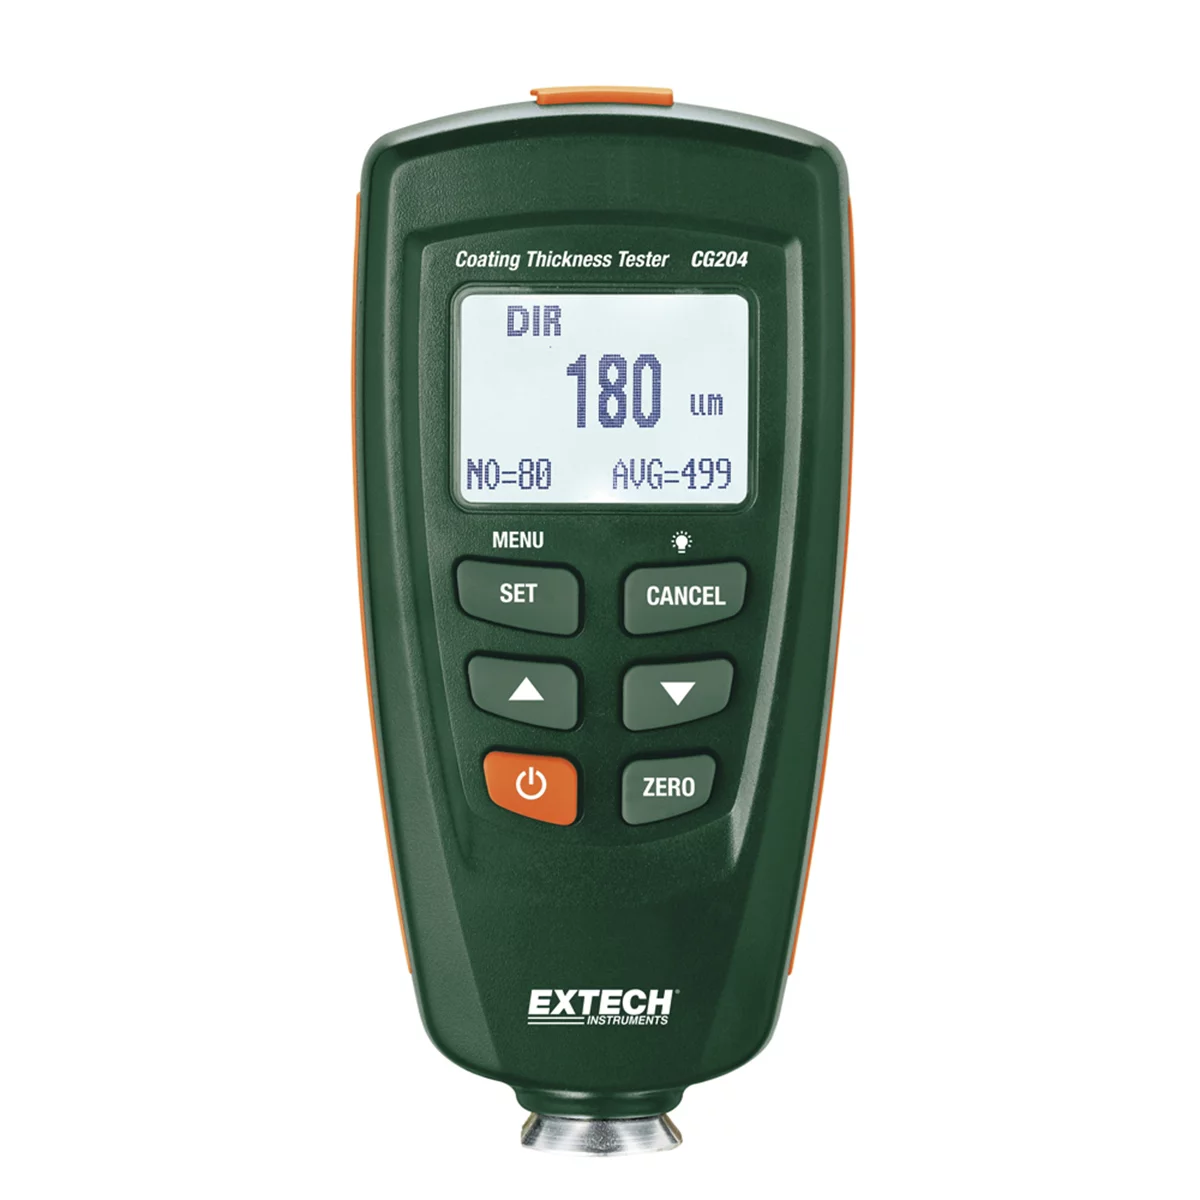
Use a paint thickness gauge across the entire panel and adjacent panels. Factory paint typically measures 60-75 microns total (10 microns primer, 15-18 microns basecoat, 38-48 microns clear on GM vehicles). Readings over 100 microns indicate repair work. Check all panels with elevated readings, as shops that cut corners on one repair likely did the same elsewhere on the vehicle.
Understanding UV Primer Application and Curing Requirements
UV primers have become standard in many body shops because they dramatically reduce cycle time—when used correctly. These primers cure through ultraviolet light exposure rather than air drying or baking, allowing for rapid progression to basecoat. However, this speed creates opportunities for critical errors that lead to delamination.
UV primer requires specific substrate preparation. Most manufacturers, including BASF and other major suppliers, specify 180-220 grit sanding for mechanical adhesion. Using finer grits like 320 or higher creates a surface too smooth for the primer to grip. The scratches from proper grit sandpaper provide essential mechanical bite that complements the chemical adhesion of the primer.
Application thickness is critical. UV primer must be applied in thin, even coats. Excessive thickness in a single application prevents UV light from penetrating to the bottom layers, leaving uncured material at the substrate interface. This uncured primer may feel dry on the surface but remains soft underneath. When basecoat and clearcoat are applied, the uncured primer continues trying to cure, shrinking and outgassing solvents that cause delamination weeks or months later.
Proper UV curing requires adequate lamp exposure time and intensity. Shops that rush this step or use worn-out UV lamps compromise the cure. The entire primed surface needs consistent UV exposure—shadowed areas or inadequate lamp positioning leaves sections partially cured. After UV exposure, some UV primers still require a flash time before topcoating to allow any remaining solvents to escape.
Temperature matters during application and curing. UV primers applied in cold conditions or to cold panels may not flow and level properly, creating adhesion issues even after UV curing. Ambient temperature should meet manufacturer specifications, typically 60-80°F during application.

Proper Aluminum Surface Preparation for Paint Adhesion
Aluminum body panel preparation starts with understanding what you’re working with. Factory e-coat must be identified and properly treated. GM’s green e-coat provides excellent corrosion protection but requires scuffing (not removal) and sealer application before priming. Never apply primer directly over scuffed e-coat—the sealer provides the adhesion bridge between e-coat and primer systems.
When working with bare aluminum—whether from a replacement panel or complete paint removal—the preparation sequence is non-negotiable. After any bodywork or filler application is complete, the entire repair area must be sanded with 180-220 grit abrasive. This creates the scratch pattern necessary for mechanical adhesion. Avoid the temptation to use finer grits for a smoother appearance; you’re building a foundation, not finishing furniture.
Clean the sanded surface with a dedicated aluminum cleaner or conversion coating product. These products remove aluminum oxide, etch the surface slightly for additional adhesion, and leave a chemically receptive surface. Standard wax and grease removers aren’t sufficient for aluminum—they don’t address oxidation. After cleaning, minimize the time between prep and primer application. Aluminum oxidizes rapidly when exposed to air and moisture.
If plastic body filler was used, ensure it’s formulated for aluminum substrates. Standard fillers may not have adequate flexibility or adhesion for aluminum’s higher thermal expansion rate compared to steel. Apply filler in thin layers, allowing each to cure fully before adding the next. Thick filler applications can trap solvents and fail cohesively, separating as a complete layer just like improperly applied primer.
Edge preparation prevents future delamination. Feathering paint edges requires a graduated approach—coarse grit for initial feathering, progressively finer grits for blending, but never finer than 220 on the bare substrate. All edges must be sealed to prevent moisture intrusion under the paint film.
Executing a Proper Repair After Paint Delamination
Once you’ve identified the failure cause, the repair process begins with complete removal of all compromised material. Half-measures guarantee repeat failures. Strip all delaminated paint and any questionable areas where the paint lifts easily or shows poor adhesion. If UV primer failed, remove all of it—you cannot successfully prime over partially failed UV primer.
After stripping to bare aluminum or sound e-coat, inspect for corrosion. White aluminum oxide must be completely removed with aluminum cleaner or conversion coating. Any corrosion left under new paint will continue spreading and cause future adhesion failure.
Follow the surface preparation sequence detailed previously: sand with 180-220 grit, clean with aluminum-specific products, and minimize exposure time before priming. If you’re using UV primer, verify your UV lamp functionality and follow manufacturer specifications exactly for film build and cure time. Most UV primer failures trace to rushing application or curing, so discipline in following the process prevents rework.
Apply sealer over e-coat or as specified by your paint system manufacturer. Sealer isn’t optional on aluminum repairs—it provides the adhesion layer and prevents issues with subsequent coats. Allow proper flash time before primer application.
Primer application requires thin, even coats with adequate flash time between coats. Whether using UV or conventional primer, build film thickness gradually. For UV primer, cure each coat before applying the next if building to higher film thickness, ensuring complete cure throughout the primer layer. Total primer thickness should match OEM specifications—typically around 10 microns for GM vehicles—not exceed them trying to fill imperfections.
After priming and any necessary guide coat sanding (with appropriate fine grit for primer leveling only, not substrate prep), apply basecoat and clearcoat per manufacturer specifications. Ensure each layer has proper flash time and curing before the next application. Rushed work at any stage compromises the entire repair.
Preventing Future Aluminum Panel Paint Failures
Prevention starts with proper estimation and scheduling. Aluminum repairs require additional time compared to steel for surface preparation and proper curing. Shops that don’t account for this in their workflow create pressure to rush, leading to skipped steps and failed repairs.
Invest in proper equipment. Functional UV lamps with verified output intensity, appropriate grit abrasives, aluminum-specific cleaners, and compatible paint systems are non-negotiable. Using leftover steel-repair products on aluminum saves money initially but costs far more in comebacks.
Training is essential. Technicians accustomed to steel repair need specific instruction on aluminum’s different requirements. Paint manufacturers offer technical training on their UV primer systems—use these resources. Understanding why each step matters improves compliance better than simply following a procedure checklist.
Document your process. When a repair succeeds, you know the preparation, products, and cure times worked. When a repair fails, documentation helps identify what went wrong. Track grit sequences, product lot numbers, cure times, and environmental conditions. This data prevents repeated mistakes and provides evidence when product defects occur.
Quality control catches issues before the customer does. A simple adhesion test—apply tape to the cured primer and clearcoat in an inconspicuous area and verify it doesn’t lift any material—takes seconds and confirms proper adhesion. Paint thickness readings verify you’re matching OEM specifications rather than building excessive film that may fail later.
Aluminum Panel Repair Checklist
- Verify substrate type (bare aluminum, e-coated, or previously repaired)
- Remove all corrosion and failed coating completely
- Sand with 180-220 grit for mechanical adhesion
- Clean with aluminum-specific conversion coating or cleaner
- Apply sealer over e-coat before primer
- Use UV primer per manufacturer specs (thin coats, proper cure time)
- Verify UV lamp intensity if using UV primer
- Allow adequate flash time between all coats
- Verify final film thickness matches OEM specifications
- Perform adhesion test before delivery
When to Involve Paint Technical Representatives
Paint manufacturer technical representatives are underutilized resources in the body shop industry. These factory-trained specialists can diagnose complex paint failures, verify that products were used correctly, and determine whether a failure was process-related or product-related. For significant delamination issues, especially on newer vehicles or extensive repairs, getting the tech rep involved protects both the shop and the customer.
Technical representatives can examine failed paint, analyze substrate preparation, and review the repair process to identify the failure point definitively. If the failure was product-related rather than application error, the paint manufacturer may provide warranty coverage for materials and potentially labor. Without tech rep documentation, proving a product defect versus application error becomes nearly impossible.
Call the tech rep when you encounter unusual failures, when following the standard process still results in delamination, or when a customer’s vehicle shows what appears to be factory paint failure. On the topic of factory failures, while rare, paint adhesion issues can occur from the manufacturer, particularly on aluminum-intensive vehicles where the process differs significantly from traditional steel coating lines.
Building a relationship with your paint supplier’s tech rep provides ongoing value beyond failure analysis. These specialists can review your shop’s processes, recommend optimizations, provide training on new products, and help troubleshoot issues before they become failures. Most paint companies provide this service free as part of their customer support—use it.
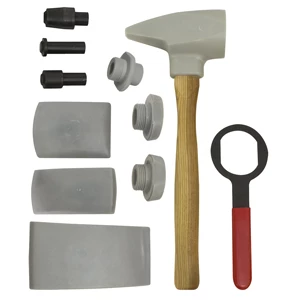

Digital Aluminum Stud welder (Meets Ford Requirements) w/Heat gu
Mfg: Killer Tools
Part #: ART401F
Frequently Asked Questions
Can I repair paint delamination without stripping to bare metal?
No. If paint has delaminated, the adhesion failure exists at a specific interface in the coating system. Priming over failed paint or partially failed primer only adds weight on top of a compromised foundation. The repair will fail again, often worse than the original failure. Complete removal of all failed material back to a sound substrate is the only reliable repair approach. This might mean stripping to bare aluminum, to factory e-coat, or to the last sound primer layer, depending on where the failure occurred.
What grit sandpaper should I use on aluminum body panels?
For substrate preparation before primer, use 180-220 grit. This range provides the scratch pattern necessary for mechanical adhesion without creating scratches too deep to fill with primer. Finer grits like 320, 400, or higher are appropriate for primer leveling and basecoat preparation, but never for initial aluminum surface prep. Using too fine a grit on bare aluminum is a primary cause of adhesion failure.
Why does UV primer fail more often than conventional primer?
UV primer doesn’t inherently fail more often—it fails more often because shops misuse it. The rapid cure time tempts technicians to apply heavy coats and rush the process. UV primer requires the same careful surface preparation as conventional primer, but adds strict requirements for film thickness and cure light exposure. Conventional primer’s longer cure time is more forgiving of minor process variations. UV primer applied correctly, with proper substrate prep and manufacturer-specified film build and cure time, performs as reliably as conventional systems.
How can I tell if a panel was previously repaired before I start work?
Use a paint thickness gauge on all panels before beginning work. Factory paint on most vehicles measures 60-100 microns total; repaired areas typically exceed 100 microns and often reach 150-200 microns or more. Check multiple spots on each panel and compare readings to known-good panels on the vehicle. A magnetic filler detector helps identify heavy body filler on steel panels but doesn’t work on aluminum. Visual inspection for color mismatch, texture differences, overspray on adjacent parts, or inconsistent panel gaps also indicates previous repair. Document all findings before starting work to avoid liability for pre-existing poor repairs.
What causes white rust under paint on aluminum panels?
White rust is aluminum oxide, which forms when aluminum is exposed to moisture and oxygen. Under paint, this indicates inadequate sealing of bare aluminum edges, insufficient sealer application, or moisture contamination during the repair process. Aluminum oxidizes much faster than steel rusts, so even brief moisture exposure during repair can cause problems. Prevention requires proper edge sealing, complete coverage with sealer and primer, and dry working conditions. If white rust is present, it must be completely removed with aluminum cleaner or conversion coating before repriming, as it has zero adhesion strength.
Should I use different body filler on aluminum versus steel panels?
Yes. Aluminum has a higher coefficient of thermal expansion than steel, meaning it expands and contracts more with temperature changes. Standard polyester body fillers formulated for steel may not flex sufficiently with aluminum movement, leading to cracking or separation. Use fillers specifically labeled for aluminum substrates. These products include additives that provide better flexibility and adhesion to aluminum. Applying steel-formulated filler to aluminum is a common cause of repair failure, especially in areas subject to temperature cycling like fenders and hoods.
Paint & Body Supplies for Aluminum Repair
Proper aluminum panel repair depends on having the right materials—UV primers, conversion coatings, aluminum-specific cleaners, and sealed primers that meet OEM specifications. Our Paint & Body selection covers the complete aluminum repair process.
- UV and conventional primers formulated for aluminum substrates
- Aluminum-specific cleaners and conversion coating products
- Sealer, basecoat, and clearcoat systems compatible with aluminum panels

The Toolsource Technical Team blends decades of real-world automotive service experience with up-to-date technical research. Our writers collaborate with professional mechanics, shop owners, and diagnostic specialists to deliver practical, workshop-ready guidance you can trust.


Follow us on social media