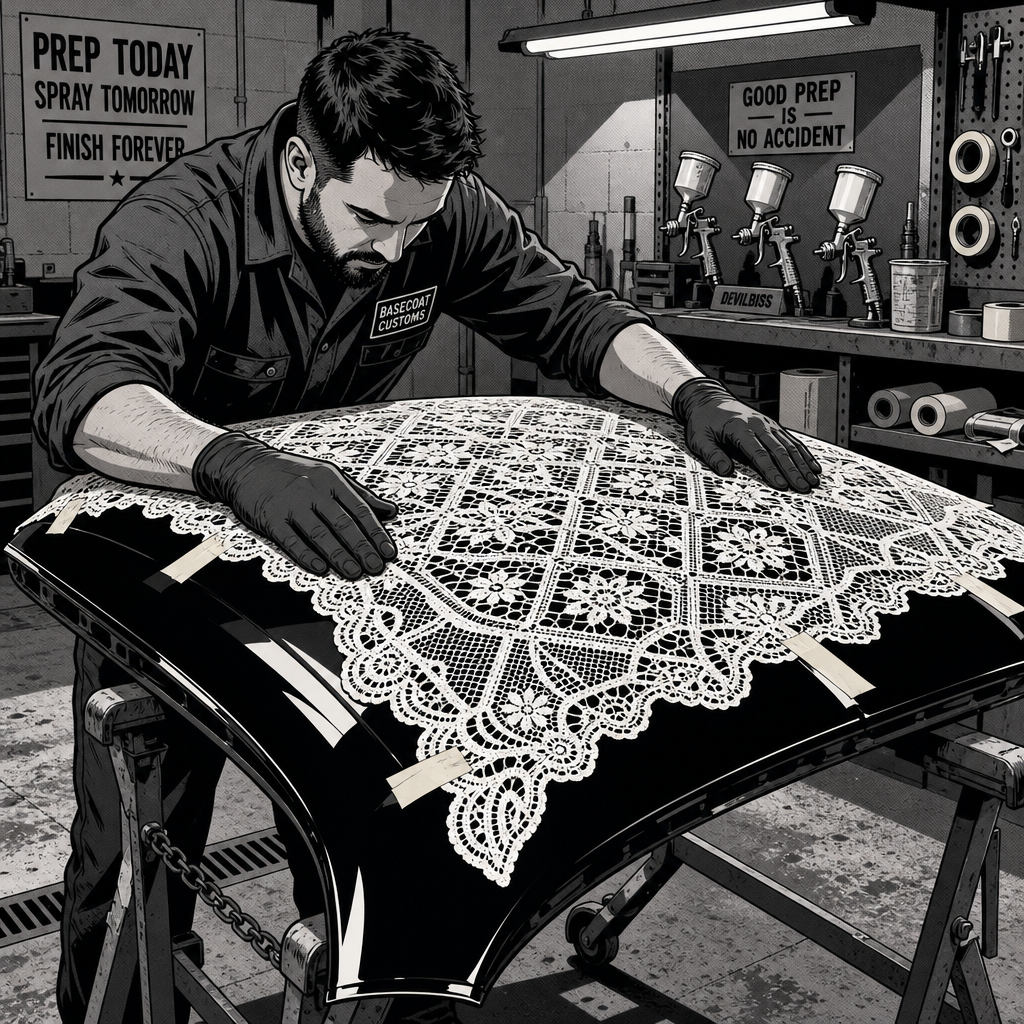
Lace pattern paint effects represent one of the most visually striking custom finishes available to automotive painters and detailers. This technique uses fabric lace as a physical stencil to create intricate, repeating patterns across body panels, offering virtually unlimited design possibilities. Unlike vinyl decals or hand-painted pinstriping, lace stenciling delivers complex geometric patterns that would be nearly impossible to execute freehand. The process requires patience—expect to invest approximately 16 hours for a full hood and fender treatment—but the material costs remain surprisingly low. With fabric store lace, proper masking materials, and quality spray equipment, technicians can achieve professional custom results that rival high-end paint shops.
Material Selection and Preparation
The foundation of successful lace pattern painting starts with selecting appropriate fabric. Generic lace tablecloths from local fabric stores provide the most cost-effective and versatile stencil material. Avoid specialty or expensive lace—sale items work perfectly for this application. When evaluating lace patterns, consider the scale of the design relative to your panel size. Smaller, tighter patterns work well on compact panels like motorcycle tanks, while larger, more open patterns suit full-size automotive hoods and fenders.
Before purchasing, examine the lace structure for consistency. Look for fabric with uniform pattern repetition and stable weave construction that won’t distort when stretched. The material should lay flat without excessive curling or bunching. Purchase more yardage than your immediate project requires—having extra material allows you to test spray techniques and provides backup if the primary piece becomes paint-saturated or damaged during application.
Pre-wash the lace in cold water without fabric softener to remove sizing chemicals and manufacturing residue. This step prevents contamination of your paint surface and helps the fabric conform better to panel contours. Allow the material to air dry completely, then press it flat with a low-temperature iron if needed. Store the prepared lace between sheets of clean paper or plastic to keep it dust-free until application.
Surface Preparation and Base Coat Application
Proper surface preparation determines the final quality of your lace pattern effect. Begin with a thoroughly cleaned and degreased panel surface. Any residual oils, waxes, or contaminants will cause paint adhesion problems and create defects in your pattern. Use a dedicated automotive surface cleaner or panel wipe, working in straight, overlapping passes with clean, lint-free towels.
If working over existing paint, ensure the base coat is fully cured, smooth, and free from defects. Light sanding with 400-600 grit paper provides mechanical adhesion for your pattern layer. For new paint work, allow adequate flash time between your base coat and pattern application—consult your paint manufacturer’s technical data sheet for specific recoat windows.
Select a base coat color that provides strong contrast with your pattern color. High-contrast combinations (black base with metallic silver pattern, white base with candy red pattern) create the most dramatic visual impact. Apply your base coat in standard fashion: multiple light, even coats built to full coverage and color saturation. Allow proper flash time between coats, and ensure the final base coat has adequate cure time before proceeding with lace application. Most urethane base coats require 30-60 minutes before masking operations.
Lace Positioning and Masking Technique
Position your lace fabric over the prepared panel, starting from one edge and working systematically across the surface. The fabric must contact the panel uniformly without gaps, bridges, or excessive tension. For flat or gently curved panels, gravity and careful smoothing may suffice. Complex curves, body lines, and compound surfaces require additional securing methods.
Low-tack masking tape applied around the lace perimeter holds the fabric in position without damaging the base coat upon removal. Place tape strips every 4-6 inches along edges, pressing firmly to ensure good contact. For three-dimensional curves, small pieces of tape placed on the lace pattern itself (in areas that will be covered by subsequent pattern repetitions) provide additional anchoring points.
The key challenge involves achieving intimate contact between lace and panel surface while maintaining the fabric’s natural pattern structure. Avoid stretching or distorting the lace—let the material conform naturally to the panel shape. On complex curves, you may need to create small tucks or folds in the fabric. Position these disruptions in less visible areas or plan pattern overlaps to conceal them.
Mask surrounding areas thoroughly using quality automotive masking paper and tape. The lace stencil process generates significant overspray, particularly if using high-pressure spray equipment. Protect adjacent panels, trim, glass, and any surfaces you don’t want affected by pattern application. Extend masking at least 12-18 inches beyond your lace coverage area to ensure adequate protection.
Spray Application Methods and Technique
Spray technique determines pattern sharpness, color density, and overall visual impact. Use properly thinned paint at correct viscosity for your spray equipment—most lace patterns work best with slightly reduced paint that atomizes well without excessive material buildup. Test spray pattern, air pressure, and material flow on a masked section before committing to the visible panel area.
Hold your spray gun 6-8 inches from the panel surface and use perpendicular passes directly over the lace. Angled spray patterns push beneath the fabric edges, creating fuzzy, indistinct pattern boundaries. Multiple light coats deliver better results than single heavy applications. Apply your first pass at approximately 25-30% coverage, allowing the pattern structure to emerge gradually. This approach prevents paint pooling in the lace openings and reduces the risk of runs or sags.
Build coverage progressively with 2-4 additional passes, allowing 2-3 minutes flash time between applications. Watch for adequate color saturation while avoiding excessive material buildup. If using metallic or pearl paints, maintain consistent spray distance and overlap to ensure uniform flake orientation across the pattern.
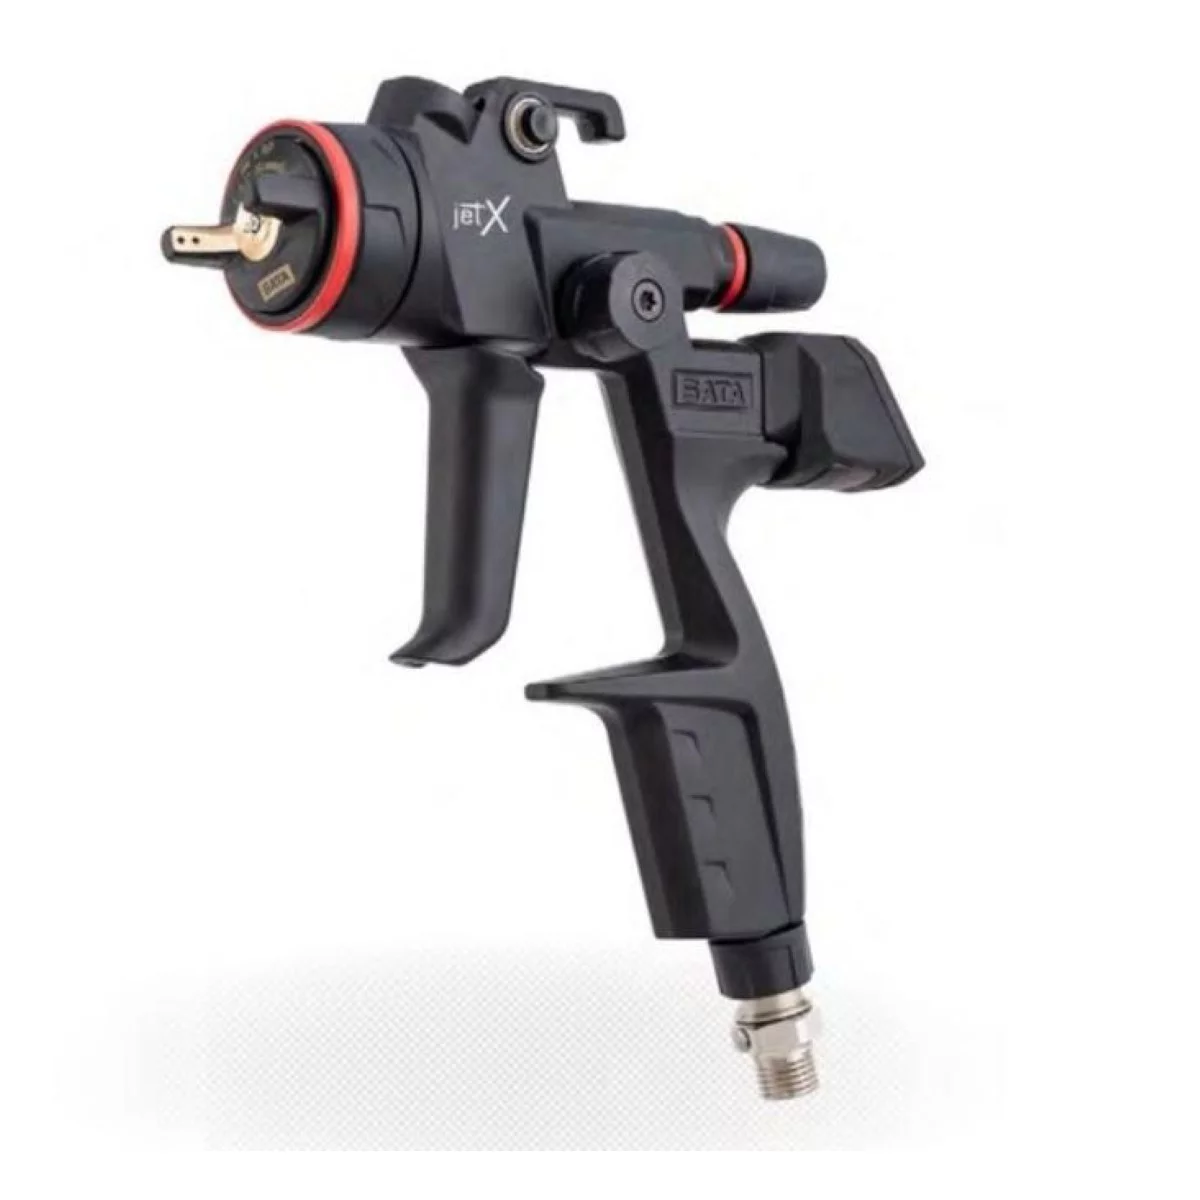
Some technicians prefer airbrush equipment for lace stenciling, particularly on smaller panels or when working with intricate patterns. Airbrushes provide excellent control and reduced overspray but require more time to achieve full coverage. HVLP spray guns offer faster coverage for larger panels, though they generate more overspray requiring thorough masking.
Lace Removal and Pattern Cleanup
Timing the lace removal critically affects final pattern quality. Remove the fabric while paint remains wet enough to self-level slightly, but dry enough that it won’t flow or sag. For most urethane and acrylic paints, this window occurs 5-10 minutes after final coat application. Touch a masked edge area lightly with a gloved finger—if paint is tacky but doesn’t transfer, you’re in the correct removal window.
Carefully lift the lace starting from one corner, peeling back smoothly at a low angle to the panel surface. Work slowly and steadily to avoid disturbing wet paint or creating edge defects. If you notice paint bridging between the lace and panel, you’re removing too early—wait another 2-3 minutes before proceeding. Discard used lace sections that have become heavily saturated with paint; attempting to reuse them creates muddy, indistinct patterns.
For multi-section coverage or pattern overlaps, position your second lace section to create seamless pattern continuation or deliberate design transitions. Overlap edges by 1-2 inches, matching pattern registration carefully. The spray-remove-reposition sequence repeats for each panel section until complete coverage is achieved.
After all lace removal, inspect the pattern for defects, holidays (missed areas), or imperfections. Small touch-ups can be addressed with fine detail brushes or airbrush work. Allow the pattern coat to cure according to manufacturer specifications before applying clear coat protection.
Clear Coat Application and Final Finishing
Lace patterns require adequate clear coat protection to ensure durability and visual depth. The pattern layer creates a textured surface with slight material buildup where paint accumulated in lace openings. Plan for 2-4 coats of quality automotive clear to fully encapsulate the pattern and build sufficient film thickness for wet sanding and buffing.
Apply clear coats following standard procedures: proper thinning, adequate flash time between coats, and consistent spray technique. The first clear coat may show some texture from the underlying pattern—subsequent coats level and fill these variations. If using high-solid clears, ensure you don’t exceed manufacturer’s maximum film thickness, which can cause solvent entrapment and adhesion problems.
After clear coat cure (24-48 hours for most products, 7+ days for full hardness), wet sand with 1000-1500 grit paper to level any remaining texture. Progress through 2000-3000 grit, then compound and polish to final gloss. The resulting finish should show no tactile texture while displaying sharp, well-defined pattern edges under the clear protective layer.
Quick Reference Checklist
- Select and pre-wash generic fabric store lace
- Clean and prepare panel surface thoroughly
- Apply contrasting base coat with proper cure time
- Position lace fabric with uniform panel contact
- Secure lace edges with low-tack masking tape
- Mask surrounding areas against overspray
- Apply 2-4 light pattern coats perpendicular to surface
- Remove lace during correct paint tack window
- Inspect pattern and address any defects
- Apply 2-4 clear coats for protection and depth
- Wet sand, compound, and polish to final finish
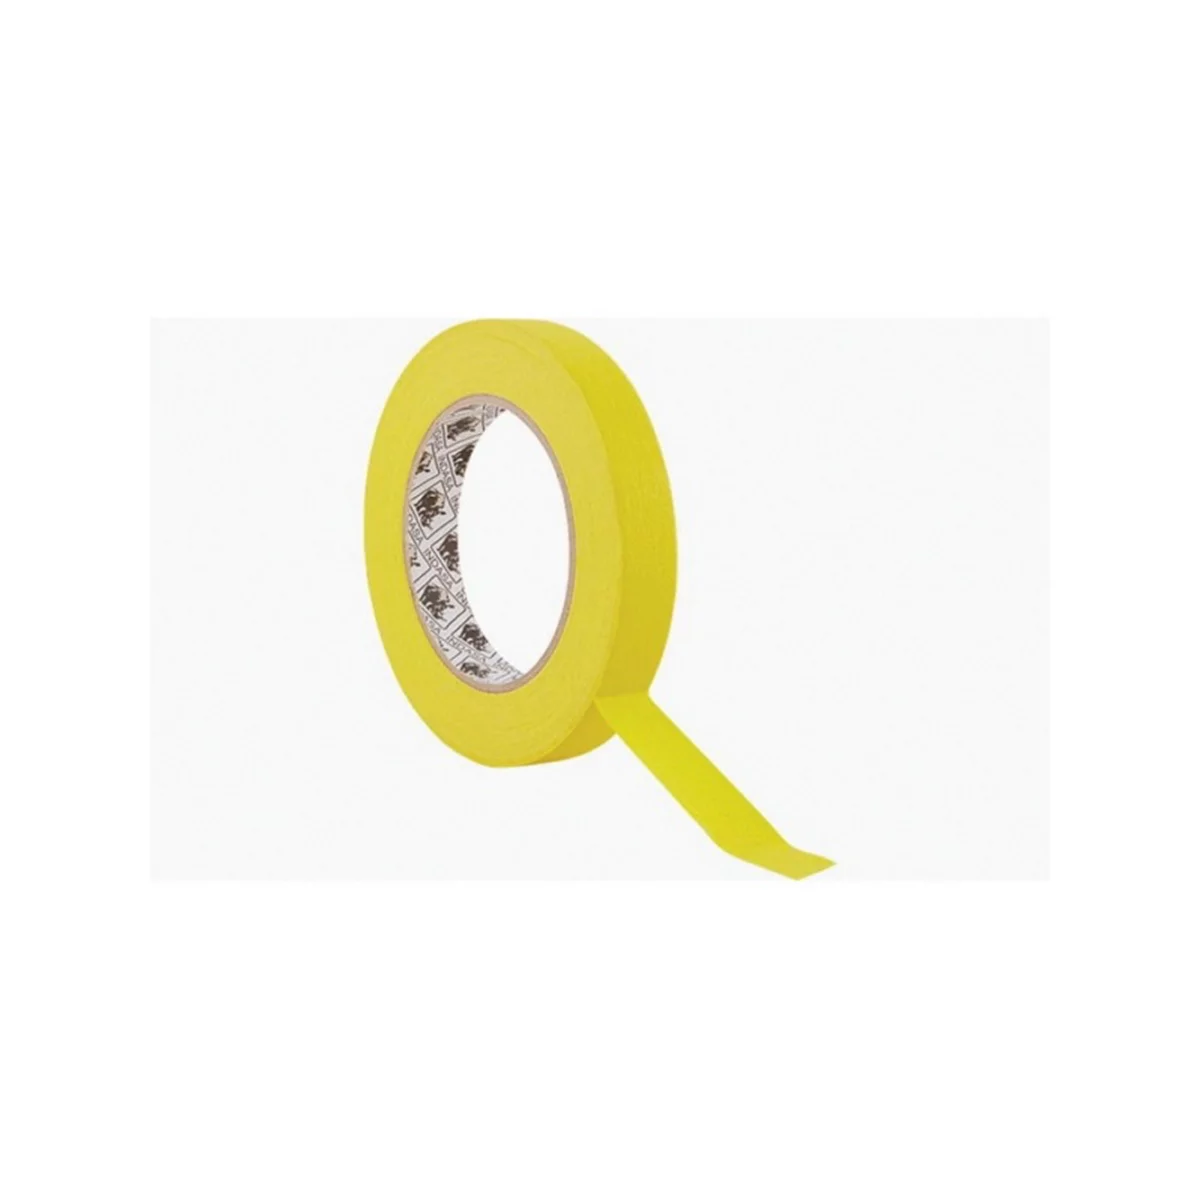
563199 MTE Premium Automotive-Grade Masking Tape, 50 m L x 2
Mfg: Indasa Abrasives
Part #: 563199
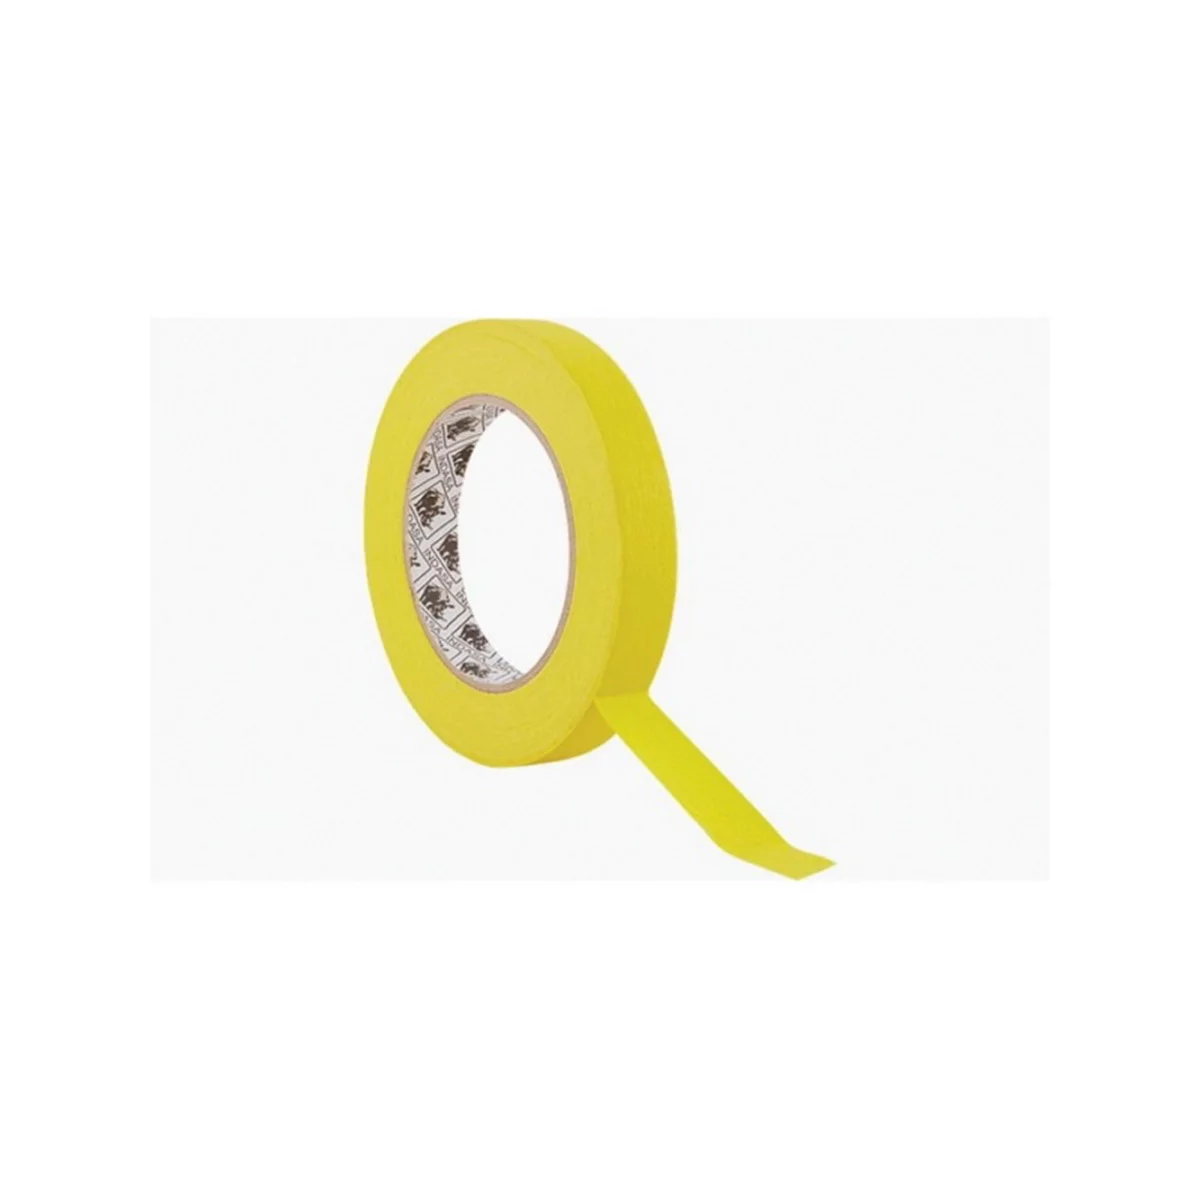
556771 MTE Premium Automotive-Grade Masking Tape, 50 m L x 1
Mfg: Indasa Abrasives
Part #: 556771
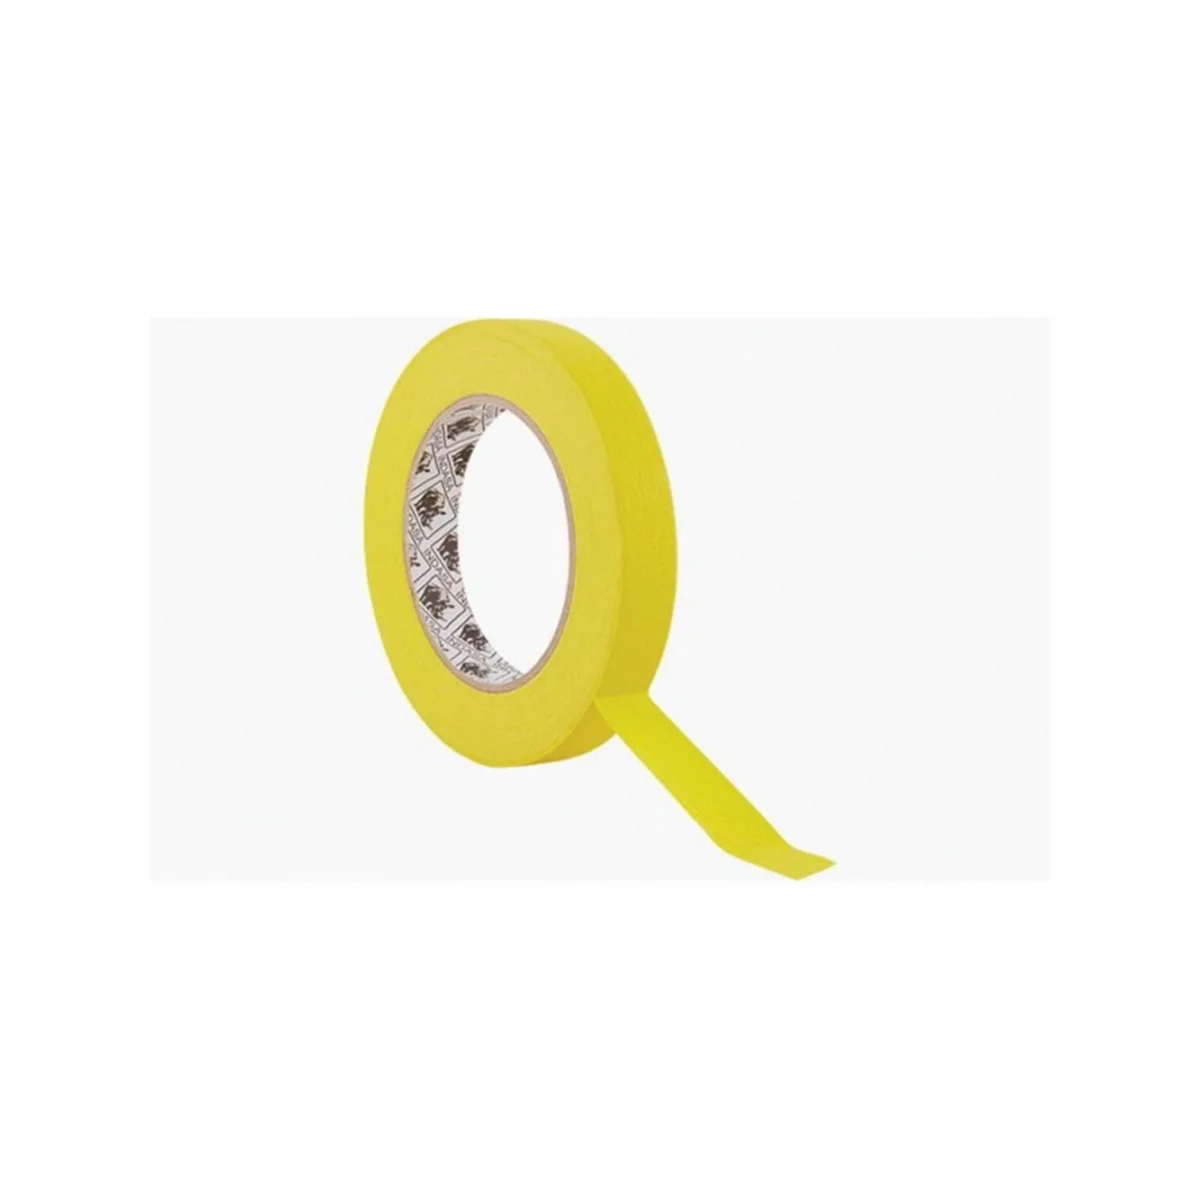
556740 MTE Premium Automotive-Grade Masking Tape, 50 m L x 3
Mfg: Indasa Abrasives
Part #: 556740
Frequently Asked Questions
How long does a complete lace pattern paint job take?
Expect approximately 16 hours for full coverage of a hood and fender area on an average vehicle. This includes surface preparation, base coat application, pattern work, and clear coating. Full vehicle coverage requires significantly more time—40+ hours isn’t uncommon for complete multi-panel lace treatments. The repetitive positioning, spraying, and removal process demands patience and careful attention throughout.
Can I reuse lace fabric for multiple pattern applications?
Limited reuse is possible if the fabric remains relatively clean and the pattern structure stays intact. However, as paint accumulates in the lace openings during spraying, pattern definition degrades. Most professionals use fresh lace sections for each major panel to ensure consistent, sharp pattern quality. Given the low cost of generic fabric store lace, the minimal material savings don’t justify the risk of degraded pattern quality.
What’s the best way to handle curves and body lines?
Lace fabric conforms reasonably well to gentle curves through natural draping and strategic taping. For sharp body lines or compound curves, you may need to create small tucks or folds in the fabric. Position these disruptions in areas that will be covered by overlapping pattern sections or in less visible panel locations. On extremely complex surfaces, consider using smaller lace sections that conform more easily than large pieces.
Do I need special spray equipment for lace pattern work?
Standard HVLP spray guns work well for most automotive lace pattern applications, providing quick coverage and good atomization. Detail spray guns or airbrushes offer better control for intricate patterns or smaller panels but require more time to build adequate coverage. The critical factors are proper paint thinning, correct air pressure (typically 25-30 PSI at the gun), and perpendicular spray orientation to avoid paint creeping under the fabric edges.
How do I prevent paint from bleeding under the lace edges?
Paint bleed occurs when spray angle pushes material beneath fabric edges or when excessive material buildup flows under the stencil. Maintain perpendicular spray orientation—never angle your gun more than 15-20 degrees from vertical. Apply multiple light coats rather than heavy single applications. Ensure the lace maintains intimate contact with the panel surface through proper positioning and securing. Remove the fabric during the correct tack window—waiting too long allows paint to set up with hard edges, while removing too early risks smearing.
What paint types work best for lace pattern effects?
Most automotive paint systems work for lace stenciling, including single-stage urethanes, base coat/clear coat systems, and acrylic enamels. Base coat/clear coat systems offer the most flexibility and best final finish quality. Metallic and pearl paints create particularly striking lace patterns, though they require careful spray technique to maintain consistent flake orientation. Avoid excessively thick or high-solid paints that don’t atomize well—these create pattern definition problems and increase bleeding risk.
Recommended Paint & Body Equipment
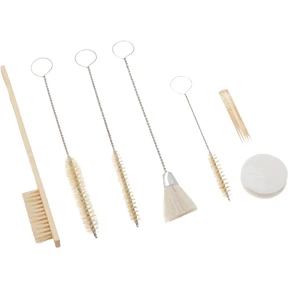
Lace pattern painting demands quality spray equipment, masking materials, and surface prep supplies to achieve professional results. Our Paint & Body category stocks everything needed for this specialized finishing technique.
- HVLP spray guns, airbrushes, and pressure regulators for precise pattern application
- Masking tape, paper, and protection film for controlling overspray
- Surface preparation tools including sanders, cleaners, and panel wipers

The Toolsource Technical Team blends decades of real-world automotive service experience with up-to-date technical research. Our writers collaborate with professional mechanics, shop owners, and diagnostic specialists to deliver practical, workshop-ready guidance you can trust.


Follow us on social media