Minor parking lot incidents and low-speed collisions are among the most common vehicle damage scenarios you’ll encounter in the shop. Whether it’s a customer who clipped a bollard, scraped a pole, or had an unfortunate encounter with wildlife, the damage assessment process follows the same fundamental principles. The key is understanding what can be addressed with basic techniques versus what requires professional body shop intervention. This guide walks through the practical steps for evaluating impact damage, removing paint transfer, and determining the most cost-effective repair approach.
Initial Damage Assessment: What You’re Really Looking At
Before reaching for any tools or chemicals, conduct a thorough visual and tactile inspection of the affected area. Paint transfer—that white, black, or colored material left behind by the other object—often looks far worse than the actual underlying damage. Run your fingers across the surface to distinguish between surface contamination and structural deformation.
Check for three distinct damage types: surface transfer (paint or material from the striking object), clear coat and paint damage (scratches that penetrate the vehicle’s finish), and substrate deformation (actual dents, creases, or cracks in the metal or plastic). Each requires different repair strategies and sets different expectations for outcomes.
Pay particular attention to panel gaps and alignment. If a door, fender, or bumper cover shows misalignment after impact, you’re dealing with mounting bracket damage or structural deformation that won’t respond to surface treatments. Similarly, inspect for cracks in plastic components—bumper covers can hide significant cracking on their backside that only becomes apparent upon removal.
For customers asking about total loss thresholds, understand that body shops calculate repair costs against fair market value. A 2003 vehicle with front fender, door, hood, and headlight damage can easily exceed its total value before parts are even fully priced out. This reality check helps manage expectations early in the conversation.
Paint Transfer Removal: Techniques That Actually Work
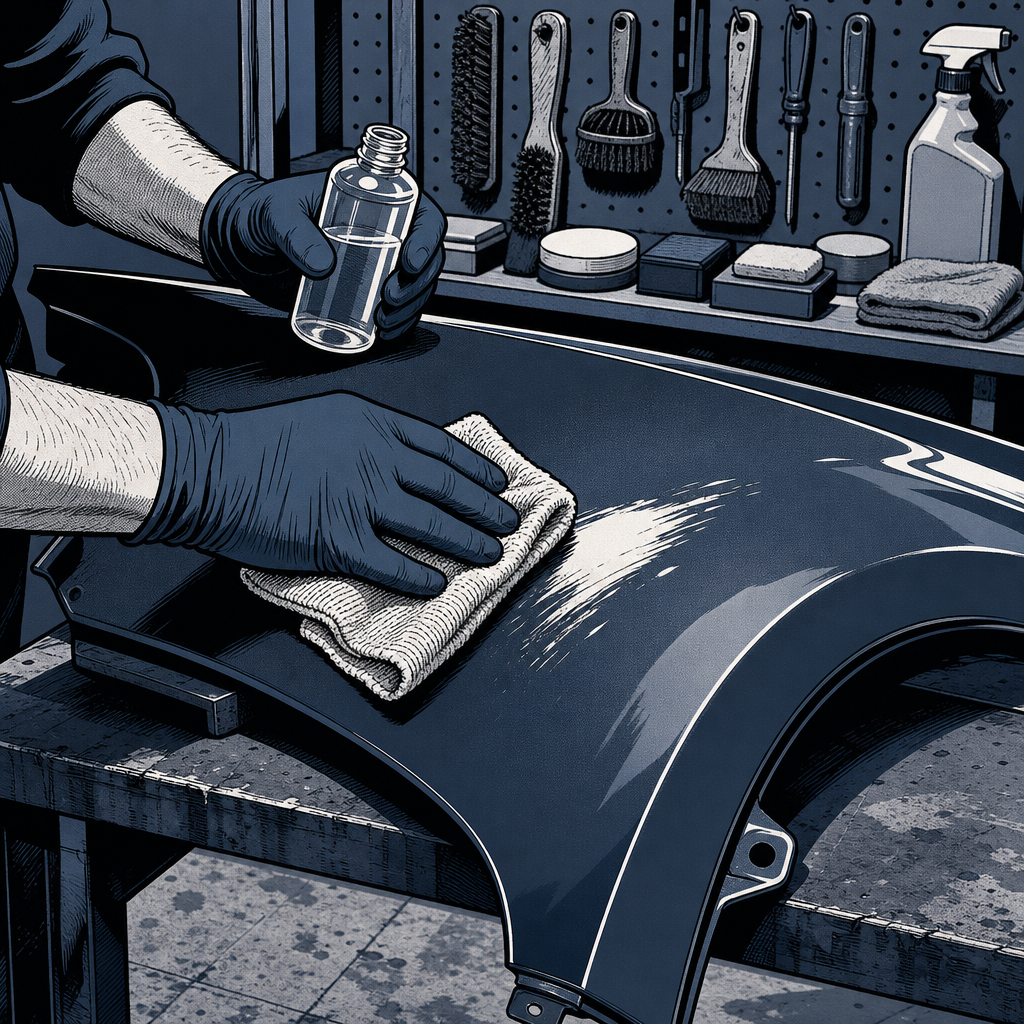
Paint transfer is the easiest damage to address and often makes the difference between “totaled appearance” and “manageable repair.” The transferred material sits on top of your clear coat and can usually be removed without affecting the underlying finish—if you use the right approach.
Start with the least aggressive method: isopropyl alcohol (70% or higher) applied to a clean microfiber cloth. Soak the affected area and gently rub in straight lines, not circles. The alcohol breaks down the transferred paint’s bond without attacking your clear coat. This works particularly well on fresh transfers before they’ve had time to cure or bond chemically.
For stubborn transfers, clay bar treatment is the next step up. Use a quality automotive clay bar with proper lubricant—never dry. The clay mechanically lifts contaminants from the paint surface while the lubricant prevents marring. Work in small sections with light pressure, kneading the clay frequently to expose clean surfaces. You’ll feel the transferred material release as the surface becomes glass-smooth.
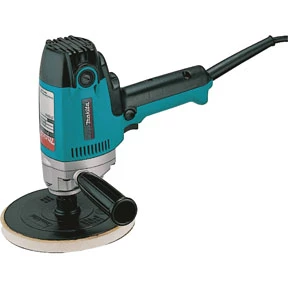
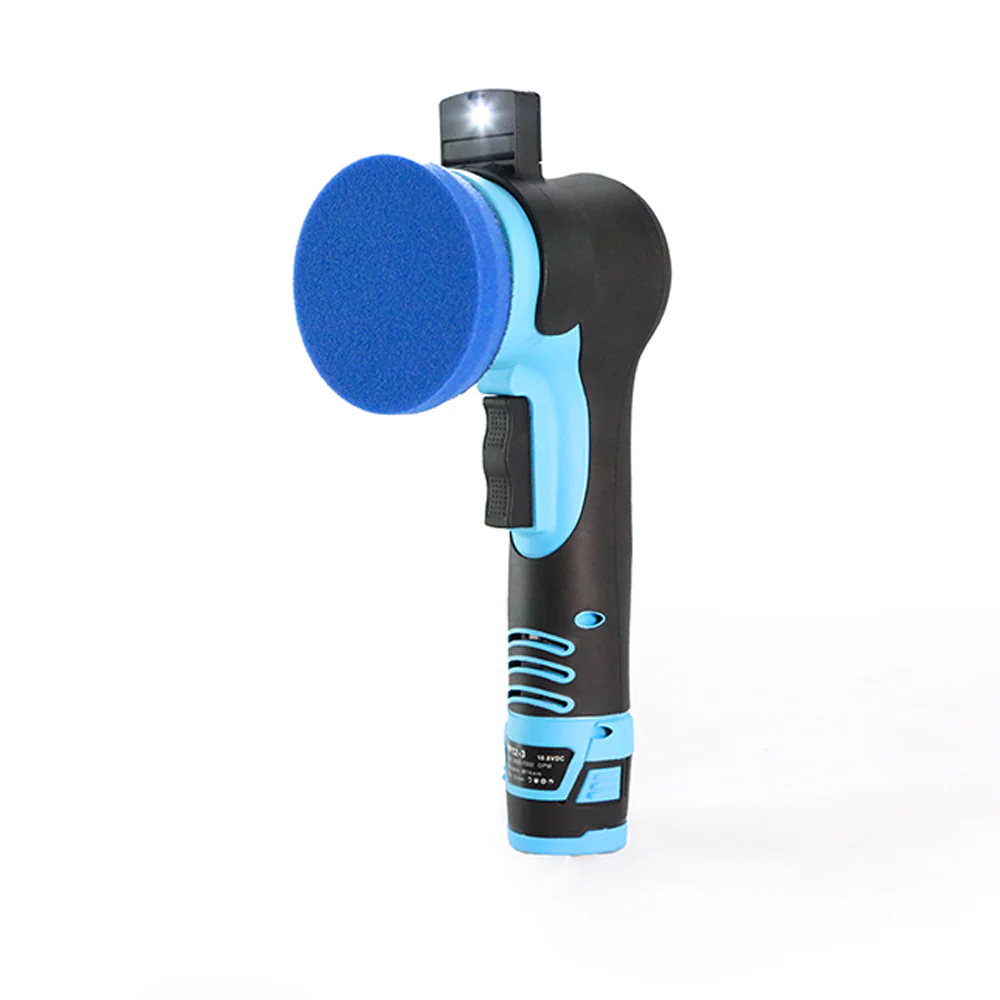
If transfer remains after claying, move to a light cutting compound applied with a microfiber applicator pad or dual-action polisher. Compounds contain mild abrasives that level the clear coat surface, removing both transfer and minor scratches. Use minimal pressure and work the compound until it begins to clear, then wipe clean with a fresh microfiber. Follow with polish to restore gloss.
Some techs report success with magic erasers (melamine foam) on beater vehicles where paint condition isn’t critical. These work through micro-abrasion but will dull your clear coat and potentially remove it entirely with aggressive use. Reserve this method for situations where appearance matters less than quick results.
Lacquer thinner can remove stubborn transfer but carries significant risk—it will attack your clear coat and paint if left in contact too long or used with pressure. If you go this route, apply sparingly to a cloth, dab onto the transfer, and immediately wipe away. Test in an inconspicuous area first. For most professional applications, this aggressive approach isn’t worth the risk when safer methods exist.

Evaluating Underlying Paint and Clear Coat Damage
Once transfer is removed, you’ll see the actual damage to the vehicle’s finish. Scratches that catch your fingernail have penetrated through clear coat into paint or primer. These require more than polishing to truly repair, though the severity determines whether touch-up or panel refinishing is needed.
Light scratches in clear coat only—those that don’t catch your nail and appear white or hazy—can often be leveled with compound and polish. The process removes microscopic layers of clear coat to bring the scratch depth level with the surrounding surface. This works until you run out of clear coat thickness, which is why multiple repair attempts on the same area eventually fail.
Deep scratches exposing primer or bare metal require paint. For small chips and scratches, touch-up paint applied carefully with a fine artist’s brush (dollar store quality works fine) produces surprisingly good results on non-show vehicles. The key is thin layers with proper drying time between coats, building up to slightly above the surrounding surface, then leveling with very fine sandpaper or compound once fully cured.
Order paint matched to your vehicle’s paint code—usually found on a door jamb sticker. Many retailers offer half-pint quantities perfect for touch-up work. You’ll want base coat in your color plus clear coat. Apply color first in thin layers, allow proper cure time (read the technical data sheet, not just the label), then apply clear. Once fully cured—usually 30 days for complete hardness—you can level and polish the repair to blend with surrounding paint.
For larger areas or damage visible from normal viewing distances, touch-up won’t meet most customers’ expectations. Set realistic expectations: DIY touch-up prevents rust and looks acceptable on work trucks, but it won’t pass as invisible repair on a late-model daily driver.
Dent and Deformation Repair Realities
Actual deformation in body panels—dents, creases, and buckles—represents the dividing line between DIY territory and professional body shop work. While paint transfer removal and touch-up are accessible with basic tools, metal straightening and plastic welding require specialized skills and equipment.
Small dents in accessible areas may respond to paintless dent repair (PDR) techniques if you have the tools and training. PDR works by massaging metal back to its original shape from behind using specialized rods and picks. Success depends on paint remaining intact, the dent’s location allowing back-side access, and the metal not being work-hardened or creased.
Plastic bumper covers sometimes respond to heat reformation for minor deformation. The “slap it from behind” technique mentioned for pushing out plastic bumper deformation works occasionally on simple outward bends, but don’t count on it for anything with creasing or stress whitening. Professional bumper repair involves plastic welding, adhesives, reinforcement mesh, and proper refinishing—not something to wing without training.
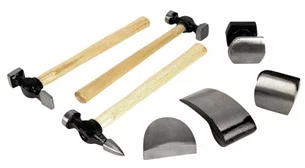
Creases and sharp dents with paint damage almost always require traditional body work: straightening or replacement, filler application, block sanding, priming, painting, and clear coating. Each step requires specific skills and equipment. A quality repair on a single panel can easily run $500-1500 depending on location and paint complexity.
For components with multiple damaged panels—like the fender, door, hood, and bumper scenario from a deer strike—repair costs escalate quickly. Parts availability becomes a factor, especially on vehicles over 15 years old where body panels may be discontinued or available only through expensive dealer channels. This is where total loss calculations come into play, comparing repair costs against actual vehicle value.
When to Recommend Professional Body Shop Services
Knowing your limits protects both your reputation and your customer’s wallet. If you can’t deliver results that meet the customer’s expectations and budget, referral to a qualified body shop is the professional choice. Several scenarios clearly indicate body shop territory.
Any damage affecting structural components, safety systems, or vehicle alignment requires professional assessment and repair. This includes fender damage that’s displaced mounting points, door damage affecting latching or side impact protection, and any hood damage near latch mechanisms. Insurance companies and liability concerns make DIY approaches on safety-related components legally and ethically problematic.
Multi-panel damage rarely makes financial sense for self-repair. The time investment for proper repair—even if you have the skills—usually exceeds what you’d pay a shop when you factor in your labor rate. Professional shops also have paint mixing systems for accurate color matching and spray booths for quality refinishing that you can’t replicate in a home garage.
Modern paints add complexity that shouldn’t be underestimated. Pearl and metallic finishes require precise application technique for color match. Tri-coat and specialty finishes multiply difficulty further. Clear coat systems need proper flash times between coats and controlled environments for curing. If the repair will be visible and the customer cares about appearance, professional refinishing is worth the cost.
Set clear expectations with customers about repair outcomes. A $50 DIY touch-up job looks like a $50 touch-up job—acceptable for preventing rust on a work truck, not acceptable for restoring showroom appearance on a daily driver. Some customers appreciate the honest assessment even if it means higher costs; others genuinely just want functional repairs at minimum cost. Your job is presenting realistic options.
Quick Reference: Minor Collision Damage Response Checklist
- Inspect for paint transfer, clear coat/paint damage, and substrate deformation separately
- Check panel alignment and gaps for hidden structural damage
- Remove paint transfer with isopropyl alcohol, then clay bar, then light compound as needed
- Assess remaining scratches: fingernail test determines clear coat vs. paint depth
- Match paint using vehicle paint code from door jamb sticker
- Apply touch-up paint in thin layers with fine artist brush for minor damage
- Refer to body shop for multi-panel damage, structural issues, or quality refinishing needs
- Set realistic expectations: DIY repairs prevent rust but won’t be invisible on visible panels

Frequently Asked Questions
Can I really remove paint transfer without damaging my vehicle’s finish?
Yes, if you use proper techniques. Paint transfer sits on top of your clear coat and can be removed with alcohol, clay bar, or light compound without penetrating your finish. The key is starting with the least aggressive method and progressing only if needed. Avoid harsh solvents like lacquer thinner unless you’re experienced with their use, as they can damage your clear coat quickly.
How do I know if damage is too severe for DIY repair?
If you see panel misalignment, cracks in plastic components, creases in metal panels, or damage spanning multiple body panels, professional body shop repair is warranted. Also consider your skill level and the customer’s expectations—touch-up paint works for preventing rust but won’t restore show-quality appearance on visible panels.
What’s the difference between clear coat scratches and paint scratches?
Run your fingernail across the scratch. If it doesn’t catch, you’re usually in clear coat only and can potentially polish it out with compound. If your nail catches, the scratch has penetrated through clear coat into paint or primer and requires touch-up paint or professional refinishing to truly repair.
Why do body shops total out older vehicles so quickly?
Insurance companies and body shops compare repair costs to fair market value. A 15-20 year old vehicle might have a market value of $3,000-5,000, but body work involving multiple panels, paint matching, and labor can easily exceed $4,000-6,000. Once repairs approach 70-80% of vehicle value, total loss becomes the economically rational decision, even if the damage looks minor.
Can I use a magic eraser to remove paint transfer?
Magic erasers (melamine foam) work through micro-abrasion and will remove paint transfer, but they also abrade your clear coat. This dulls your finish and can remove clear coat entirely with aggressive use. They’re acceptable for beater vehicles where appearance isn’t critical, but professional repairs should use proper compounds and polishes that cut and finish without excessive clear coat removal.
How long does touch-up paint take to fully cure?
Most automotive paints feel dry within hours but require 30 days for complete chemical cure and hardness. Don’t attempt to level or polish touch-up repairs until after this full cure period, or you’ll pull up soft paint and create a mess. Read the technical data sheet for your specific paint product for exact cure times.
Paint & Body Supplies for Collision Repairs
Tackling paint transfer removal and minor touch-up work requires the right materials. Stock your toolbox with quality Paint & Body supplies to handle these repairs efficiently.
- Clay bars, cutting compounds, and polishes for transfer and scratch removal
- Matched paint, primer, and clear coat for touch-up applications
- Microfiber cloths, applicator pads, and detail brushes for professional results

The Toolsource Technical Team blends decades of real-world automotive service experience with up-to-date technical research. Our writers collaborate with professional mechanics, shop owners, and diagnostic specialists to deliver practical, workshop-ready guidance you can trust.


Follow us on social media