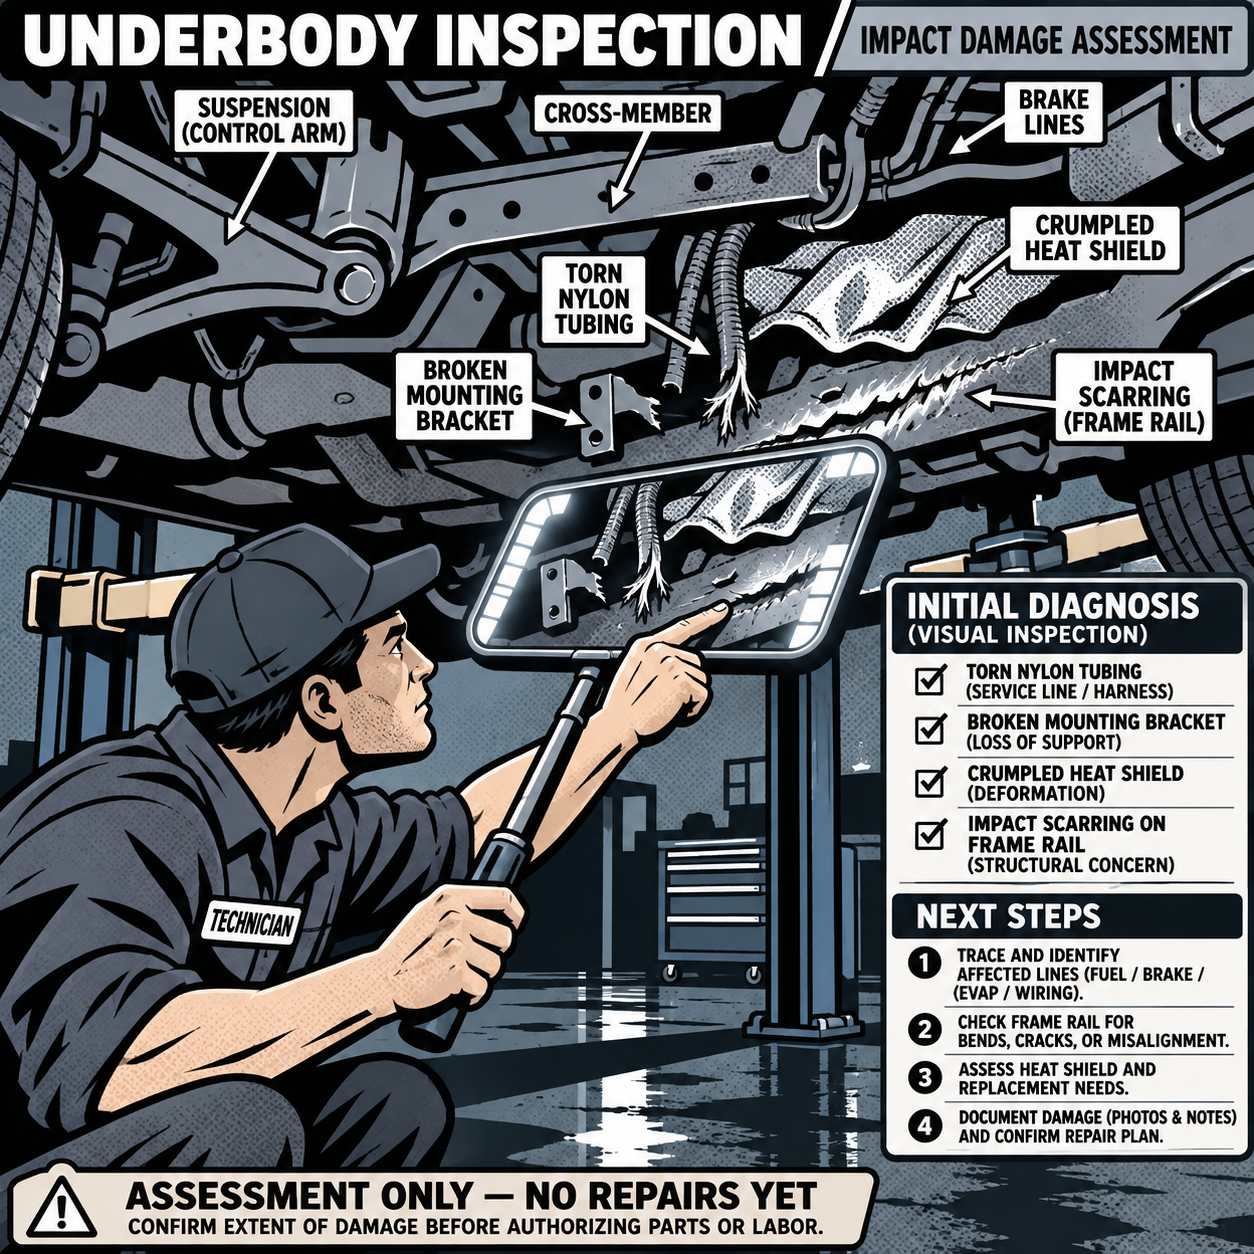
A recent repair thread made the rounds for an unusual reason: a technician found red fluid and a torn line underneath a Ford Fiesta and assumed the worst — a sheared transmission cooler line — only to discover the vehicle had struck a dead bear and the “fluid” wasn’t automotive at all. The joke aside, the diagnostic process the thread walked through is exactly right, and it applies to any underbody damage call, whether the cause is roadkill, a curb strike, a pothole, or dragging debris. Techs and DIYers alike need a fast, reliable method for identifying what’s leaking, where it’s coming from, and whether the vehicle is safe to drive another mile. This guide breaks down that process step by step.
Why Fluid Identification Comes Before Any Repair Decision
Before you touch a wrench, you need to know what you’re looking at. Guessing wrong on fluid identification can lead to two bad outcomes: either you send a customer back out on the road with a vehicle that’s about to strand them, or you tear into a repair that didn’t need to happen. The thread’s commenters zeroed in on the right diagnostic logic almost immediately: if the vehicle drove for 20-30 minutes after the incident without stalling, overheating, or losing brakes, you can already rule out several catastrophic failure modes.
That single data point — did it keep driving normally — is one of the most useful triage questions in underbody diagnostics. A sheared transmission cooler line will cause the transmission to lose pressure and stop moving the vehicle within a short distance, often before the driver can pull over. A ruptured brake line causes an immediate soft or failing pedal. A cut fuel supply line causes stalling or a no-start condition fairly quickly, especially under load. If none of those symptoms showed up, the list of likely culprits narrows fast — and that’s before you even look at the fluid’s color.
Reading Fluid Color, Smell, and Location Correctly
Fluid color is a starting clue, not a final answer — modern vehicles have blurred a lot of the old color rules. Here’s what to actually check:
- Red or pink fluid: Classically transmission fluid (ATF), but also matches some power steering fluids. Check the fluid’s consistency — ATF is oily and slick between your fingers.
- Clear to amber, slightly sticky: Often brake fluid, though it’s less common as a leak source since most brake lines are steel and route high on the frame rail.
- Green, orange, pink, or blue, slightly sweet-smelling: Coolant. If this is the source, expect a rising temperature gauge and a warning light within minutes, not hours.
- Clear, strong gasoline smell: Fuel line or fuel rail leak — pull the vehicle out of service immediately, this is a fire risk.
- Thin, non-oily, dries into a crust, no strong petroleum smell: This is where biological contamination (animal remains, in the viral case) gets misread as a fluid leak. Wipe a sample on a white rag — automotive fluids leave an oily halo on cloth or paper; blood and tissue do not.
Location matters as much as color. A leak dripping from a line running toward the rear of the vehicle near the fuel tank, with no corresponding fluid loss from a reservoir under the hood, points strongly toward an EVAP or fuel return line rather than a core drivetrain line.
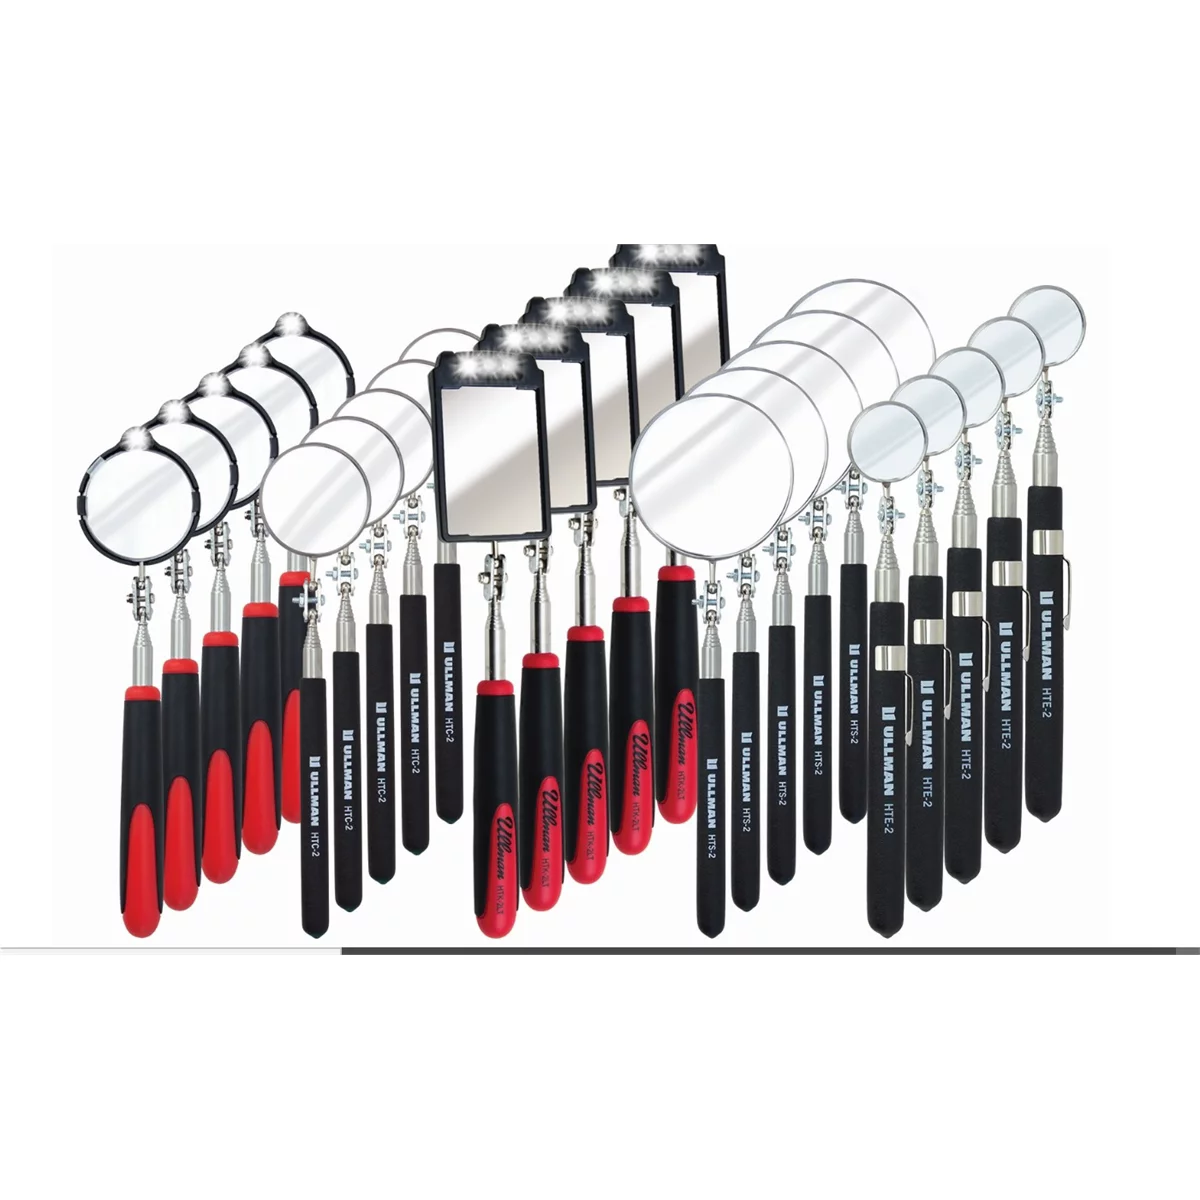
Search for: underbody inspection mirror with LED light

Telescopic Rectangular Inspection Mirror with 3 Rotating Lights
Mfg: Ullman Devices Corp.
Part #: HTK-2LT

Step-by-Step Underbody Inspection After a Strike
Once the vehicle is safely raised on a lift or secured on jack stands, work the inspection in this order:
- Visual sweep first. Walk the full underbody before touching anything. Note torn heat shields, dented exhaust components, disconnected clips, and any line hanging loose — these tell you the path of impact.
- Check fluid reservoirs under the hood. Compare levels against the full line. If the transmission dipstick or reservoir is noticeably low, that changes the diagnosis significantly compared to all reservoirs reading normal.
- Trace every line visible in the damage zone. Follow each line to both ends. A coolant line traces to the radiator or heater core; a transmission cooler line traces to the radiator’s cooler tank or an external cooler; an EVAP line traces to the charcoal canister and purge valve, usually routed near the fuel tank and up toward the engine bay.
- Look for a disconnected quick-connect or a torn rubber/plastic line versus a sheared metal line. EVAP and fuel return lines are frequently nylon or rubber and will tear or pop off at a fitting rather than shear cleanly like a brake line.
- Scan for codes. Even if the engine runs fine, pull codes. A disconnected EVAP line will often set a P0442, P0455, or similar evaporative system code, sometimes not immediately — the EVAP monitor may take a full drive cycle to flag it.
- Clean the area and recheck. Wipe down the suspected leak point, run the engine briefly, and watch for fresh fluid. This confirms an active leak versus residual fluid from the original impact.
EVAP Line Damage: Common Symptoms and Safe Temporary Fixes
The evaporative emissions system routes fuel vapor from the tank to a charcoal canister and back to the intake through the purge valve. It operates at low pressure, not the high pressure of a fuel supply line, which is exactly why a damaged EVAP line doesn’t cause stalling or an immediate drivability issue — the vehicle can drive indefinitely with one disconnected. The two giveaways are a check engine light (sometimes delayed) and a persistent fuel-vapor smell, especially after refueling or on acceleration.
If you find a loose or torn EVAP line and a shop visit isn’t immediate, do not reconnect it near the exhaust or route it where it can melt or get pinched. A temporary zip-tie to secure the loose end away from heat sources and moving parts is a reasonable stopgap, but it’s not a repair — nylon EVAP tubing and the barbed fittings it connects to are inexpensive, and a proper fix should happen within a few days to avoid leaving the emissions system open and triggering a failed smog or emissions test.
When to Stop Driving vs. When It’s Safe to Continue
This is the decision point that matters most for customer safety, and it’s where technicians should be direct rather than cautious-to-a-fault or dismissive.
- Stop immediately: Falling brake pedal, rising temperature gauge, strong raw fuel smell, transmission slipping or refusing to engage, visible fuel dripping near hot exhaust components.
- Safe to drive to a shop, monitor closely: Check engine light only, no drivability change, fluid identified as non-critical (EVAP, washer fluid line, A/C condensate) or confirmed non-automotive contamination.
- Get a second opinion before clearing it: Any case where the fluid source can’t be positively identified. Don’t guess on a case that looks ambiguous — pressure-test or dye-test the suspect line if there’s any doubt.
Checklist: Diagnosing an Unknown Underbody Fluid Leak
- Confirm how the vehicle drove immediately after the incident (normal, stalled, lost power, pedal issues)
- Check all under-hood fluid reservoirs against full lines
- Identify fluid by color, texture, and smell — wipe a sample on a white rag
- Trace every damaged or disconnected line to both endpoints
- Pull diagnostic trouble codes, even with no warning lights illuminated
- Clean the area, run the engine, and recheck for active leak confirmation
- Secure any loose line away from heat and moving parts before returning the vehicle to service
Search for: EVAP system diagnostic smoke machine kit
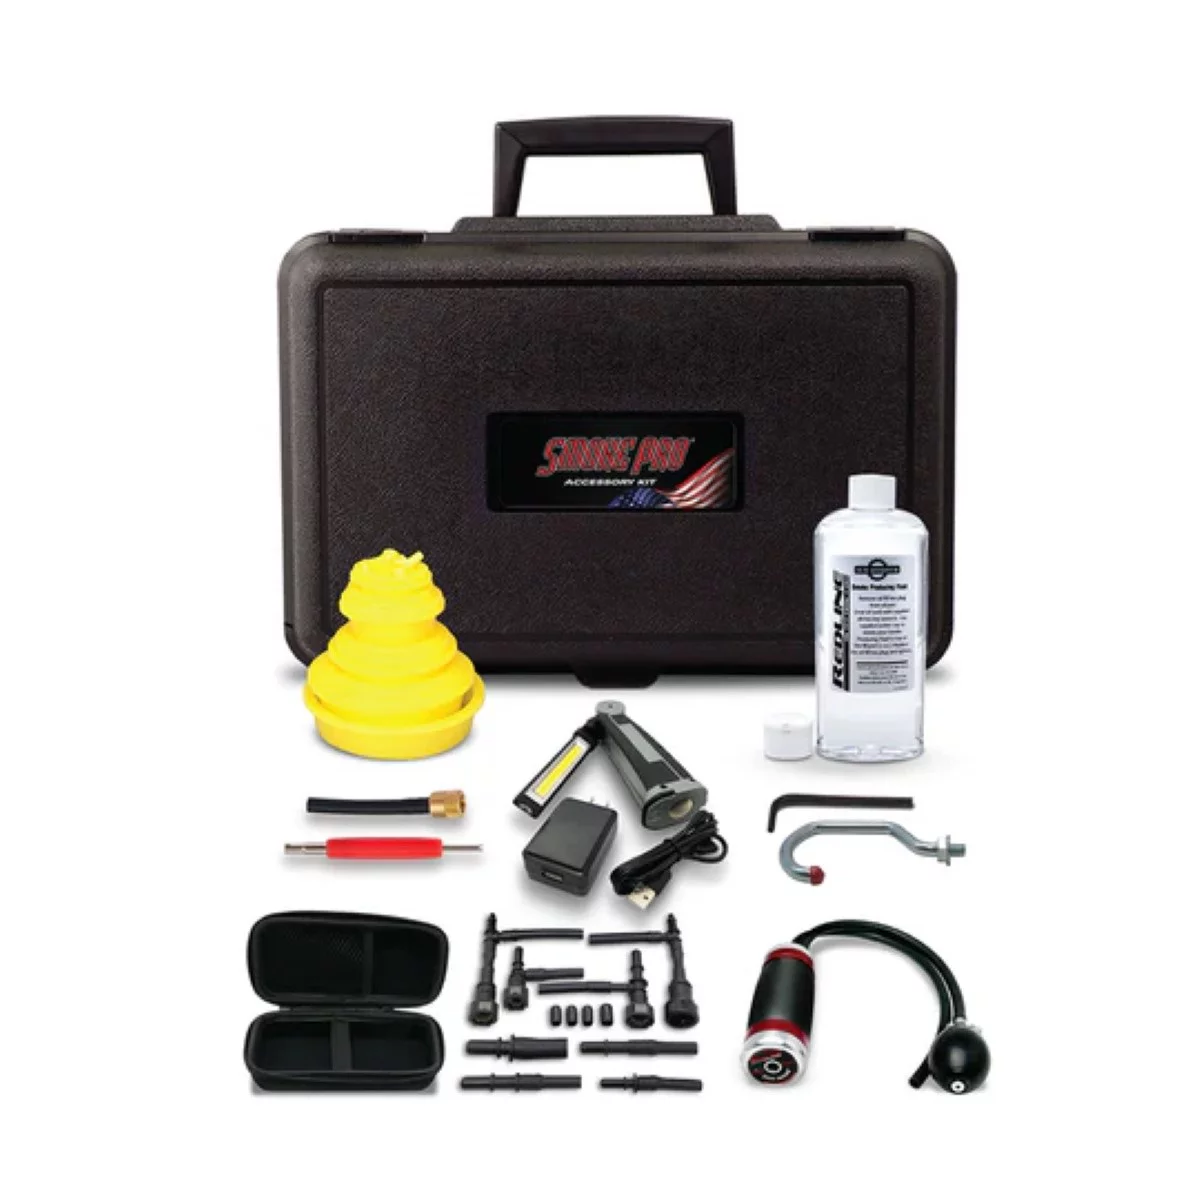
Advance Low Pressure Evap Smoke Machine Accessory Kit
Mfg: Redline Detection
Part #: 96-0161


Frequently Asked Questions
How can I tell transmission fluid from brake fluid under a car?
ATF is typically red to reddish-brown and feels distinctly oily between the fingers. Brake fluid is usually clear to light amber in modern vehicles and feels slightly sticky as it evaporates, leaving a faint residue rather than an oily film.
Will a damaged EVAP line cause the engine to run poorly?
No. The EVAP system operates at low pressure and isn’t part of the primary fuel delivery or combustion process, so a torn or disconnected EVAP line typically won’t affect drivability. Expect a check engine light, possibly delayed, and a failed emissions test until it’s repaired.
Is it safe to drive with a torn EVAP line until I can get it fixed?
Generally yes for a short period, as long as the line is secured away from the exhaust and moving parts and there’s no strong fuel smell inside the cabin. It should still be repaired promptly since the system is left open to the atmosphere.
What should I do if I’m not sure what fluid is leaking?
Don’t guess. Clean the area, run the engine, and watch where fresh fluid originates. If it’s still unclear, a dye test or smoke test on suspect systems will confirm the source without guesswork.
Can hitting an animal or large debris damage a transmission cooler line?
Yes, if the impact is severe enough to tear heat shields or crush underbody components. If the transmission fluid level drops and the vehicle struggles to move or shift, stop driving immediately — running an automatic transmission low on fluid pressure can cause it to fail completely within a short distance.
Do I need to replace a torn EVAP line or can it be spliced?
Short sections of nylon or rubber EVAP tubing can often be spliced with the correct barbed fitting and clamp rated for fuel vapor service. If the damage is near a sensor, canister, or purge valve connection, replacing the full line segment is more reliable than splicing.
Recommended Diagnostic Tools
The inspection and identification process described above requires the right equipment. Explore Automotive Diagnostic Tools to find underbody inspection mirrors, code readers, and leak detection equipment for accurate diagnostics.
- Underbody inspection mirrors and LED work lights
- OBD-II code readers and diagnostic scanners
- Dye test kits and smoke machines for fluid leak identification

The Toolsource Technical Team blends decades of real-world automotive service experience with up-to-date technical research. Our writers collaborate with professional mechanics, shop owners, and diagnostic specialists to deliver practical, workshop-ready guidance you can trust.


Follow us on social media