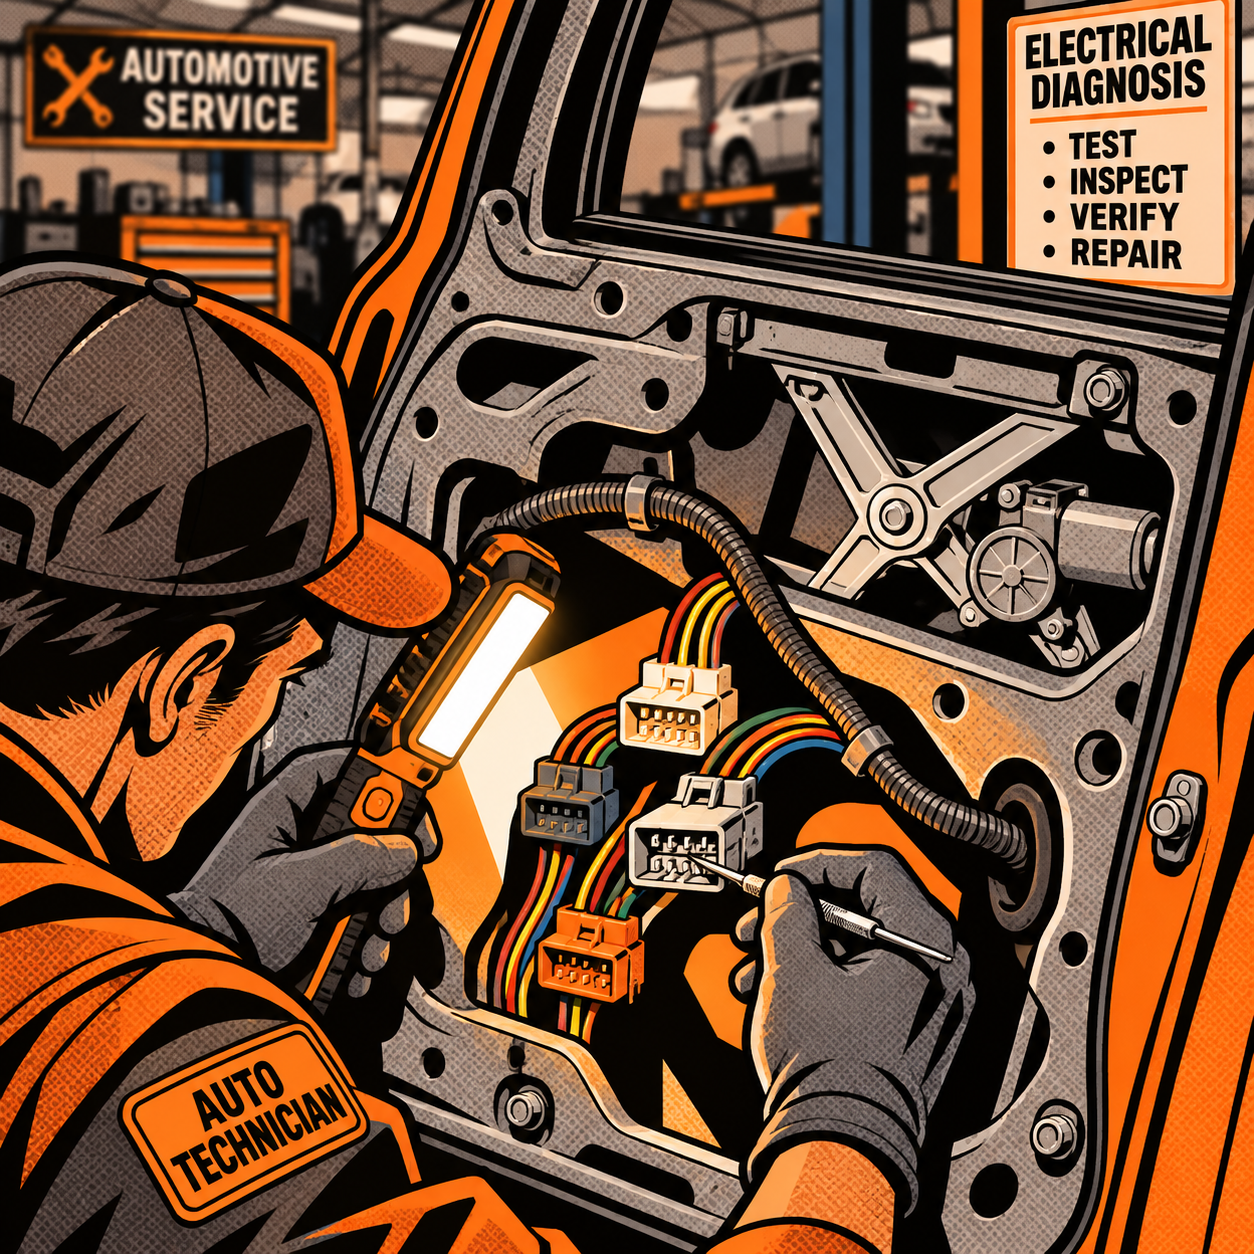
A vehicle comes back a few days after a door shell repair with a keyless entry complaint, a handle that won’t unlock, or a window that won’t drop on auto-down. Before anyone writes up a body control module or door module as a replacement part, it’s worth walking through what actually happens during a door repair or shell swap — because in the overwhelming majority of these comebacks, the fix is a five-minute connector check, not a parts order. Here’s a practical rundown for diagnosing and preventing these comebacks, and for explaining to a customer or estimator what’s really going on.
What “Door Shell Replacement” Actually Involves
A door shell is the stamped metal structure and outer skin — the part that takes the impact damage and the part that gets painted. It does not include the window glass, regulator, speaker, wiring harness, lock actuator, latch, or the inner and outer door handles. When an estimate calls for a new door shell, the correct process is to strip every component off the damaged door and transfer it to the new shell, reusing anything that wasn’t itself damaged in the collision.
That disassembly step is exactly where comebacks originate. Every one of those components — handle switches, lock actuators, speakers, courtesy lights, blind-spot sensors, keyless entry antennas — runs through a multi-pin connector buried behind the door card. Pulling the card, pulling the harness clips, and reinstalling everything in a tight workspace means it’s easy to miss reseating one connector, or to seat it at an angle that doesn’t fully lock the pins. The symptom on the dash or at the customer’s hand is identical to a failed module: a dead switch, a lock that won’t actuate, a fob that won’t communicate. The root cause is almost always mechanical, not electronic.
Diagnosing a No-Function Door After Reassembly
Treat this like any intermittent-connector diagnosis, not a module failure, until you’ve ruled out the simple stuff:
- Pull the door card again. Check every connector that was disturbed during disassembly — handle switch, lock actuator, latch, speaker, courtesy light, antenna. Confirm each one is fully seated and the secondary lock (if equipped) is clicked home.
- Inspect for bent or pushed-back pins. A connector that “feels” seated can still have a pin that backed out of its cavity when it was plugged in under time pressure. Use a strong light and a pick to check pin retention on both halves.
- Check continuity at the harness, not just the connector. A pinched wire from door-card reinstallation can read open even with a perfectly seated connector.
- Verify grounds. Door-mounted grounds get missed often, especially on vehicles where the ground strap routes through the hinge or the kick panel.
- Test the switch or actuator directly with a multimeter or scan tool bidirectional command before condemning it. If it responds to direct power, the component is fine and the fault is upstream.
Only after all of that comes back clean should a control module be on the table — and even then, confirm with a scan tool that the module is actually communicating and setting a real fault code, not just failing to respond because of a connector issue elsewhere on the same circuit.


Professional Terminal Release Tool Kit for Deutsch Connectors
Mfg: Thexton Mfg Co
Part #: 588
Keyless Entry and Handle Switch Faults: Relearns Matter
Keyless entry and passive-entry handles frequently need a relearn procedure after being disconnected, even if the wiring is correctly reseated. If a handle, antenna, or the body control module itself lost power during disassembly, the system can come back up without the handle registered to the vehicle’s security system. This isn’t a part failure — it’s a procedure that got skipped.
Before chasing wiring on a keyless complaint, check the OEM service procedure for a door handle or antenna relearn. Many of these are simple key-cycle or button-sequence procedures; others require a scan tool with security access. If the relearn resolves the complaint, log it as a procedural step in the repair, not a parts issue, so the next tech working this vehicle (or the next estimator writing the supplement) understands what happened.
It’s also worth checking whether the fault is isolated to one side. A single-door failure after a single-door repair points squarely at that door’s connectors or relearn status. A failure that shows up on multiple doors or affects functions unrelated to the repaired panel is a better candidate for an actual module or wiring harness problem, and deserves a full scan before further disassembly.
Why Pre- and Post-Repair Scans Are Not Optional
On any vehicle from roughly 2006 and later, a pre-repair scan and a post-repair scan should be standard procedure on collision work, and most insurers already pay for both as separate line items. The pre-scan documents what was already wrong with the vehicle before a wrench was turned. The post-scan confirms every system — including anything disturbed by door disassembly — is communicating and fault-free before the vehicle goes back to the customer.
If a post-scan was skipped, that’s the real failure point in a case like this. A proper post-scan on a vehicle with an unplugged handle or antenna connector will throw a specific, addressable fault code pointing at that circuit, not a vague “replace the module” diagnosis. If a shop is recommending a control module replacement without a documented scan showing a hard module fault, that recommendation should be treated as unverified. Insist on seeing the actual scan report and the specific DTC before authorizing any electronic part.
This is also the point where shops protect themselves. A documented pre-scan and post-scan, kept with the repair order, is the clearest evidence that a reported fault either existed before the vehicle arrived or wasn’t present when it left. Skipping this step is what turns a five-minute connector fix into a credibility problem with the customer and the insurer.
Building a Repeatable QC Step for Door Work
The comebacks described here are preventable with a short function check built into the delivery process, not a lengthy new procedure. Any door that was opened for repair or replaced as a shell should get every function cycled before the vehicle leaves the shop: lock/unlock from each switch, lock/unlock from the fob and keypad if equipped, window up/down including auto-function, mirror adjustment if wired through the door, speaker output, and any courtesy lighting. This takes a couple of minutes per door and catches the unplugged-connector problem before the customer does.
Quick Checklist: Door Disassembly and Reassembly
- Photograph connector routing before removing the door card, especially on vehicles with multiple similar-looking harness plugs
- Reseat every connector fully and confirm secondary locks click home
- Check for bent or backed-out pins before buttoning up the door card
- Run any required handle, antenna, or module relearn procedure
- Cycle every powered function in the door before final assembly
- Run and save a post-repair scan, and compare it against the pre-repair scan

Frequently Asked Questions
Could a collision really damage a door’s control module or wiring harness?
Yes, it’s possible, particularly with a severe side impact that crushes the door structure or tears the harness grommet at the hinge. But a damaged harness or module from impact will usually show visible damage or a hard DTC on a scan, not just one isolated function failing right after a repair with no fault history before the accident.
If the shop says a part needs replacing, what should I ask for before approving it?
Ask for the specific DTC and the scan report that generated it, not just a verbal diagnosis. A legitimate module or harness failure will have a documented code tied to that circuit. If no scan data is offered, that’s a sign the diagnosis wasn’t fully worked up.
Why would only one door function fail — like unlock — while everything else on that door works fine?
Multi-pin connectors carry multiple circuits in one plug. A single pin that’s bent, backed out, or not fully seated can take out one function while the rest of the connector’s circuits still make contact. This is a classic signature of a reassembly issue rather than a component failure.
Does a relearn procedure require special equipment?
It depends on the manufacturer and system. Some handle or fob relearns are simple key-cycle sequences anyone can perform. Others, particularly passive entry and security-related relearns, require a scan tool with bidirectional control and sometimes a subscription-based security access service.
Should a pre-scan and post-scan be billed separately from the repair?
Most insurers recognize pre- and post-repair scanning as separate, billable operations distinct from mechanical labor, and most DRP agreements already account for this. If a shop isn’t performing and documenting both, that’s a process gap worth flagging regardless of what caused the original complaint.
How long after a repair can a connector issue show up?
Immediately in most cases, since the function either works or doesn’t the first time it’s tried. Intermittent symptoms that appear days or weeks later usually point to a connector that’s partially seated or a pin with marginal contact that worsens with vibration and temperature cycling, rather than a sudden new failure.
Recommended Tools
The diagnostic workflow covered in this article — from connector inspection to scan-tool verification — requires the right equipment. Our Automotive Diagnostic Tools collection includes everything you need to move from parts-guessing to verified fixes.
- Multimeters and continuity testers for connector and pin diagnostics
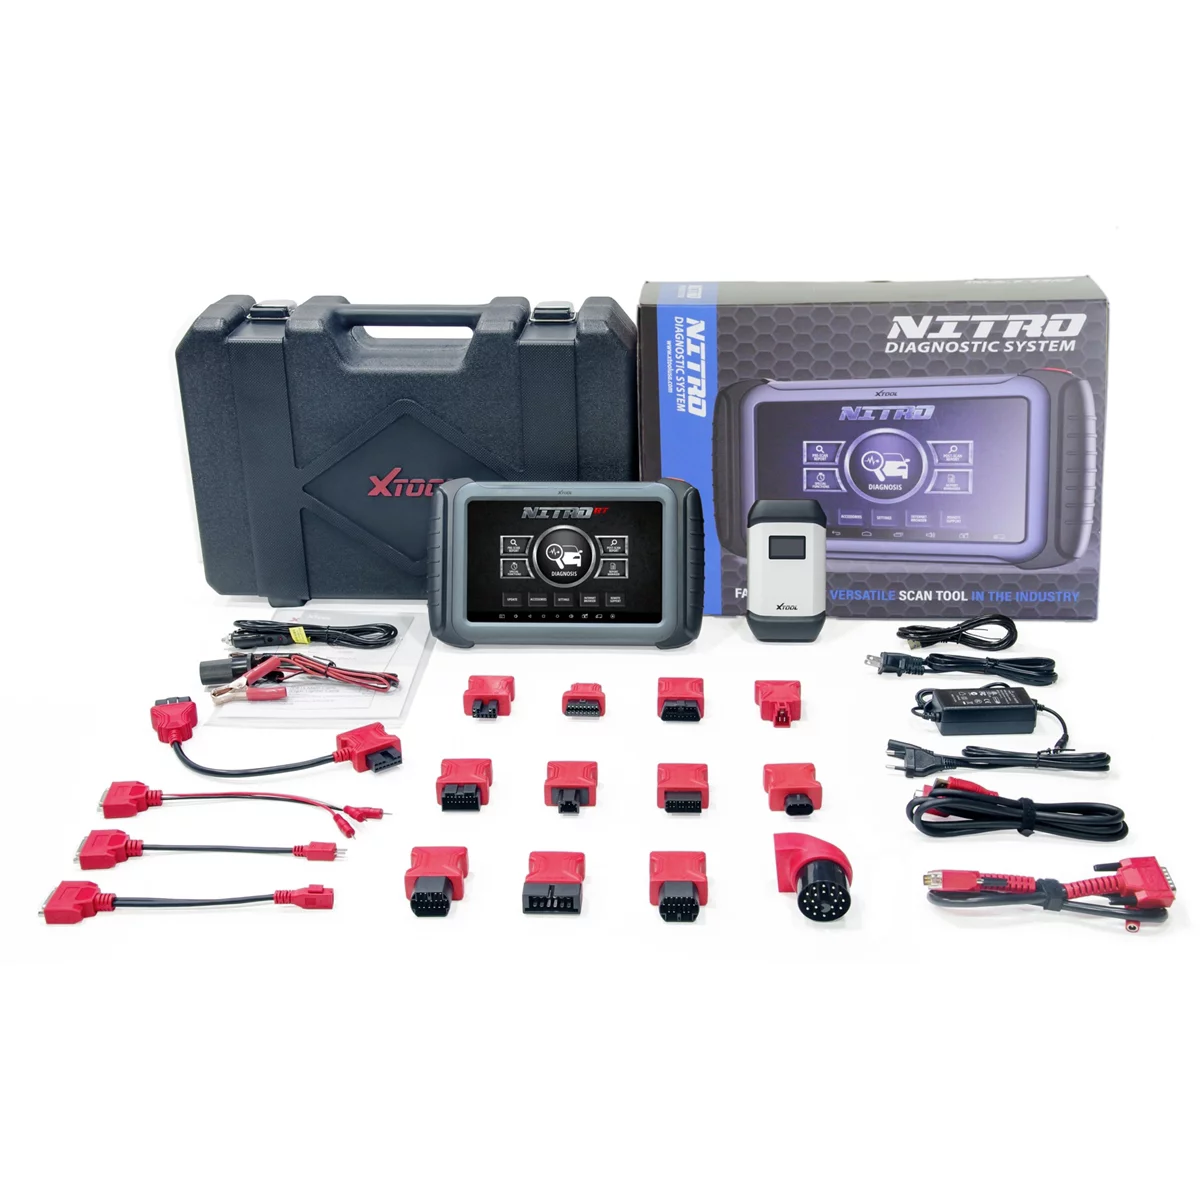
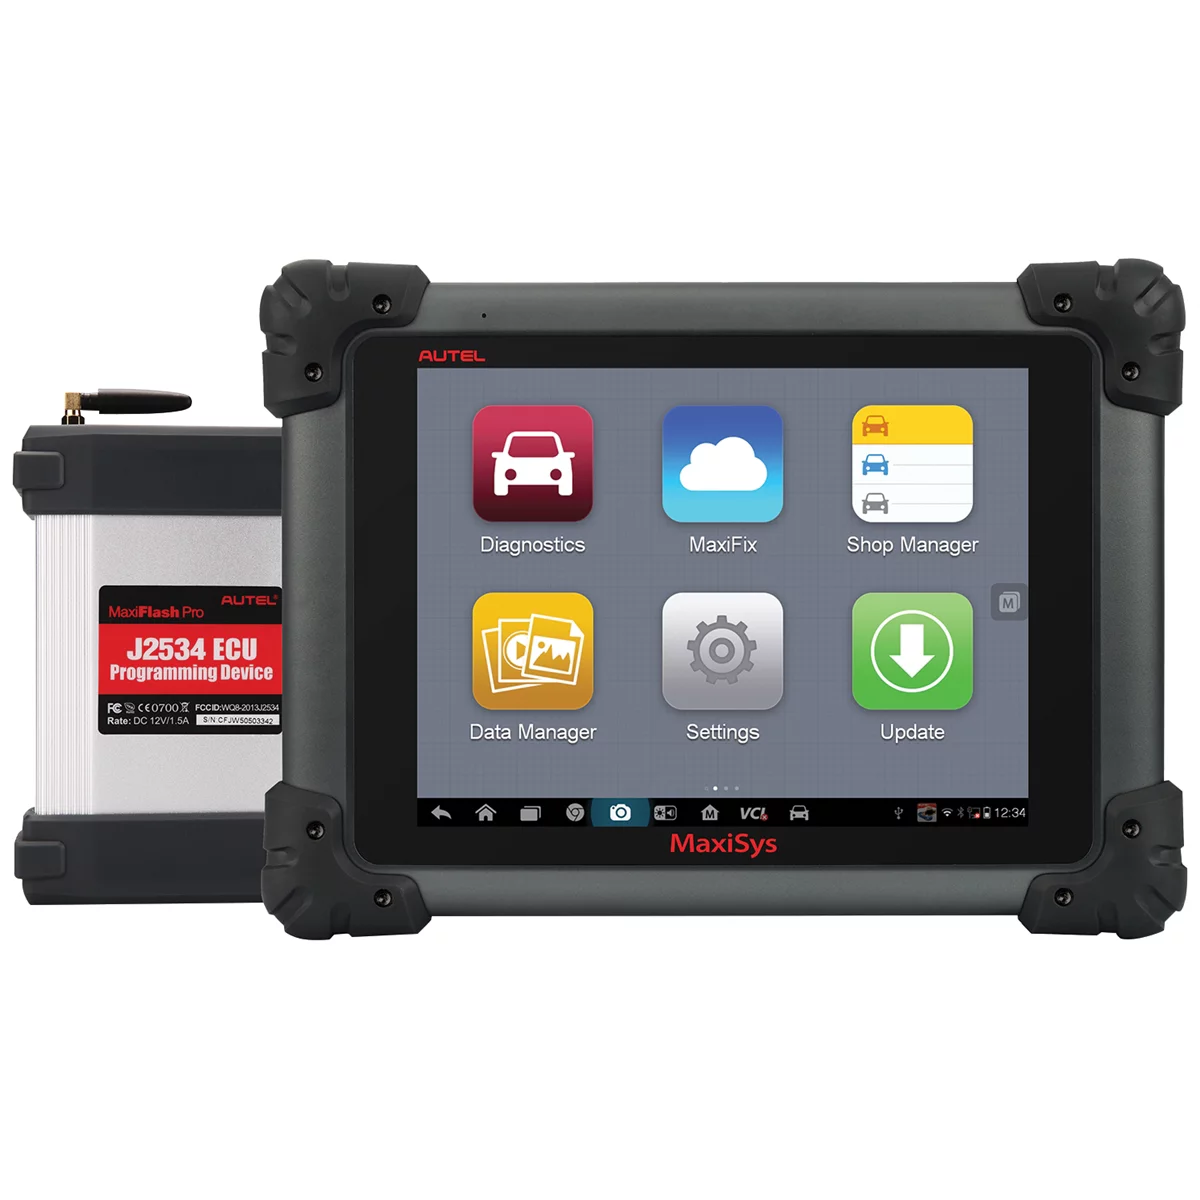
- Diagnostic scan tools for pre- and post-repair fault codes
- Connector inspection and pin-extraction tools for harness work

The Toolsource Technical Team blends decades of real-world automotive service experience with up-to-date technical research. Our writers collaborate with professional mechanics, shop owners, and diagnostic specialists to deliver practical, workshop-ready guidance you can trust.


Follow us on social media