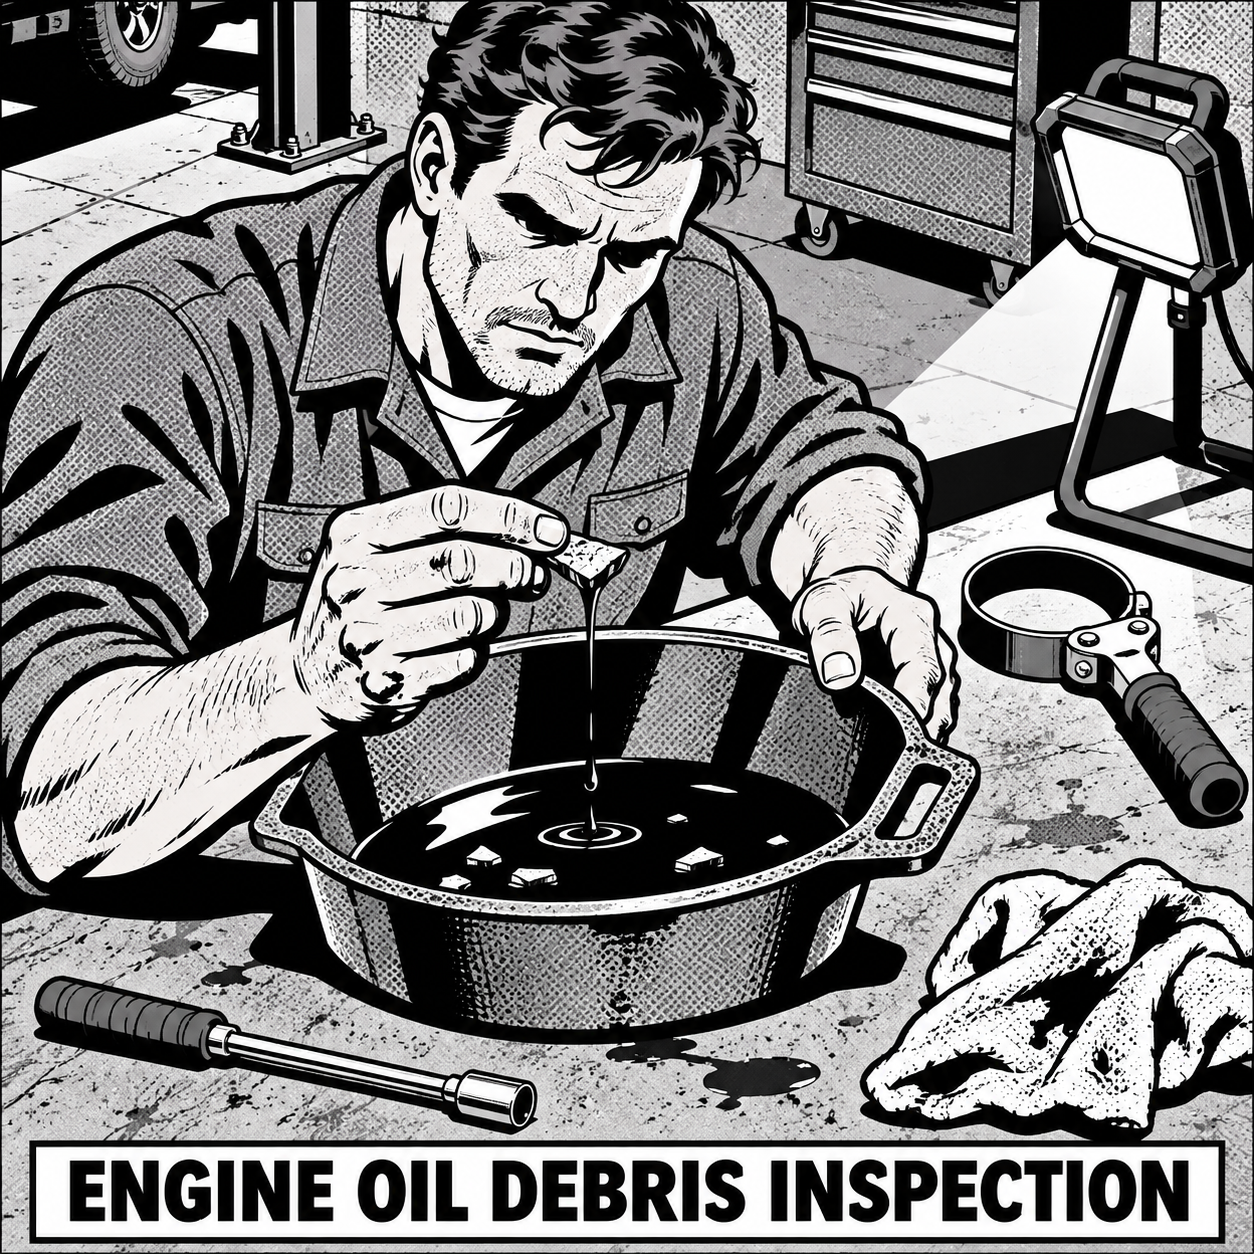
Nothing kills a quiet afternoon in the bay like pulling a drain plug and watching a chunk of metal clink into the catch pan. Before anyone starts shopping for a replacement engine, there’s a methodical way to figure out what that debris actually is, where it likely came from, and whether it’s evidence of an active failure or just leftover shrapnel from a previous repair. This guide covers the field checks techs actually use—magnet tests, visual ID, filter inspection, and live data—to separate “monitor it” from “pull the pan today.”
Step One: Stop Guessing, Start Testing
The gut reaction when you see a jagged piece of metal is to assume the worst—rod bearing, crank, or a spun bearing shell. Resist that until you’ve run a few quick, non-invasive tests. First, grab a magnet. A pocket magnetic pickup tool or the tip of a screwdriver works fine. If the debris sticks, you’re dealing with a ferrous material: steel or cast iron. That immediately rules out aluminum pistons, aluminum timing covers, and most aluminum block components. Ferrous parts inside a typical four-cylinder engine include the crankshaft, connecting rods, valve springs, wrist pins, oil pump gears, and the cam chain’s steel guide rails.
If the piece is non-magnetic, you’re likely looking at aluminum casting flash, a piece of a piston skirt, or bearing backing material (though most bearing shells have a steel back with a softer alloy facing, so bearing material is often partially magnetic too). Note the surface finish: a smooth, slightly rounded edge with casting texture usually means factory flash that was never fully cleaned out during machining. A piece with grinding marks, heat discoloration, or a mangled, hammered look points to mechanical damage happening in real time—something getting chewed up between moving parts.
Reading the Shape and Finish
Shape tells you almost as much as composition. A thin, curved plate with a smooth factory-machined face but a torn or snapped edge is consistent with a timing chain guide—these are often steel-backed with a nylon or plastic wear surface, and the plastic degrades long before the metal backing fails. If you find a guide piece but no corresponding plastic chunks in the pan, that’s actually a meaningful clue: plastic debris doesn’t just vanish, so its absence suggests either the guide failed and the plastic was captured elsewhere (filter, chain slack area) or the piece you’re looking at isn’t a guide at all.
A piece with visible grain lines, a dull gray matte finish, and heavy abrasive wear patterns resembles bearing material or scored shell backing. A rough, porous surface with sand-cast texture is classic casting flash—common in oil pans, valve covers, and block webbing that wasn’t fully deburred at the factory. If you genuinely can’t tell, don’t rely on a visual guess alone; cross-reference against OEM part diagrams for the specific engine, since guide and tensioner shapes vary significantly between engine families.
Check the Filter and the Live Data Before You Condemn Anything
Cut the oil filter open. This is non-negotiable before writing an estimate. If the filter media is loaded with metallic glitter or additional chunks, that’s strong evidence of an active, ongoing failure—debris that size doesn’t get generated once and then stop. If the filter is clean and the pan held just the one piece, it’s far more consistent with leftover debris from a prior repair (head rebuild, engine swap, timing cover removal) that never got flushed out.
Next, pull up live data and watch cam and crank correlation, especially at idle and under light throttle. A timing guide or tensioner failure severe enough to drop metal usually shows up as cam timing deviation, chain stretch codes, or an audible rattle on cold start that fades as oil pressure builds and hydraulic tensioners take up slack. If there’s zero timing correlation drift and no relevant codes, a non-tensioning upper guide failure becomes less likely as the source, since even a worn guide allows enough deflection to register on a sensitive crank/cam relearn.
[PRODUCT_SEARCH: magnetic oil drain plug pickup tool]
Match the Debris to Recent Work History
Service history matters more than people give it credit for. If the engine recently had a head rebuild, a timing job, or any work that required removing the front cover or oil pan, assume the debris is leftover shop debris until proven otherwise. It is extremely common—and extremely preventable—for shops to skip a final pan drop-and-clean after internal work, leaving casting chips, old gasket material, or a dropped fastener fragment sitting in the sump. This is sloppy, but it is usually not actively dangerous if the oil pump pickup screen is intact and the piece isn’t being circulated.
If there’s no recent internal work and the debris shows up on a routine oil change, treat it as a current, active failure until you can rule that out. On engines with known chronic oil consumption issues, a history of running low on oil adds another variable: extended periods of marginal lubrication accelerate bearing and guide wear independent of any single root cause, so a vehicle that’s been run hard on thin oil film is a more plausible candidate for genuine bearing material than one with a clean maintenance record.
Decide: Drop the Pan or Keep Driving
This is the actual judgment call, and it should be based on evidence, not anxiety. Drop the pan and inspect the pickup screen and rod/main bearing caps when any of these are true: the filter shows ongoing metallic contamination, there’s a knock or rattle that doesn’t fully quiet down once warm, oil pressure is trending low or erratic, or you have cam/crank correlation codes. Dropping the pan on a four-cylinder is usually a few hours of labor and it’s the only way to confirm whether the oil pump pickup screen is clear and whether bearing clearances feel normal by hand.
It’s reasonable to clear the single piece, change the oil and filter, and monitor with a follow-up inspection in 1,000–2,000 miles when: the piece is clearly casting flash or a one-off leftover from documented recent work, the filter is clean, there are no active codes, oil pressure is normal, and the engine runs without unusual noise. Document everything either way—photos of the debris, the filter cut-open, and oil pressure readings—so there’s a record if something develops later.
Checklist: Metal Debris in the Oil Pan
- Magnet test the debris—ferrous or non-ferrous?
- Inspect shape and finish: smooth casting texture vs. torn/ground metal
- Cut open the oil filter and inspect media for additional metal
- Pull live data: check cam/crank correlation and relevant codes
- Review recent service history for internal work that could explain leftover debris
- Listen for cold-start noise that fades as oil warms and pressure builds
- Decide: pull the pan and inspect bearings/pickup screen, or monitor with a follow-up interval
[PRODUCT_SEARCH: engine oil pan gasket and bearing inspection tools]

FAQs
Is a small piece of metal in the oil pan always a sign of catastrophic failure?
No. Casting flash and leftover debris from prior internal repairs are common and often harmless if the oil pump pickup screen stays clear and no additional metal shows up in the filter on follow-up.
Can a broken timing chain guide fail without throwing a code?
Yes, especially on non-tensioning guides that only limit minor chain deflection. A failed tensioning guide or a chain that’s stretched enough to affect timing is far more likely to trigger a cam/crank correlation fault.
Should I cut open the oil filter every time I find debris in the pan?
Yes. It’s the fastest, cheapest way to tell the difference between a one-time piece and an active, ongoing failure generating continuous metal.
Does low oil level or chronic oil consumption make bearing failure more likely?
Yes. Extended operation on marginal oil film accelerates wear on bearings and guides, so a vehicle with a documented oil consumption history is a more plausible candidate for real bearing material.
If a previous shop left debris in the pan during a repair, who’s responsible for removing it?
The shop that performed the internal work should have flushed the pan before returning the vehicle. If debris is clearly tied to recent documented work, it’s reasonable to go back to that shop for a pan drop and cleanout.
What’s the safest next step if I can’t positively identify the debris?
Don’t guess your way to a verdict. Drop the pan, inspect the pickup screen and bearing surfaces directly, and compare the piece against OEM parts diagrams for that specific engine before deciding on repair scope.
Recommended Tools
When diagnosing metal debris, having the right tools on hand makes the inspection faster and more reliable. Our selection of Engine Repair Tools includes the specialized equipment needed for detailed pan inspections and bearing diagnostics.
- Oil pan gaskets, drain plugs, and pickup screen inspection equipment
- Bearing clearance gauges and detailed inspection tools
- Magnetic retrieval tools and oil filter cutting equipment

The Toolsource Technical Team blends decades of real-world automotive service experience with up-to-date technical research. Our writers collaborate with professional mechanics, shop owners, and diagnostic specialists to deliver practical, workshop-ready guidance you can trust.


Follow us on social media