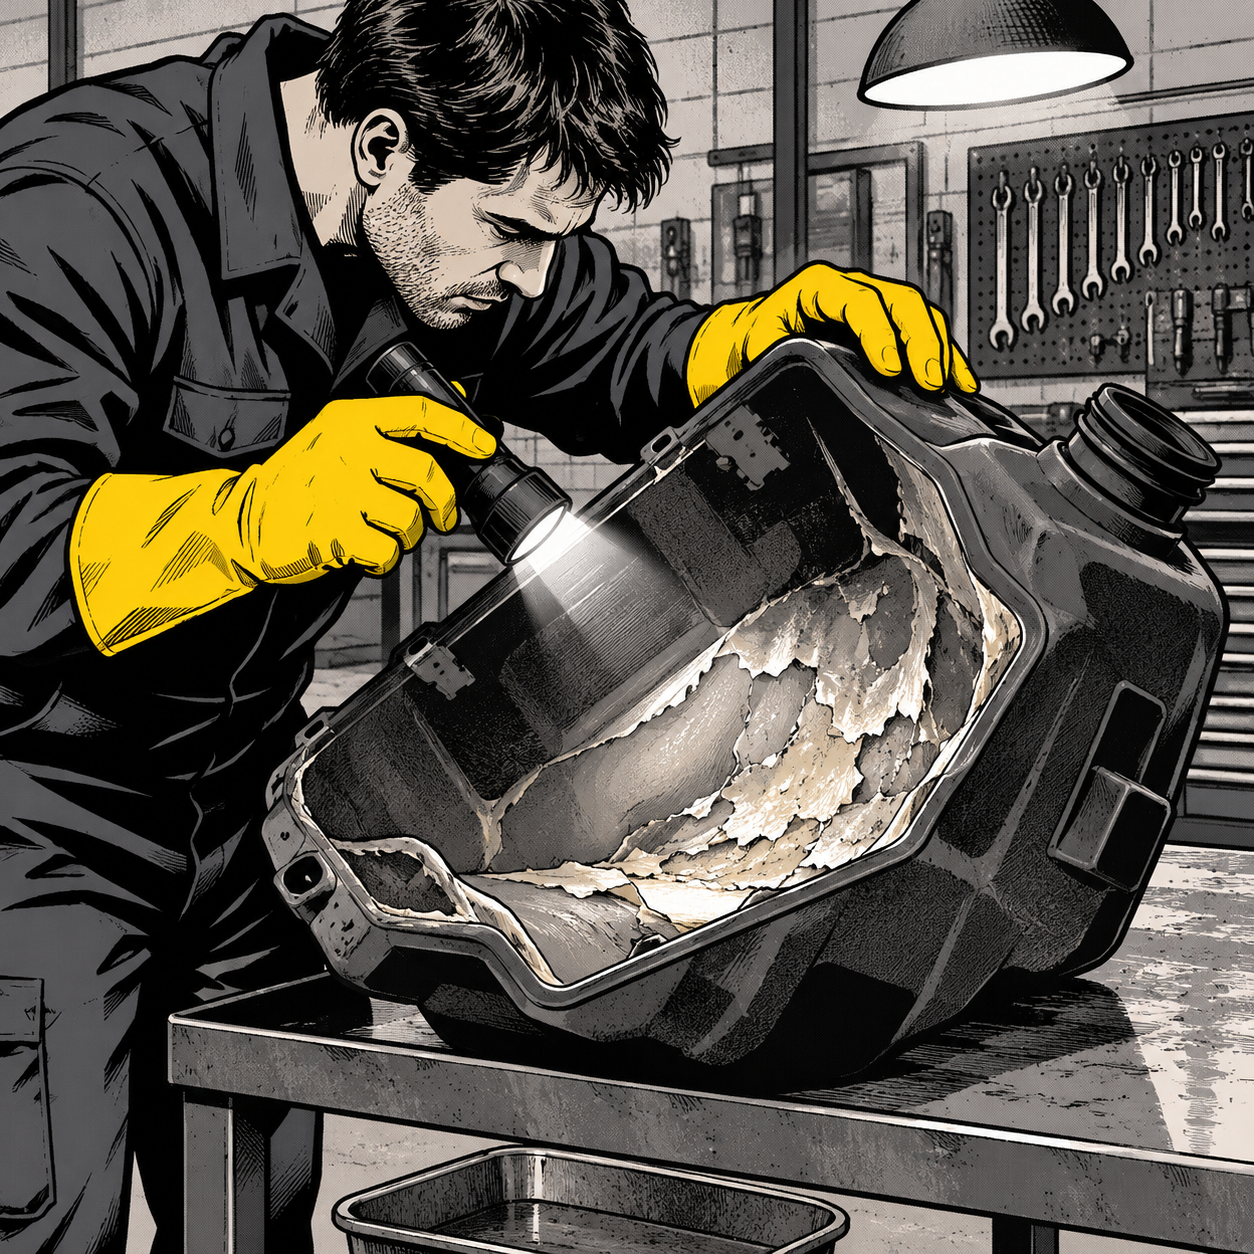
Every few years a tank comes off the lift looking less like a fuel container and more like a science experiment — plastic walls gone soft and tacky, a milky or waxy residue coating the inside, and fuel lines that have gone from firm to limp. This isn’t ethanol phase separation or a clogged filter. It’s chemical contamination, and it’s one of the trickier diagnostic and repair jobs a shop will take on, partly because the cause is often deliberate. Whether it’s vandalism, a bad aftermarket tank sealer, or an owner who grabbed the wrong jug in the garage, the repair path is largely the same: contain it, confirm the extent of the damage, and replace everything the contaminant touched. Here’s how to work the job correctly from the first look to the final invoice.
Spotting the Signs of Chemical Fuel Contamination
Normal fuel degradation — stale gas, ethanol separation, light varnish in a carburetor bowl — looks and behaves differently than chemical attack on plastic components. Ethanol-blended fuel left sitting for several months can absorb enough moisture to separate into a waxy residue and water layer at the tank bottom, but that process doesn’t melt or soften plastic; it just leaves greenish-brown crud on metal parts and clogged jets. If you’re looking at a tank wall that’s gone soft, bubbled, or structurally deformed, or a milky-white/cream colored coating that’s flaking off in sheets, you’re dealing with something else entirely.
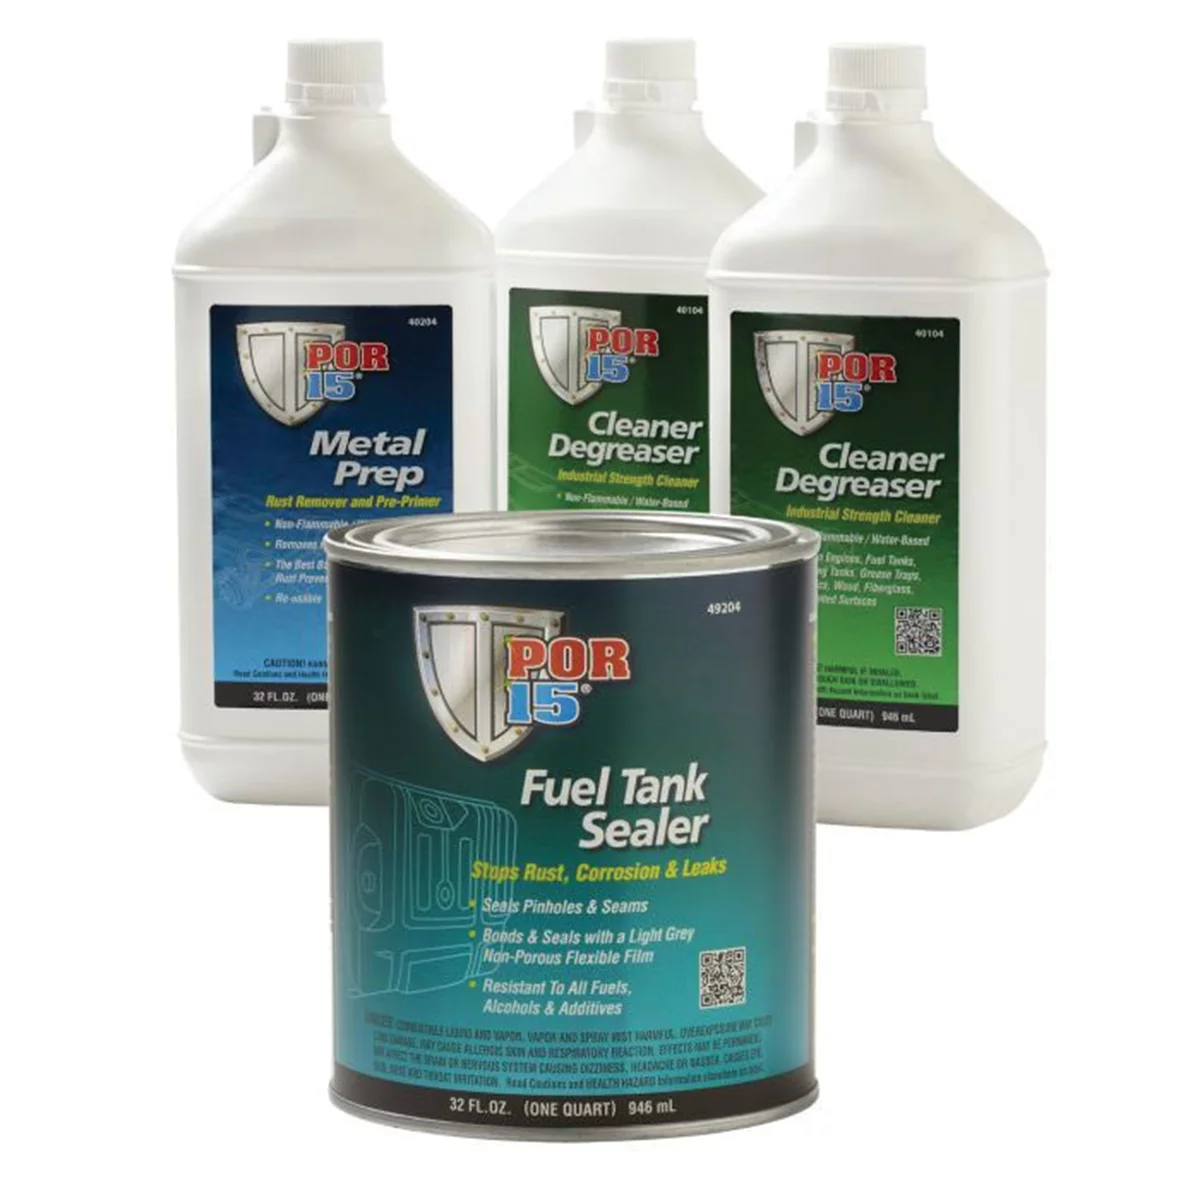
Common culprits reported by shops include aromatic solvents (xylene, toluene-based products), DEET-based insect repellent in high concentration, diesel exhaust fluid (DEF) poured into a gas tank, and mis-applied fuel tank sealer. That last one is worth calling out specifically: tank sealers are formulated for metal tanks. Poured into and cured inside a plastic tank, the sealer never bonds properly and instead flakes off the walls — which can look alarmingly similar to deliberate sabotage but has a completely different root cause and fix. If the vehicle also has unrelated damage (a smashed windshield, keyed paint, slashed tires), treat the contamination as probable vandalism and loop in the owner about filing a police report before you start tearing the fuel system apart.
Safety Precautions Before You Touch the Tank
Until you know what’s in the tank, treat it as an unknown hazardous chemical. Fumes from aromatic solvents and some sealers are harsh enough to cause headaches or respiratory irritation in an enclosed bay, and skin contact with concentrated DEET or solvent residue is a real irritant risk. Glove up with nitrile or chemical-resistant gloves before draining anything, work in a ventilated area, and keep an eye/skin wash station nearby. If the residue has an unusual odor or color you can’t identify, don’t try to ID it by smell up close — bag a sample in a sealed glass or metal container in case the owner needs it analyzed for an insurance or police report later.
Drain the tank into a clearly labeled waste container — do not mix it with your shop’s normal used-fuel or used-oil recycling stream until you know it’s not going to react with or contaminate everything else in that drum. If a customer asks about identifying the substance precisely, a mass spectrometry lab (some local colleges or forensic labs offer this) can confirm it, but that’s usually only worth pursuing for a police report or liability dispute, not for completing the repair.
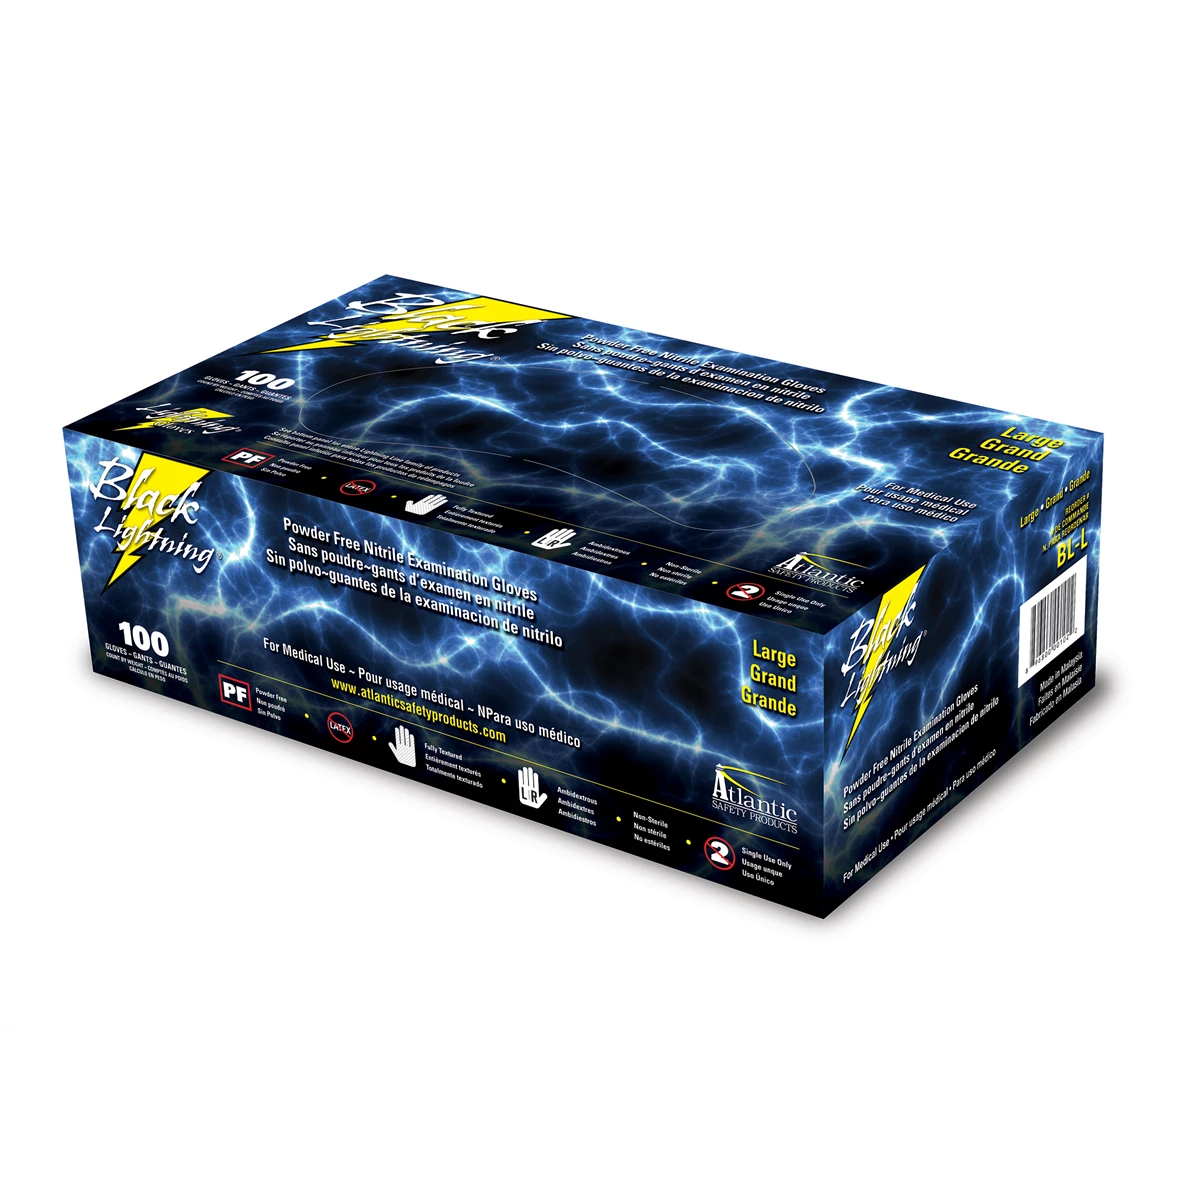
Black Lightning Nitrile Powder-Free Gloves Black Medium
Mfg: Atlantic Safety Products
Part #: BL-M


Step-by-Step Diagnostic Procedure
Work from the tank outward so you don’t miss contamination that’s migrated further into the system than it looks.
1. Inspect before you drain. Pull an access panel or drop the tank partially to look at the interior before fully draining — note the color, texture, and whether it’s a coating (sealer) or a sludge/gel suspended in fuel (chemical reaction with the tank itself).
2. Check the fuel pump independently. Before digging into injectors and lines, unplug the fuel pump and verify its condition and current draw. Fuel normally flows past the pump motor to help cool it; contaminated or gelled fuel makes the pump work harder without that cooling, which can cook the pump prematurely even if the contaminant itself didn’t directly damage it.
3. Trace the lines. Follow every fuel line from tank to engine, checking for softening, swelling, or collapse — especially where lines run near or between tanks on dual-tank setups, a common failure point reported in these cases.
4. Pull and inspect the injectors. Even fine sediment or thickened fuel can gum up injector tips and pintles. If the contaminant made it past the fuel filter in any quantity, assume the injectors are affected until proven otherwise.
5. Check for cylinder head/valve intrusion. If the car was run with contaminated fuel (even briefly) rather than caught immediately, check for gunk reaching the intake valves or combustion chamber — this changes the job from a fuel-system repair to a much larger engine service.
Repair and Replacement Strategy
Once you’ve mapped the damage, the repair generally breaks into tiers:
Tank: A melted, softened, or structurally compromised plastic tank cannot be repaired — replace it. New OEM tanks can be expensive relative to the vehicle’s value, so a used tank from a salvage yard or a cross-reference from another model (several techs report success finding interchangeable tanks from related platforms) is a reasonable cost-saving move, provided mounting points, vent lines, and sending unit fit match up. Always dry-fit and check for correct capacity and baffle placement before final install — a tank swap under budget pressure is still a safety system, not just a container.
Lines and fittings: Replace any line that shows softening, swelling, discoloration, or flaking from the inside. Don’t just flush a compromised line and reuse it — degraded plastic/rubber fuel line can fail later even if it looks fine externally after cleaning.
Pump: If the pump ran against contaminated fuel for any length of time or shows elevated current draw/heat damage, replace it rather than reinstalling. A pump that’s already stressed from running hot has a shortened remaining life.
Injectors: Injectors are comparatively quick to swap (often well under an hour on many platforms) and should be replaced or professionally cleaned/flow-tested if there’s any sign fuel contamination reached them. Don’t assume the fuel filter caught everything — several of these cases show contaminant reaching injectors despite a filter in the line.
Sanity-check before deep teardown: Confirm the engine will actually crank and attempt to run (some techs verify this with a shot of starting fluid with the pump unplugged) before investing hours in a full tank-to-injector replacement — it avoids discovering a separate, unrelated no-start issue after the fuel system work is already done.
Documenting the Damage for Insurance Claims
If vandalism is suspected, the repair order needs to support a claim, not just describe parts replaced. Photograph the tank interior, melted/softened lines, and any residue before cleaning or disposal, and keep a sample of the contaminant if the insurer or police request lab analysis. Write the estimate to itemize parts and labor separately (tank, lines, pump, injectors, cleaning/flushing labor) so the adjuster can see exactly what the contamination caused versus normal wear items. For older or lower-value vehicles, calculate the repair total against the vehicle’s NADA/market value early — many states require declaring a total loss once repair costs cross roughly 70–75% of actual value, and catching that threshold before you order parts saves everyone time.
Quick Reference Checklist
- Glove up and ventilate before draining or inspecting the tank
- Photograph and sample the residue before cleanup, in case of a claim
- Test the fuel pump independently (unplug, check draw/heat) before deeper teardown
- Trace and inspect every fuel line for softening, swelling, or collapse
- Pull and inspect/replace injectors if contaminant could have passed the filter
- Check valves/combustion chamber if the engine ran on contaminated fuel
- Compare repair total to vehicle value before committing to full replacement


FAQs
Can sugar or flour in a gas tank actually cause this kind of damage?
No. Sugar doesn’t dissolve in gasoline and sinks rather than suspends, and it’s largely stopped by the fuel filter — it’s a long-running myth, not an effective way to disable a fuel system. The melting and gel-like residue seen in contamination cases points to a solvent, sealer, or similarly aggressive chemical, not sugar or flour.
Is a melted plastic tank ever caused by ethanol fuel alone?
No. Ethanol fuel can separate into water and a waxy residue layer after a few months of storage, but that process doesn’t soften or melt plastic tank walls or lines — it just leaves crud on metal parts like jets and bowls. A softened or structurally deformed tank wall means a chemical reaction, not standard ethanol breakdown.
Can a melted or sealer-flaked tank be repaired instead of replaced?
Generally no. Once the plastic has softened, deformed, or the interior coating is flaking off, the tank’s structural integrity and sealing surface are compromised. Replacement with an OEM or compatible used tank is the reliable fix.
Do I need to replace the fuel pump if it still runs after contamination?
If the pump ran hot or under heavier load due to gelled or thickened fuel (which reduces the cooling flow the pump relies on), replace it rather than reinstalling — it’s likely been stressed beyond its normal service life even if it hasn’t failed yet.
How do I find out exactly what chemical caused the damage?
For a definitive ID, a sample needs lab analysis (e.g., mass spectrometry), which is usually only pursued for a police report or insurance dispute rather than to complete the repair. For repair purposes, treat any unidentified residue as hazardous and replace all affected components regardless of the exact chemical.
Should I write up a detailed receipt for the customer’s insurance claim?
Yes — itemize parts and labor separately, note any damage photographed before cleanup, and keep a contaminant sample if requested. A detailed, itemized invoice makes it much easier for the adjuster to tie the repair costs directly to the contamination event.
Tools for Fuel System Work
The diagnostic and replacement procedures outlined above require proper tools to do safely and efficiently. Our Automotive Fuel System Tools collection includes everything you need for tank removal, line inspection, pump testing, and injector service.
- Fuel tank removal and installation hardware
- Fuel line cutting, flaring, and sealing tools
- Fuel pump and injector removal and testing equipment

The Toolsource Technical Team blends decades of real-world automotive service experience with up-to-date technical research. Our writers collaborate with professional mechanics, shop owners, and diagnostic specialists to deliver practical, workshop-ready guidance you can trust.


Follow us on social media