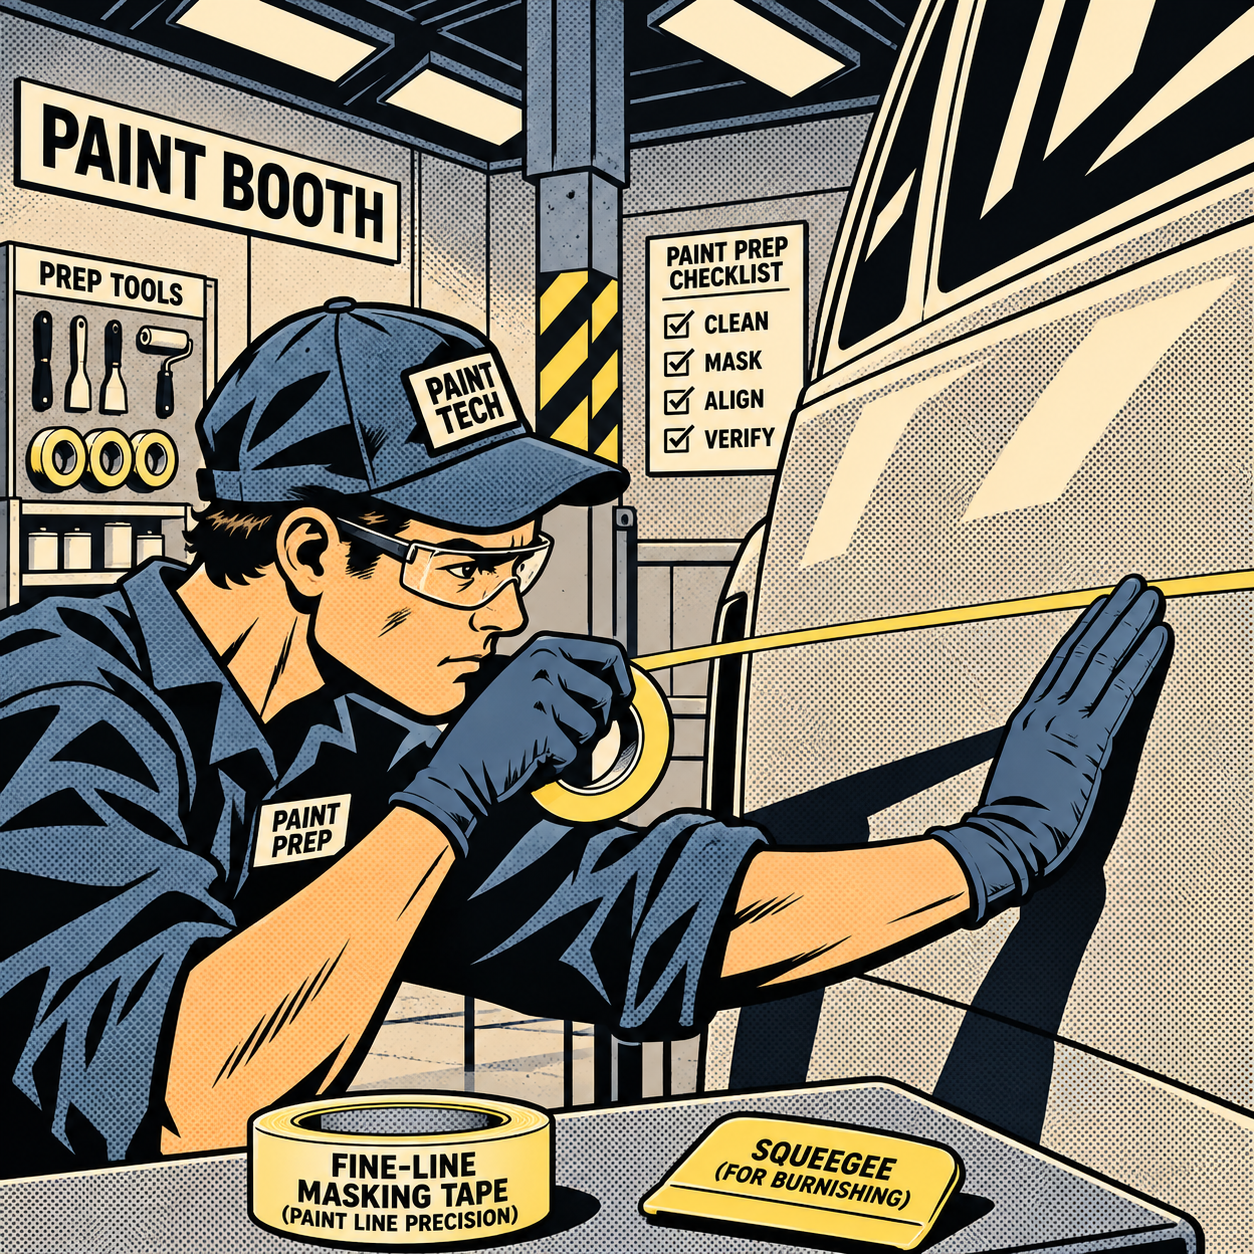
Painting a large vehicle, trailer, or piece of equipment is a different animal than a standard panel job. The spray work is often the easy part — the real time sink is planning how the piece moves in and out of the booth, masking long straight or angled lines without a single bleed-through, and keeping glass and trim protected over a project that might stretch across days or weeks. Techs who’ve handled oversized restorations know that a clean result comes down to prep discipline, not just gun control. Here’s a practical breakdown of the steps that matter most.
Plan the Move Before You Mask Anything
Before tape ever touches the surface, figure out exactly how the vehicle or unit will get into the booth, how it will be repositioned during the job, and how it leaves when you’re done. On a large restoration, you’re often dealing with equipment that doesn’t drive itself — forklifts, front loaders, rail dollies, or a tow setup. That logistics plan affects your masking strategy directly:
- Identify contact points. Anywhere a forklift fork, loader bucket, chain, or strap will touch the body needs to be masked or padded before paint, and re-masked if the piece gets repositioned mid-project.
- Confirm clearance. Measure booth door height and width against the tallest and widest point of the piece, including any mirrors, ladders, or antennas that may need temporary removal.
- Stage the move team. If a loader or crew is moving the unit, walk them through exactly where to lift and where not to, before the vehicle is wet.
- Protect the undercarriage path. Debris on tires or tracks gets carried into the booth. Clean contact surfaces before the final move-in.
Skipping this step is how freshly painted panels end up with scuffs, chain marks, or dust contamination minutes after the clear coat goes on.
Build Your Masking Plan Around the Hardest Lines First
Fine, straight lines are the signature of a professional paint job, and they’re won or lost in the taping stage. Work from the most difficult lines to the simplest:
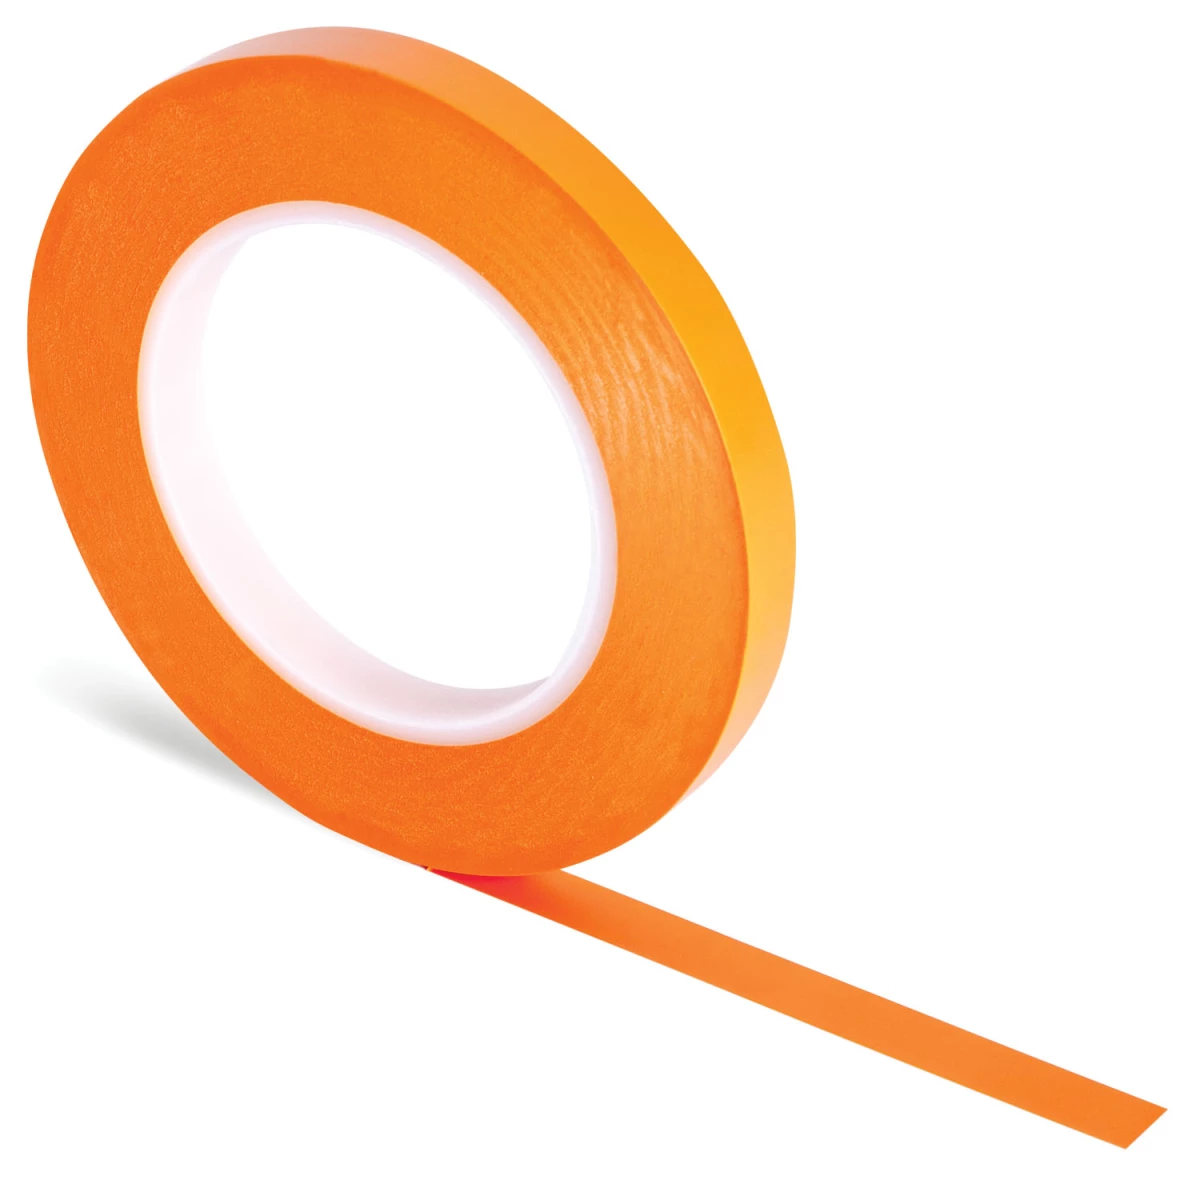
- Use fine-line tape for the edge, standard masking tape for the fill. A 1/8″ to 1/4″ fine-line tape lays down a crisp, consistent radius on curves and long runs that standard 3/4″ tape can’t match.
- Tension matters more than pressure. Pull the tape taut as you lay it rather than pressing hard after the fact — overworking the adhesive increases the chance of lift during clear coat.
- Burnish every edge. Run a plastic squeegee or your thumbnail along the tape edge after placement to seal it against the surface and prevent bleed.
- Mask in sections on long panels. On a trailer side, hood, or fuselage panel, break the line into 3-4 foot sections rather than fighting one continuous pull — it’s easier to keep straight and correct mistakes early.
Test fit and sightline-check every line from a distance before you spray. A line that looks straight six inches away can read crooked from ten feet.


Chevrons and Angled Stripes Take Twice the Time — Budget for It
Multi-angle patterns like chevrons, speed stripes, or nose art are consistently the most time-consuming part of a masking job, and it’s easy to underestimate how long they take on a large surface. A few things that keep angled work accurate:
- Lay out the geometry first. Use chalk line, a laser level, or story-stick measurements to mark the stripe angles and widths on the surface before any tape goes down. Freehanding angled lines on a large panel almost never comes out symmetrical.
- Work both sides of a chevron point simultaneously. Taping one leg completely before starting the other makes it harder to get the vertex crisp. Build both legs toward the point together.
- Double-check mirrored symmetry. On a front or rear chevron pattern, measure from a fixed centerline on both sides rather than eyeballing one side against the other.
- Use a sharp blade, not scissors, for tape corners. A fresh #11 blade gives a clean point at the vertex; dull blades drag the tape and round off sharp angles.
If the design has repeating angled elements — front and rear chevrons, side graphics — mask and spray one complete set before moving to the next rather than taping the whole vehicle at once. It reduces the number of edges sitting under tape for extended periods, which lowers the risk of adhesive residue or lifted clear coat.
Protect Glass and Openings Without Creating a Safety Blind Spot
Taping over windows, windshields, and other openings is standard practice to keep overspray out, but on anything that has to be moved, driven, or repositioned mid-project, fully taped glass can become a visibility hazard. Treat window masking as a two-stage process:
- Mask to the edge, not across the whole pane, when movement is still required. Keep a removable paper or poly cover over the glass that can be pulled for repositioning and reapplied for spraying.
- Flag covered openings clearly. If multiple people are involved in repositioning a large unit, make sure anyone who might need to see through a window knows it’s covered before they attempt to move it.
- Use paper or plastic sheeting rated for your booth’s temperature. Cheap masking paper can soften or sag under booth heat lamps, letting overspray creep around the edges.
- Remove glass masking as soon as the coat is dust-free rather than leaving it until final cleanup — trapped moisture and overspray residue are harder to clean off glass the longer they sit.
Manage Fatigue on Multi-Day Taping and Spraying Sessions
Large-scale masking jobs are repetitive-motion work, and arm, shoulder, and hand fatigue is the most common reason tape lines degrade in quality toward the end of a long session. A few adjustments help:
- Rotate tasks. Alternate between taping, cutting, and burnishing rather than doing one motion for hours straight.
- Use a tape gun or dispenser for long straight runs instead of hand-feeding tape off the roll — it reduces grip fatigue and keeps tension consistent.
- Work at a comfortable height. Rolling stools, adjustable lifts, or scaffolding for upper panels prevent the overhead-reach fatigue that causes shaky, uneven lines late in a shift.
- Take line-check breaks. Stepping back every 20-30 minutes to review work with fresh eyes catches wandering lines before they get sprayed over.
Quality Control Before You Pull Tape
Once the color coat or clear is down, resist the urge to pull tape immediately. Let the coating reach the tape-pull window specified by the product data sheet — too early and you risk dragging wet paint, too late and the edge can chip instead of cutting clean. Pull at a low angle, away from the painted edge, and inspect each line as you go rather than stripping the whole job and checking at the end.
Quick Pre-Spray Checklist
- Move plan confirmed — contact points padded, clearance measured, crew briefed
- Hardest lines (curves, chevrons) masked and measured before simple fill lines
- Fine-line tape burnished and bleed-checked under work light
- Glass and openings covered with removable masking if repositioning is still needed
- Tape tension and edges rechecked after any fatigue-heavy session
- Tape-pull window confirmed against product data sheet before removal

RO2512 Series Random Orbital Sander 5 Inch PSA 3/16 Inch Orbit R
Mfg: Sioux Tools by Snap-On
Part #: RO2512-50SRP

FAQs
What’s the best tape for long, straight paint lines?
Fine-line tape in 1/8″ to 1/4″ width is standard for the actual edge because it conforms to curves and resists bleed better than general-purpose masking tape. Use wider standard tape to mask off the surrounding area that doesn’t need a precise edge.
How do I keep chevron or angled stripe patterns symmetrical?
Lay out the geometry with a chalk line or laser level and measure from a fixed centerline before taping. Build both legs of each angle toward the vertex together rather than finishing one side first.
Is it safe to fully tape over windows during a paint job?
Only if the vehicle or unit won’t need to be moved while covered. If repositioning is required, use a removable cover over the glass and make sure anyone involved in the move knows the opening is blocked.
How long should tape stay down before pulling it?
Follow the paint or clear coat manufacturer’s recommended tape-pull window on the product data sheet. Pulling too early can drag wet material; waiting too long can cause the edge to chip rather than release cleanly.
Why do my masking lines get sloppier later in a long shift?
Fatigue in the hands and shoulders is the most common cause. Rotate between taping, cutting, and burnishing tasks, use a tape dispenser for long runs, and take short breaks to step back and check lines with fresh eyes.
What should I check before moving a freshly painted large vehicle out of the booth?
Confirm cure time has been met, remove all masking from contact points the lifting equipment will touch, and re-brief the move crew on where it’s safe to make contact with the painted surface.
Recommended Paint & Body Tools
Precision masking on a large vehicle depends on quality tape, application discipline, and the right tools. Our Paint & Body category carries the supplies that help techs maintain consistent lines from start to finish on oversized jobs.
- Fine-line and standard masking tapes in multiple widths for edges and fill areas.
- Tape guns and dispensers to keep tension consistent during extended masking sessions.
- Burnishing tools and squeegees for edge sealing and bleed prevention.

The Toolsource Technical Team blends decades of real-world automotive service experience with up-to-date technical research. Our writers collaborate with professional mechanics, shop owners, and diagnostic specialists to deliver practical, workshop-ready guidance you can trust.


Follow us on social media