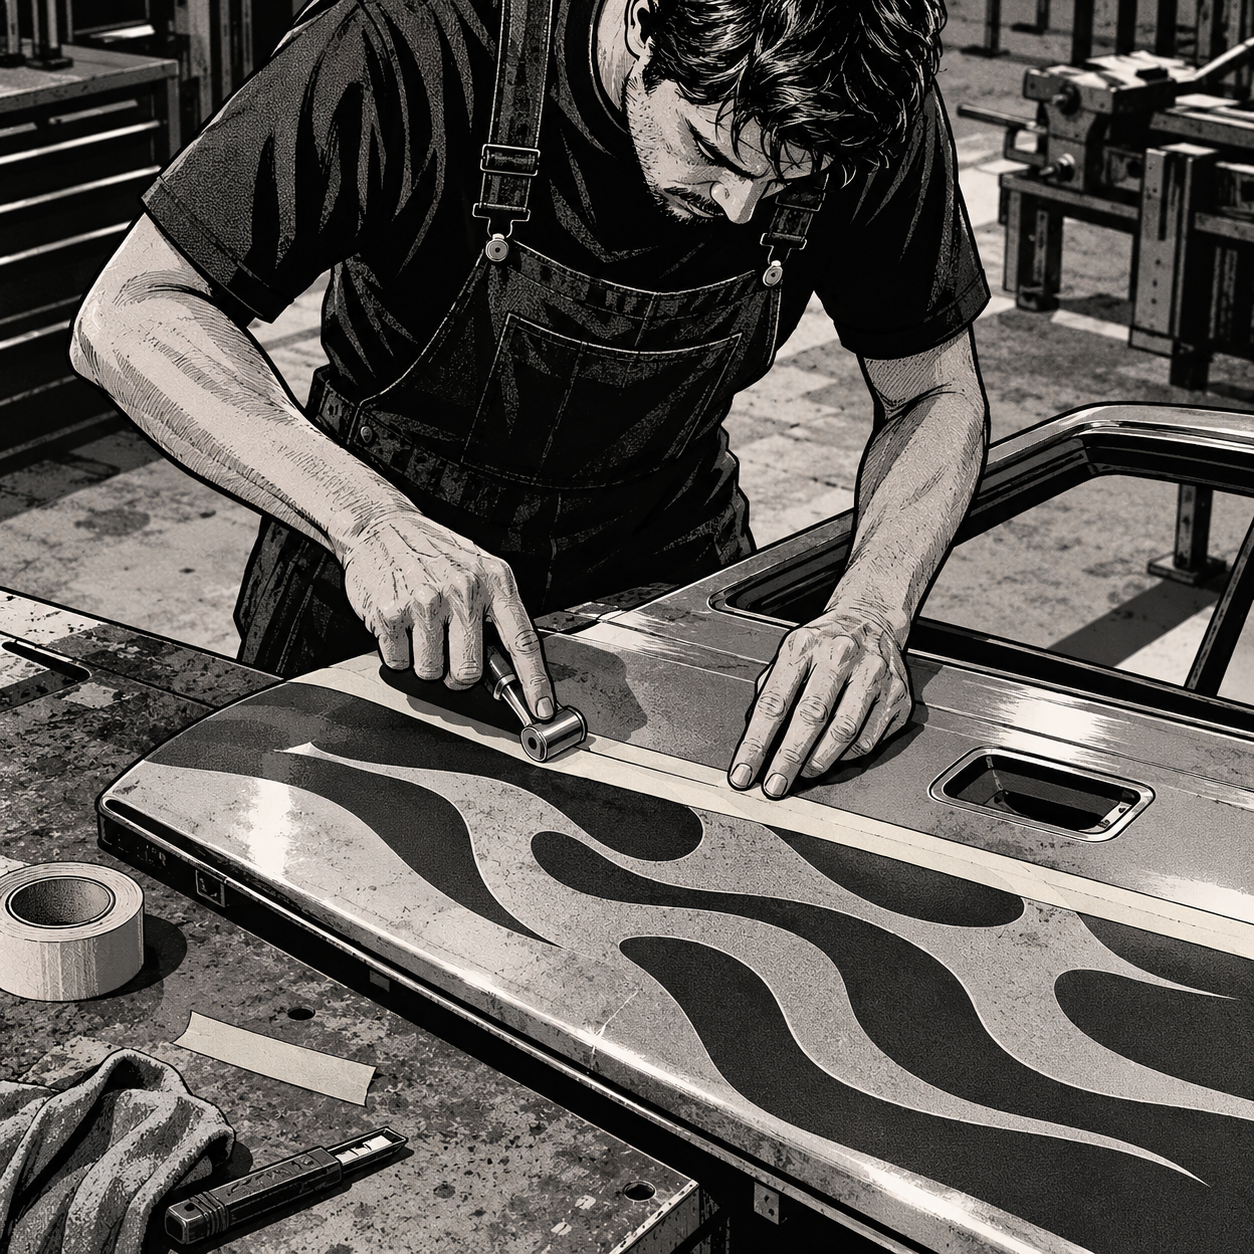
Custom graphics and factory flame jobs don’t come through the shop every day, but when they do, they separate technicians who can run a clean process from those who are guessing. A lot of this work is landing at dealer body shops lately because MSOs are passing on anything beyond a straightforward bumper job — graphics, blends, and panel replacement all drag out cycle time, and cycle time is what MSOs get measured on. That leaves techs who still do this work regularly with a real edge, but also real risk: clear coat over decals is unforgiving if the prep, taping, or flash times are off. Here’s a practical rundown of how to handle it from decal inspection through final buff, plus where cycle time and billing fit into the decision to take the job at all.
Why This Work Lands on Dealer Floors Instead of MSOs
Multi-shop operators are built around throughput. Every job gets scored against a target cycle time, and anything that doesn’t fit a predictable flat-rate box — custom graphics, decal matching, oddball panel fitment on 3/4-ton and dually trucks — kills that average. A door replacement that runs 27 hours start to finish, including R&I and prepping a new door, isn’t unusual outside of flat-rate assumptions, but it’s exactly the kind of job that makes an MSO’s cycle-time dashboard look bad. So the referral chain often works like this: insurance sends the customer to an MSO, the MSO looks at the scope, and the truck gets quietly pushed to a dealer shop that’s willing to eat the extra hours. If you’re taking in this overflow work, it’s worth pricing and scheduling it as its own category rather than trying to force it into the same slot as routine collision jobs — the labor curve is different and the graphics/decal portion adds variables a standard panel job doesn’t have.
Inspecting and Prepping Decals Before Anything Else Happens
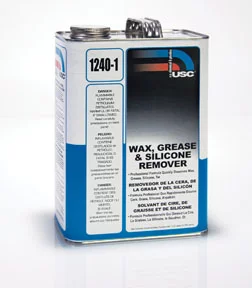
Before you tape, mask, or mix clear, the decal itself needs a real inspection. Check the edges for lifting, chalking, or UV damage — any of that will telegraph through clear coat and get worse under heat from the booth. Clean the decal surface thoroughly; adhesive residue, wax, and surface contaminants left under clear coat cause fisheyes and adhesion failures that show up weeks later, not on the day you spray. If the decal manufacturer specifies a prep product or compatible cleaner, use it — generic solvents can attack vinyl or the printed layer in ways that aren’t obvious until the clear goes on and starts reacting. Scuff the surrounding painted area per your clear coat’s data sheet, but keep abrasives away from the decal face itself unless you’re intentionally blending into it. This step is where most comebacks on graphics work actually originate — not in the spray booth, but in a rushed five-minute wipe-down that skipped a chemical that mattered.
Once the decal is clean and sound, decide whether you’re clearing over the existing decal or replacing it. If the decal is original factory work — like a painted flame job masked in at the factory — matching that exact process (paint the flame, mask it off, blend the base color across the panel, pull the masking, then clear over everything) preserves the factory look better than stripping and redoing it with fresh vinyl. If the decal is aftermarket vinyl in poor condition, replacing it before clear is almost always the safer call, since clear coat locks in whatever condition the decal was in at the time of spray.
Search for: decal-safe panel prep and surface cleaner for vinyl graphics


Taping Technique That Holds Up Under Clear
This is where jobs get judged, fairly or not, by anyone who looks closely afterward. Fine-line tape is the standard for any blend or flame edge that’s going under clear — not because it’s tradition, but because its thin profile and clean release reduce the ridge that standard masking tape leaves at the paint edge. When you’re recreating a factory-style flame or blend, the sequence matters: lay the pattern in paint first, mask it off cleanly along the design line, blend your base color across the full panel, then pull the masking and bury everything under clear. Skipping steps or taping loosely to save time is exactly what produces the “dodgy” tape lines that experienced estimators and inspectors will flag — once you know what a clean line looks like, a sloppy one is obvious from a few feet away, even after clear coat is on.
A few things that consistently cause problems: stretching fine-line tape around tight curves instead of overlapping shorter sections, pressing tape down without burnishing the edge fully, and reusing tape that’s already lost tack from a prior mask. None of these save meaningful time, and all of them show up as a slightly raised or feathered edge once clear goes over the top. If a design has multiple color layers, resist the urge to combine taping steps to cut corners — each layer needs its own clean mask and its own flash time before the next goes on.
Clear Coating Without Trapping Edges or Gunk
Clear coat is genuinely safe to apply over decals and painted graphics, provided the surface was properly prepped and any manufacturer-recommended sealer or adhesion product was used first. The failure mode technicians run into most often isn’t the clear itself — it’s what happens at raised edges. Decal borders, tape lines, and any design step create a small ridge, and clear coat likes to hang on those edges rather than flowing evenly across them. Left alone, that trapped material gunks up, yellows unevenly, or creates a visible halo around the design that’s difficult to correct without cutting back into the clear.
To manage this, apply clear in the number of thin coats your product data sheet calls for rather than trying to bury an edge in one heavy pass — heavy coats are exactly what pool at a ridge. Watch edges closely during flash time between coats, and if you see clear hanging up at a decal or tape-line edge, address it before the next coat goes on rather than hoping the final coat levels it out. After the clear has cured, inspect those same edges before buffing. If there’s a buildup or a cloudy ridge, it needs to be carefully cut back and polished now — not discovered by the customer three weeks later when the edge starts lifting or discoloring.
Quality Control Before the Vehicle Leaves the Line
Before any panel with graphics or a blend goes out the door, walk the tape lines and blend edges under good light, ideally at more than one angle, since flaws in a blend often only show up when light rakes across the panel. This is also the point to decide whether a line is “more or less” acceptable or needs correction — on standard collision work that distinction might not matter much, but on visible custom work, a customer who’s attached to the look of their vehicle will notice inconsistencies that a typical estimator wouldn’t flag. If something looks borderline, it’s cheaper to address it now with wet sanding and reclear than to handle it as a comeback after delivery.
Pricing and Scheduling the Job Correctly
Graphics and decal work rarely fits a flat-rate time slot cleanly, and that’s fine as long as it’s quoted that way up front. Build in time for decal inspection, any necessary vinyl replacement, extra masking steps for multi-layer designs, and additional clear coat passes with proper flash time — none of which show up in a standard panel-and-blend estimate. If you’re taking on overflow work from MSOs that declined it, that’s usually a sign the customer already expects a longer timeline; communicate that clearly rather than trying to match a cycle time the job was never going to hit.
Search for: automotive clear coat and basecoat paint supplies
Quick Pre-Clear Checklist
- Decal/graphic inspected for lifting, chalking, or damage
- Surface cleaned with manufacturer-approved or compatible decal cleaner
- Fine-line tape used and burnished along all design edges
- Each color/design layer given proper flash time before the next mask
- Edges checked for clear pooling between coats, not just after final cure
- Final inspection done under multiple light angles before delivery


FAQs
Can you clear coat directly over vinyl decals?
Yes, as long as the decal is clean, sound, and compatible with the clear coat system you’re using. Always check for a manufacturer-recommended prep step or sealer before spraying, since some vinyl and ink combinations react poorly to certain solvents.
Why does clear coat pool or gunk up at decal edges?
Any decal or tape line creates a small physical ridge. Clear coat naturally hangs at that transition rather than flowing flat across it, especially in heavier coats. Thin, multiple passes with attention to edges during flash time reduce this significantly.
Is it better to strip old decals and apply new ones before painting, or tape and blend around existing graphics?
It depends on decal condition. Sound factory-style graphics in good shape are often better preserved by matching the original paint-mask-blend process. Aftermarket vinyl that’s degraded should generally be replaced before any clear coat goes on, since clear locks in whatever condition exists underneath.
What tape should be used for flame or blend edges going under clear?
Fine-line tape is standard for any edge that needs a crisp, low-profile line under clear coat. Standard masking tape leaves a thicker edge that’s more likely to telegraph through the finish.
How many labor hours is reasonable for a door R&I with new door prep?
Jobs involving full door replacement, removal/installation, and prepping a new panel commonly run in the 25-30 hour range start to finish outside of flat-rate assumptions, depending on fitment, wiring, and paint matching complexity.
Why do MSOs sometimes decline truck bodywork that dealer shops will take?
Multi-shop operators are generally optimized around cycle time targets. Work that extends beyond a standard flat-rate window — heavy panel replacement, custom graphics, non-standard fitment on larger trucks — drags down their average turnaround, so that work often gets referred elsewhere even when the insurer initially sent the customer to the MSO.
Shop Paint & Body Supplies
Working with graphics and decals demands precision in masking, cleaning, and application. Our Paint & Body supplies cover everything from fine-line tape to clear coat systems.
- Fine-line and masking tapes for crisp edges under clear coat
- Decal-safe cleaners and surface preparation products
- Clear coat and basecoat supplies with technical data sheets

The Toolsource Technical Team blends decades of real-world automotive service experience with up-to-date technical research. Our writers collaborate with professional mechanics, shop owners, and diagnostic specialists to deliver practical, workshop-ready guidance you can trust.


Follow us on social media