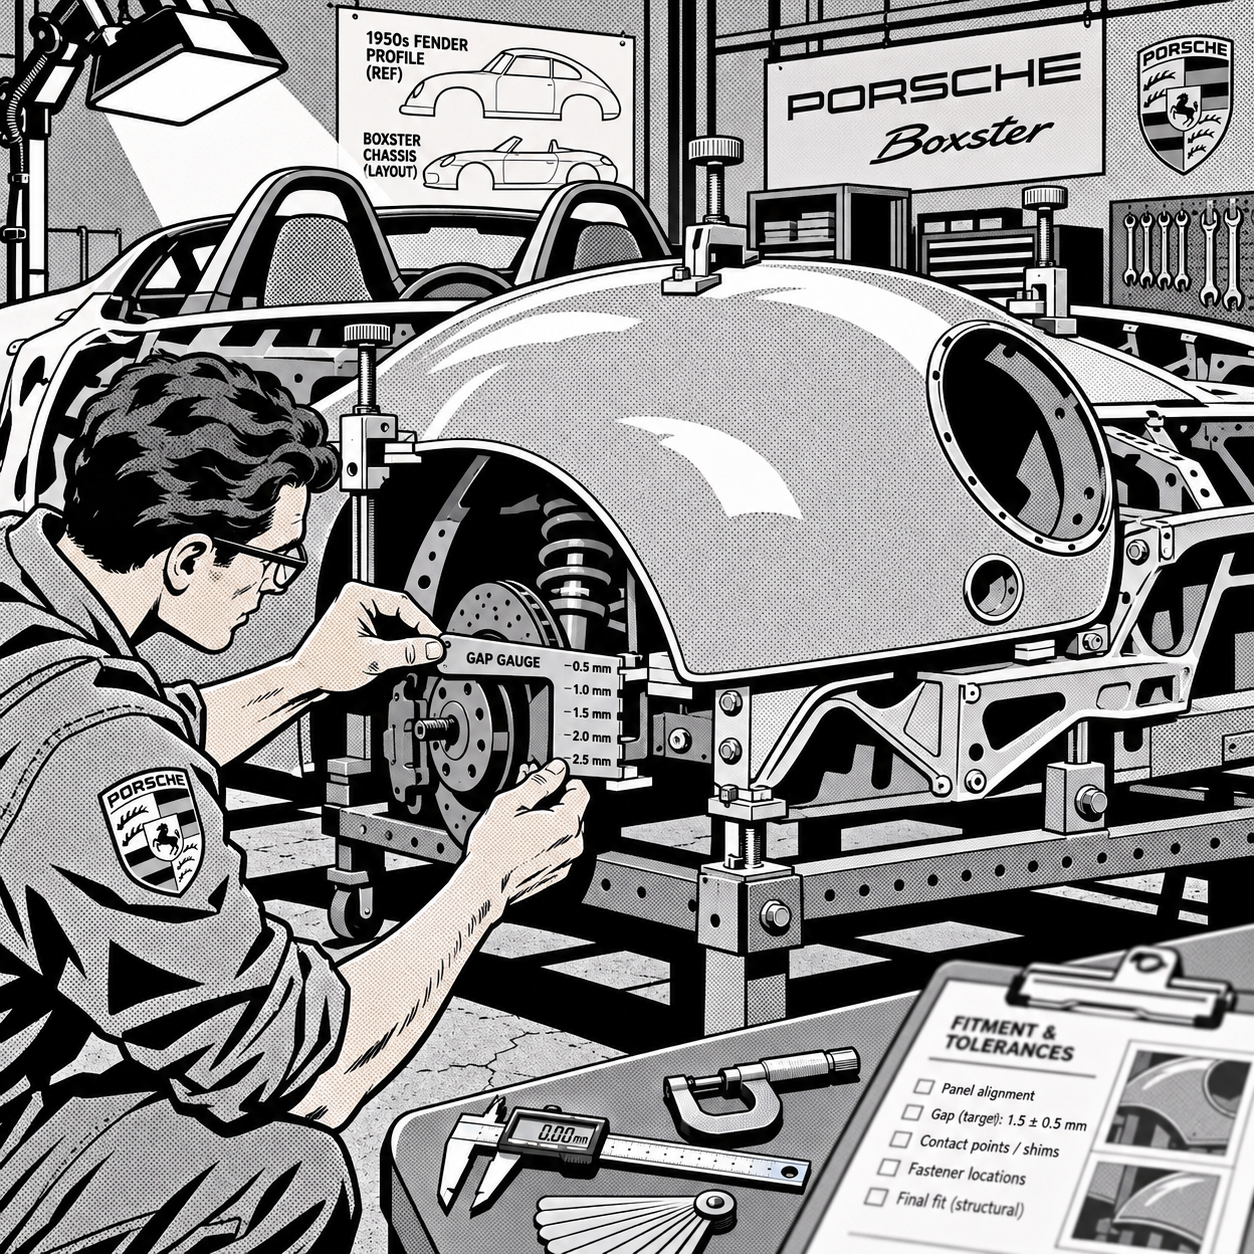
A recent online thread about a 718 Boxster reshaped into a 1950s-style Speedster split opinion fast — some called it a clever restomod, others called it an abomination. Setting taste aside, these builds (Stärke Speedster and similar kit-style conversions are the best-known example) are legitimate shop work: a running Boxster chassis gets a new composite or aluminum body bonded and mechanically fastened over the original platform, with the customer supplying the donor car. For techs who get one of these jobs on the lift — whether it’s a full conversion or just post-build service — the work is less about styling opinions and more about structural integrity, wiring integrity, and fitment tolerances that don’t show up until something rattles, leaks, or fails an alignment.
Start With an Honest Donor Vehicle Assessment
Every rebody shop will tell you the same thing: the final product is only as good as the car underneath it. Before any panel comes off, run a full baseline inspection on the donor vehicle, documented with photos and written notes:
- Frame and subframe condition — check for prior collision repair, pulled unibody sections, or corrosion, especially on cars that were “parted out” after an accident (a common source for these builds, since a wrecked or stolen-and-recovered car is often cheaper to acquire than a clean one).
- Suspension and drivetrain mounting points — verify bushings, control arm geometry, and subframe bolts are within spec before you build anything on top of them.
- Electrical harness routing and connector condition, since body panels will be cut away and rerouted around new sheet metal or composite.
- Cooling system integrity — mid-engine Boxsters route coolant lines through the sills; any rebody work that alters sill structure needs those lines inspected and pressure-tested.
If the car came in after a theft-recovery or collision — which multiple builders note is a real, not uncommon, path into this market — budget extra diagnostic time. A car that looks cosmetically fine after a crash can still have tweaked geometry that no amount of new bodywork will fix.
Plan the Panel Fitment Before You Cut Anything
The biggest complaint about poor rebody work — echoed in nearly every discussion of these conversions — is panel gaps and awkward body lines from certain angles. That’s a fitment-process problem, not a design problem. In the shop, that means:
- Dry-fit every panel before any adhesive or rivet goes in. Use adjustable fitment jigs and spacer shims to check gaps at every seam, not just the ones visible from the front three-quarter angle customers photograph.
- Check panel alignment against multiple reference points — door shut lines, wheel arch radius, and hood-to-fender gap — since body kits sized for one chassis generation can sit slightly off on another.
- Mark and verify all new mounting hardware locations against the original unibody attachment points so structural loads transfer the way the chassis was engineered to handle them, not just where the new skin happens to line up.
Precision measuring tools matter more here than on routine collision work, because you’re fitting a body that was never engineered as a unit with this specific chassis.
Looking for the right fitment and layout tools for this stage of the job?
[PRODUCT_SEARCH: adjustable body panel fitment gauge set]


Double-Cut Air Chisel Body Ripper Bit - Durable Tool
Mfg: Old Forge Tools
Part #: 31956
Wiring and Electronics: Expect to Rebuild Harness Sections
Any time body panels are removed and a new shell goes over the original structure, wiring takes the hit. Headlight and taillight assemblies usually relocate to fit the new body style, which means splicing into factory harnesses rather than running clean plug-and-play connections. A few practices that prevent comebacks:
- Use OEM-style connectors and weatherproof splices rather than generic butt connectors, especially for lighting and any sensor wiring that routes near the new body seams.
- Label and photograph every harness run before you disturb it. On a chassis where the body no longer matches the factory service diagrams, your own documentation becomes the reference for every future repair.
- Re-test all factory safety systems — backup cameras, parking sensors, and any ADAS components — after rebody work, since relocated bumpers and panels can throw sensor alignment off even when the wiring itself tests fine.
- Verify grounding points. New body panels, especially composite ones, don’t carry ground the way factory steel does, so confirm every relocated ground strap lands on bare, conductive chassis metal.
Wheel and Suspension Fitment Gets Overlooked
Several commenters on the Boxster conversion specifically called out wheel fitment as the detail that made or broke the car’s look — and from a shop perspective, it’s also a functional issue, not just cosmetic. A body kit that changes fender width or ride height expectations means the factory wheel/tire spec may no longer suit the car:
- Recheck offset and backspacing any time fender lips are reshaped. What fit flush on the factory body can look (and function) wrong under a reshaped arch.
- Re-verify alignment specs after any suspension or ride-height change tied to the new body design — camber and toe settings calculated for the stock body don’t automatically carry over if ride height shifted during the build.
- Check tire clearance through full steering lock and full suspension travel, not just at static ride height, since customized arches can be tighter than stock at the extremes.
Quality Control and Documentation Before Delivery
Because these builds are low-volume and non-standard, there’s no factory service bulletin to fall back on if something comes loose six months later. That makes your own QC documentation the only reference for the next tech who touches the car:
- Torque-check every structural fastener added during the body mounting process and log the values.
- Pressure-test cooling and fuel lines that were rerouted or had connections disturbed during the build.
- Road-test for wind noise, panel rattle, and water intrusion — composite body seams are a common leak point that won’t show up on a static inspection.
- Provide the customer (and keep a shop copy of) a full build record: parts used, torque specs, wiring changes, and alignment settings. This protects the shop if warranty or liability questions come up later.
Quick Reference Checklist
- Full donor vehicle inspection complete and documented (frame, suspension, electrical, cooling)
- All panels dry-fit and gap-checked before adhesive or rivets
- Structural mounting points verified against original unibody attachment points
- Harness splices weatherproofed, labeled, and photographed
- Safety systems (sensors, cameras, lighting) re-tested post-install
- Wheel offset/backspacing and alignment re-verified for new body dimensions
- Fasteners torqued and logged; cooling/fuel lines pressure-tested
- Full build documentation provided to customer and retained in shop records
For shops taking on more of this custom bodywork, it’s worth stocking a broader set of fabrication and fitment gear rather than sourcing tools job-by-job.
[PRODUCT_SEARCH: automotive body fabrication and fitment tool kit]


FAQs
Is a rebody conversion considered a “real” version of the car it’s made to resemble?
Mechanically, no — the chassis, engine, and drivetrain are whatever the donor car actually is underneath. The new body is a cosmetic and structural addition, not a different vehicle, which matters for service records, parts sourcing, and resale disclosure.
Do these conversions affect insurance or registration?
Often, yes. Many jurisdictions require the vehicle to be titled and insured based on the donor chassis’s VIN and classification, not the body style it now resembles. Advise customers to confirm with their insurer and DMV before and after the build.
Why do these builds cost so much even when the customer supplies a running car?
The cost is almost entirely labor and fitment, not materials. Shops are hand-fitting a body designed independently of the specific chassis, re-engineering mounting points, and rebuilding wiring and cooling runs that weren’t designed to be disturbed.
What’s the biggest point of failure on a rebody job?
Panel fitment tolerance and the wiring/grounding changes that come with relocated lighting and sensors. Both are invisible at delivery and show up as rattles, intermittent electrical faults, or water intrusion months later if rushed.
Can a shop service one of these cars without having built it?
Yes, but budget extra diagnostic time. Without the original builder’s documentation, you’re tracing non-standard wiring and mounting points from scratch, so always request any build records the customer has before starting work.
Does a rebody change the alignment or suspension specs?
Not inherently, but if the build changed ride height, fender clearance, or wheel/tire sizing to fit the new body, those specs need to be rechecked and possibly recalculated rather than assumed to match factory numbers.
Paint & Body Tools for Rebody Work
Precision panel fitment is essential in rebody conversions—poor gap management and misaligned seams create rattles, leaks, and comebacks. Find the measuring gauges, fastening tools, and surface preparation equipment you need in our Paint & Body selection.
- Measuring and fitment tools for dry-fitting and alignment verification
- Adhesive application and fastening equipment for body panel attachment
- Surface finishing and inspection tools for post-build quality control

The Toolsource Technical Team blends decades of real-world automotive service experience with up-to-date technical research. Our writers collaborate with professional mechanics, shop owners, and diagnostic specialists to deliver practical, workshop-ready guidance you can trust.


Follow us on social media