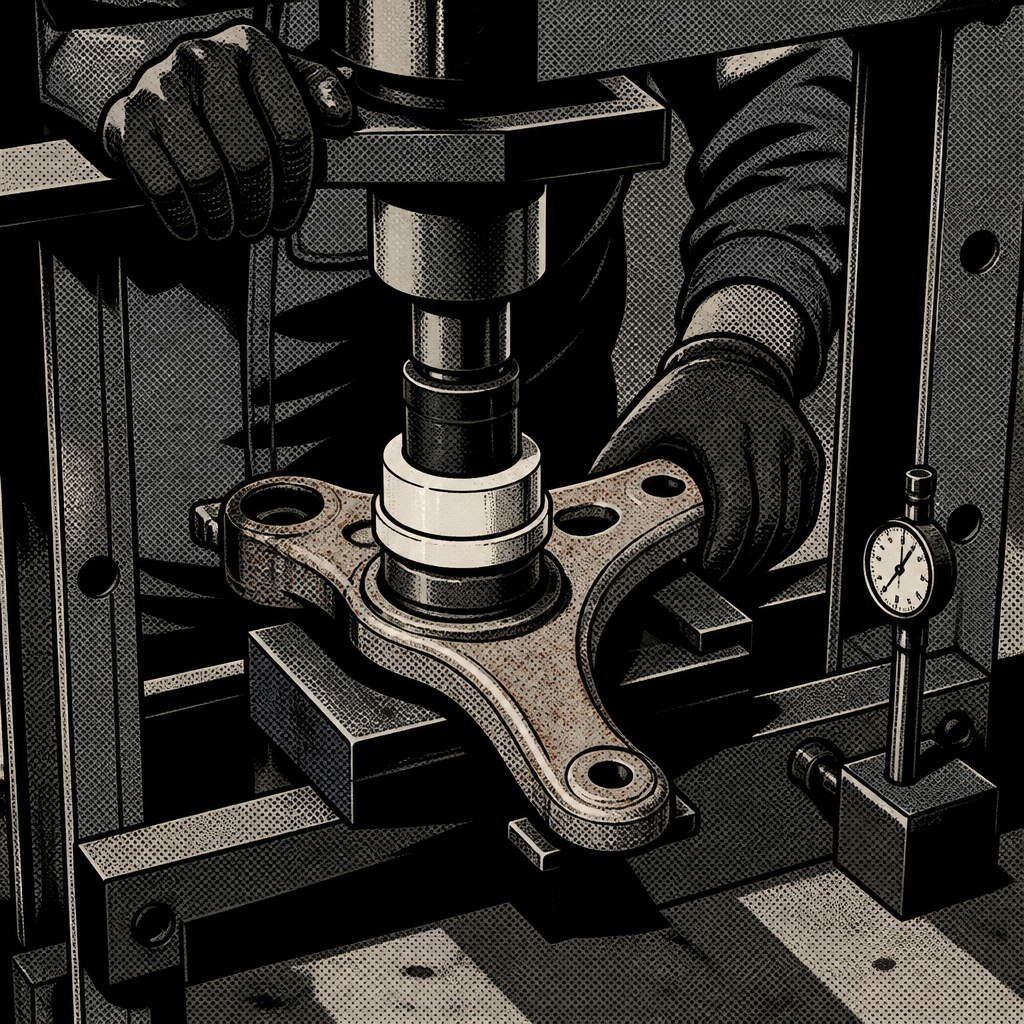
A lower ball joint that presses in tight is normal. One that drops into the control arm bore with hand pressure — or wobbles once seated — is a sign the bore itself is worn, not that the new part is defective. This is a common failure mode on high-mileage vehicles and one that catches a lot of techs off guard when a brand-new part doesn’t behave like the old one did coming out. Below is a practical breakdown of how to diagnose the problem, when an oversized ball joint is the right call versus a full control arm swap, and how to avoid the installation mistakes that turn a routine job into a comeback.
Confirm It’s the Bore, Not the Part
Before condemning the control arm, rule out a defective or wrong ball joint. Aftermarket parts occasionally ship out of spec — a stem or press-fit diameter machined a few thousandths undersize will feel loose even in a good bore. A few checks before you commit to a repair:
- Compare the new ball joint’s press-fit collar against the old one you removed, side by side, for any visible diameter difference.
- Check the part number against the box and the vehicle application — a mis-picked part for a similar-looking platform is a common warehouse error.
- If you have the opposite side’s original ball joint still in hand, test-fit it in the same bore. If the old part is snug and the new one isn’t, the new part is out of spec — swap it for a different unit or brand before touching the arm.
- If both old and new parts sit loose, the bore has wallowed out. This tends to happen on control arms where the ball joint is retained by press-fit tension alone, with no snap ring or retaining groove — repeated removal and installation, especially with an aggressive press or puller, gradually enlarges the hole.
How the joint failed originally matters too. A joint that had been knocking or clunking for a long time before replacement is more likely to have already stressed the bore. If the arm was fighting you on removal — needing a press, a pickle fork, or a lot of persuasion — some wallowing during that process is common.
Oversized Ball Joint or New Control Arm?
Once you’ve confirmed the bore is worn, you have two legitimate repair paths. This is a well-known issue on certain platforms, and parts suppliers make oversized, grooved ball joints specifically for it. The oversized joint has a slightly larger press-fit diameter with knurling or grooves cut into the collar that bite into the softer control arm material as it’s pressed in, restoring proper retention without replacing the arm.
Use an oversized ball joint when:
- The bore is only mildly worn and the arm’s bushings, mounts, and metal structure are otherwise sound.
- You’re trying to keep repair cost down and the vehicle doesn’t need other control arm work.
- The arm isn’t cracked, bent, or corroded at the ball joint bore.
Replace the entire control arm when:
- The bushings are also worn or torn — no point pressing a new joint into an arm you’ll be replacing again soon for a bushing failure.
- The bore is so far gone that even an oversized joint won’t seat with adequate retention, or the arm shows cracking, corrosion, or visible deformation around the joint mount.
- You’re doing a full front-end refresh and want to avoid repeat labor on the same corner.
Buying a control arm with the ball joint pre-installed is often the simpler and more reliable option when bushings are also due — you’re paying more up front but eliminating a labor step and a possible fitment variable. If cost is the deciding factor and the rest of the arm is healthy, the oversized joint is the more economical repair and is a widely accepted fix, not a shortcut.
[PRODUCT_SEARCH: oversized lower ball joint kit]
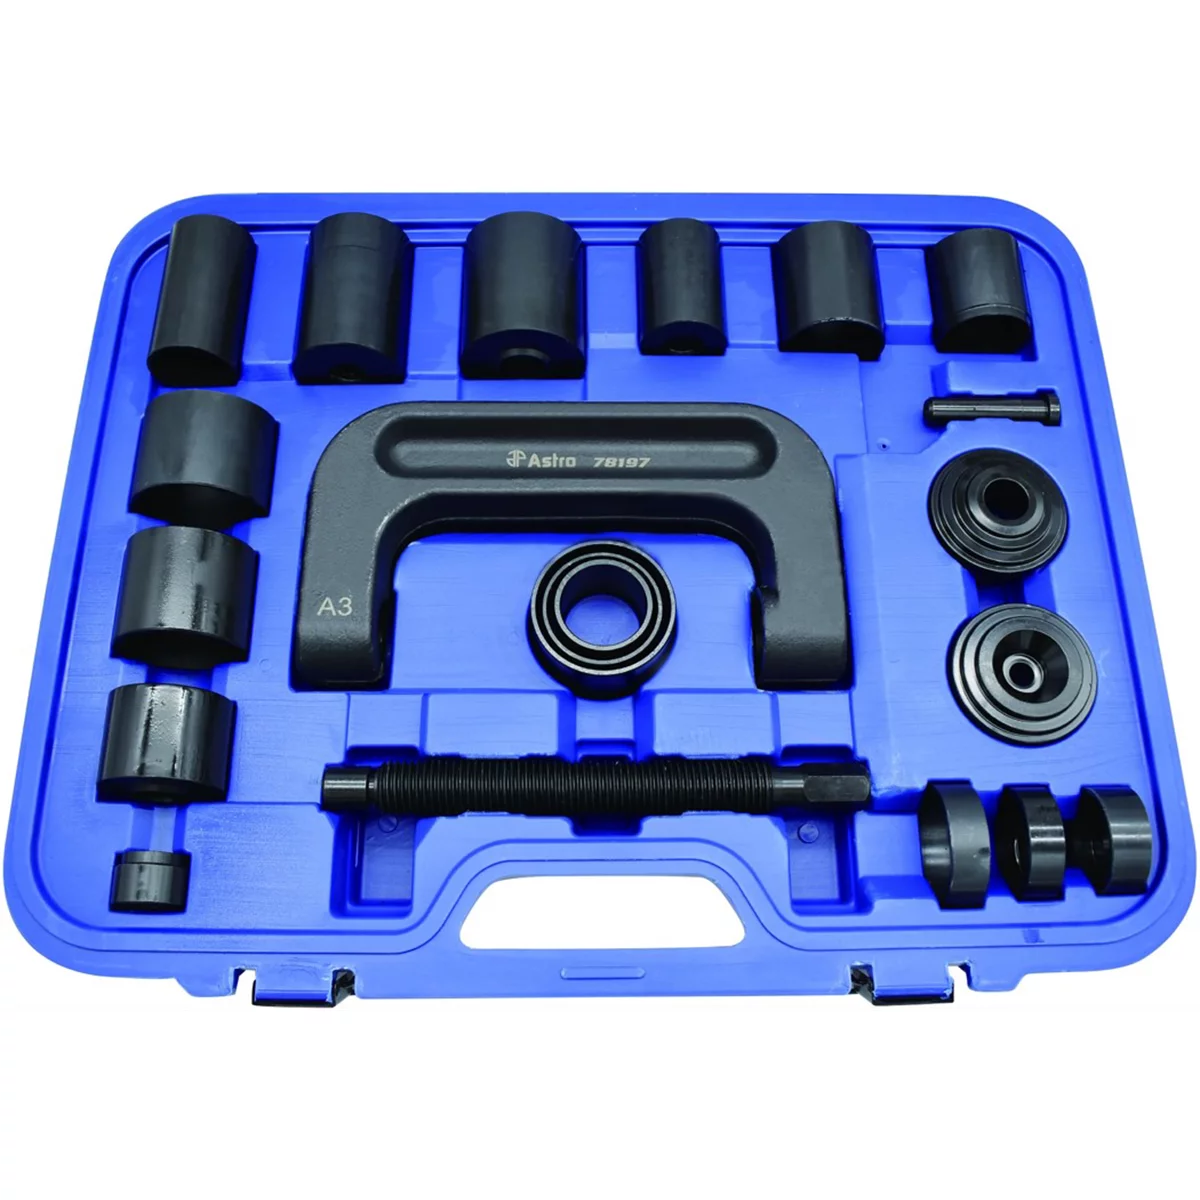
Goliath Ball Joint Service Tool and Master Adapter Set
Mfg: Astro Pneumatic
Part #: 78197
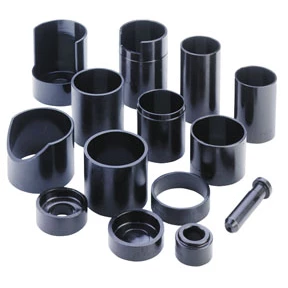
OTC 7918 Master Ball Joint Adapter Set Heavy-Duty Tool
Mfg: OTC Tools and Equipment
Part #: 7918
Installation Notes That Prevent Comebacks
A few details separate a clean install from a comeback on this job:
- Always use a proper press or the correct receiver/adapter set — never hammer a ball joint into place. Improper pressing is a leading cause of bore damage in the first place.
- Support the control arm correctly in the press so force is applied evenly around the bore, not off-center, which can egg-shape the hole even on a good arm.
- After the joint is seated, check for any play by hand and by pulling/pushing on the stem with the arm off the vehicle. Any detectable movement means it isn’t fully seated or the bore is still oversized for that part.
- Grease fittings: if the joint has a zerk, don’t overfill it. A little grease weeping out around the boot collar during initial greasing is normal, but excess pressure can blow out the boot seal over time. Wipe off any purge and grease only until you see it appear at the boot edge.
- Watch torque specs carefully on the steering knuckle pinch bolt or castle nut once the joint is installed. The stem’s taper into the knuckle is what actually retains the joint under driving loads — the control arm press-fit keeps it positioned, but the knuckle clamp-up is what carries the real force. Torque this to spec with a calibrated wrench.
- Never apply lubricant to fasteners with a dry torque spec, such as most wheel studs and many suspension pinch bolts. Adding oil or grease to a joint or thread that’s meant to be torqued dry can increase clamping stress by a significant margin, risking a stretched or snapped fastener even at the “correct” torque number.
Aftermarket Parts Quality: What Techs Are Seeing
Part quality on ball joints and other suspension components varies more by manufacturing lot than it used to. Complaints about inconsistent fitment, incorrect end-link lengths, and premature failures have increased industry-wide as private-equity ownership changes have hit several long-standing suspension brands, reportedly trimming manufacturing tolerances and quality control in the process. A brand that performed reliably a few years ago isn’t a guarantee of the same quality today.
Practical steps to reduce risk:
- Cross-check a new part against the old one before installing, especially press-fit diameters and stud lengths.
- If a shop stocks a “problem-solver” or upgraded line from a supplier, it’s often worth the price difference over the base economy line from the same brand — quality control seems to concentrate on the premium tier.
- Keep the packaging and receipt until the job is verified good on a test drive; misboxed or mislabeled parts happen more than techs would like.
- If a component fails or breaks during a normal, spec’d installation — not from abuse — treat that as a red flag on the batch, not just a one-off, and consider sourcing a replacement from a different supplier or lot.
Temporary Fixes and Their Limits
Some techs will knurl or chisel-mark a worn bore to get a press-fit joint to hold without immediately replacing the arm, or weld a sleeve into the bore as a durable repair — a technique borrowed from race-prepped control arms in some short-track classes. These are legitimate options in the right context, but understand the trade-offs:
- A chiseled or knurled bore is a stopgap. It can restore enough friction to seat a joint temporarily, but it’s not a permanent fix and shouldn’t be used on a vehicle you’re not personally willing to revisit.
- A properly welded sleeve, done correctly, can be a durable repair, but it requires skill, the right filler material, and post-weld verification that the bore is round and sized correctly for the joint going back in. This is not a bolt-in-driveway job.
- Neither approach belongs on a customer vehicle without the customer’s informed consent, and neither should replace a proper repair on a vehicle carrying passengers. A control arm that fails at the ball joint bore is a steering and suspension safety issue, not a cosmetic one.
Quick Diagnostic Checklist
- New ball joint should require a press to seat — hand-pressing in means the bore or the part is out of spec.
- Compare new part dimensions against the old part before blaming the control arm.
- Verify the part number and application match the box and the vehicle.
- Inspect the bore for wallowing, cracking, or corrosion.
- Choose oversized ball joint if bushings and arm structure are otherwise good; choose full arm replacement if bushings are shot or damage is present.
- Torque the knuckle pinch bolt/nut to spec, dry unless otherwise specified.
- Road test and recheck for play after the repair before returning the vehicle.
[PRODUCT_SEARCH: front lower control arm with ball joint]
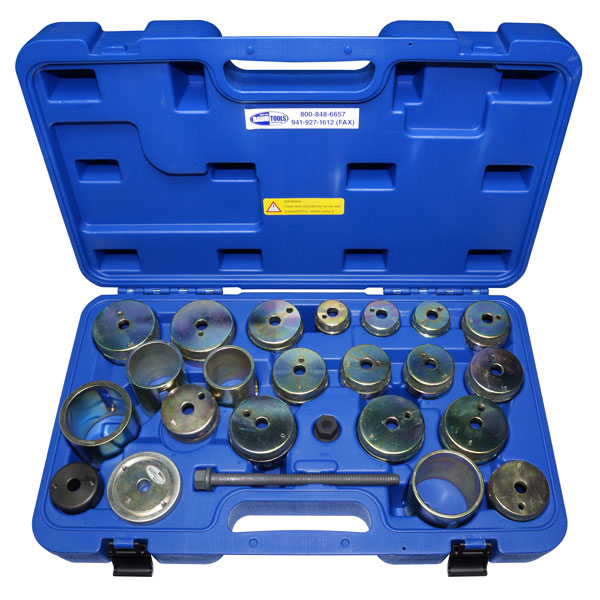
Mercedes Front Lower Control Arm Bushing Kit PLUS
Mfg: Baum Tools
Part #: B220-0643PLUS
FAQs
Can I reuse a control arm if the ball joint bore feels slightly loose?
Only if an oversized ball joint restores full retention with no detectable play once pressed and torqued. If play remains after installing an oversized joint, the arm needs to be replaced.
Is it normal for a new ball joint to need force to remove during a future repair?
Yes — a properly seated press-fit joint should require a press or puller to come back out. If it comes out with hand force, the bore has already worn and the arm should be inspected before reinstalling anything.
Do all control arms use press-fit ball joints without a retaining ring?
No, it varies by manufacturer and platform. Some use a snap ring or bolted flange design that isn’t subject to this bore-wear issue. Check the OEM service procedure for the specific vehicle before assuming it’s a straight press-fit.
Are oversized ball joints available for every vehicle?
No — they’re offered for specific, commonly affected applications where bore wear is a known issue. Check with your parts supplier by year, make, model, and position; if no oversized option exists for that vehicle, control arm replacement is the only reliable fix.
Why did the ball joint bore wear out in the first place?
Usually a combination of age, road salt/corrosion, and the stress of prior joint removals. Repeated press-outs and press-ins over the life of a vehicle can gradually enlarge the bore even without any single event causing it.
Should I replace both lower control arms even if only one has a bad ball joint?
Not required, but worth considering if both sides have similar mileage and age — matching wear on the opposite side often follows within a similar timeframe, and doing both at once saves a second labor visit.
Recommended Tools
Proper ball joint installation requires precise equipment. You’ll find presses, adapters, and removal tools in our Ball Joint – Tie Rod Tools section.
- Press sets and receiver adapters for controlled, centered installation
- Pickle forks and pullers for joint removal
- Bore measurement and diagnostic tools

The Toolsource Technical Team blends decades of real-world automotive service experience with up-to-date technical research. Our writers collaborate with professional mechanics, shop owners, and diagnostic specialists to deliver practical, workshop-ready guidance you can trust.


Follow us on social media