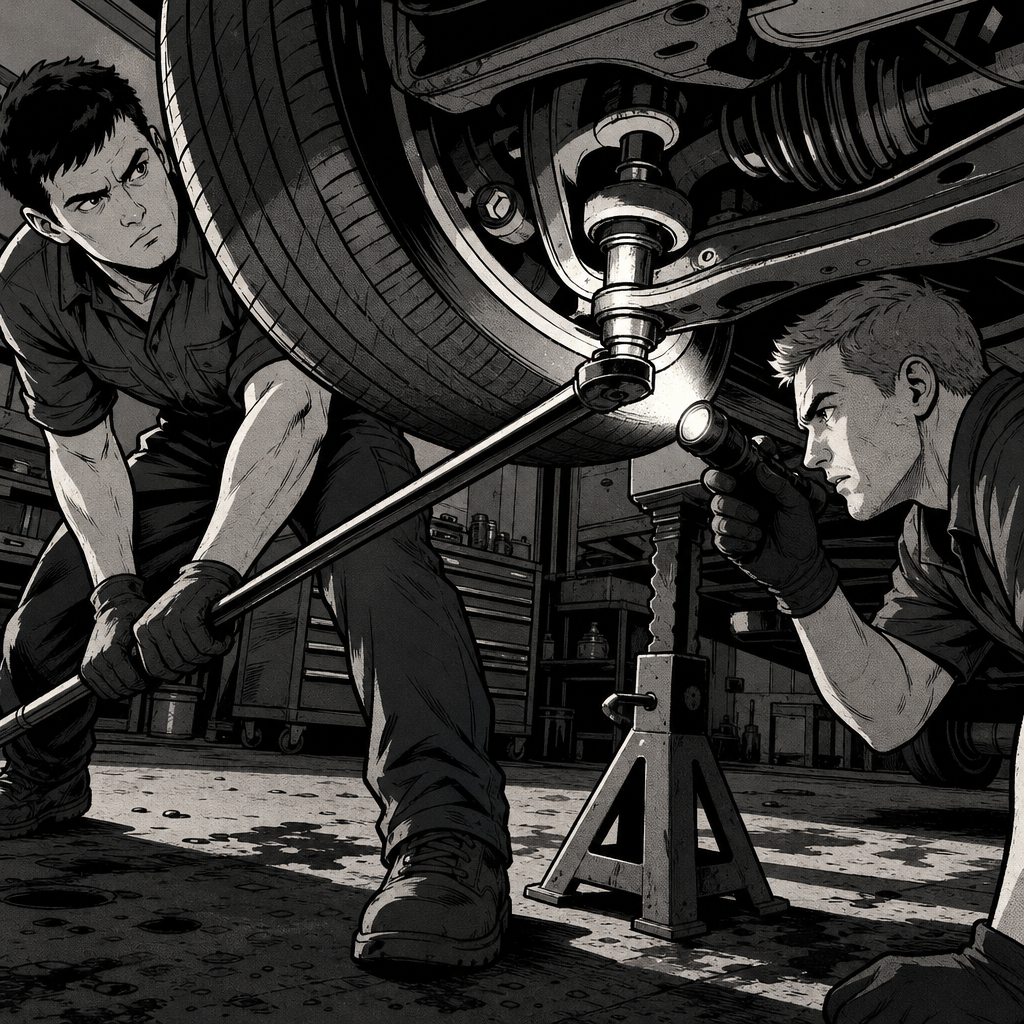
Ball joint diagnosis gets botched more than almost any other front-end check, usually because someone sees a little grease around the boot and calls it worn. Actual play is a mechanical, repeatable movement you can see and feel with the right setup, not a visual guess. This guide walks through the pry bar method, the channel-lock alternative for tension-loaded joints, the handful of vehicle designs that will give you a false positive, and what to do once a joint is confirmed bad.
Why “Grease on the Boot” Isn’t a Diagnosis
A ball joint boot sweating grease tells you the boot has a crack or the joint has been overfilled — it doesn’t tell you the joint has play. Plenty of techs flag a joint for replacement because they saw grease and never actually loaded the joint to check movement. That’s a liability problem as much as a skills problem: you’re recommending a repair based on cosmetics, not measurement.
The correct call is based on observed, physical jiggle under load — a clear up-and-down or side-to-side motion at the joint itself, confirmed with a flashlight and a second set of eyes. If you can’t make the joint move, it isn’t the source of the noise or the alignment drift, no matter how dirty it looks. Save the pry bar test for every suspension noise complaint, not just the ones where something already looks suspicious.
The Pry Bar Test for Lower Ball Joints
This is the standard test for compression-loaded lower ball joints (the kind found on most coil-spring-over-strut and SLA front suspensions):
- Lift the front of the vehicle and support it on jack stands under the frame or lower control arms, not under the joint you’re testing.
- Position a floor jack handle, pry bar, or large breaker bar under the tire/wheel at the bottom of the tire’s contact patch.
- Gently rock the wheel up and down while watching the ball joint directly — not the tire, not the control arm.
- Have a second person hold a flashlight on the joint and call out what they see. A second set of eyes catches subtle movement that’s easy to miss when you’re also working the bar.
- Compare side to side. Asymmetric play between the left and right lower joints on an otherwise identical mileage/age vehicle is a strong tell.
Real play looks like the stud visibly lifting and dropping inside the housing, or the knuckle shifting relative to the ball joint body. If you see it, it’s not a borderline call — a joint that shows clear movement under a gentle pry is already well past any reasonable wear limit.
Looking for a tool to make this test easier to perform solo? Search for: pry bar for suspension and ball joint testing


Upper Ball Joints and the Channel-Lock Alternative
The same pry bar technique works for upper ball joints — the setup is identical, you’re just positioning the bar to load the upper joint instead of the lower. The key variable isn’t upper vs. lower, it’s how the joint is loaded in that particular suspension design.
Ball joints are either loaded in compression (the joint gets pressed together under vehicle weight) or in tension (the joint gets pulled apart, common on many truck front suspensions). For compression-loaded joints, a pry bar that pushes the components apart works well. For tension-loaded joints, a large pair of channel-lock pliers is often more effective: clamp one jaw below the ball joint and the other on the knuckle, then squeeze and watch/listen for movement or clunking at the joint. If you’re not sure which loading type you’re dealing with, check service literature for that specific suspension design before you decide which tool to grab — using the wrong method can either mask real play or create a false reading.
Designs That Will Fool a Standard Pry Bar Test
There are specific, documented exceptions where the textbook pry bar test gives a false positive, and knowing them prevents a needless parts replacement:
- Older GM lower ball joints with an internal rubber isolator ring. On certain coil-spring GM applications, the lower joint uses a rubber ring inside the joint to dampen rebound. Vehicle weight keeps the joint seated normally, but once it’s unloaded on a lift and pried, that rubber ring gives a noticeable amount of sloppy-feeling movement that is not actual wear. For this design, the reliable check is the grease fitting: if the fitting’s hex has pulled down and become recessed into the joint housing, the joint has worn to its limit. A pry-bar “feel” test alone is not valid on these.
- Mercedes Sprinter vans (and similar European designs flagged by TSB). Manufacturer service bulletins exist specifically stating that axial play found with a pry bar is not an accurate test method for certain ball joint designs. If a shop condemns a joint on one of these platforms using only the pry bar feel, ask for the manufacturer-specified test procedure before approving the repair.
- Factory-built-in play tolerances. Many joints, by design, have a small amount of play from new — inspection standards (such as those used in UK MOT testing) allow a defined tolerance, commonly cited around 1mm plus 1mm of total movement, before a joint is failed. Some play at the joint is normal; the test is whether it exceeds spec, not whether it exists at all.
If a vehicle falls into one of these categories, don’t skip the pry bar test — skip the assumption that “any movement = bad.” Cross-reference with the design-specific check or known tolerance before writing up the repair.
Don’t Confuse It With the Wheel Wiggle Test
Grabbing the tire at the 6 o’clock and 12 o’clock positions and rocking it checks for play too, but it’s a different test with a different purpose. That method is better suited to catching wheel bearing play and tie rod end play (grab at 3 and 9 o’clock for tie rods). It can reveal ball joint play in some cases, but it’s not a substitute for directly watching the joint move under a pry bar or channel locks — it tells you something in the front end has play, not specifically which component.
Once a Joint Is Confirmed Bad: Replacement Basics
If the pry bar or channel-lock test shows real movement, replacement method depends on how the joint is installed:
- Bolt-on ball joints (common on many crossovers and smaller SUVs): unbolt the joint from the control arm, remove the retaining snap ring, press the old joint out, press the new one in, reinstall the snap ring, and bolt it back up. This is a straightforward job that doesn’t require pulling the whole control arm.
- Press-in ball joints: these need a dedicated ball joint press (available to rent or buy cheaply) to push the old joint out and the new one in. On some applications, it’s more cost-effective to replace the entire control arm assembly with the joint pre-installed, especially if the control arm bushings are also showing wear.
Either way, budget for a front-end alignment after the repair — ball joint replacement changes the geometry enough that camber and caster need to be rechecked.
Quick Diagnostic Checklist
- Support the vehicle on jack stands, not under the joint being tested
- Use a pry bar/breaker bar for compression-loaded joints, channel locks for tension-loaded joints
- Watch the joint directly with a flashlight, ideally with a second person spotting
- Rule out rubber-isolated GM lowers and TSB-flagged designs before condemning based on feel alone
- Compare side to side for asymmetric wear
- Plan for an alignment after any ball joint replacement
Shopping for parts and tools to finish the job? Search for: ball joint replacement tools and suspension kits
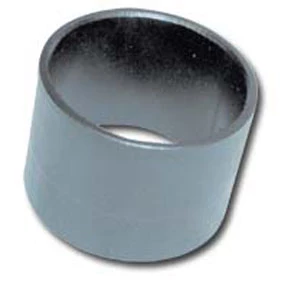
Ball Joint Receiver Tool - 2 1/2 In OD 2 1/4 In ID
Mfg: OTC Tools and Equipment
Part #: 29504

Ford/Mazda Truck Ball Joint Adapter Set
Mfg: OTC Tools and Equipment
Part #: 6539-3

FAQs
Does the pry bar test work the same way for both upper and lower ball joints?
Yes, the technique is the same — position the bar to load that specific joint and watch for movement. The main difference is making sure you’re loading the correct joint for the test, since upper and lower joints sit at different points in the suspension geometry.
Is a little bit of play always a failure?
No. Some designs have a small amount of built-in play from the factory, and inspection standards in some regions allow a defined tolerance before failing a joint. The concern is play that clearly exceeds normal movement, not the presence of any measurable play at all.
Why do channel locks work better than a pry bar on some trucks?
It comes down to how the joint is loaded. Tension-loaded joints (common on many truck front suspensions) respond better to a squeezing test with large channel locks across the joint, while compression-loaded joints respond better to prying the components apart.
My ball joint has grease on the boot but no play when I test it — is it still bad?
Not necessarily. Grease residue usually indicates a cracked or overfilled boot, not confirmed mechanical wear. If the joint doesn’t show play under a proper pry bar or channel-lock test, don’t condemn it on appearance alone — though a cracked boot should still be addressed since it will let in contaminants over time.
How do I know if my vehicle has one of the rubber-isolated ball joint designs?
This is most relevant to older GM coil-spring front suspensions. If you’re unsure, check the service manual or parts diagram for that model year, or inspect the grease fitting for recession into the housing as a wear indicator specific to that design.
Do I need an alignment after replacing just one ball joint?
Yes. Replacing a ball joint changes suspension geometry enough that camber and caster should be rechecked and adjusted as needed, even if you only replaced one side.
Recommended Tools for Ball Joint Testing & Replacement
Whether you’re testing with a pry bar or replacing a confirmed bad joint, having the right tools makes the job clearer and faster. Check out our Ball Joint – Tie Rod Tools category for everything you need.
- Pry bars and breaker bars for suspension joint testing
- Ball joint presses and extraction tools
- Channel locks and specialty pullers for upper joints and tie rods

The Toolsource Technical Team blends decades of real-world automotive service experience with up-to-date technical research. Our writers collaborate with professional mechanics, shop owners, and diagnostic specialists to deliver practical, workshop-ready guidance you can trust.


Follow us on social media